Contents
We at PicsArt are excited to cooperate with Imagine Publishing and their magazines Photography for Beginners and Digital Photographer. For several weeks already, the editors of both magazines provide tutorials on all aspects of becoming a better PicsArt photographer. Today’s tutorial is from the editors of Photography for Beginners.
Once you have finished editing your photo and are happy with your masterpiece, you can then add the finishing touch…a frame. The PicsArt app has three methods for framing your photos to achieve different effects.
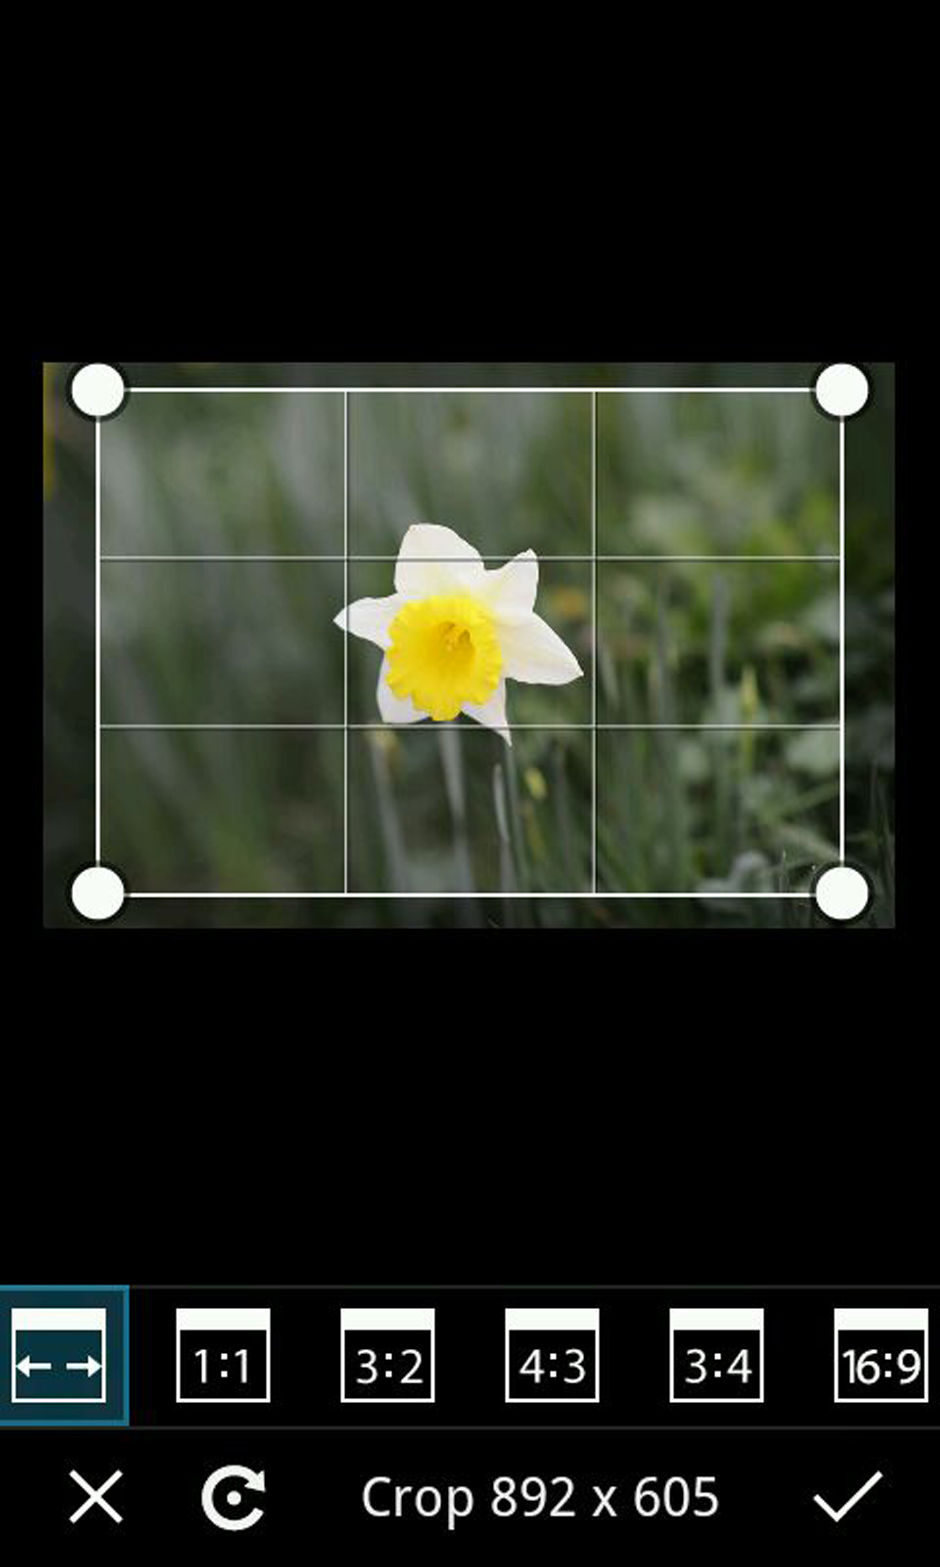
Step 1: Select your shot
When choosing a shot to frame, it is best to pick an image with lots of border space so that the frame will not cover up an important part of your photo. Alternatively, if there is too much border space, you may wish to crop in to your shot.
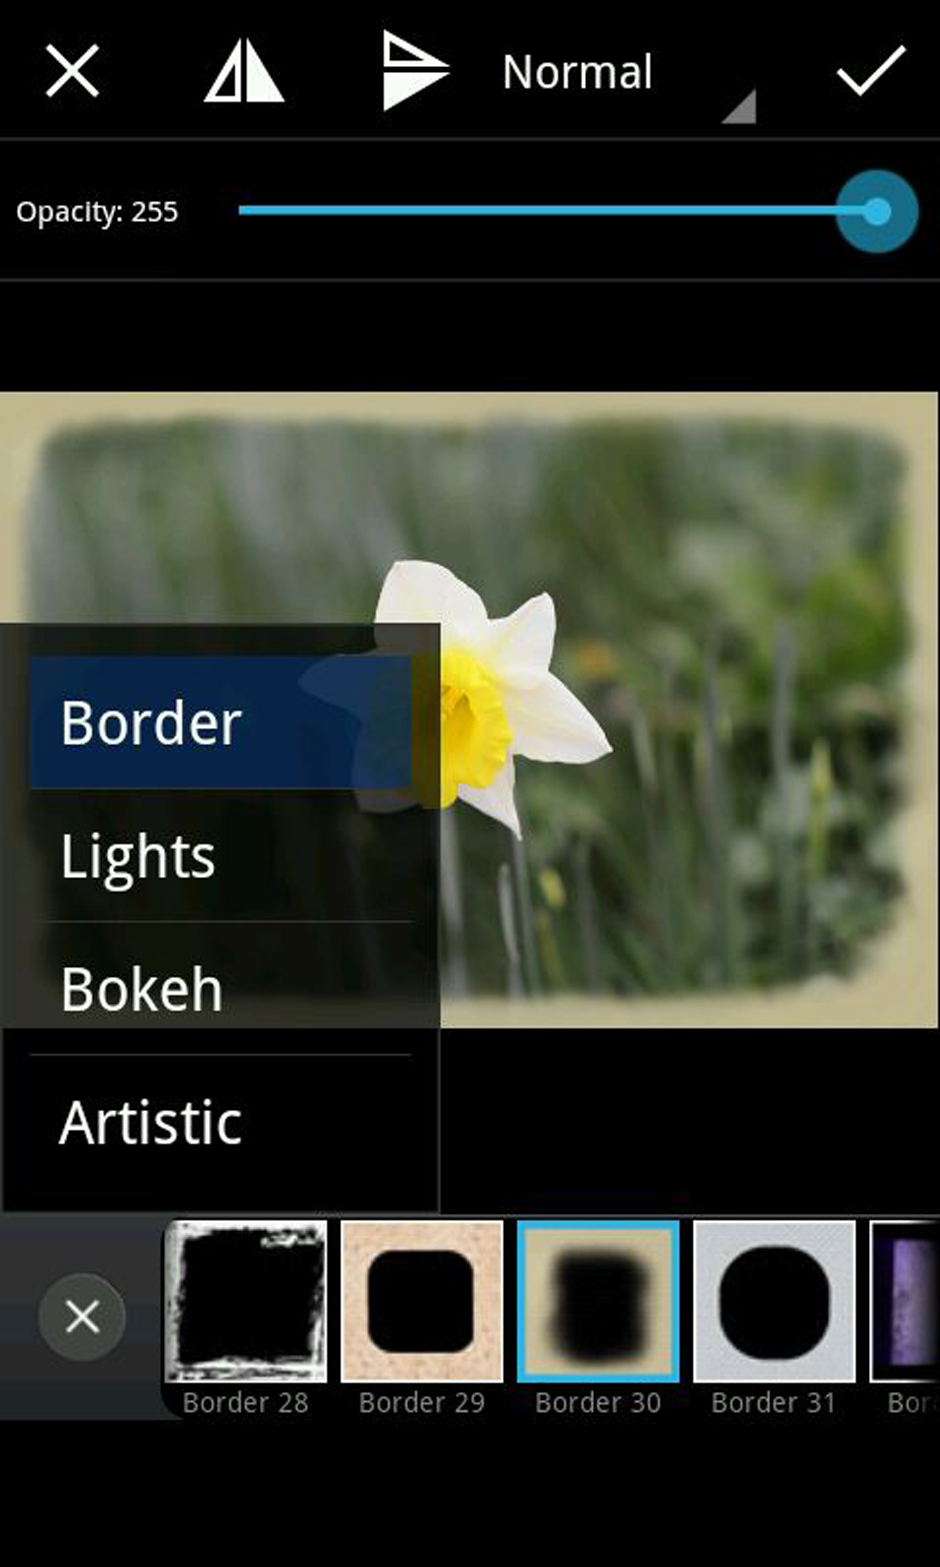
Step 2: Add a border mask
The first framing method is to select “Mask” from the bottom toolbar. Then select “Border”. When you have selected the mask you wish to add to your photo, you can then adjust the rotation, opacity and other blending options to perfect the look you are hoping to achieve.
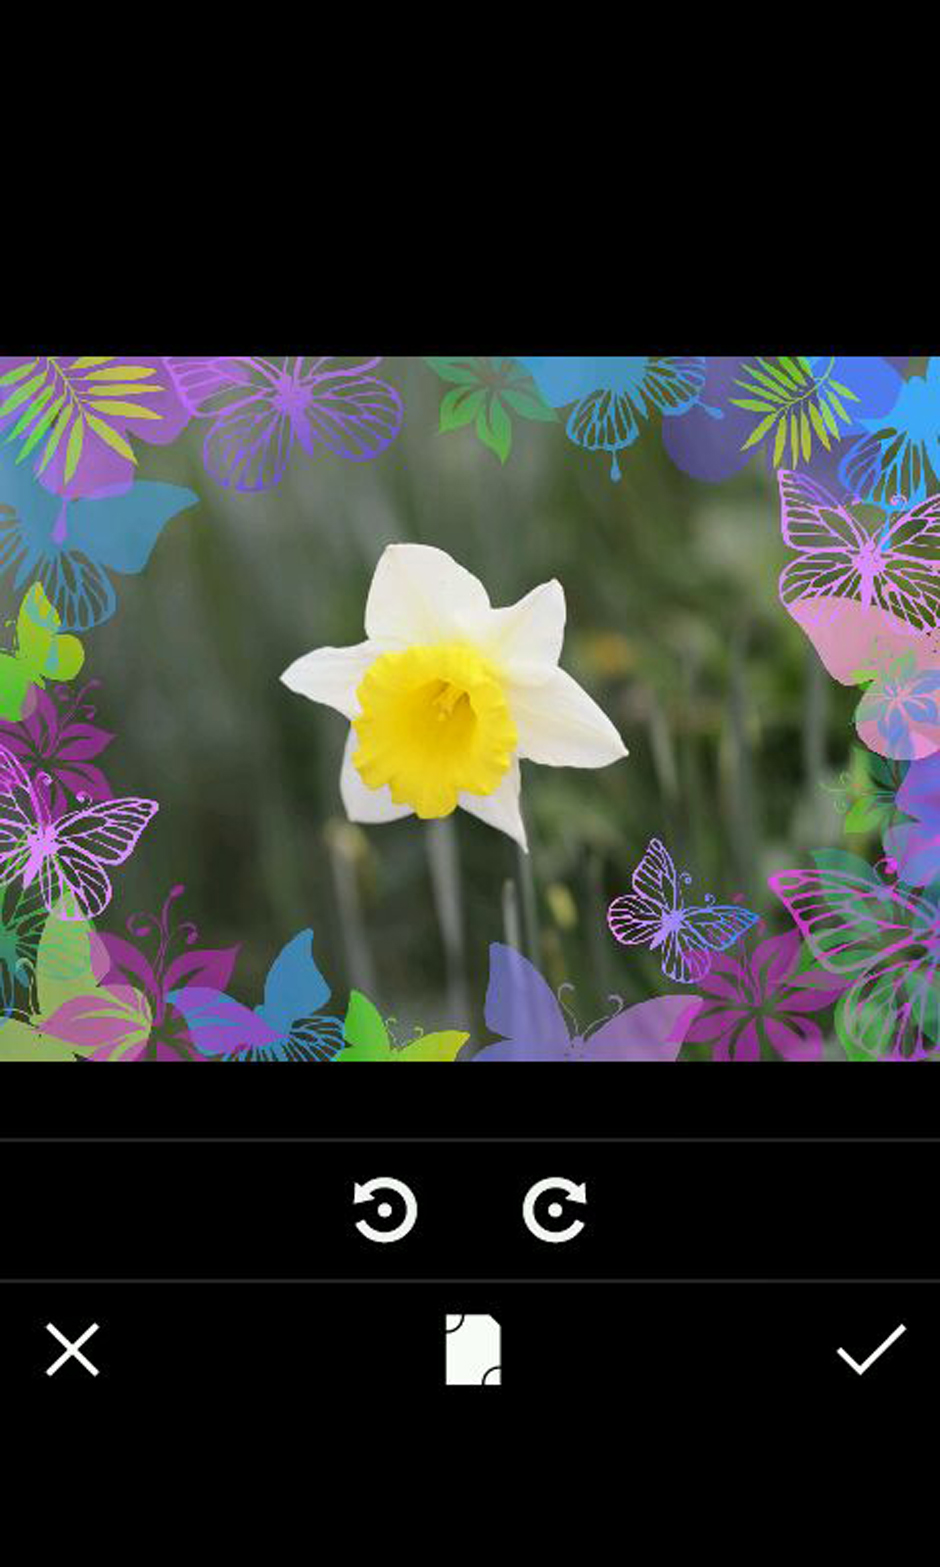
Step 3: Add an artistic frame
The second method for framing your shots is to select “Frame” from the bottom toolbar. You can then select a theme, “Nature”, “Love”, “Birthday” or “Baby”, and choose from each range of frames. It is important to choose the right orientation of frame for you photo.
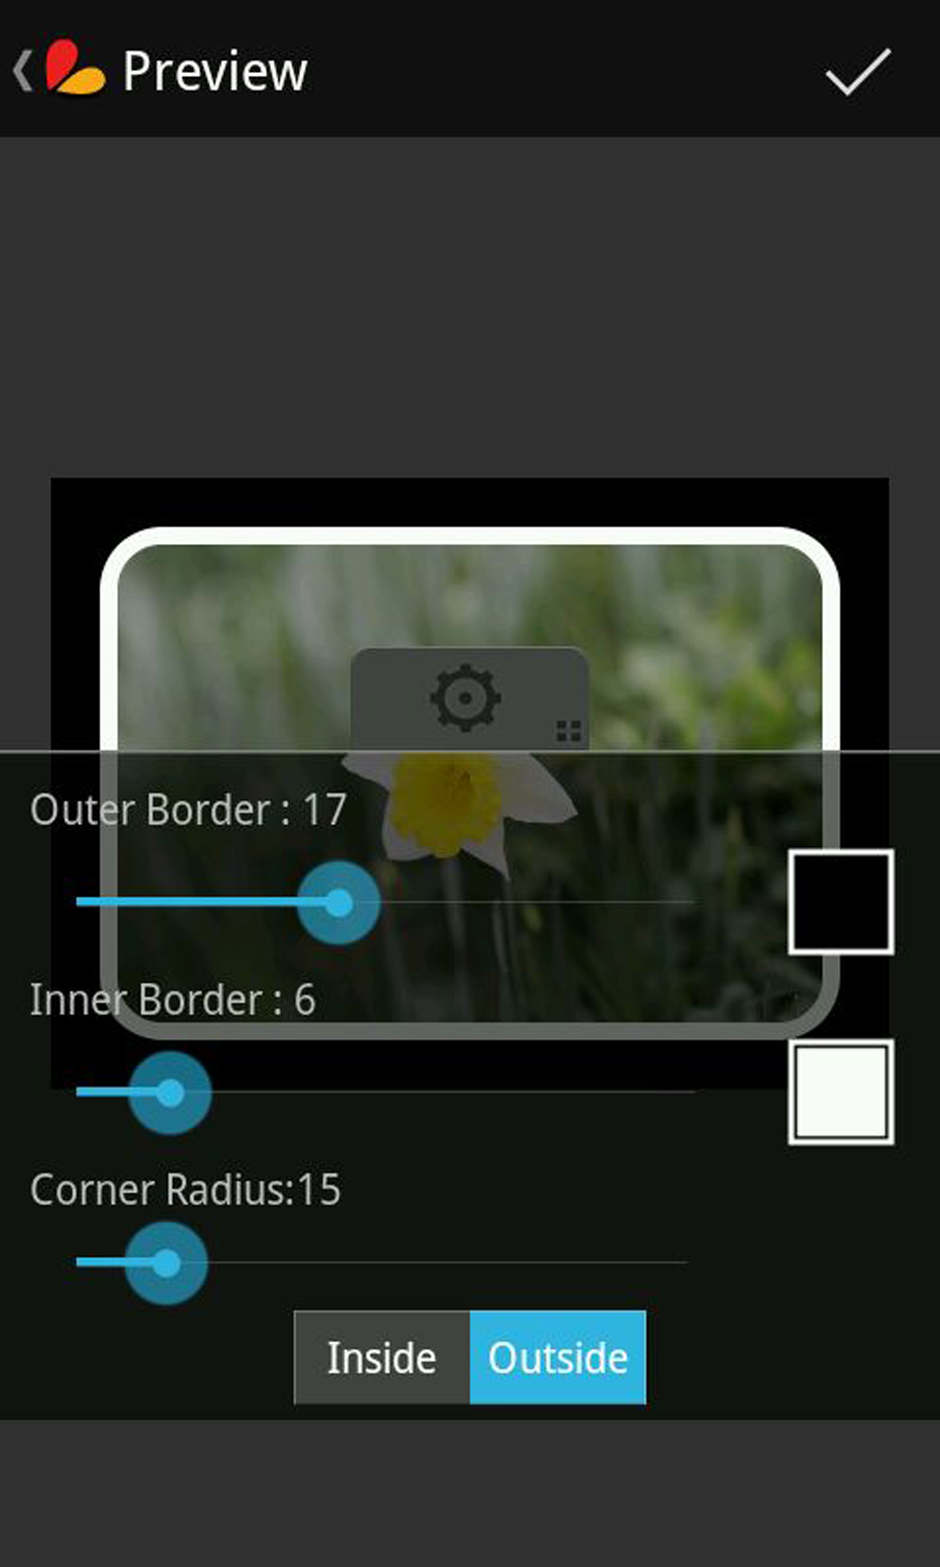
Step 4: Add a simple border
Finally, you may wish to select “Border” from the bottom toolbar. This adds a simple frame to your image and you can adjust the inner and outer border size as well as the corner radius.