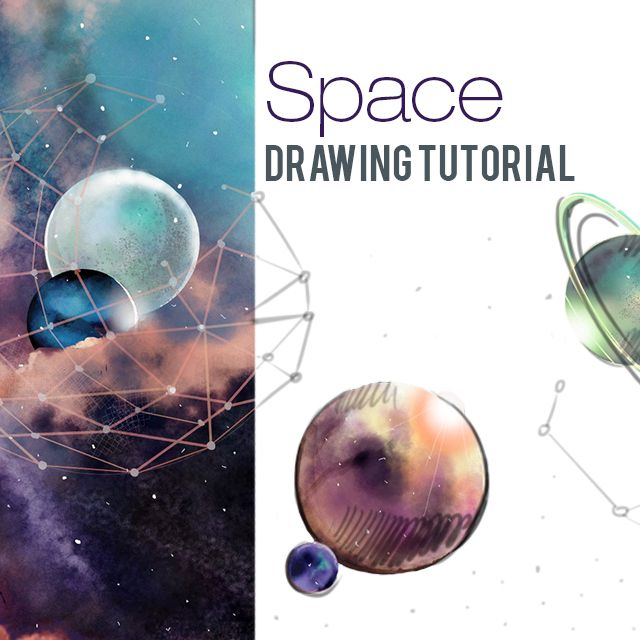
In this tutorial, we’ll show you how to use PicsArt’s drawing tools to create your own drawing of outer space, in preparation for this week’s Drawing Challenge. Follow along to learn the basics, and then give it a try for yourself!
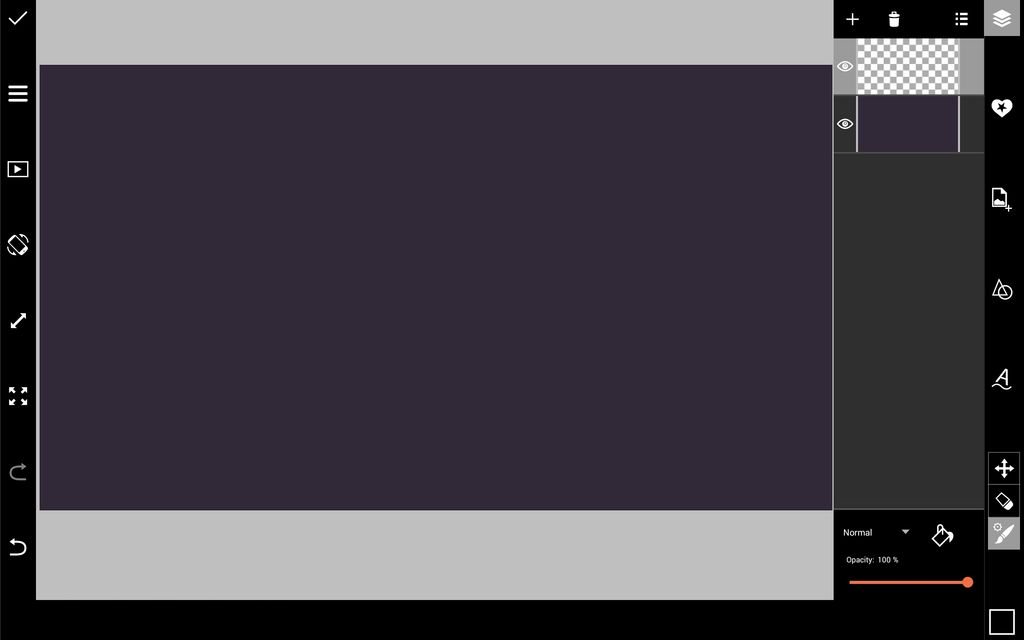
Step 1: Fill Background Layer
Fill your background layer with a dark shade of purple by selecting the layer, tapping on the paint bucket icon, and selecting your color. In another layer, use a soft, light purple brush with a lowered opacity to start adding clouds.
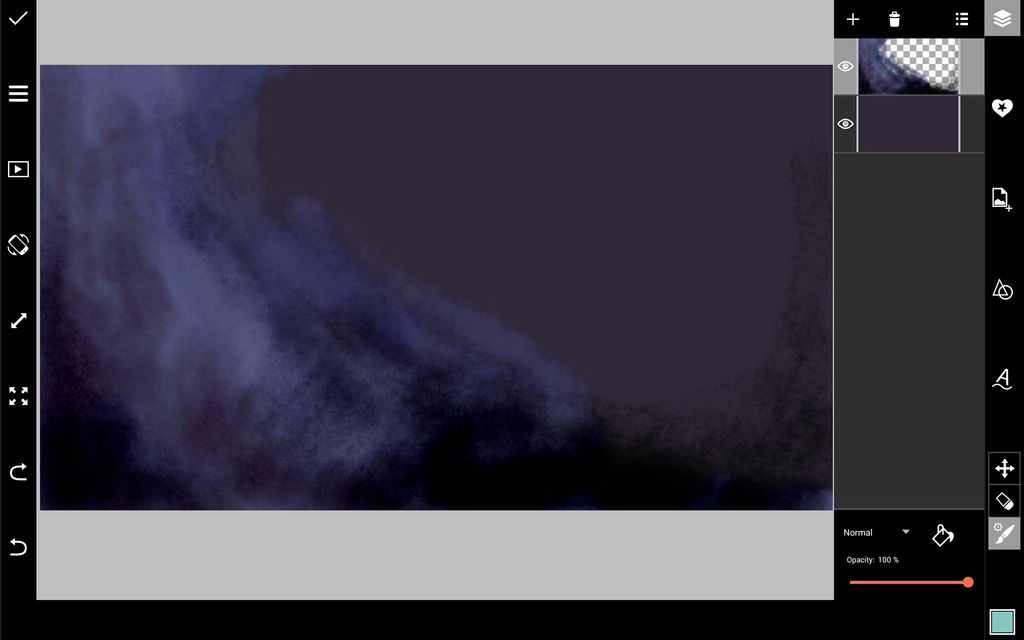
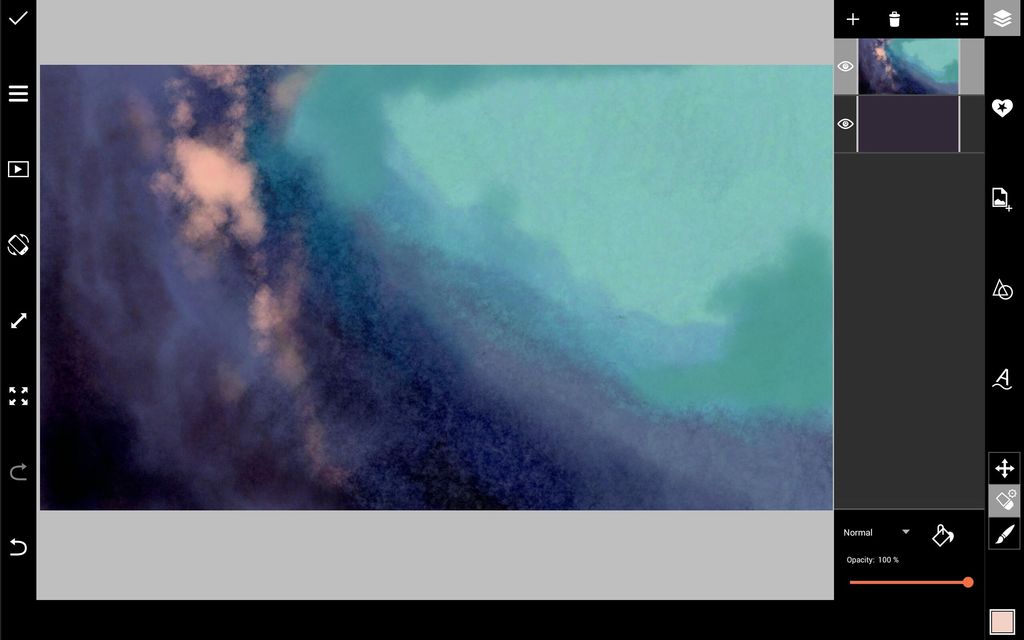
Step 2: Finish Background
Using a soft brush, continue adding clouds, this time using a variety of colors.

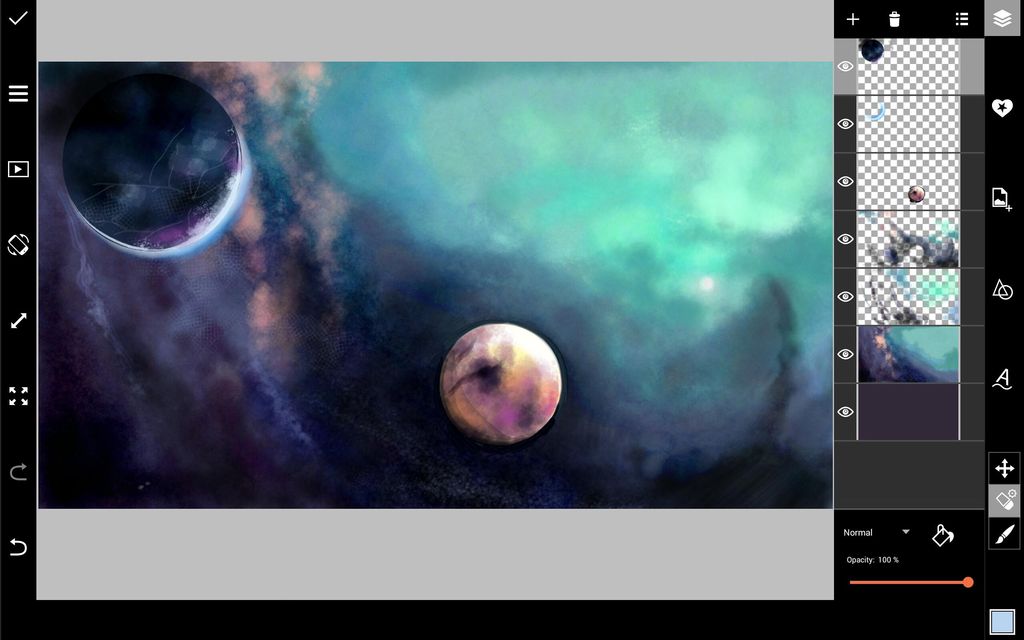
Step 3: Add Planet
Use the Shape Tool (with the Fill option selected) to add your first planet in a new layer. In another layer, use a soft, semi-transparent brush to paint dust clouds over it in different colors, including black.

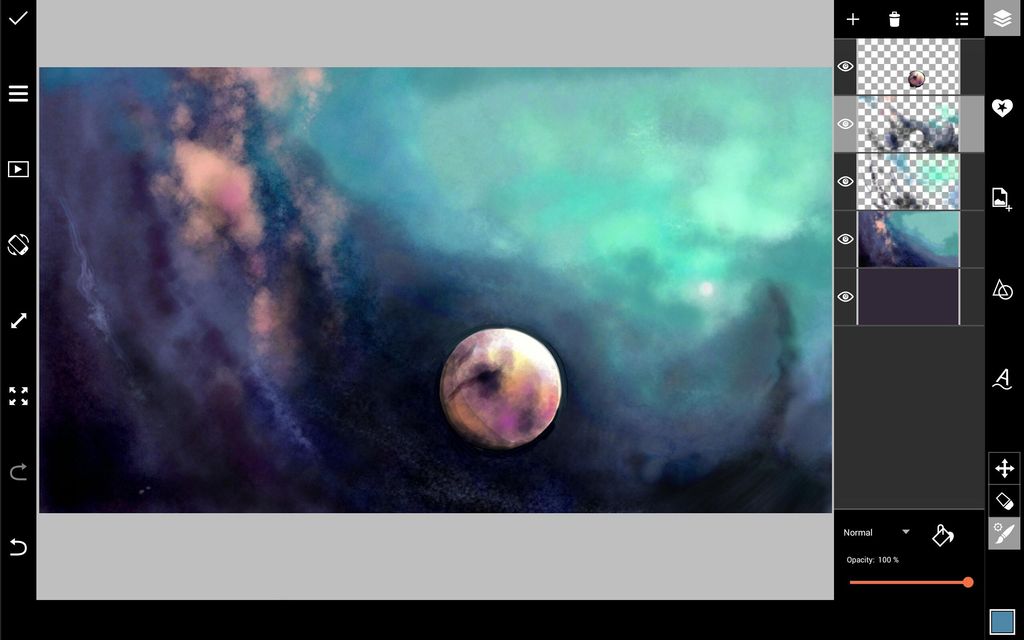
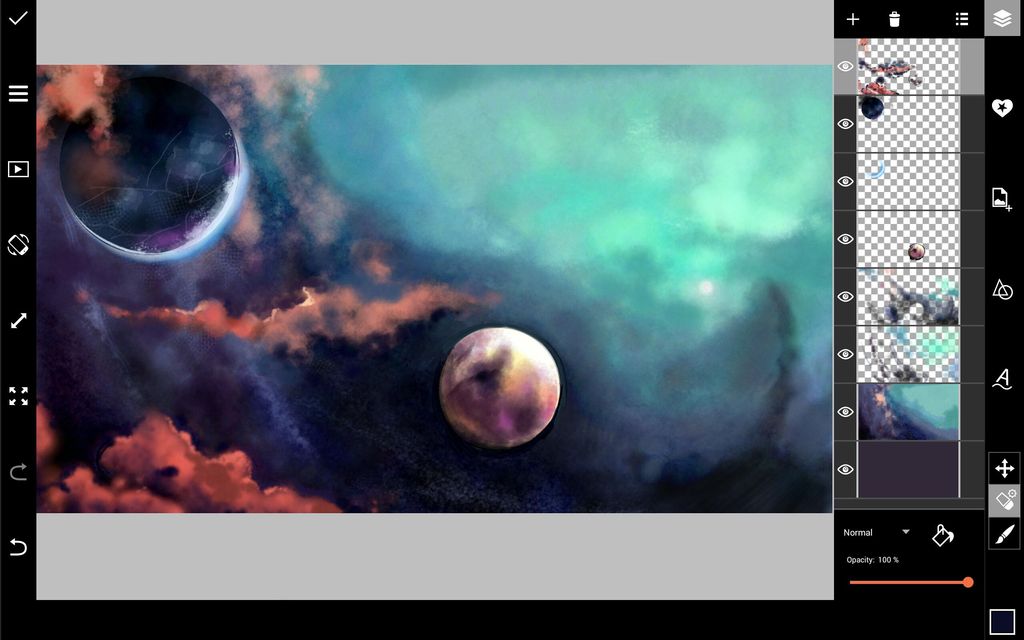
Step 4: Add Second Planet & Clouds
Add a second planet to your drawing. Use a soft, light blue brush with a reduced opacity to add a halo of light around the edge of the planet. Using a soft, semi-transparent brush in different shades of orange and red, draw a series of dust clouds.
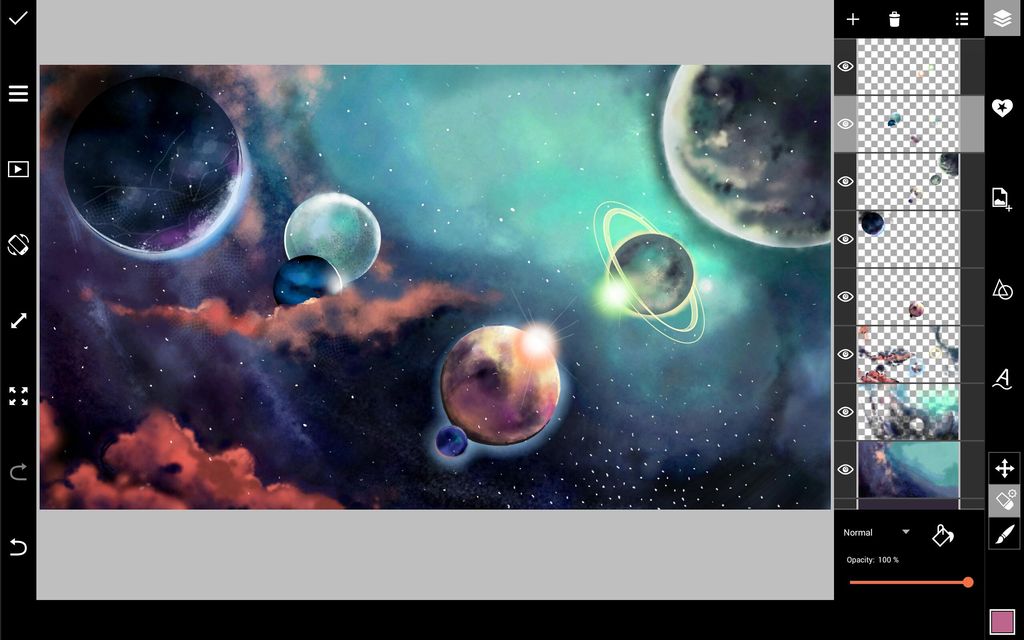
Step 5: Add Planets & Stars
Continue adding planets and moons to your drawing. Using a very small white brush, add stars. Use a soft white brush to add a few glimmers of light, outlining them in different colors with the same soft brush.
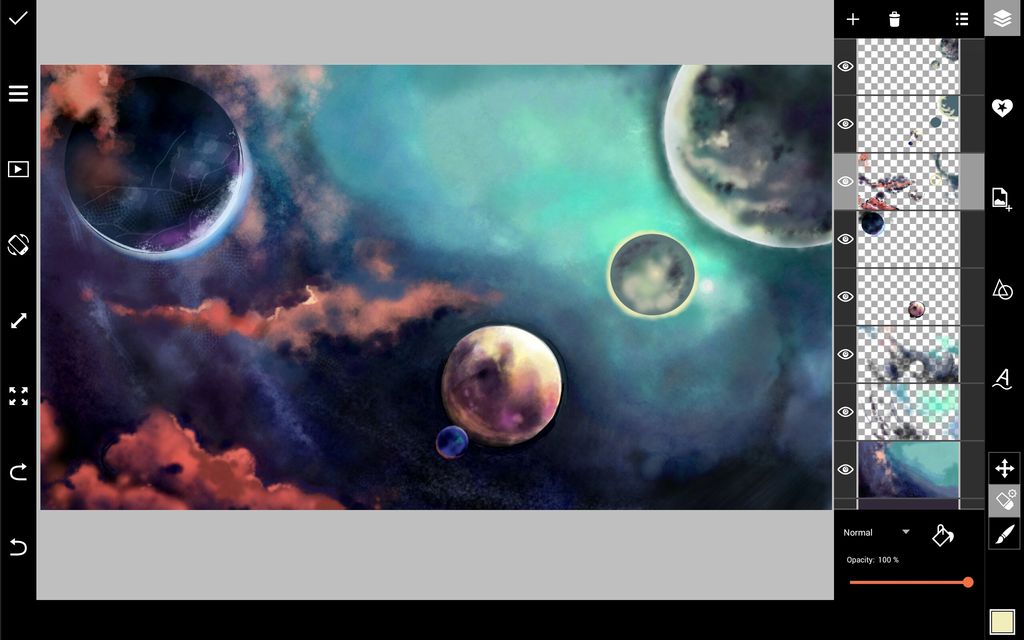

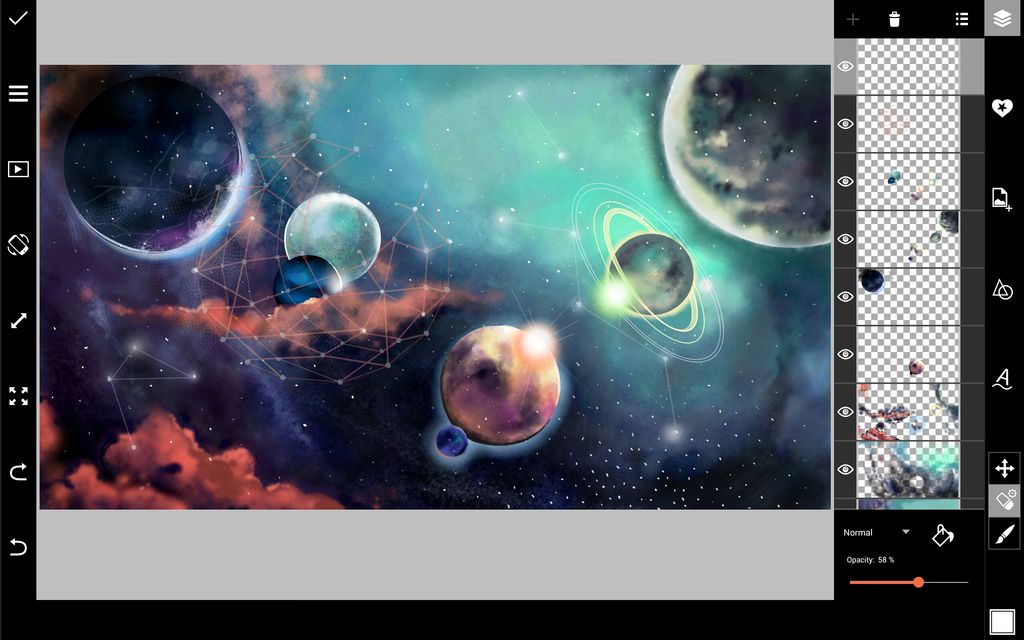
Step 6: Add Details
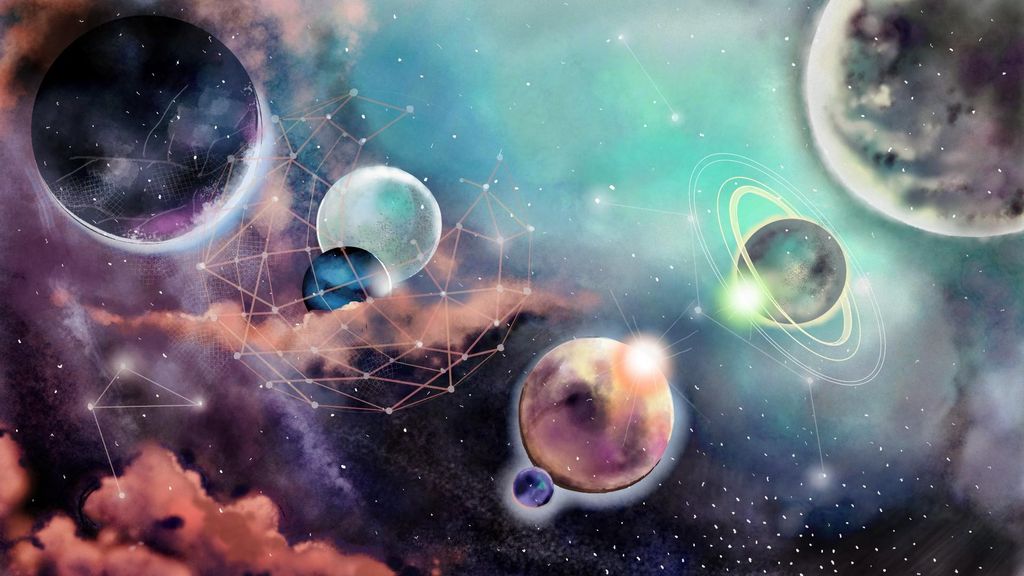
Add a few more planets, using a soft, light blue brush around the edges to make them glow. Use the Shape Tool to add rings around one of the planets. Draw in a few constellations and other geometric elements using the Brush Tool and the line option of the Shape Tool. Use a small, semi-transparent white brush to add a soft glow around some of the stars. When you’re done, open your image in the photo editor, apply a photo effect, and share your work!