Contents
A lens flare is a sort of halo or series of halos produced when light meets the lens of a camera. The effect began quite by accident, but is now one that photographers everywhere seek to replicate. A lens flare has an almost magical quality to it, and can truly transform a photograph by setting a completely different visual tone.
With PicsArt, the new “Lens Flare” effect allows you to seamlessly integrate artificial lens flares into your photographs. PicsArtist gives you a lot of control over the effect so that you can achieve the precise lens flare visual that you are seeking. Here is a tutorial to show you how to use the Lens Flare effect on PicsArt.
Step by Step Tutorial
Step 1:
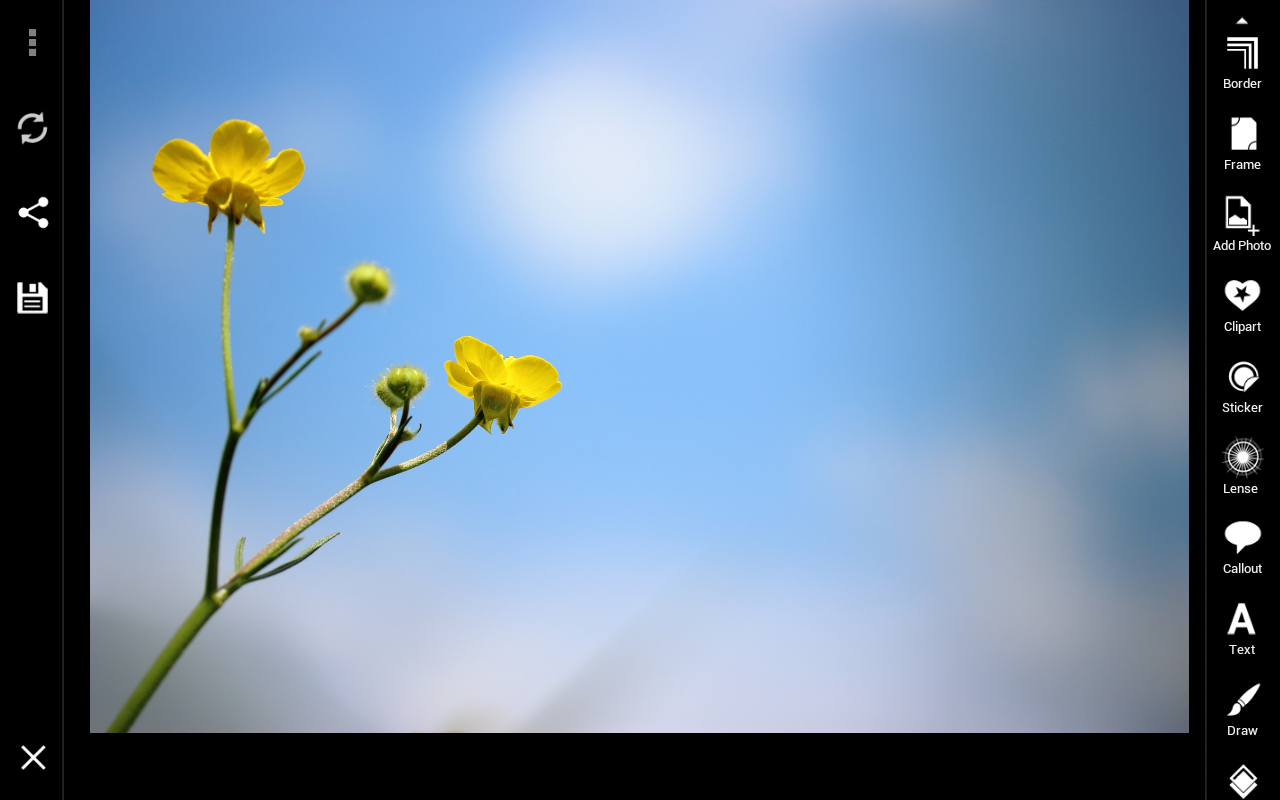
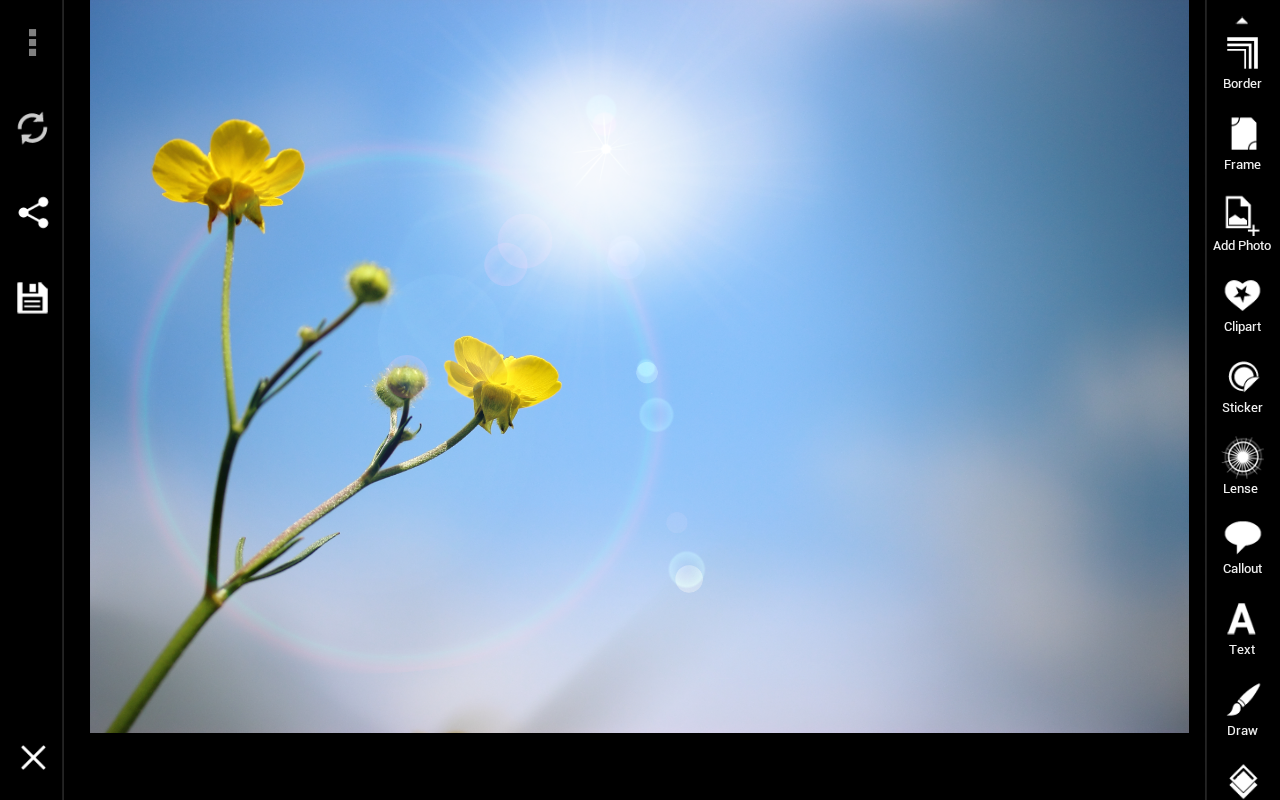
Open an image in the Draw section of PicsArt, and select the lens option on the right side of the screen, below Sticker and above Callout.
Step 2:
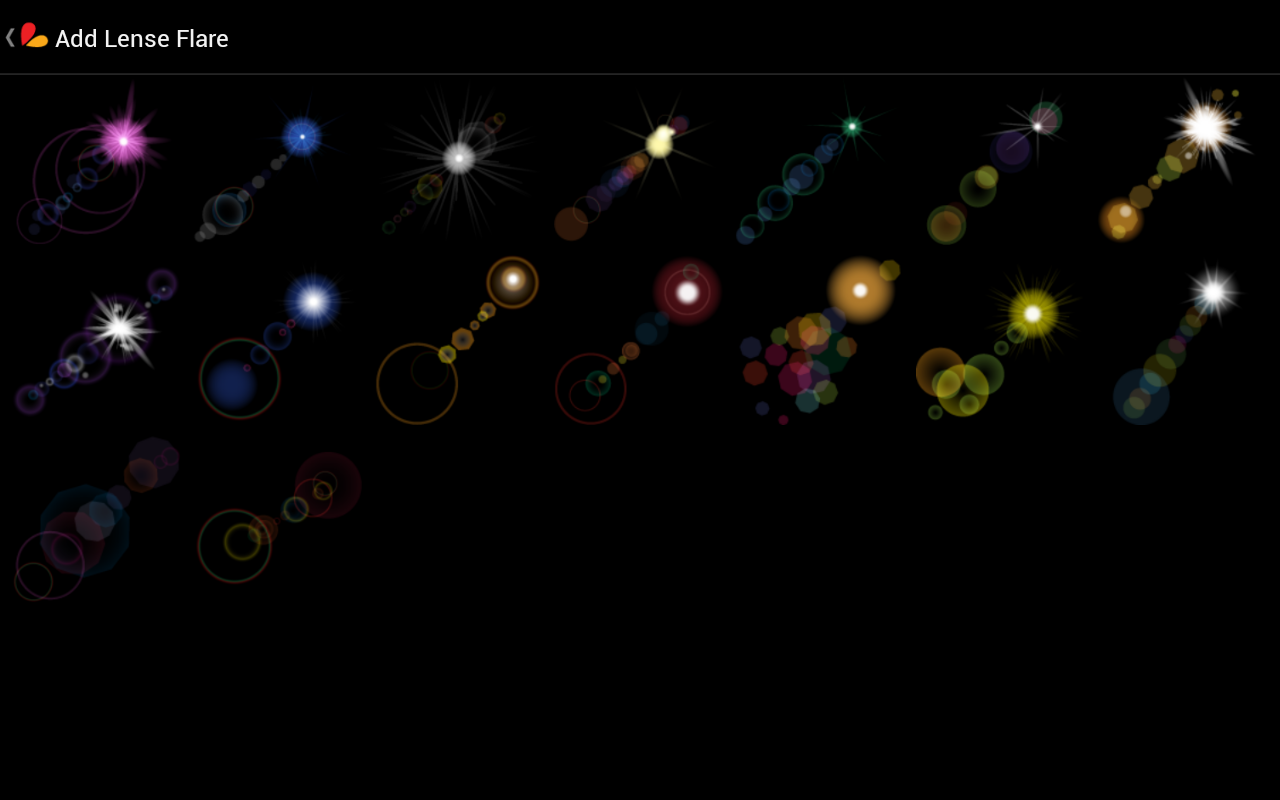
A menu will pop up displaying a gallery of various lens flare options. Select a flare that compliments the composition of the photograph you have selected.
Step 3:
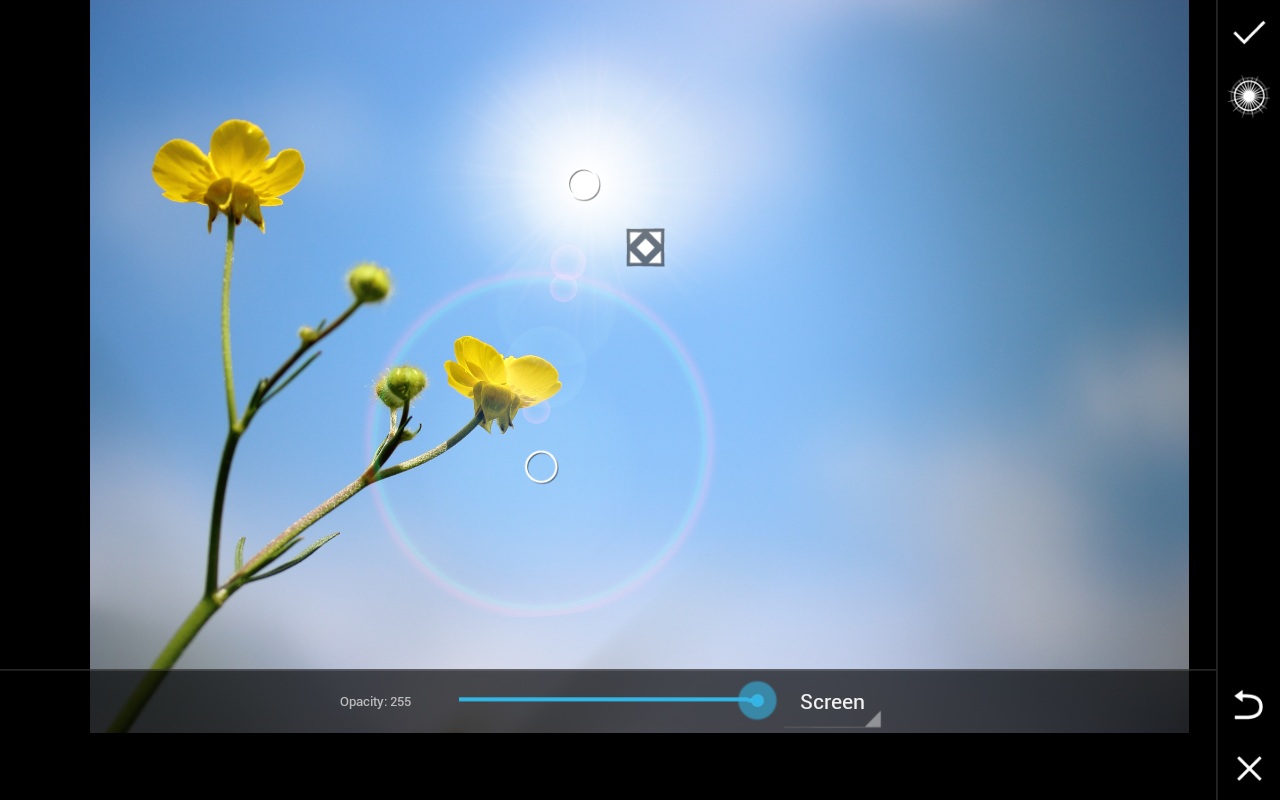
The Lens Flare effect gives you the option of controlling the flares placement and position by dragging and rotating the direction of the lens flare. Use the placement of the flare to add visual accents or to draw attention to a particular aspect of your drawing.
Step 4:
You can modify the size, brightness, intensity, and opacity of your lens flare from the menu below your photograph to precisely customize your lens flare.
Step 5:
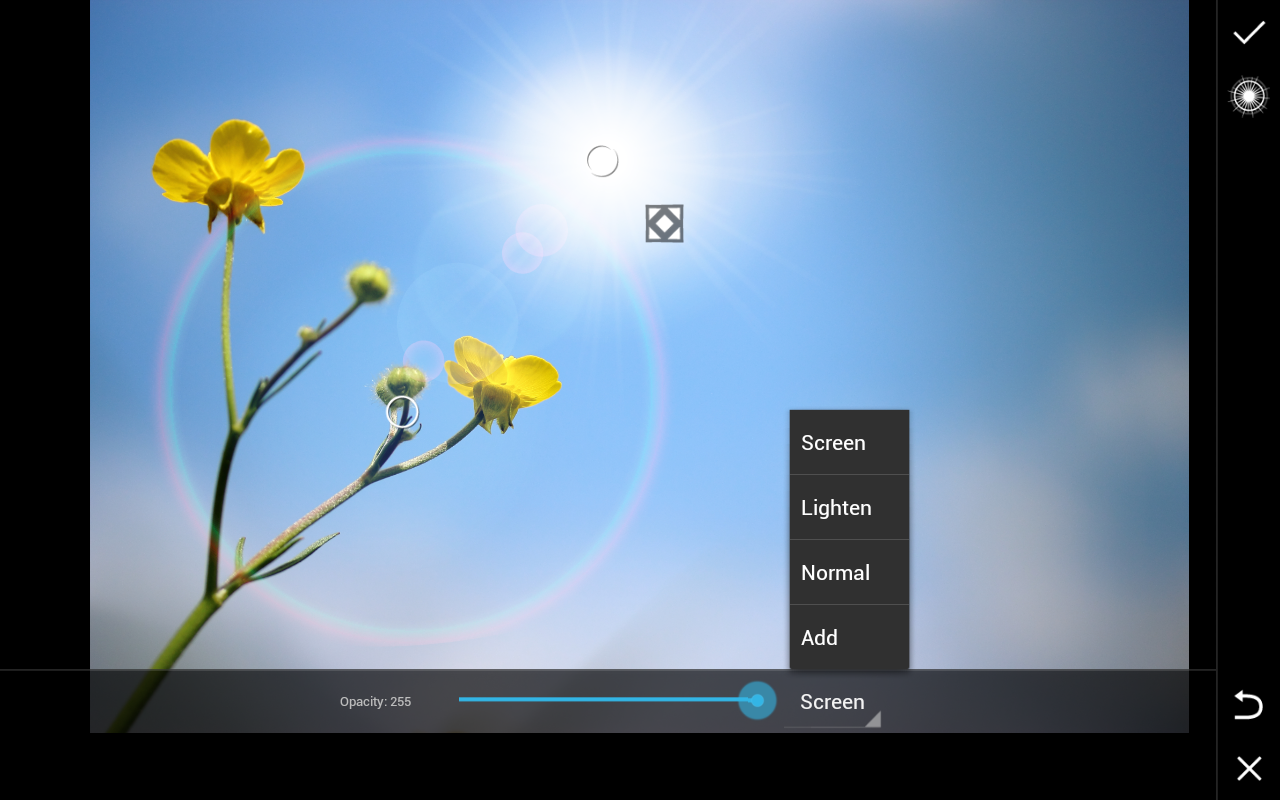
By selecting “Add” you can insert additional lens flares into your drawing at your discretion. Too many lens flares can overcrowd your image, but a couple of well-chosen lens flares can compliment each other beautifully.

Step 6:
Adjust your lens flares so that they make sense in relation to each other and the overall image. Play with the angle, size, and positioning until everything is perfect.
Step 7:
Save your image and admire your work. A beautiful and natural looking lens flare can yield surprisingly enchanting results.