
Recently, we’ve been sharing photo-editing tutorials by one of our most talented PicsArtists, paolomore (@paolomore), and this week we’re back with another one.
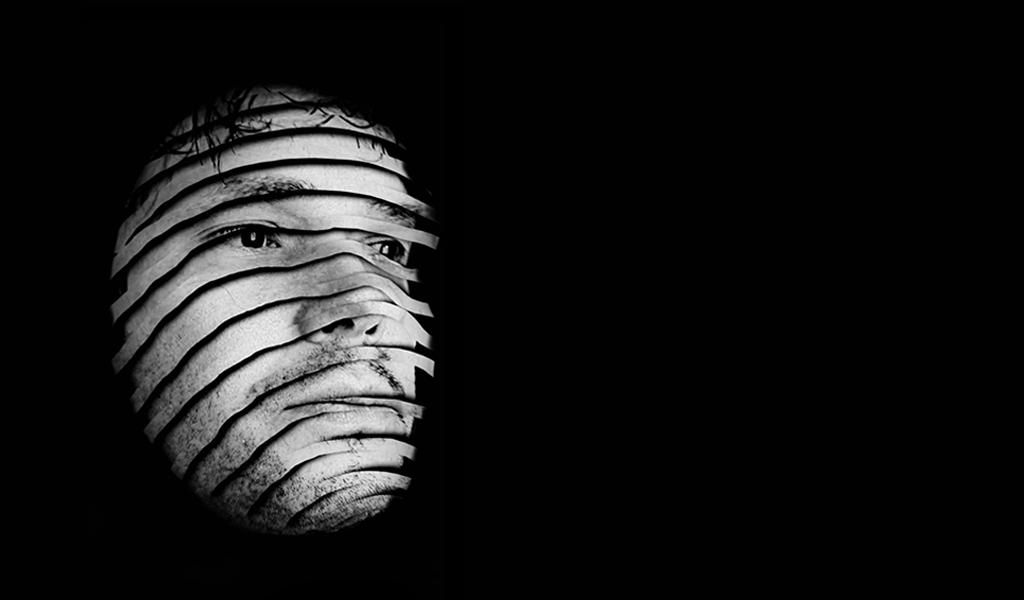
In the tutorial below, paolomore breaks down one of his more complex editing tricks, and shows you how to cut up a portrait into shreds of ribbons. It looks almost like the concept of a mummy but in reverse, where the face itself is being unwound like a bandage.
Pay close attention to Paolo’s graphic and follow the steps and the video tutorial below to see if you can master this highly original editing trick.
Step 1: Upload Photo
Upload a portrait of a face with a black background. You can use the drawing tool to black out the background if you like.
Step 2: Add Layers
Select the Draw icon. Duplicate the layer with your portrait and add a new layer with a white fill at the bottom. Add an empty layer on top.
Step 3: Draw on Photo
Use a black brush to draw stripes along the contours of your face in the empty layer at the top.
Step 4: Save the Photo
Hide the 2 portrait layers, leaving only black lines over a white background. Save this image. We will refer to this image as the “Black Stripes” image.
Step 5: Xor
Unhide your two portrait layers and delete your white layer. Select your top stripes layer and switch the setting from “Normal” to “Xor”, then merge it with the layer below by pressing the down arrow. Switch this new merged layer to Xor as well. Save this image, which we will refer to as the “Lines”.
Step 6: Black Stripes
Quit out and open your original portrait. Press Add Photo and add your Black Stripes image. Add the blur effect to Black Stripes and switch the overlay mode to Multiply. Line it up with your portrait.
Step 7: Combine
Add your “Lines” image and place it so that it is slightly offset with the black stripes.
Note from Paolomore, ”I know, this tutorial is hard, but sometimes cool effects are not easy to get!”


