In this step-by-step tutorial, we’ll walk you through the process of creating a magical drawing with PicsArt’s drawing tools. Follow along to learn how to do it, and then create your own drawing!
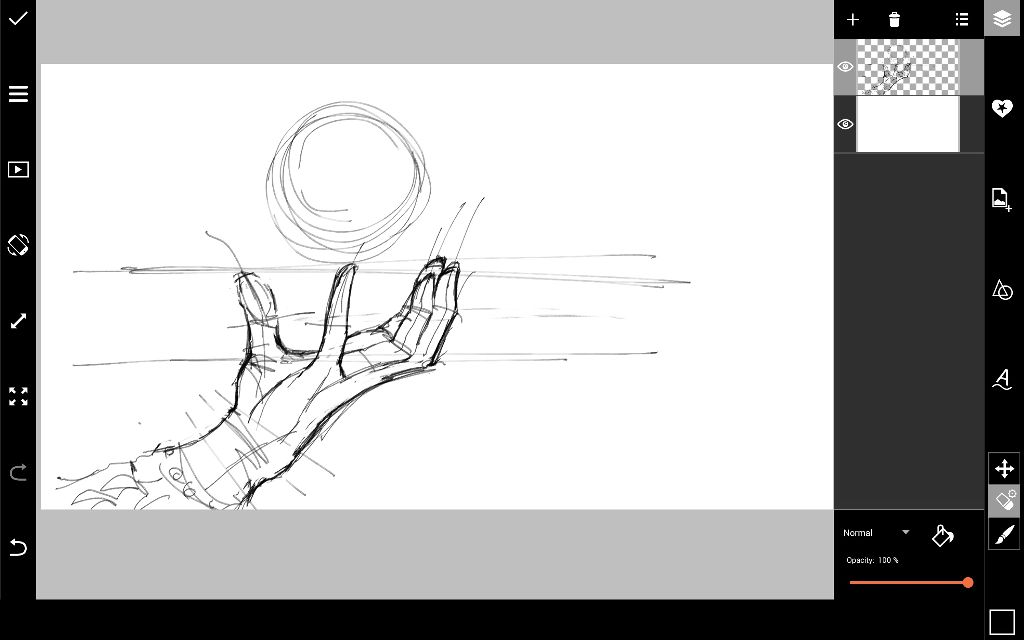
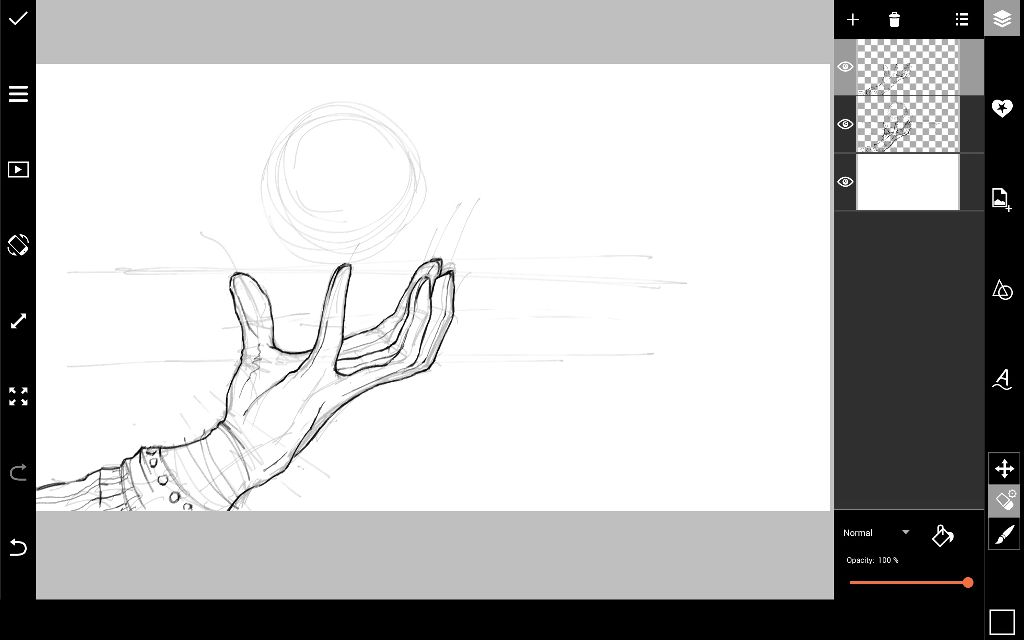
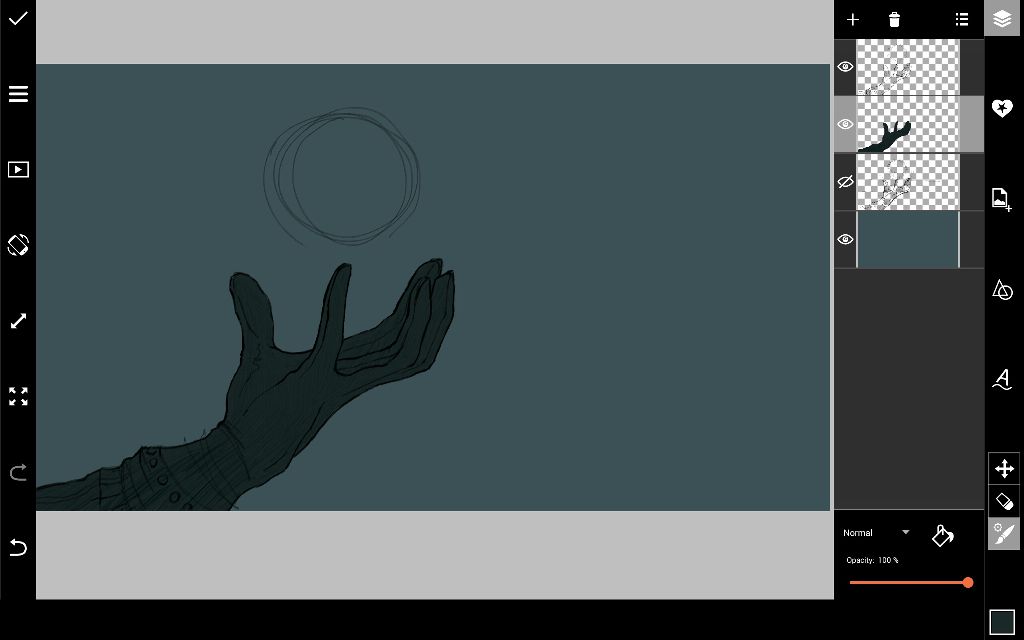
Step 1: Create Sketch
In a blank layer, use a thin black brush to sketch your drawing. Create a new layer, reduce the opacity of your sketch, and trace a refined outline of your drawing.
Step 2: Fill Background
Hide the layer containing your original sketch. Select your bottom background layer and tap on the paint bucket icon. Select a dark blue-green color to serve as your background. In a new layer, use an opaque black brush to start coloring in your sketch.

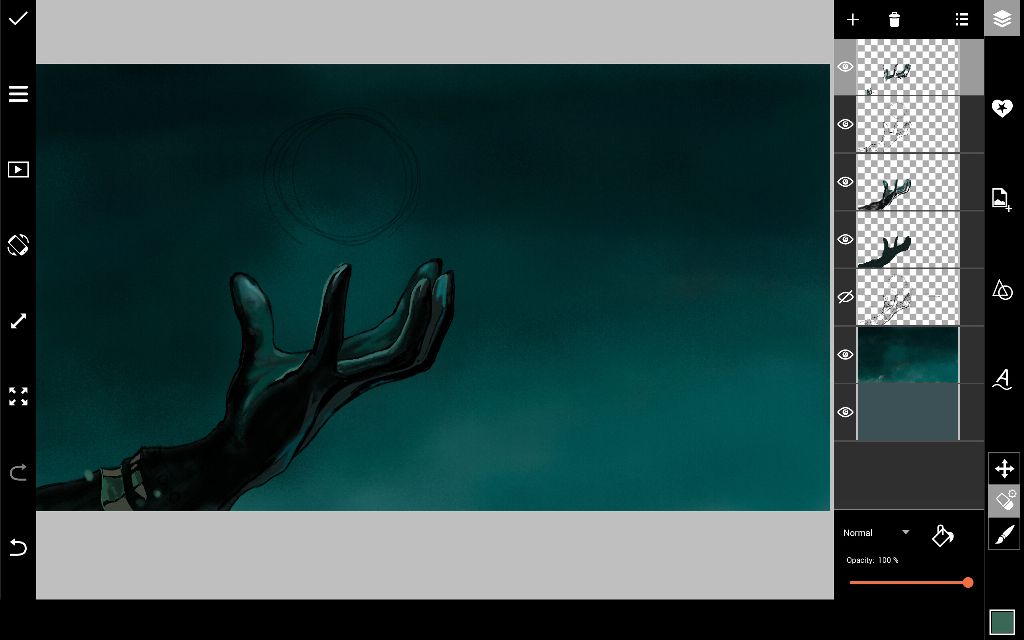
Step 3: Add Shading & Lighting to Background
Create a new layer and place it just above your background layer. Use a large, soft brush in black and dark green to give your background a smoky effect. Use dark green on the lower part of your drawing so that the hand stands out from the background. Add a new layer and use a lighter green color to add lighting accents to the hand.

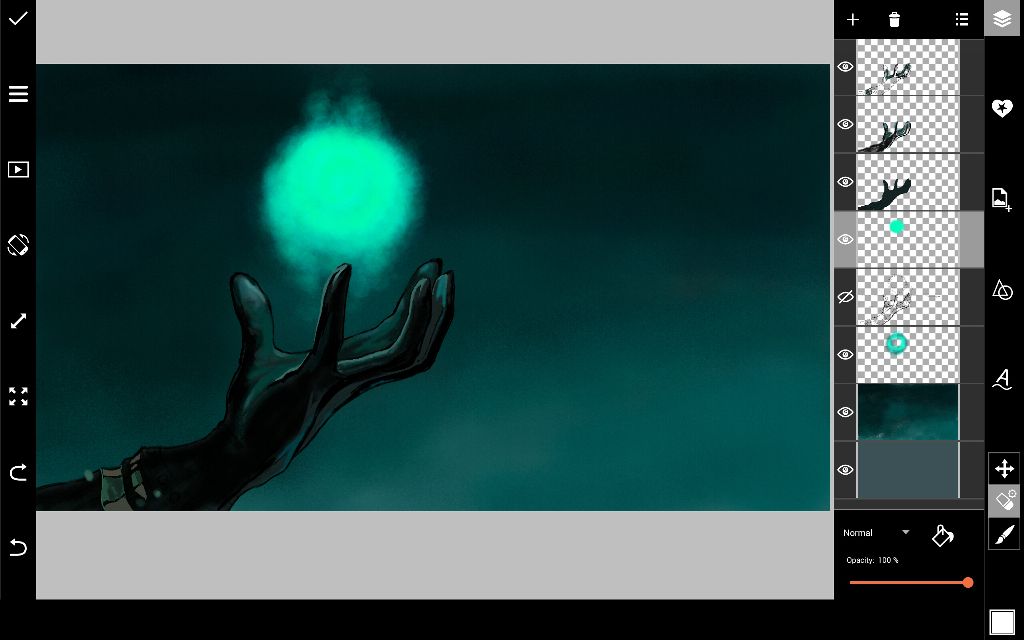
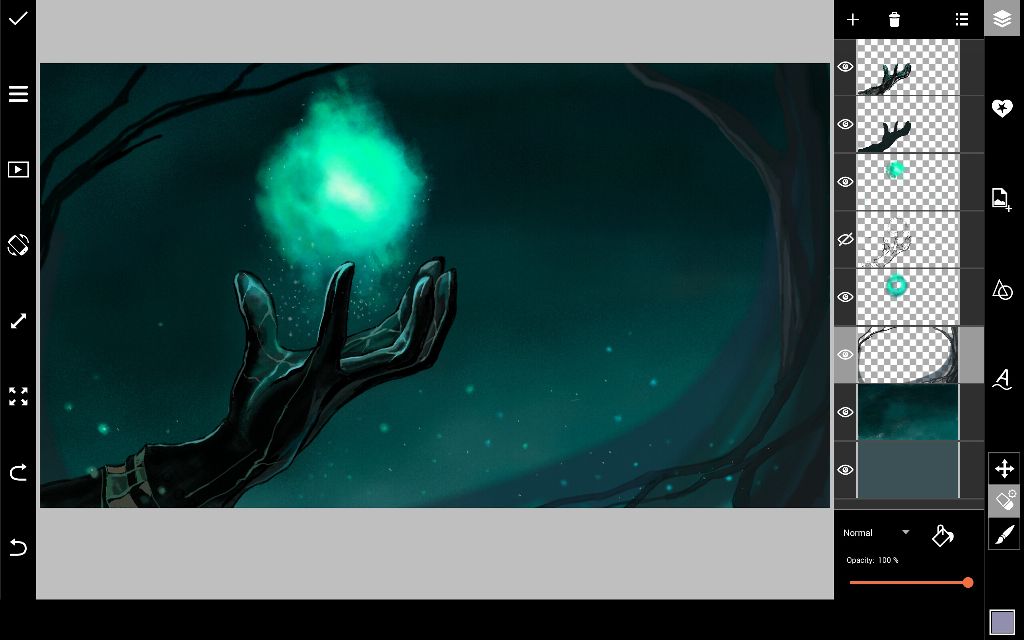
Step 4: Add Magic
This is where the magic begins! Adding layers as you go, use an opaque brush in bright green to draw a glowing orb. Reduce the hardness and opacity of your brush and draw in some smoke around the edges. Use a dark, transparent brush to add shadows to the side, and switch to a white brush to add a bit of light in the center. This will make your orb appear three-dimensional. Use a small brush with a reduced opacity to add a few glowing dust particles toward the bottom of your drawing. Use a thin brush to draw a vein-like pattern of light over the hand.
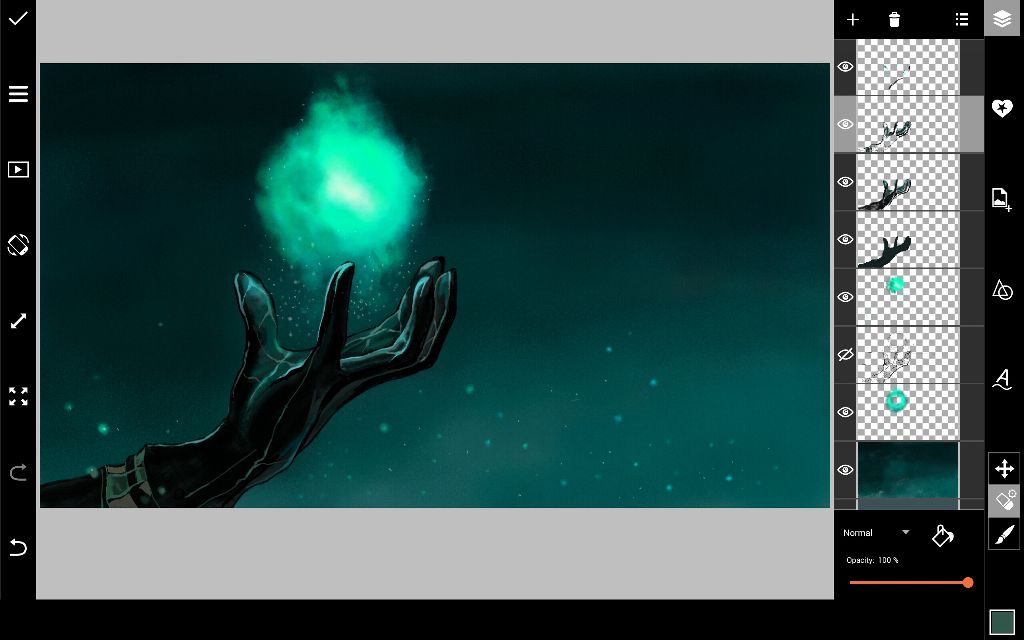
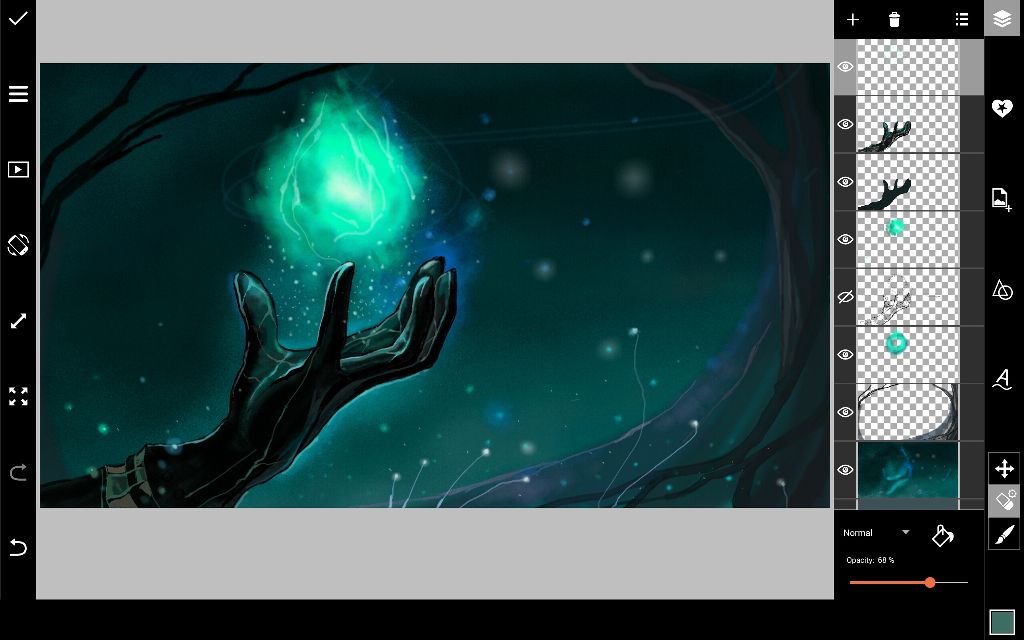
Step 5: Add Background Details
In a new layer, draw swirls of tree roots over your background in a dark brush, so that it blends into the background. This will serve as a subtle frame in your drawing. Use a soft brush in varying shades of bright blue and green to add a spooky glow to the hand (be sure to add this on a layer below your hand drawing). This glow will also allow the hand to stand out from the background. Draw in a few flecks of light, as well as a few glowing plants at the bottom.
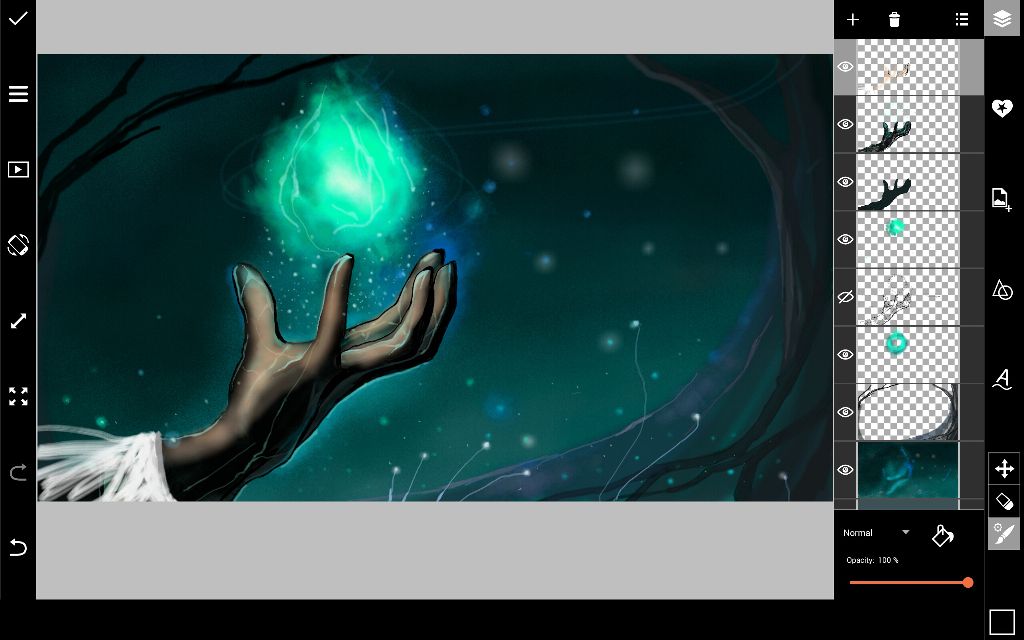
Step 6: Add Color Details
In a new layer, start coloring in the hand and sleeve. Use a soft, semi-transparent brush in bright blue and green to add a trail of smoke and a little extra glow to the hand.

Step 7: Draw Details
In a new layer, use a thin brush to sketch a few mystical elements. We chose to add a few butterflies and a lantern.
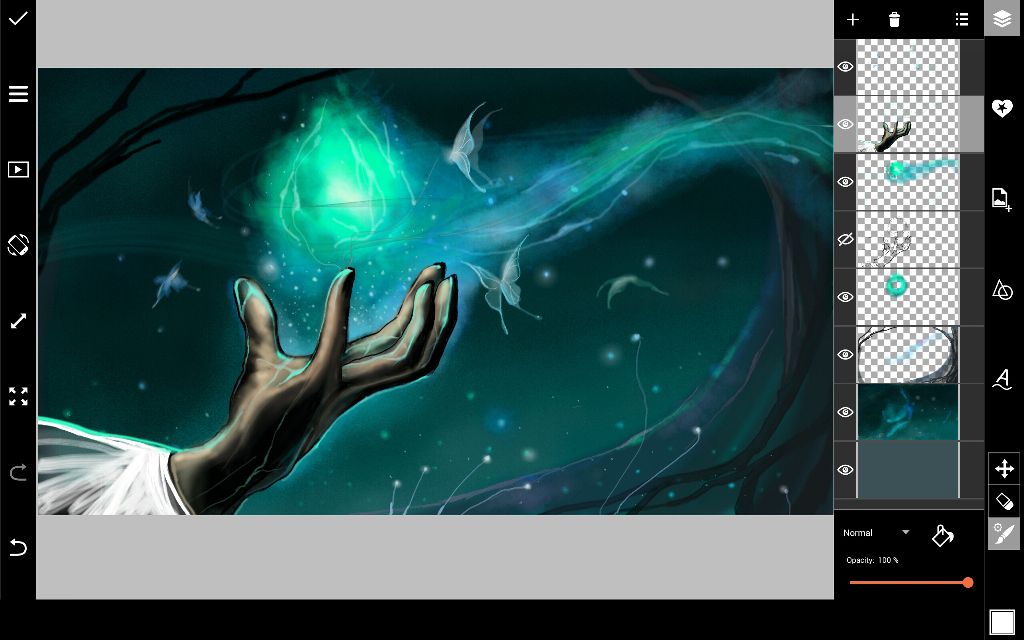

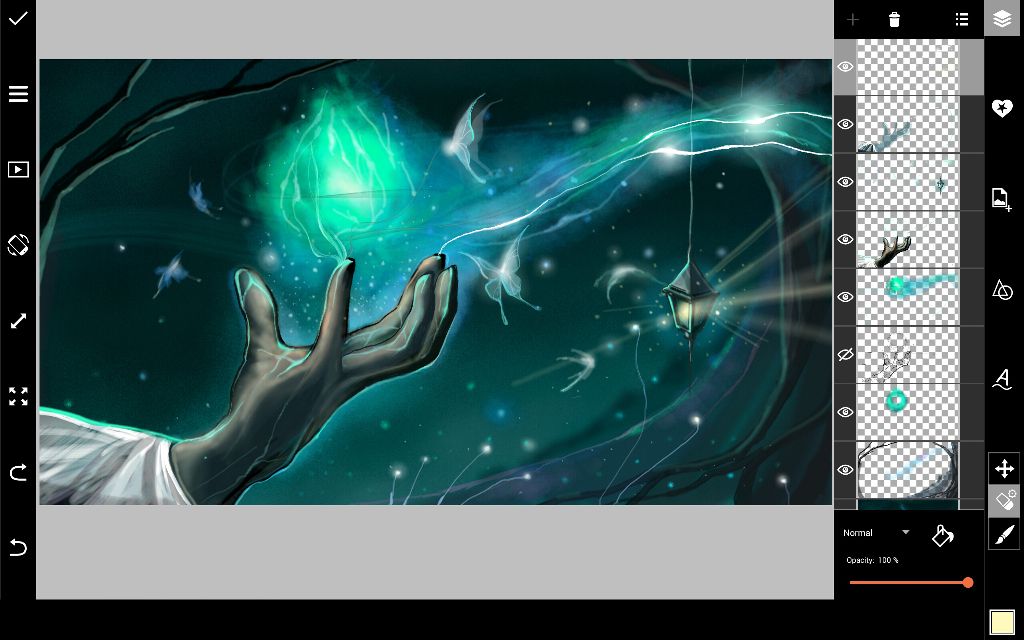
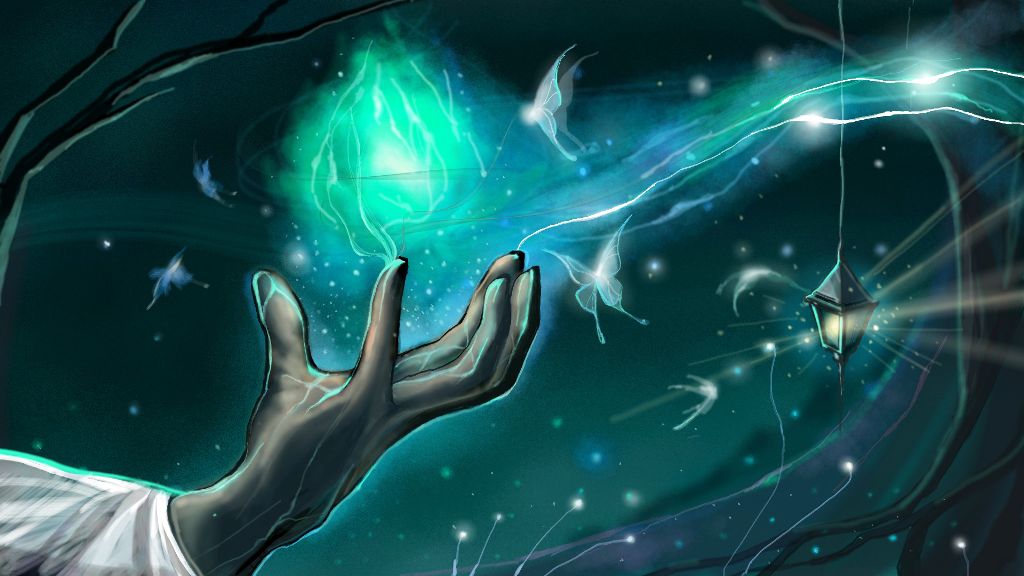
Step 8: Add Final Details
Select a soft, dark blue brush, reduce the opacity, and draw over the hand and sleeve. This will give them a subtle blue tone that matches the rest of the drawing. Next, use a soft brush to add the final lighting accents to your drawing. Increase the opacity and draw in a few waves of white light for the final spooky touch. When you’re done, don’t forget to share your drawing with the community!