

In this step-by-step tutorial, we’ll show you how to use the photo editor to create a gorgeous winter wonderland scene. Read on to learn how to do it, and then share your edits with the community!
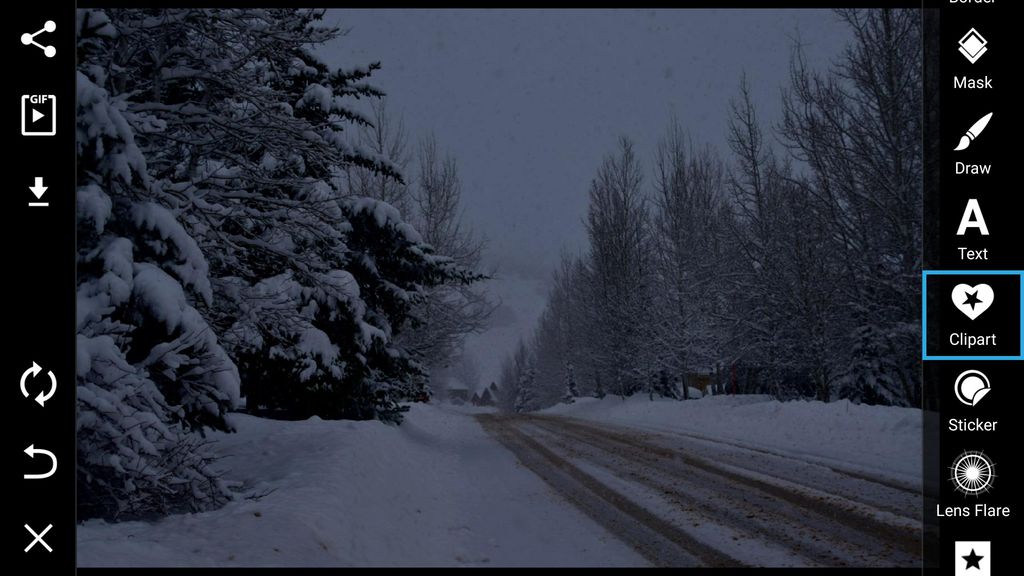
Step 1: Add Clipart to Image
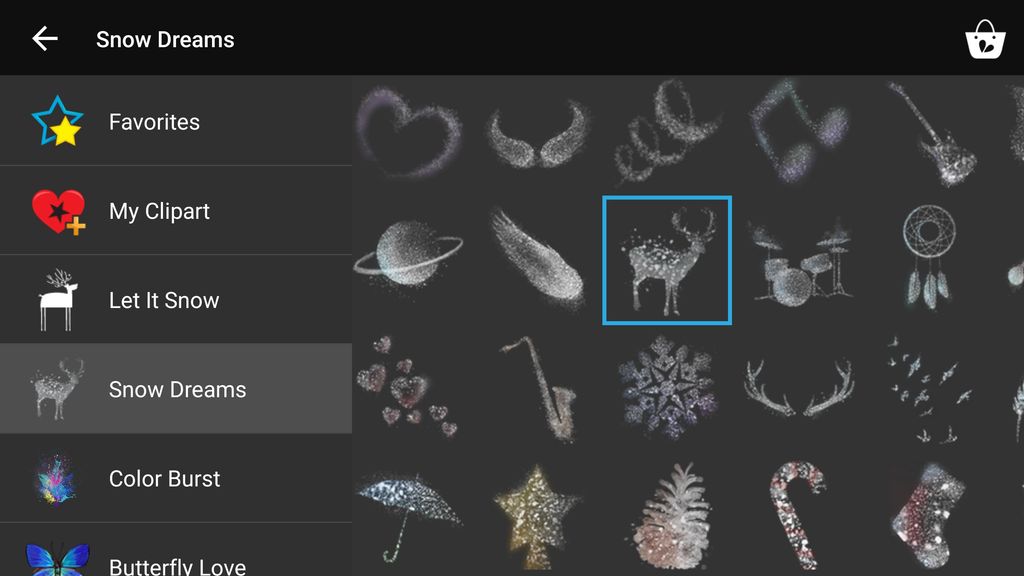
Open your image in the photo editor. Next, tap the Clipart icon and select the Snow Dreams package. Select the deer from the available options.
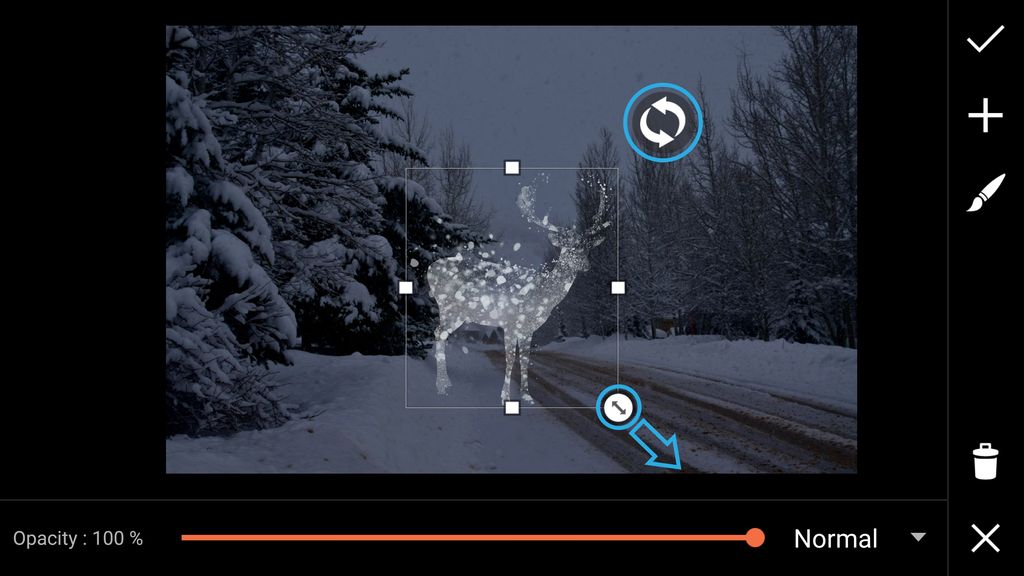
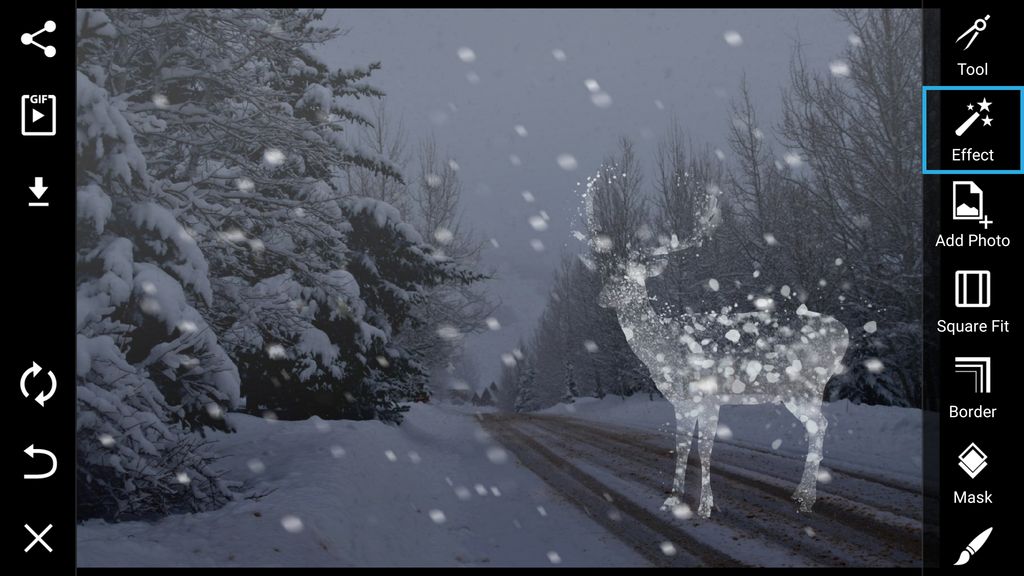
Step 2: Transform Your Clipart
Once inserted into your image, use your finger to flip it horizontally and to adjust the placement. When you’re done, tap the check mark to continue.

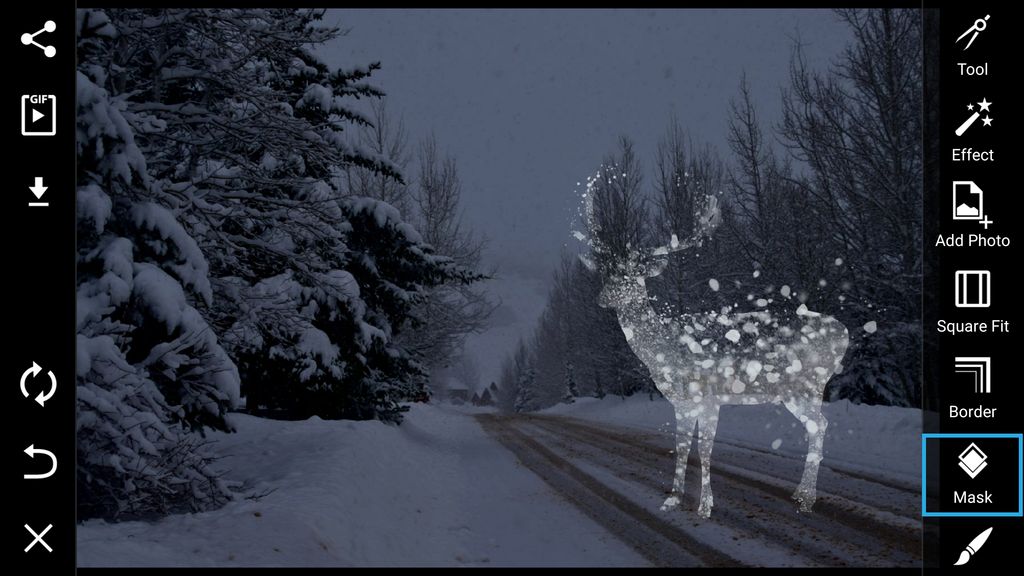
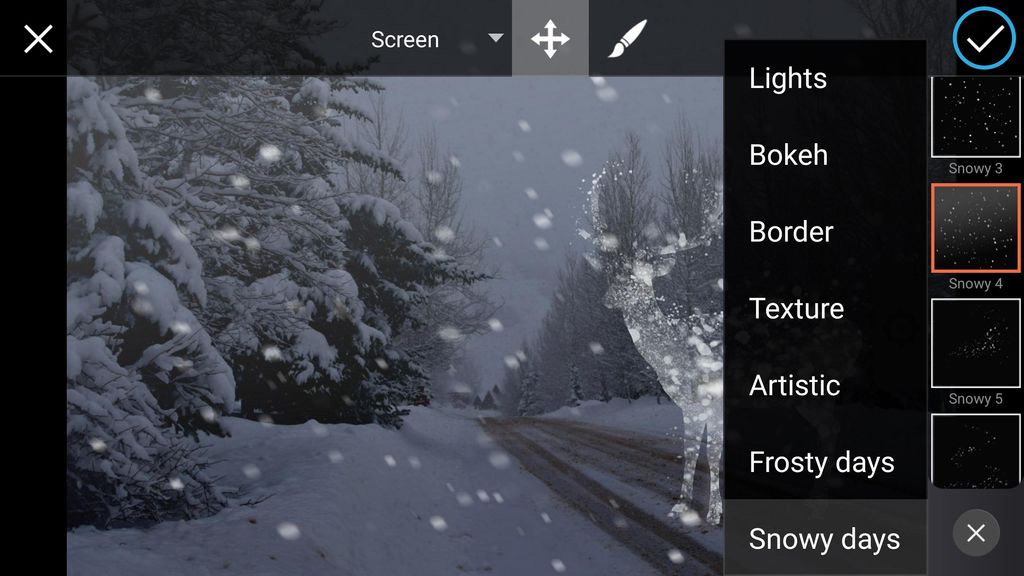
Step 3: Apply Mask
Next, tap the Mask icon and select the Snowy Days option from the list of masks. Select the Snowy 4 Mask and tap the check mark to confirm.
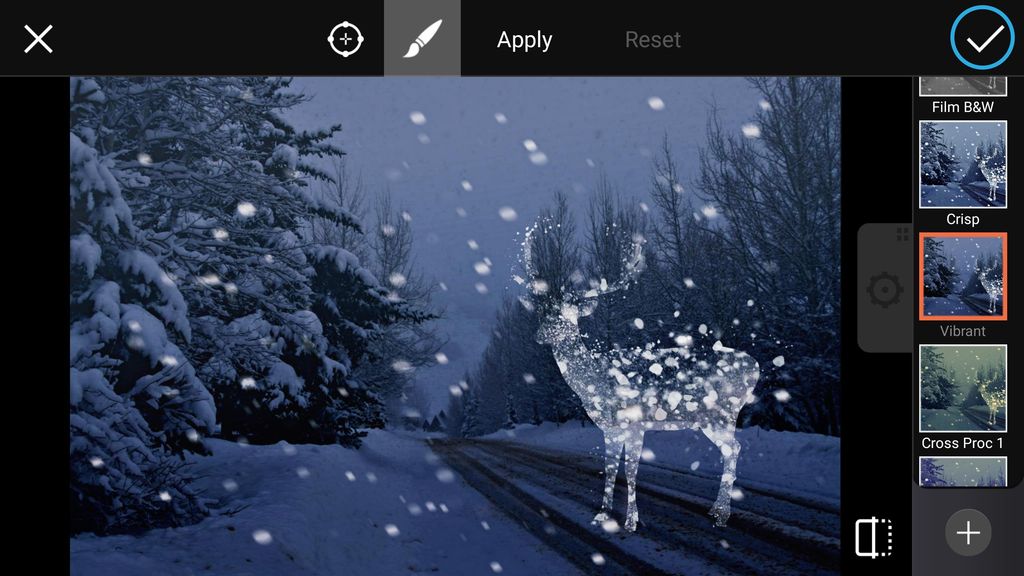
Step 4: Apply Photo Effect
Tap on the Effect icon and select the Vibrant Effect from the Fx section. Tap the check mark to confirm.
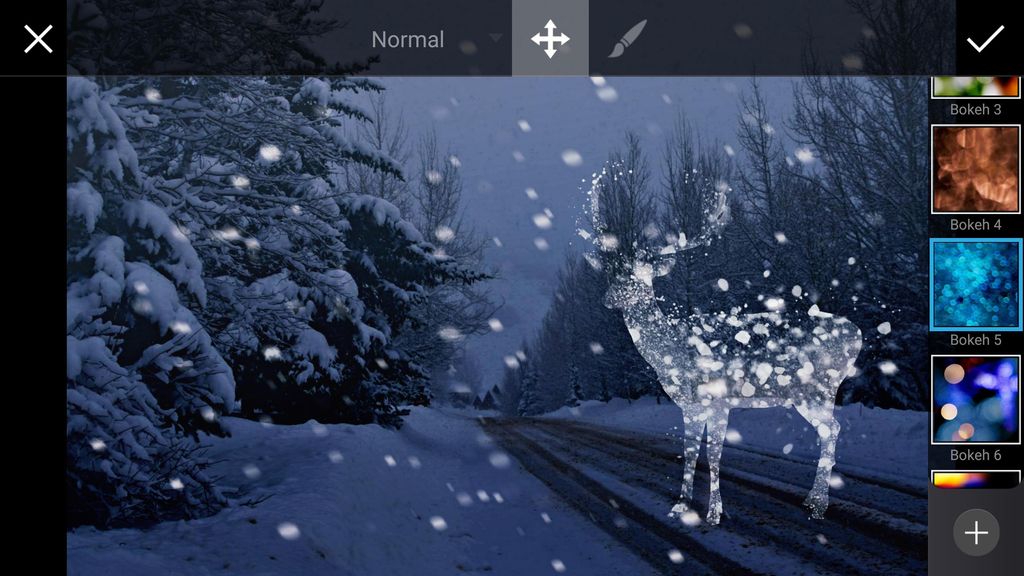
Step 5: Open Bokeh Masks Menu
Tap on the Masks icon again, but this time, select the Bokeh tab.

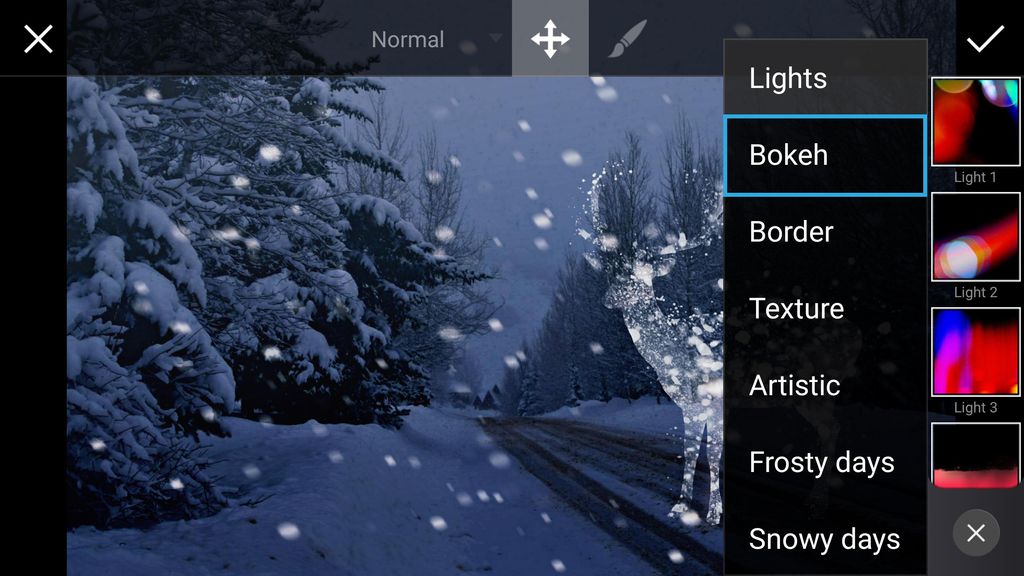
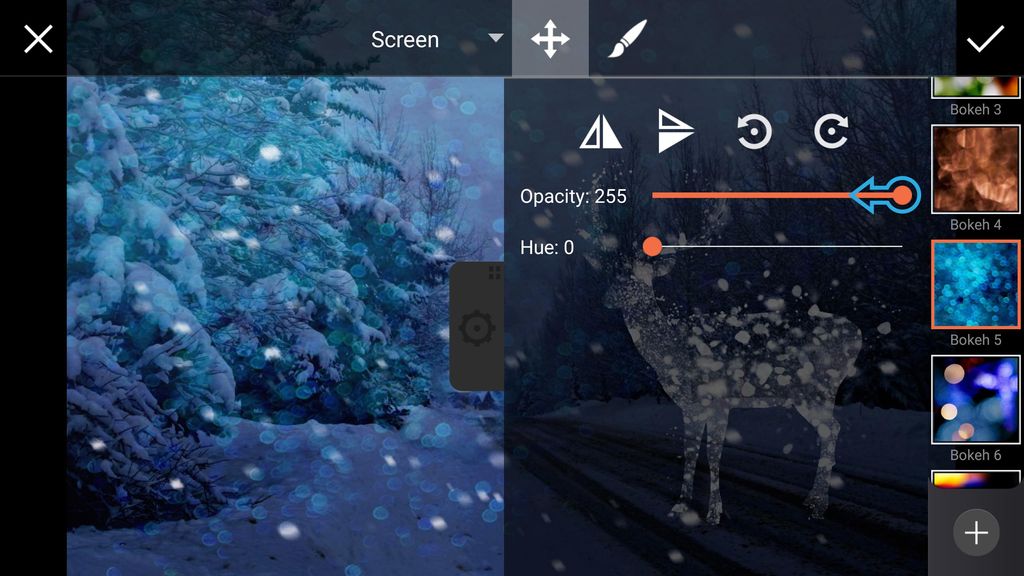
Step 6: Customize Mask
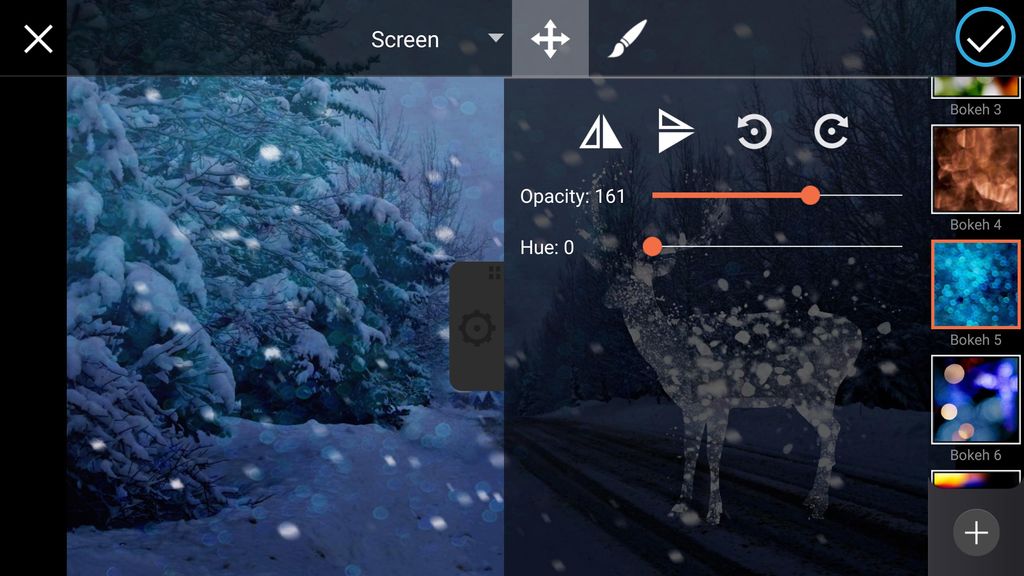
Slide through the options until you find the Bokeh 5 mask and select it, but do not confirm your changes yet. Use the slider to adjust the opacity of the Bokeh Mask.
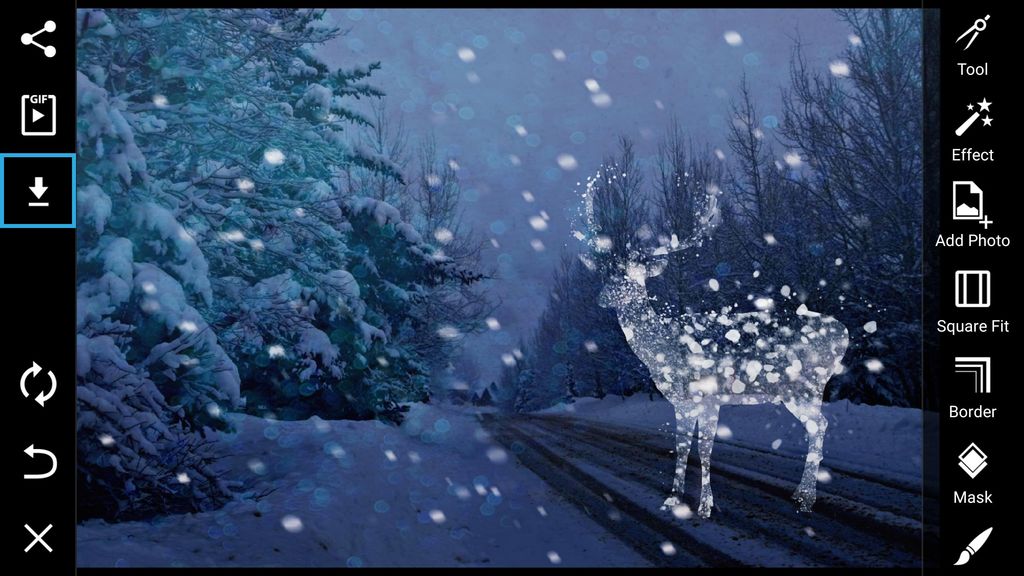
Step 7: Confirm & Save
When finished, tap the check mark to confirm your changes. Save your image and share it!
Original #FreeToEdit image by Kerry E. Elders (@highjumper-2).


