
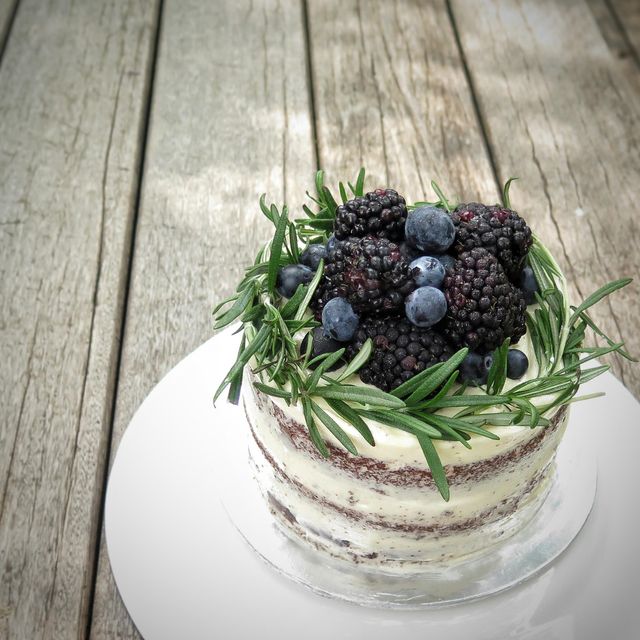
Jessica Sebastienne (@jessicasebastienne) has a Gallery you can almost devour. Filled with delectable sweets prepared with love by this very talented PicsArtist, I became a follower on PicsArt then on her Blog. Then I learned that she was recently accepted to the prestigious Patisserie Program at Le Cordon Bleu in London. All of this made me want to reach out to get to know this talented pastry maker.

Jessica is from Singapore but has Malay roots. She grew up doing gymnastics and hurdling and scuba diving and is still set on exploring the underwater world. At her young age, she has already completed her first year at the National University of Singapore and has launched a business selling her baked goods. Her clients have spread the word about her baking prowess and business is picking up.
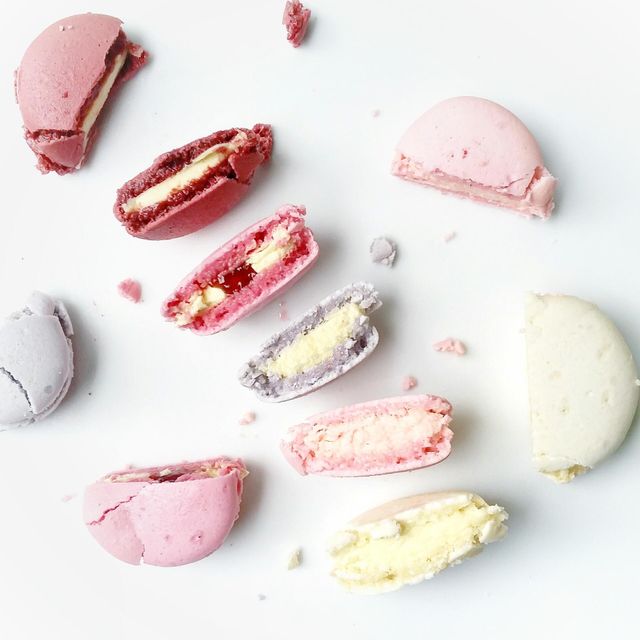
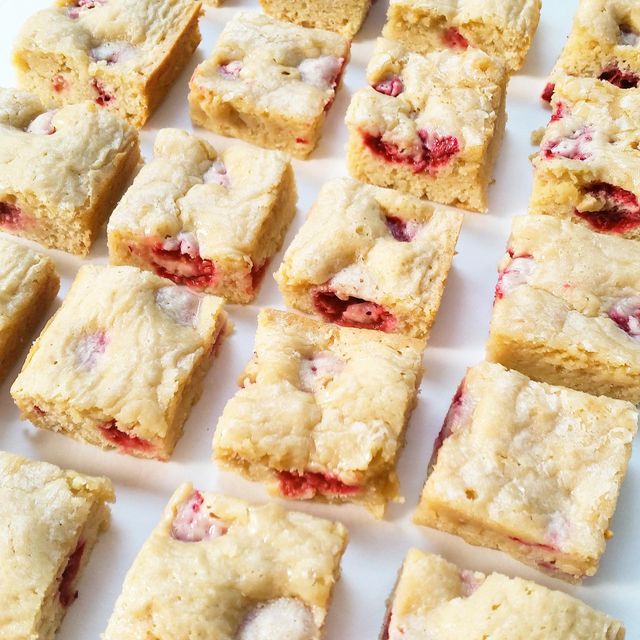
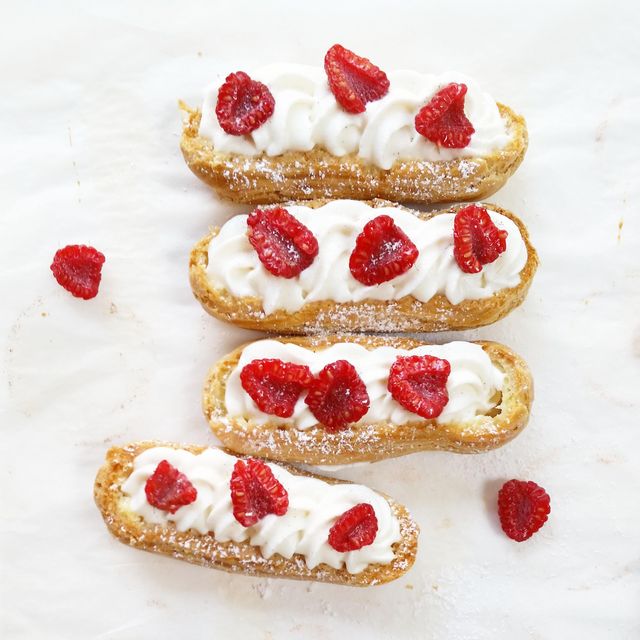
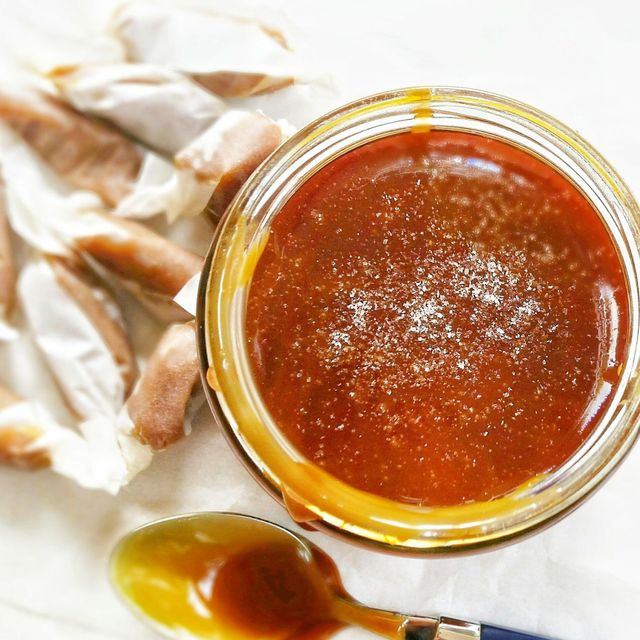
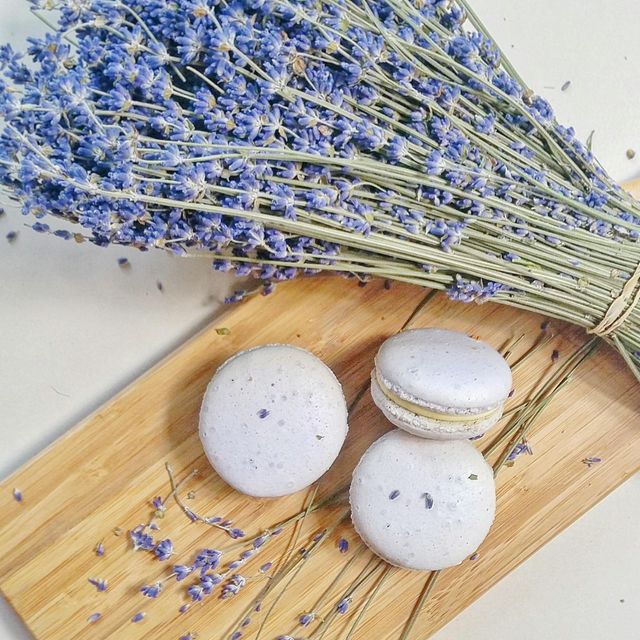
Her passion for baking sparked three years ago while she only began taking photos of her creations last year. “I realized photographing the baked goods is just as important as their taste. Since you cannot possibly taste over the Internet, the visuals are key to their appeal,” shares Jessica.
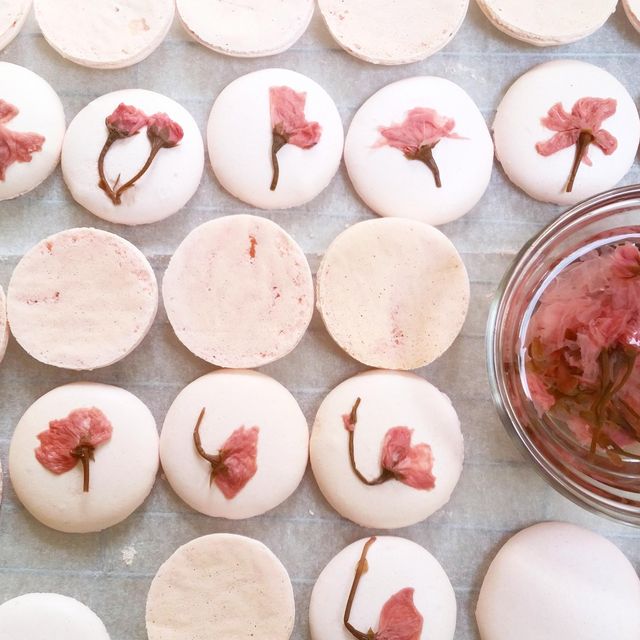
For Jessica, baking is an art, one that she believes tantalizes many senses. A great baked good can court the eyes, nose, tastebuds, and sense of touch. To share her baking art journey, she her blog and enjoys sharing her recipes.
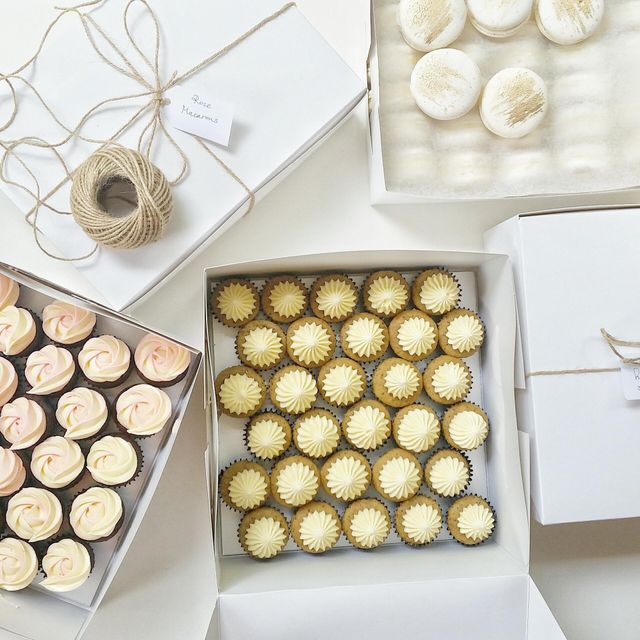
PicsArt came into Jessica’s life a few months ago. Her friends told her about our great effects and she fell for the Film B&W and Vintage Ivory among others. For shots of her confectionery, she uses PicsArt to adjust Brightness, Contrast, and Saturation.
“The Community is very encouraging. The friendliness and pure curiosity to learn about what I do and what I bake is heart-warming. It’s that genuine curiosity and the sincere comments which spur me to continue what I do and to improve it.”
Jessica believes that everyone seeks inspiration. “You never know when someone will need that extra motivation or confirmation that the dream they are chasing is very real and pursuable. Sharing my photos on PicsArt is like sharing the journey of chasing my baking dream.”

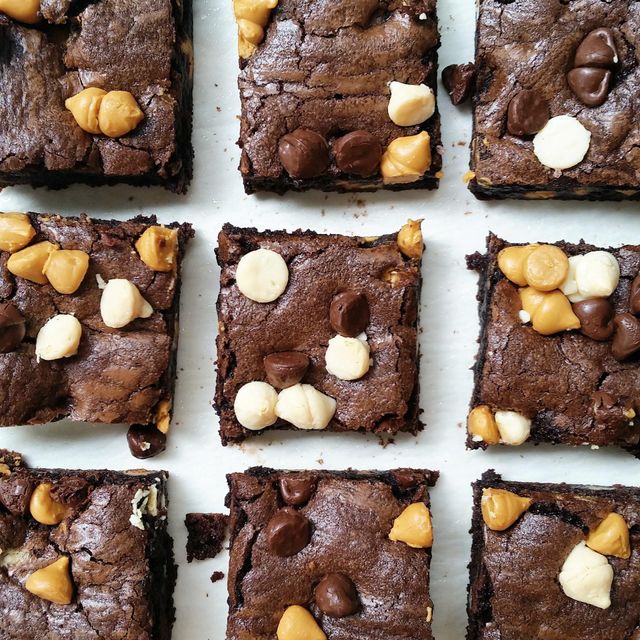
If her photos have got you excited about your next sweet escape, you are in luck. Jessica has generously shared a recipe for our community. I baked these myself, ate half the chocolate chips in the process, and my family devoured the final product! They are definitely Madlene approved! Try them out yourself! Thanks Jessica for the inspiration and the delicious recipe- all very sweet of you!

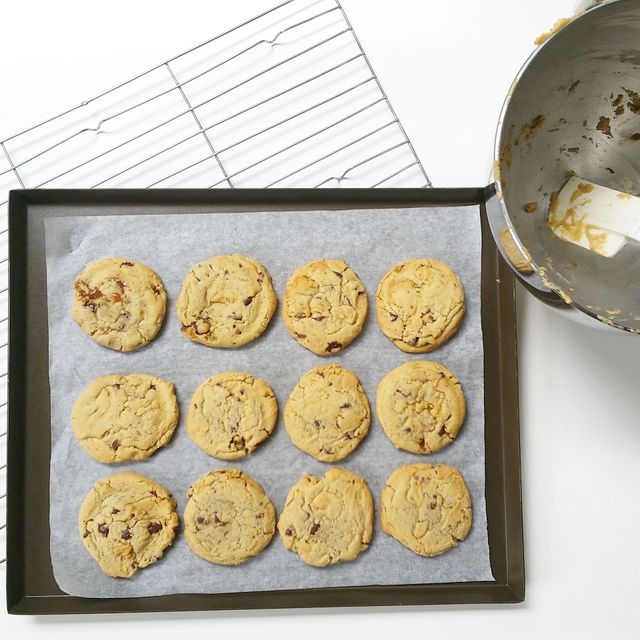
Mini Browned Butter and Sea Salt Chocolate Chip Cookies.
Ingredients
1/2 cup unsalted butter
1/2 cup light brown sugar
1/2 cup white granulated sugar
1 egg
1 teaspoon vanilla
1 cup plain flour
1/2 teaspoon baking soda
1/2 teaspoon fine sea salt
1/2 cup chocolate chips
Method
Preheat your oven to 356° Farenheit. Line two cookies trays with parchment paper and set aside.
In a small saucepan and over medium heat, melt the butter until it turns a toasty brown and develops a nutty aroma. Swirl the pan occasionally to cook the butter evenly. The butter will start to foam and you should be able to see small brown sediment forming at the bottom of the pan (adjust the heat to prevent the butter from splashing about). Remove from heat and pour the butter into the heatproof bowl and leave it to cool.
In a large mixing bowl, sift the flour, baking soda and salt together. Add the chocolate chips and set aside.
Once the butter has cooled, add the brown and white sugar and mix with a medium mixer on medium speed 2-3 minutes or until fully incorporated. Add the egg and vanilla and continue to mix on medium-high speed for another 2-3 minutes until the mixture pales slightly.
Add the sifted dry ingredients into the wet ingredients and mix just until there are no streaks of flour left in the batter. Do not overmix or your cookie will become tough. The batter should look slightly wet.
Form a tablespoon’s worth of cookie dough and place it on the prepared baking trays, repeat while leaving 2 inches of space between the batter. Using the bottom of a cup, press the dough down to flatten them (this particular recipe does not spread much).
*Optional* You can sprinkle the tops of the cookie dough with more sea salt, based on your preference.
Bake in the preheated oven for 13-15 minutes or until golden brown. Leave the cookies on the tray for 10 minutes before removing them from the tray and placing them on a wire rack to cool completely.
Enjoy!


