Contents
If you are new to PicsArt, you might be interested in finding out how to frame your photos using the PicsArt app. This feature is one that mirrors real life; it allows you to frame your art!
People often spend hundreds of dollars framing their artwork, but we decided that our users should be able to do the same for free! Framing pictures and photos helps to draw attention to the work, to accentuate the form and to present your art at its best.
You can frame absolutely any of your PicsArt images, whether they’re portrait or landscape, and the many options within this feature allow you to fully customize each and every frame; whether you want an opaque black frame with harsh square edges or a more friendly-looking purple border with rounded corners, you can do it with the Framing feature.
There’s also the option to focus on the colors within your image, by either choosing to contrast the hue of your frame against the main colors of your photo, or staying within the color palette of the image to give it a stronger feel. For instance, if your photo primarily uses yellows, you can either set this against a frame of its contrasting color, blue, or you could choose an orange border to give a feeling of summer sunshine and blossoming flowers. The choice is yours!
You can adjust the overall shape of your frame by rounding out the corners, and you can even give your image a subtle border by making the frame mostly opaque. The beauty of this feature is the ability to create a unique custom frame for each image, regardless of how different they are!
A Step by Step Tutorial
Step 1. Add Photo
Start by clicking “Photo” and selecting which image you’d like to use.
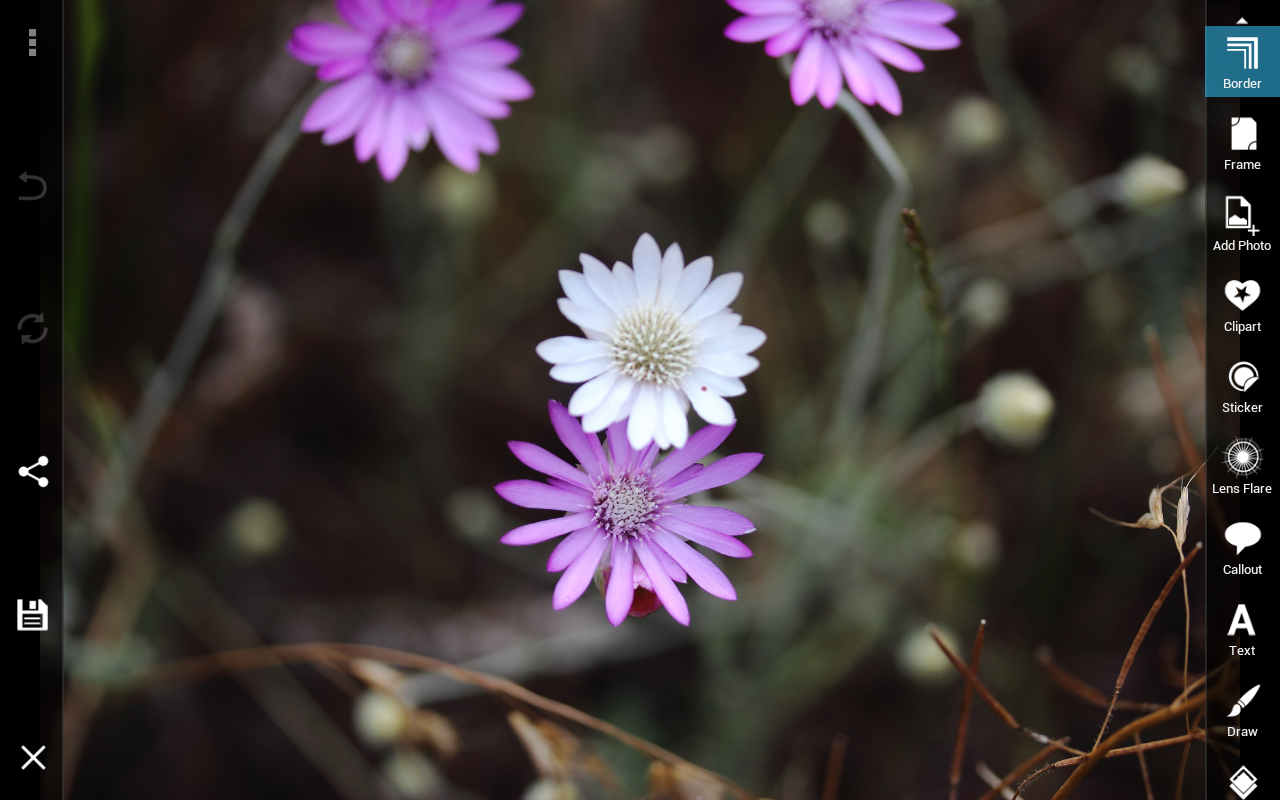
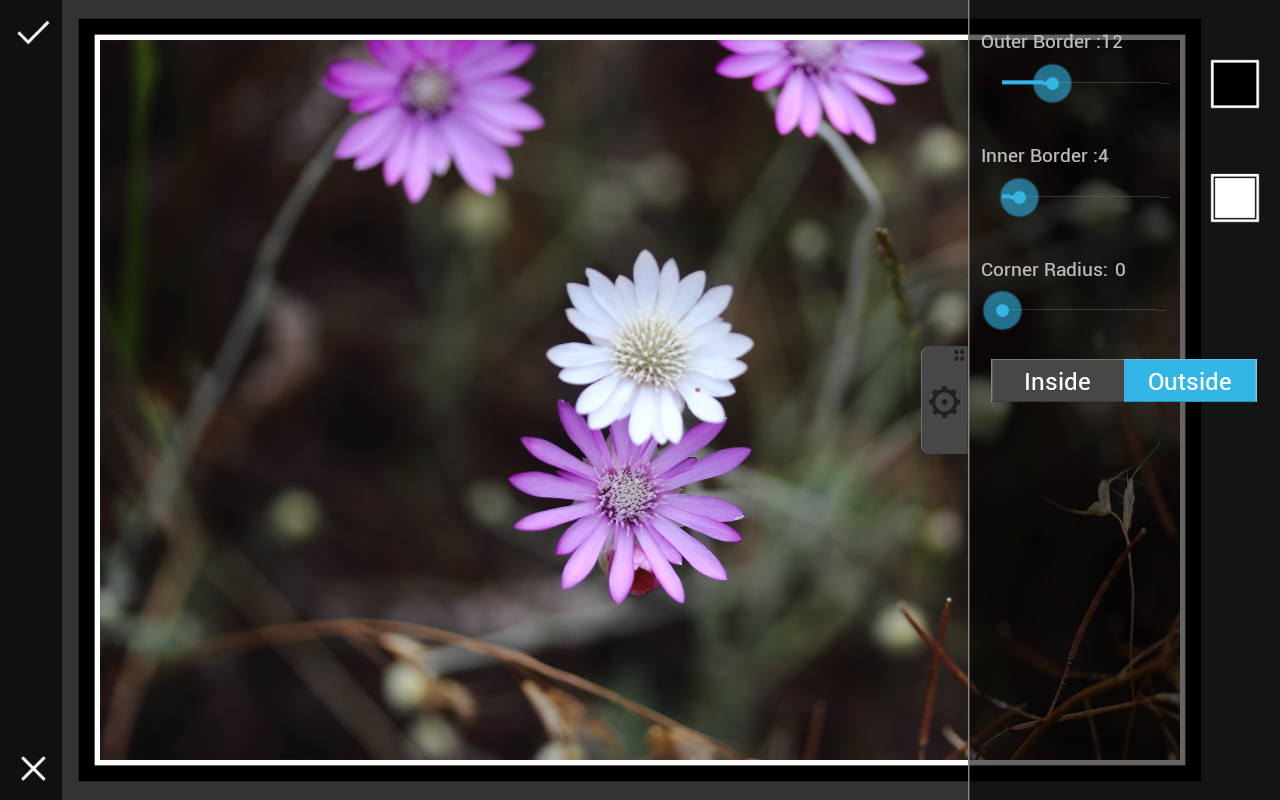
Step 2. Select Border
When your image is loaded, select “Border” from the toolbar on the right hand side of the screen.
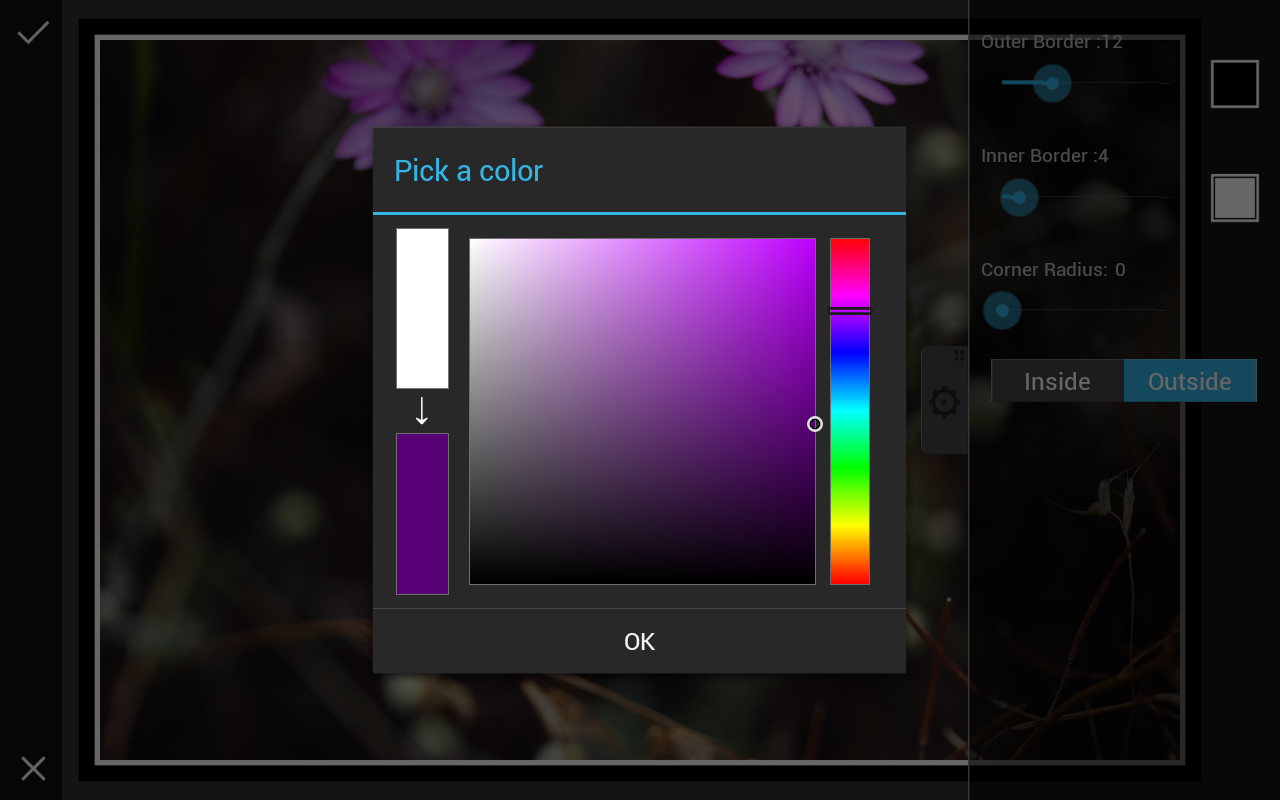
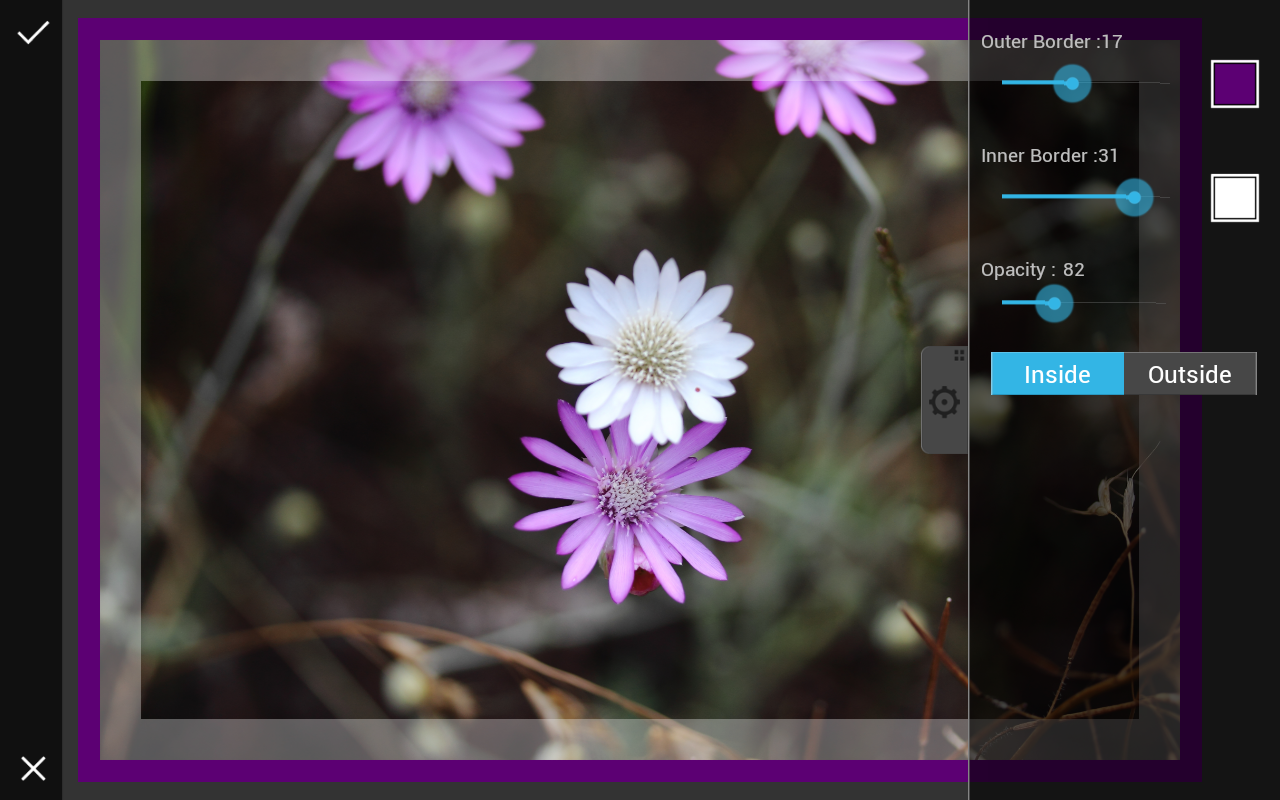
Step 3. Border Color
Adjust the border color using the color palette and select whichever shade you’d like your border to be.
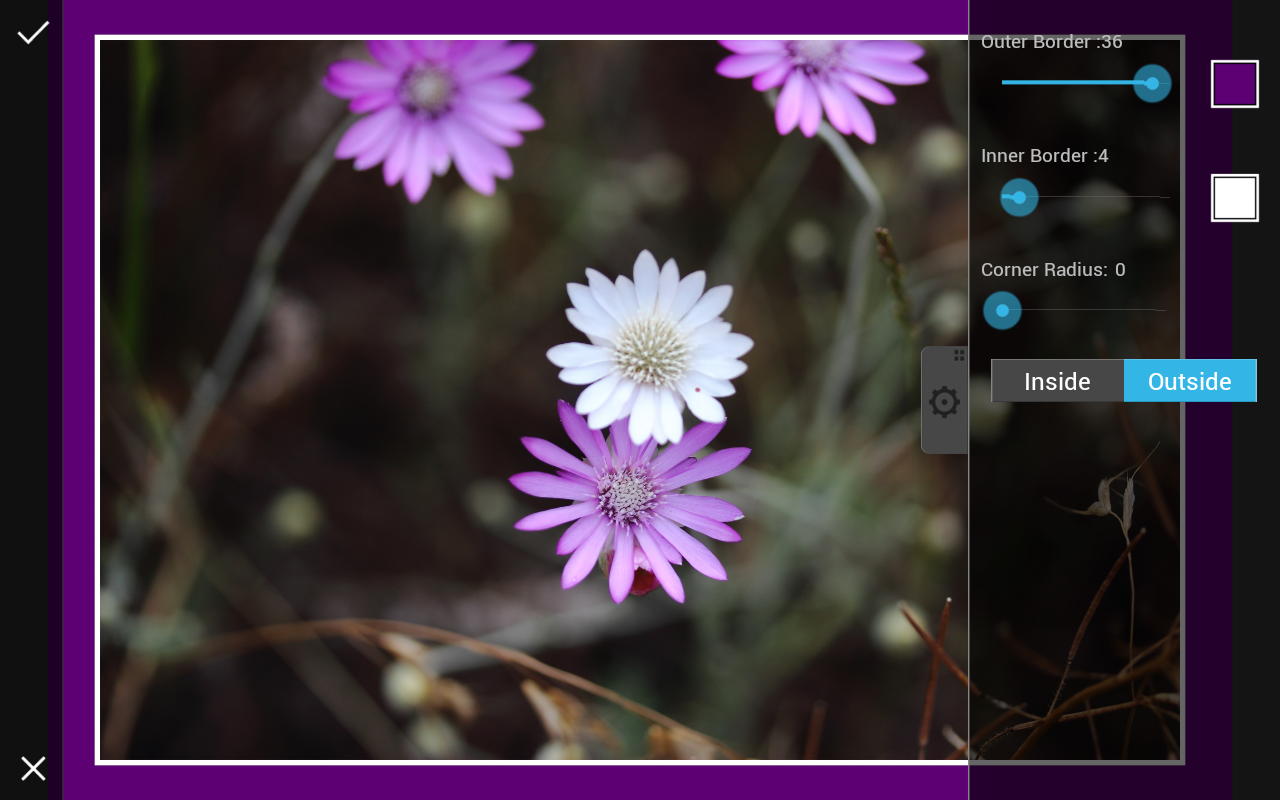
Step 4. Adjust the Inner Border
Using the slider, adjust the inner border so that the frame begins where you’d like it to. Do the same with the outer border until the whole frame is the size and exact thickness that you want it to be.
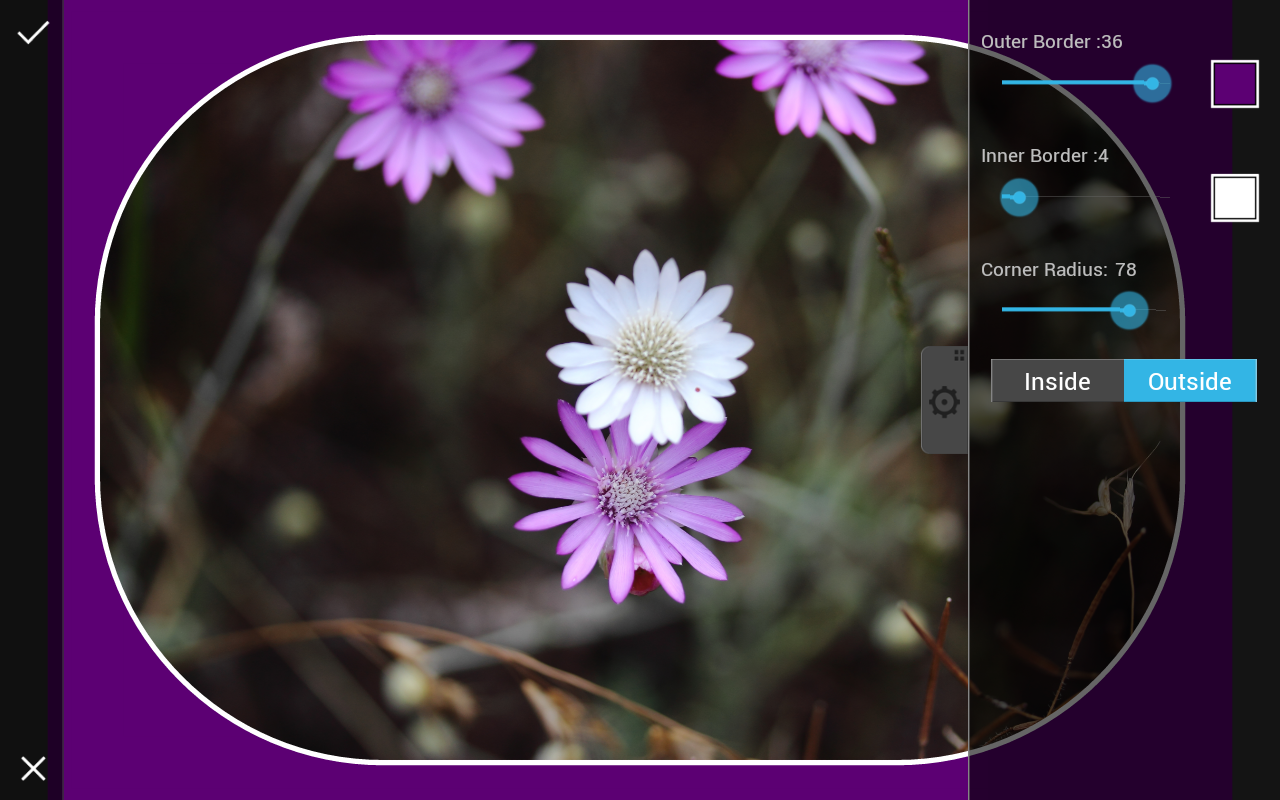
Step 5. Round the Corners
Using the third slider, round out the corners of the frame if you wish your image to look a little softer around the edges.
Step 6. Adjust the Opacity
Select “Opacity” and then adjust how much you can see through the frame using the sliders.
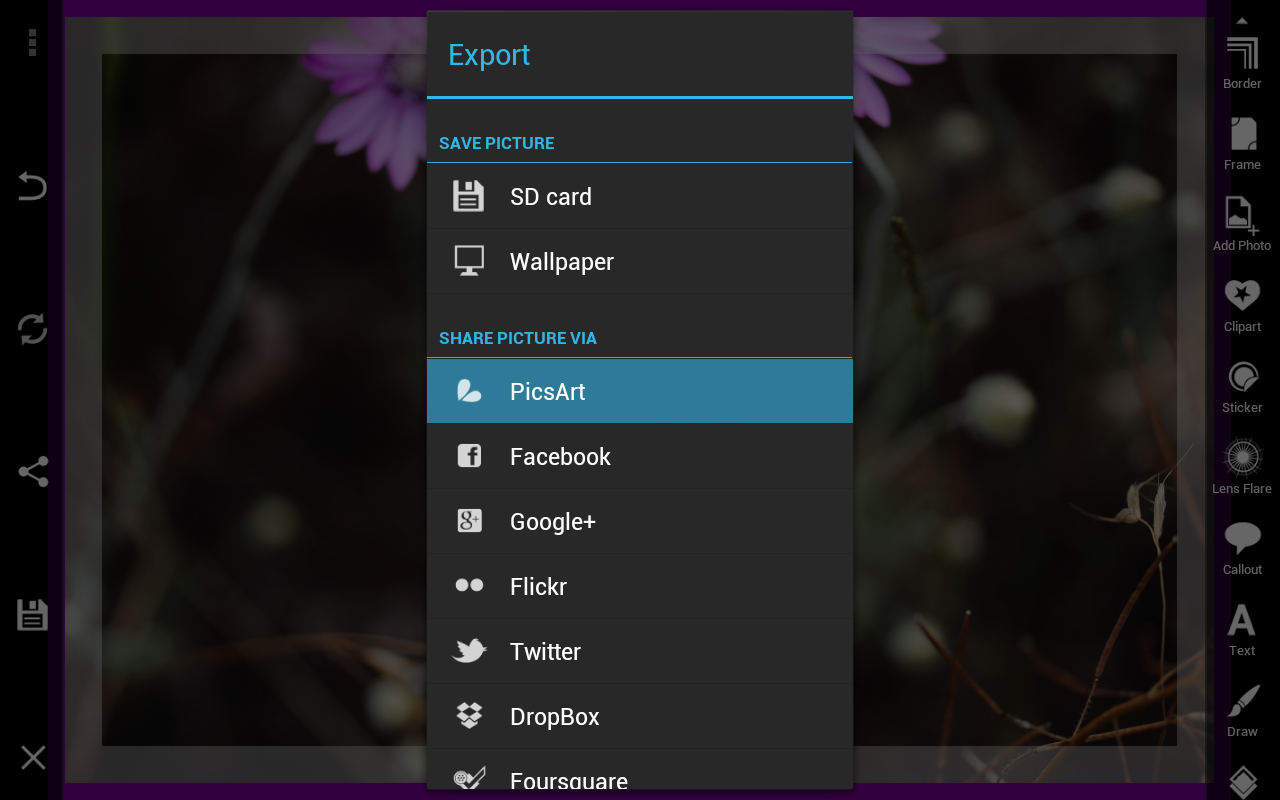
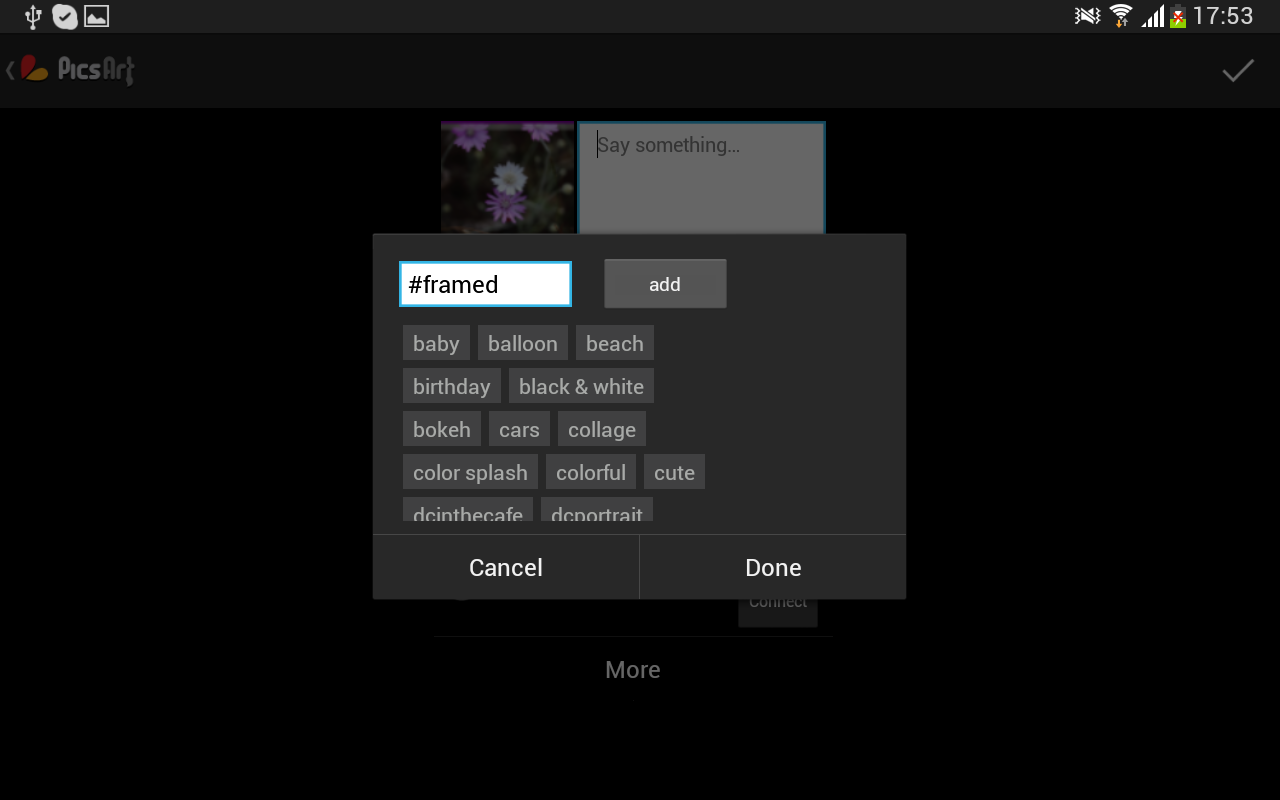
Step 7. Share the Photo
When you’re happy with the way your photo frame looks, save the changes by clicking on the Checkmark and upload your photo to your gallery! Be sure to tag your image with the #framed so that everyone can see your creativity!