
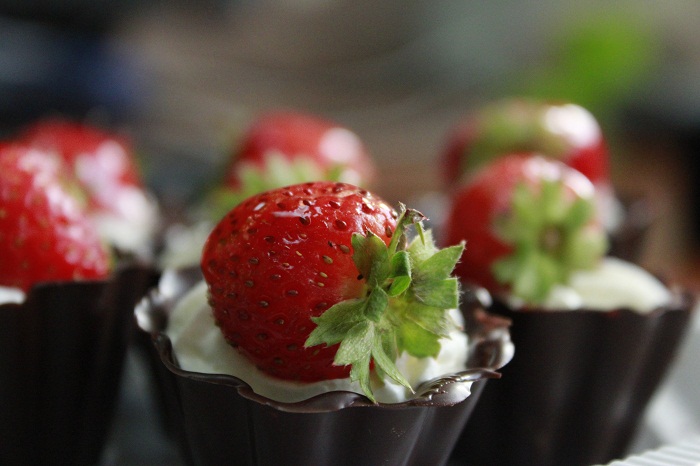
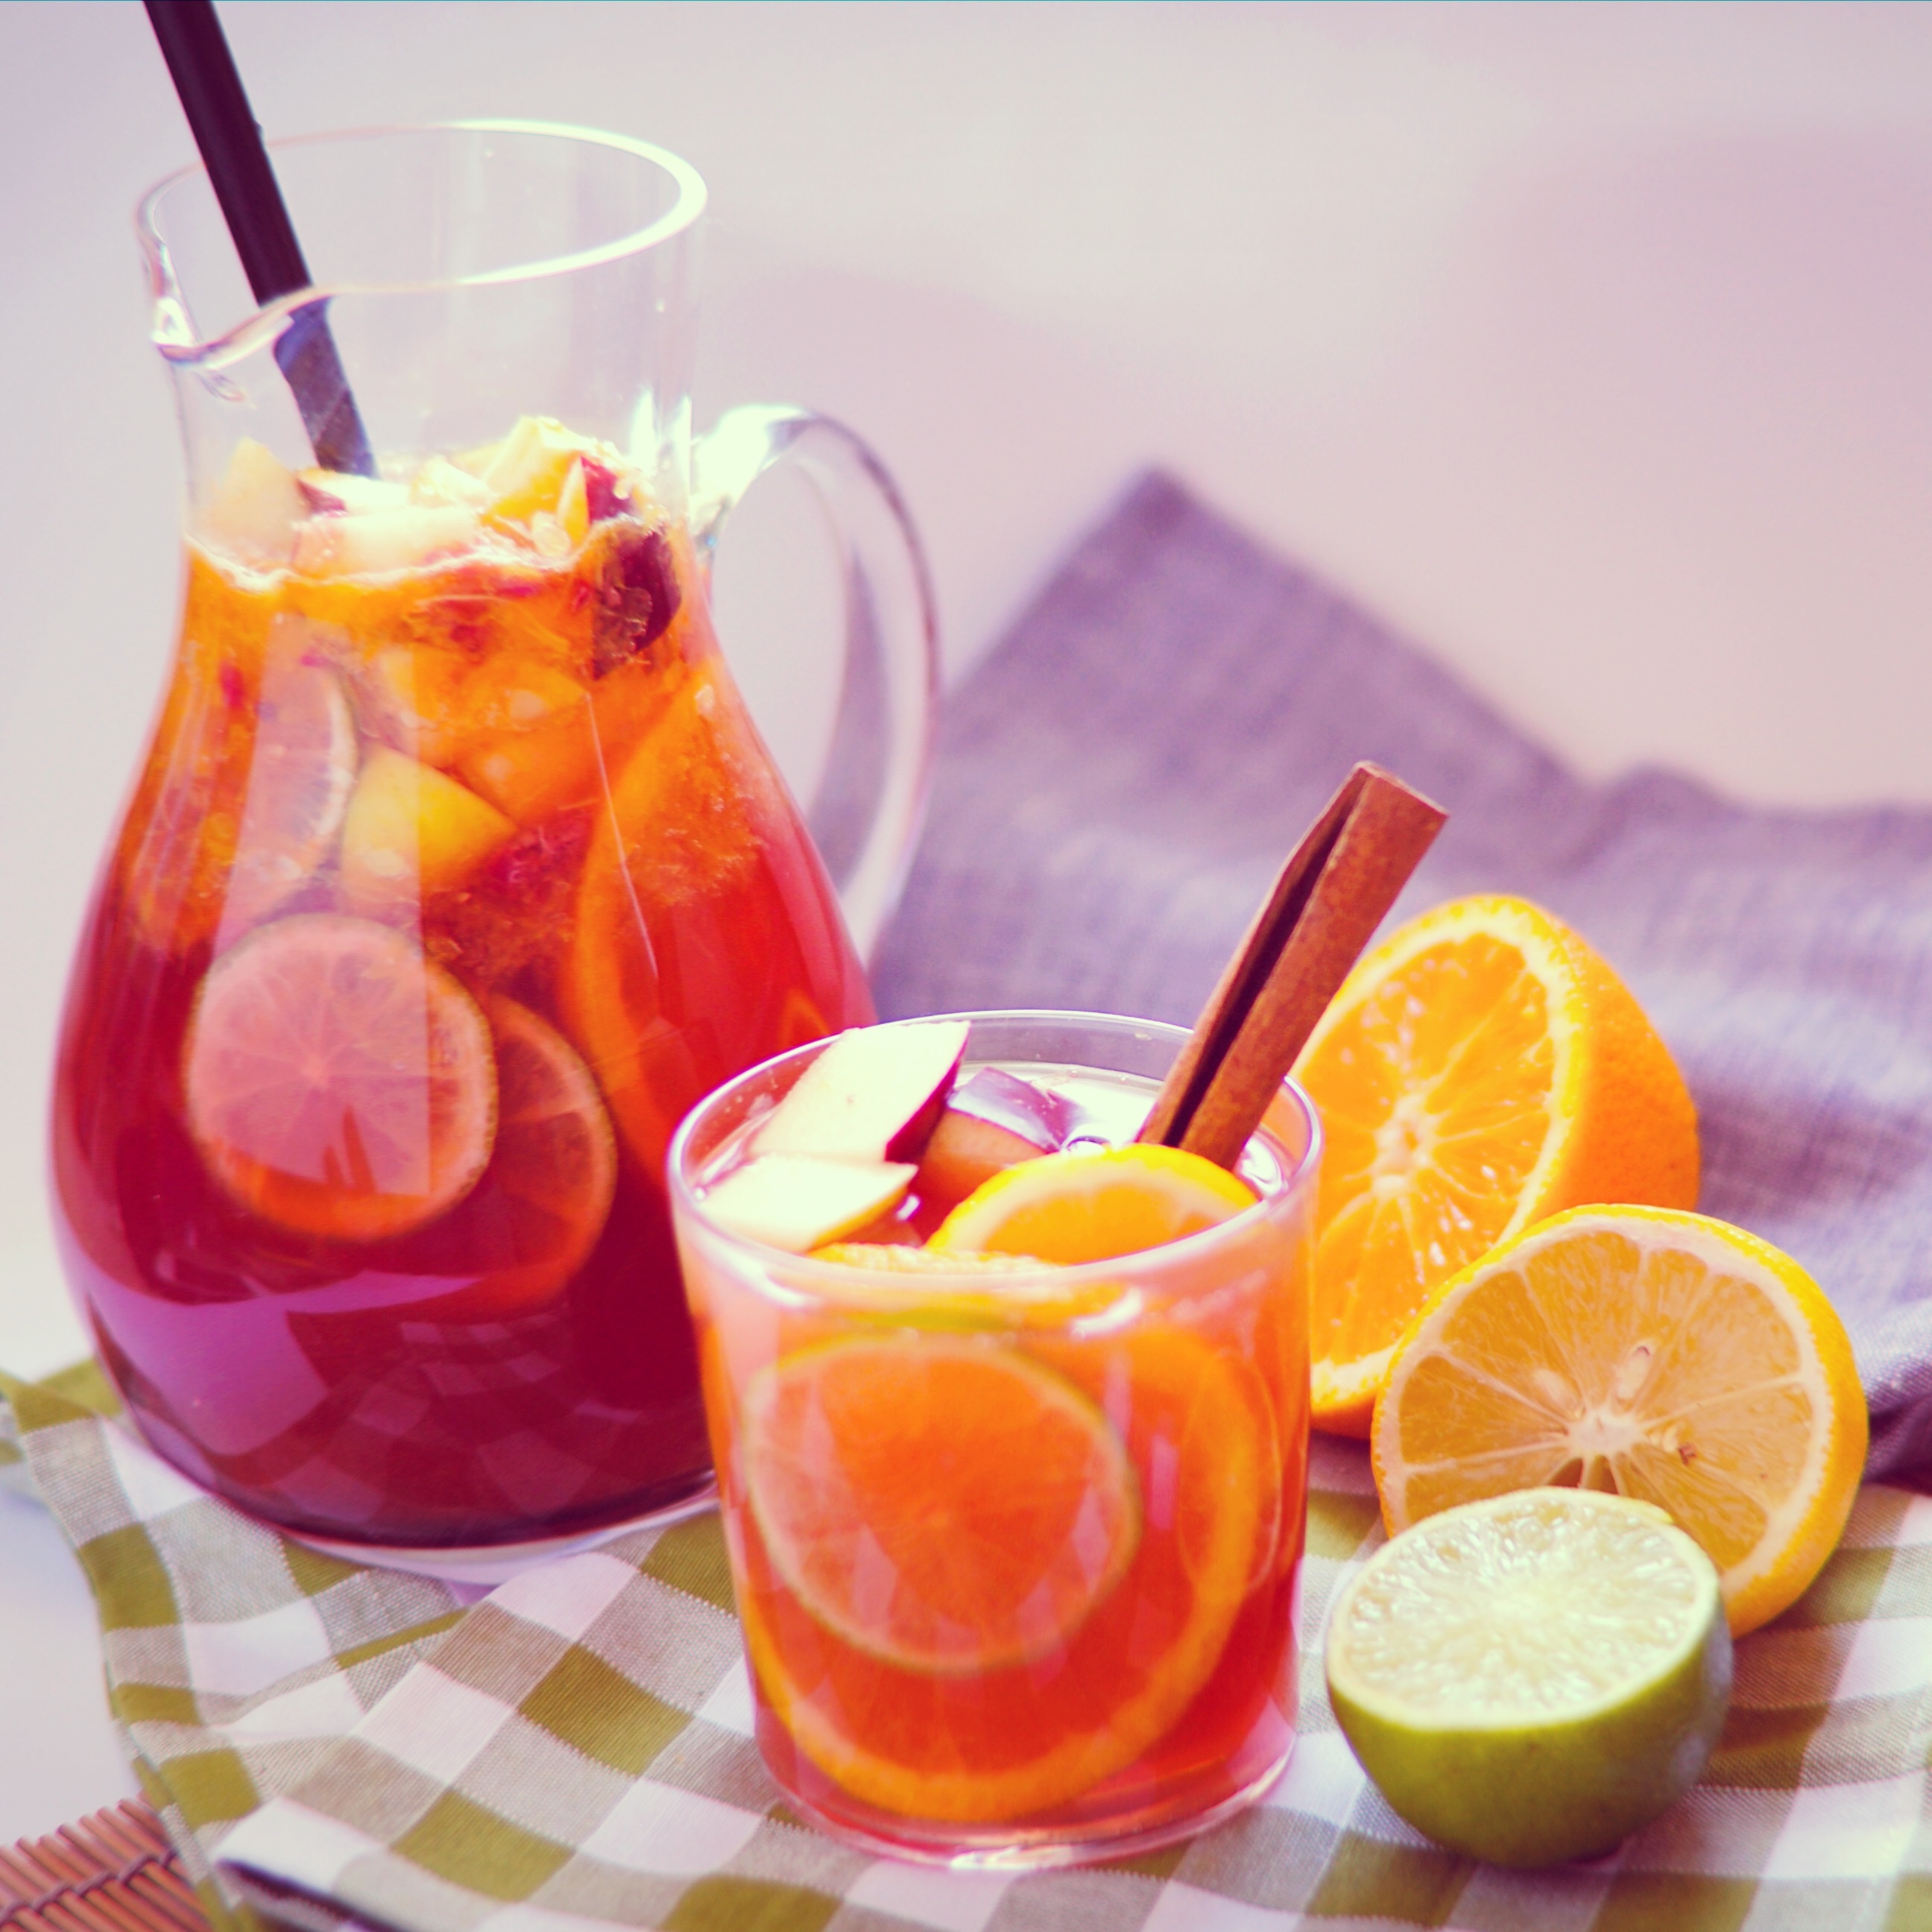
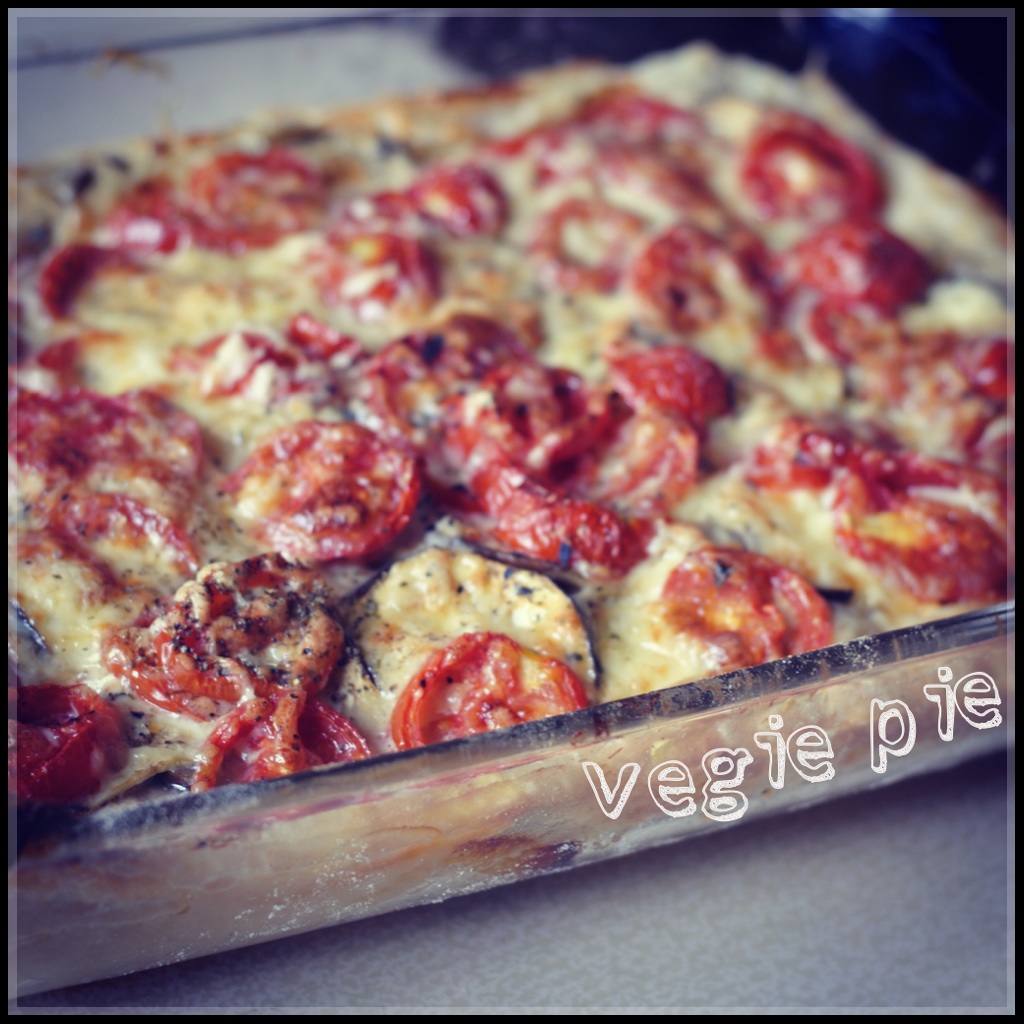
You don’t need a professional camera to make mouth-watering food photos. PicsArt provides you with various tools to make your photos look delicious and attractive for this weekend’s art project #WAPfood. Here are some tips to keep in mind when making photos of your favorite food.
Lighting
For shooting a plate of food natural light is the way to go, as it creates a really fresh and organic feel. The best times to shoot are between the morning and early afternoon, when the sun still has that beautiful glowing quality. Shooting earlier also lets you take your time and gives you all day to perfect your photos.
We recommend shooting by a window with the light coming from one side to bring out the texture of the dish. This creates small shadows around the dish’s individual components and makes them stand out. If the shadows are too strong, position a reflector opposite the window to soften or eliminate them.

Lighting from behind the food is also an interesting options, since shooting towards the window creates a brilliant and bold glowing effect. If you absolutley must shoot in the dark then avoid using a flash or general room lighting. Use movie lights or a lamp instead so that you can properly control the direction of the light.
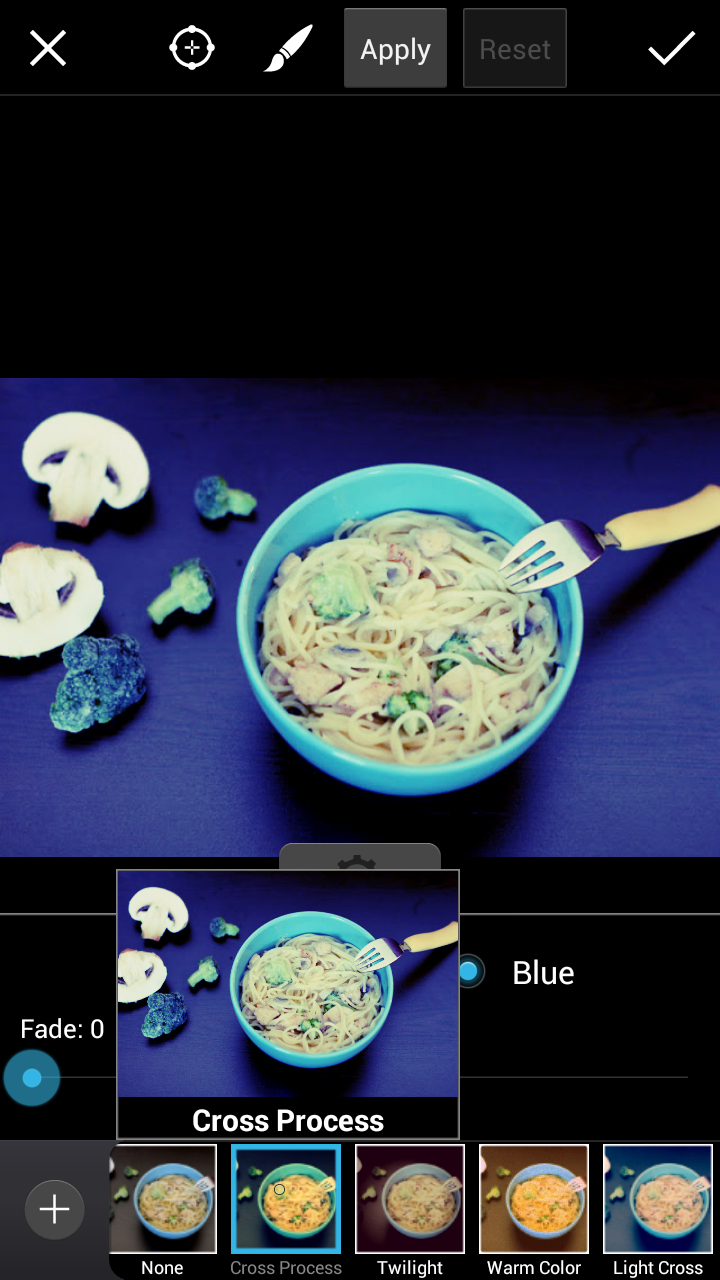
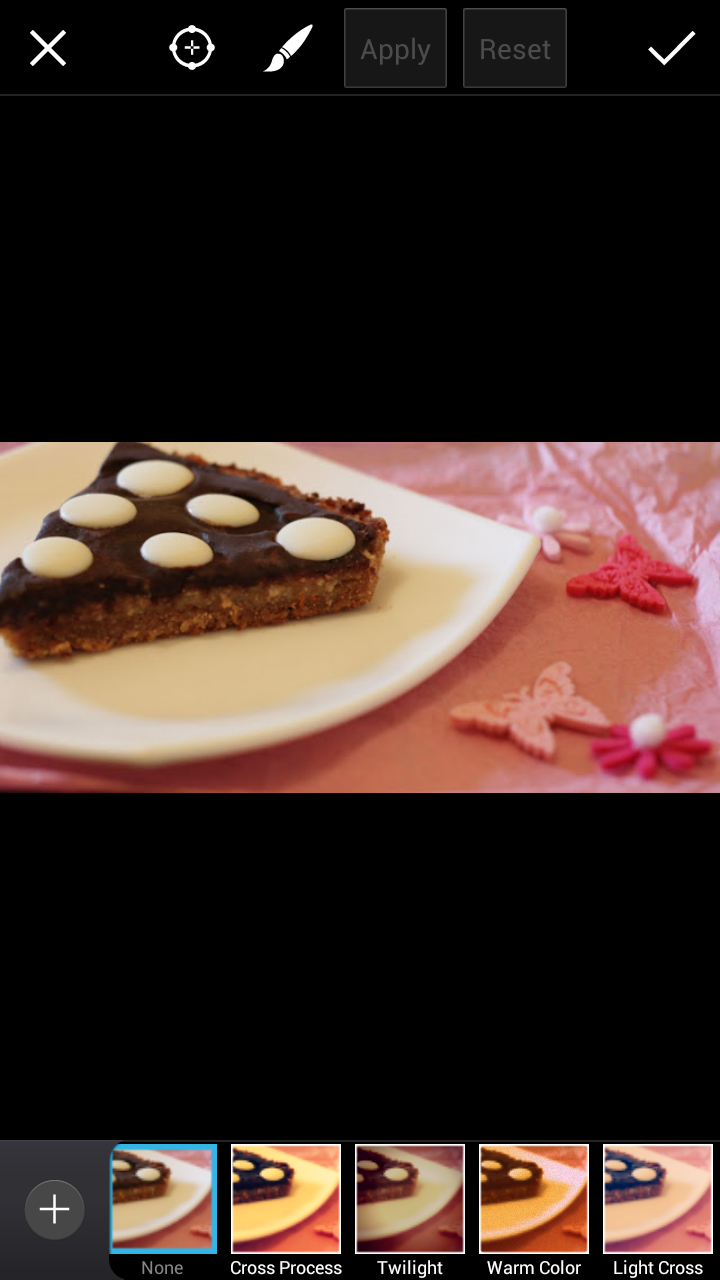
Using PicsArt Effects
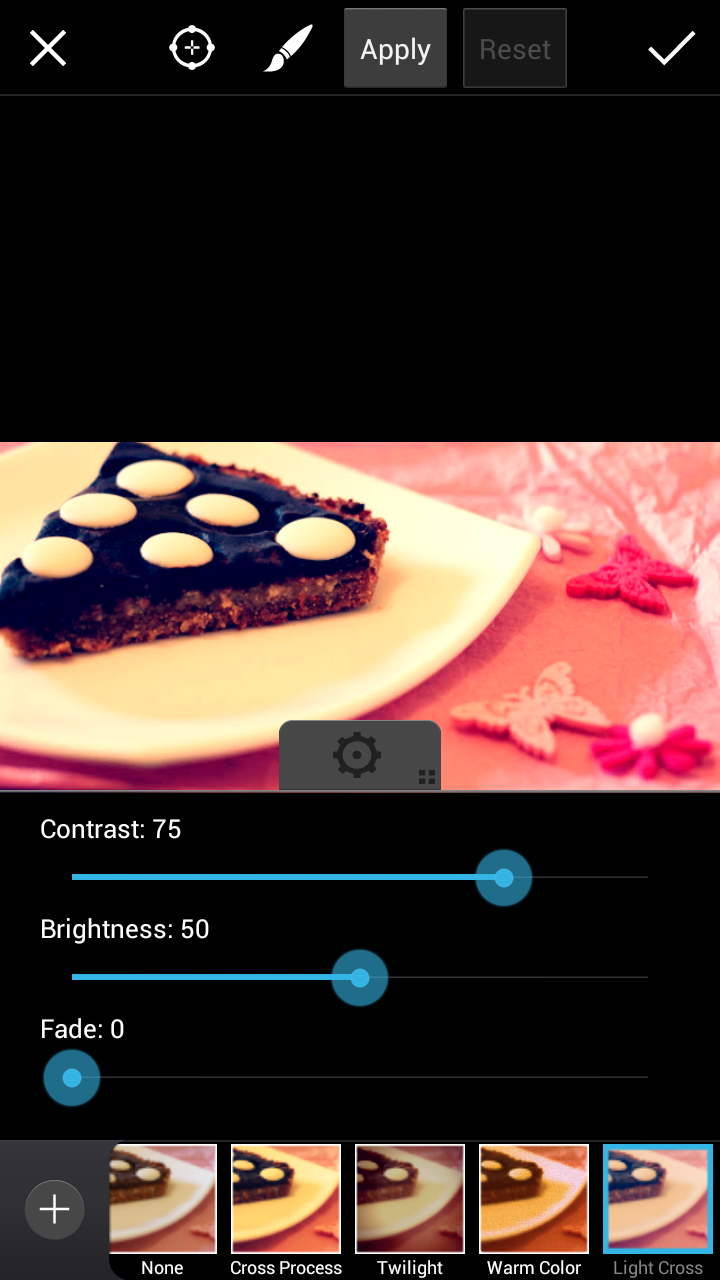
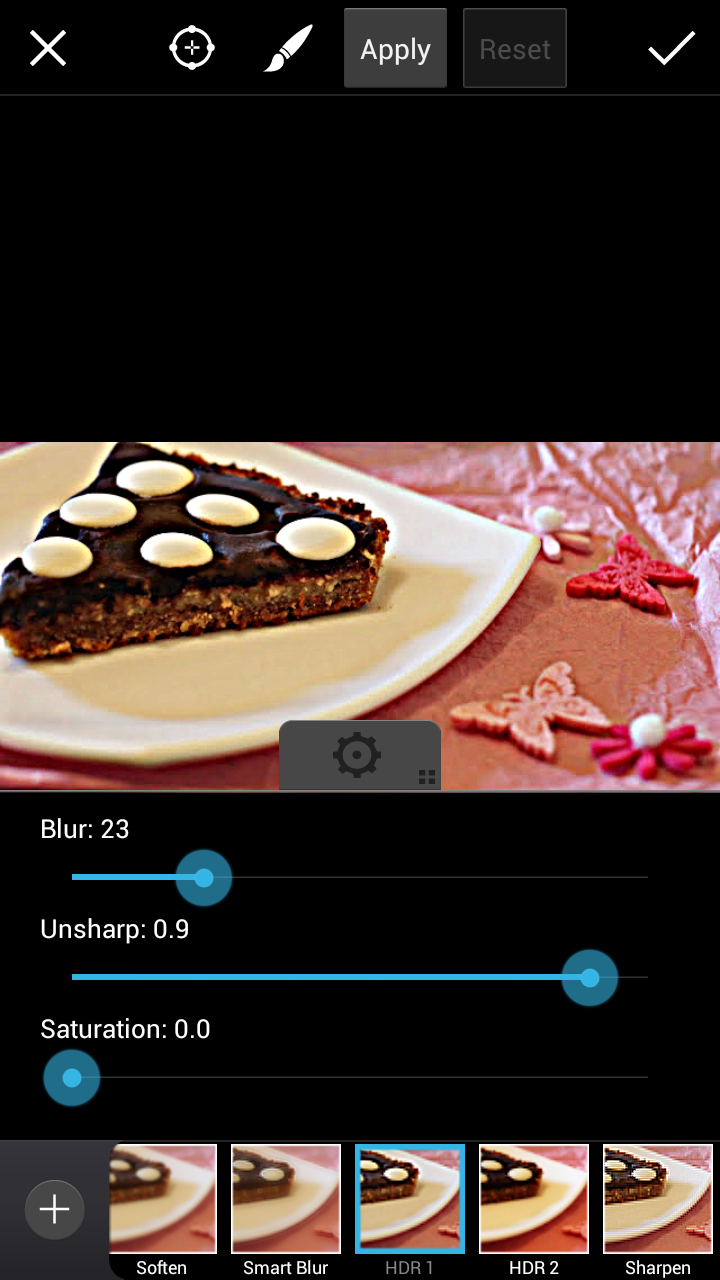
PicsArt filters and effects offer a wide variety of options that can take your food photos to the next level. The advantage of using PicsArt is that once you get the lighting right, you can adjust the color using various PicsArt FX options until you perfect your color pallet and get the exact tone and visual quality that you are looking for. Remember that with PicsArt, you can always revert back to your original image, so don’t be afraid to experiment and play around with various effects.

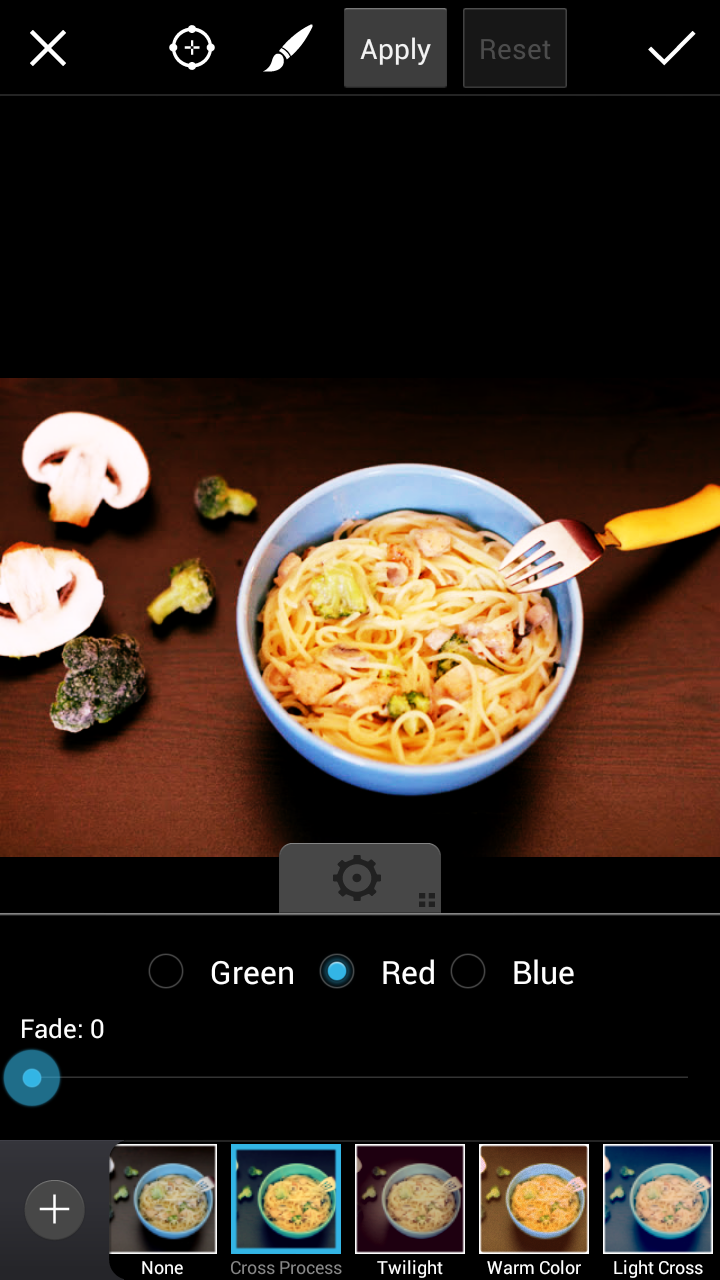
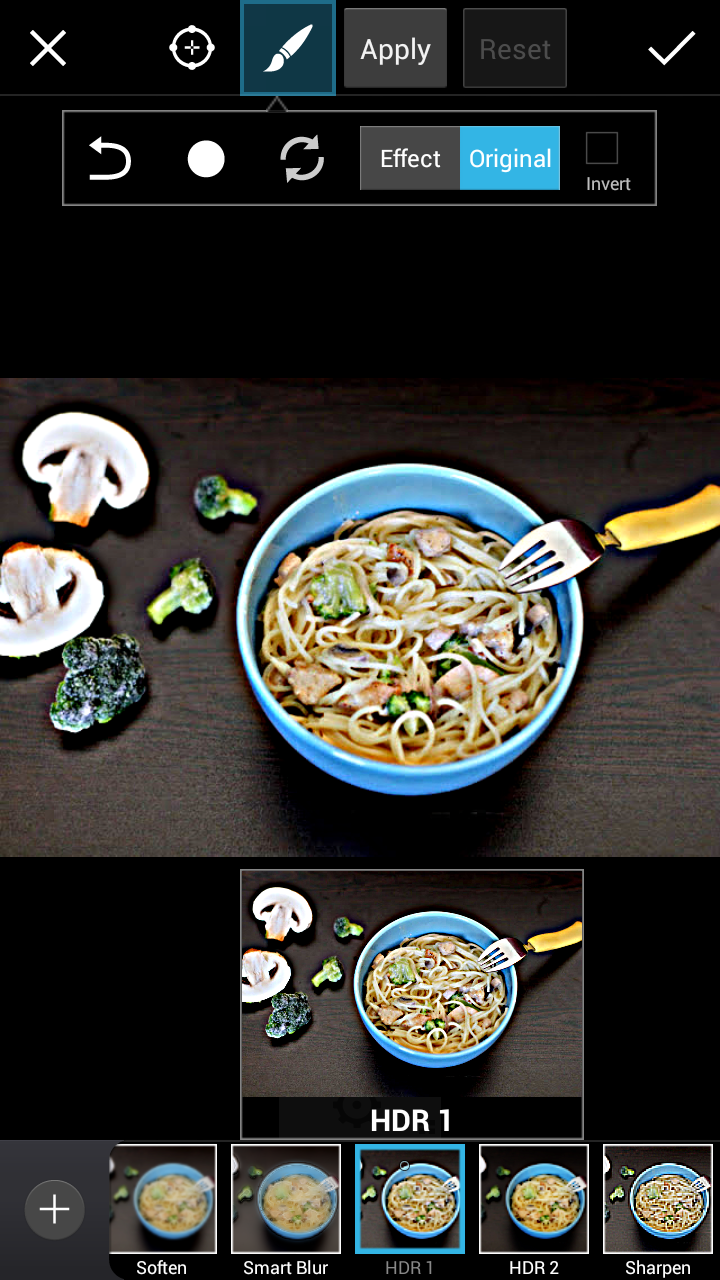
For managing tricky light sources, PicsArt’s HDR setting really comes in handy. Its frustrating to have to choose between a blindingly bright sky and a dimly lit plate of food, but this setting automatically adjusts for sharp contrasts in lighting. If you are shooting in a dark interior with bright windows, HDR navigates the contrast seamlessly.
Attaching Lenses
There are a number of lenses that you can attach to your phone’s camera, such as wide-angle macro lenses or fish eye lenses. Some of these options may be worth considering when photographing certain dishes, like for example using a macro lens to capture a drop of salad dressing dripping off of the edge of a leaf of lettuce. 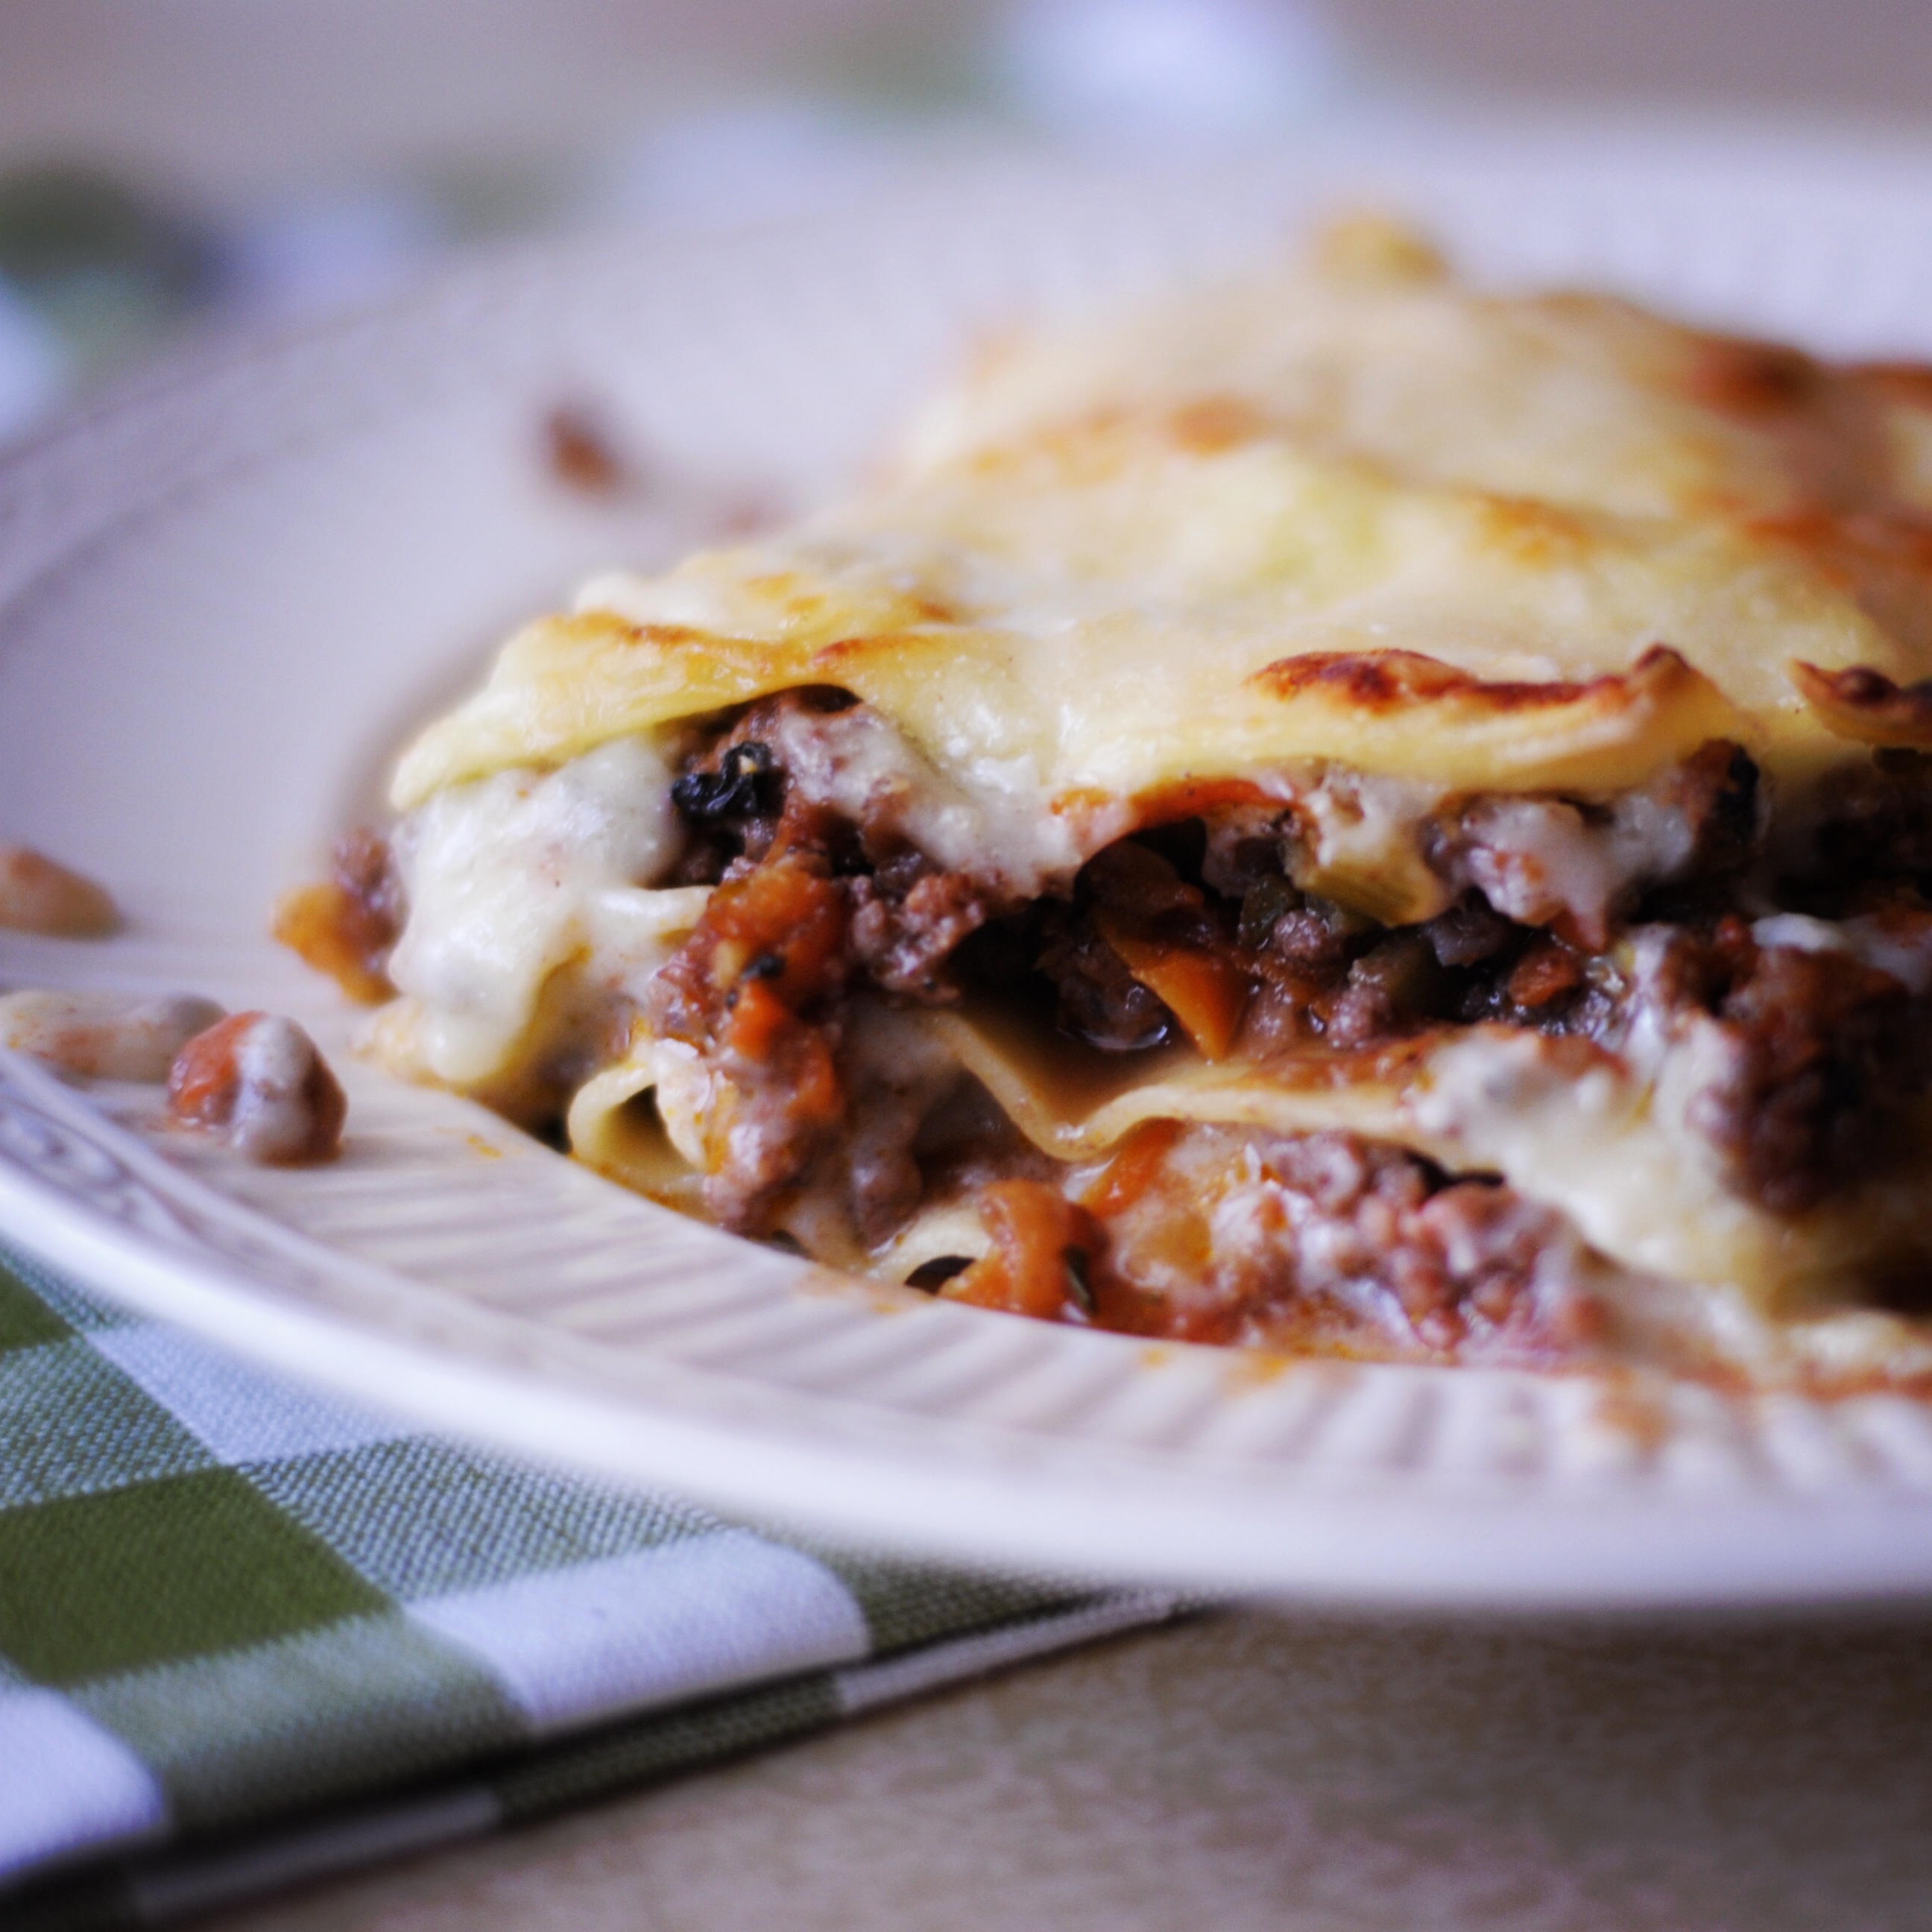
Play With your Food Arrangement
Half of the fun of photographing food is the staging and presentation. Mess around with the dishware. Should you use a square plate or a round bowl, what about a cutting board? Should the silverware be rolled into a napkin on the table, stabbed into the ice cream, or absent all together?
 You also might want to consider using props. Line the sides of your fish with seashells, dress your salad with garden flowers, skewer your kebab over an open flame, or photograph your lobster in a trap pulled fresh from the ocean to enhance the atmosphere of your photo.
Mobile Tripod
A steady phone is the key to getting the best resolution out of your camera lens, so anything you can do to fix your camera in place is useful. An empty glass makes a perfect mobile tripod. Just put your phone in the glass bottom first with the camera hanging over the lip of the glass. A rubber phone casing provides your phone with extra grip, which is useful for hanging it off of whatever surfaces are available.
Fire At Will!
 One of the most overlooked pieces of advice in photography is volume. Shoot as many photos as you need, then shoot some more. When you sit down and start thumbing through your pictures, you’ll be glad to have a wide array of photos to choose from and to edit.


