Contents
If you are new to the PicsArt app, it can sometimes be a little overwhelming to see the vast library of photo effects and the ways in which they can affect your images. While we’re always working hard here at PicsArt to ensure that our users always have fresh, new effects to play with, we try not to forget that new people in the PicsArt community are springing up every single day.
To that end, here’s an easy-to-follow, step-by-step tutorial showing users how to apply any of the myriad of PicsArt effects to any photo.
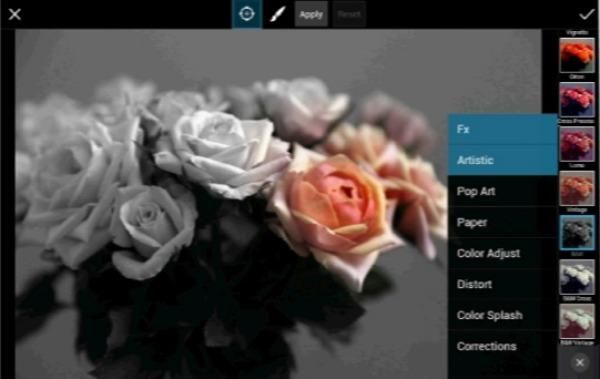
Though there are numerous different types of photo effects (as shown in the different menus) from FX and Artistic effects to ones allowing you to select Paper types and to Distort images, they all work in much the same way and have been designed to be simple, effective and easy to use.
Of course, we would never tell you how to use any of our photo editing features; in fact, we love to leave that part up to you! Every photo effect has a number of settings and features so that you can make each of your images unique and totally original. You might use an effect in an entirely new way that’s never been seen before. That’s what they’re for!
Whether you’re looking to create a mirrorred image on your photograph, to edit parts of it or just to make one of your camera phone pictures look as if it was painted in oils on a rough canvas, the PicsArt app has an Effect that can make this happen.
Just add your own creativity, and away you go!
A Step by Step Tutorial
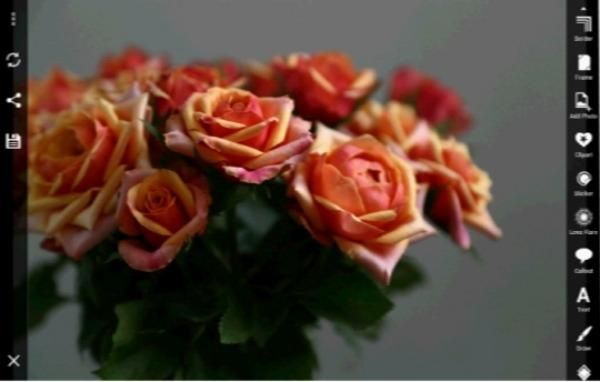
Step 1: Add image
First, select the image that you’d like to work on by clicking “Photo” then selecting the right photo.
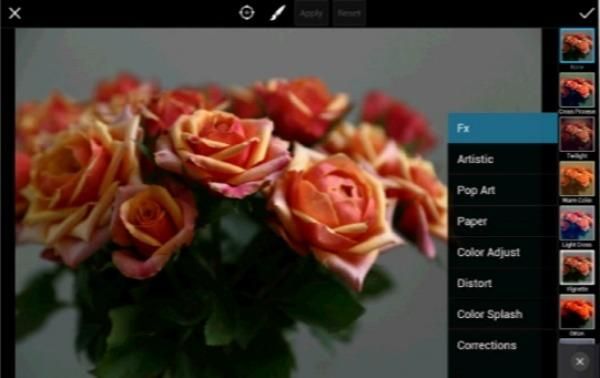
Step 2: Select Photo effect
Next, select “Effects” from the toolbar on the right hand side and choose an effect from the FX menu.
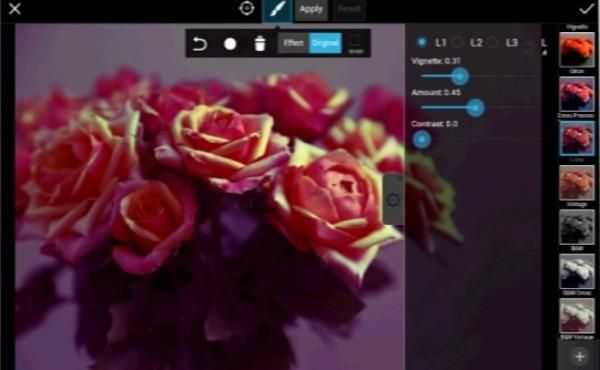
Step 3: Adjust the Settings
Adjust the different settings on the effect by moving the sliders shown on the toolbar. You can play around with these and they won’t be saved automatically, so don’t worry!
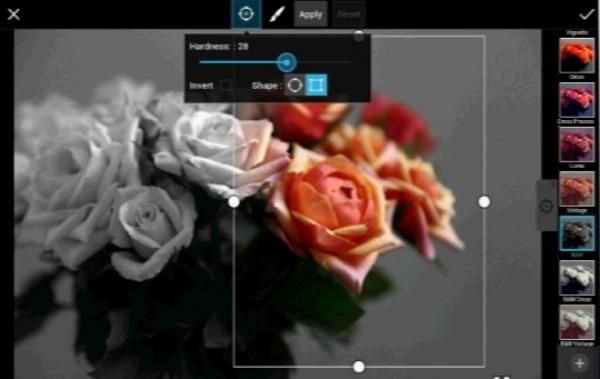
Step 4: Resize or Reshape
When you’ve tried several settings, click “Shape” from the top of the screen and try introducing shapes with no effect on your image. Resize and reshape the area of the image with no effect to whatever formulation you’d like. You can also try the “Invert” option to have the effect applied only within the shape. You can even switch between a square shape and a circle shape until you find the image shape that’s right for your artwork.
Step 5: Artistic Photo Effect
Now, select the “Artistic Effects” menu and play around with the different features and settings within this effect. These changes will be made on top of the changes you’ve already made, so you can effectively layer your effects on every image.
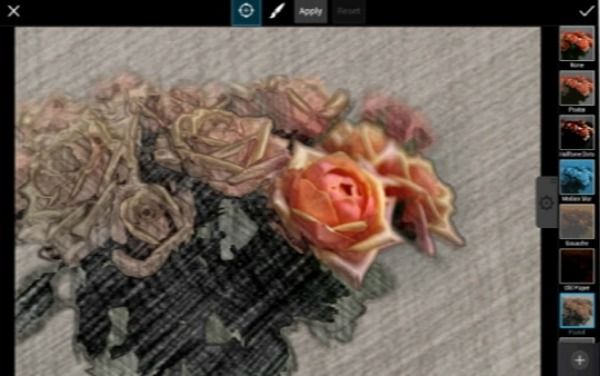
Step 6: Paper Effect
When you’ve finished in the “Artistic Effects” menu, select “Paper Effects” to change the texture of the entire image. Play around with the options and settings again to see what’s available and how they work for your photo.
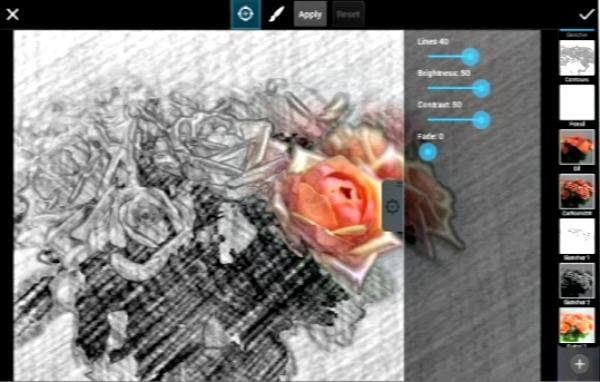
Step 7: Stenciler Effect
Try the “Stenciller Effect” and adjust the color to see how it can affect your image!
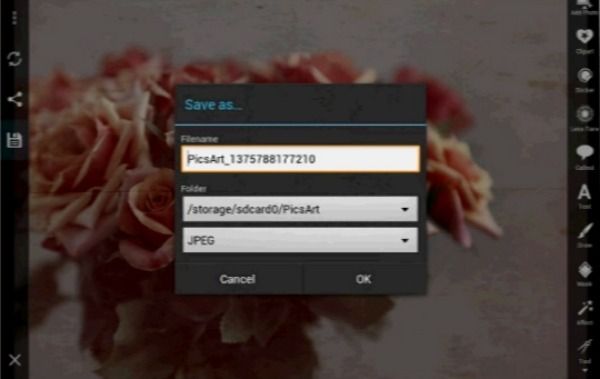
Step 8: Save the Image
When you’re happy with the way your image looks and you like the photo effects you’ve chosen, save the changes by clicking on the Checkmark and upload your photo to your gallery! Tag your image with the name of the effects that you’ve used, then compare your methods with those of others who have used the same effects! Share with the PicsArt community and show your creativity.