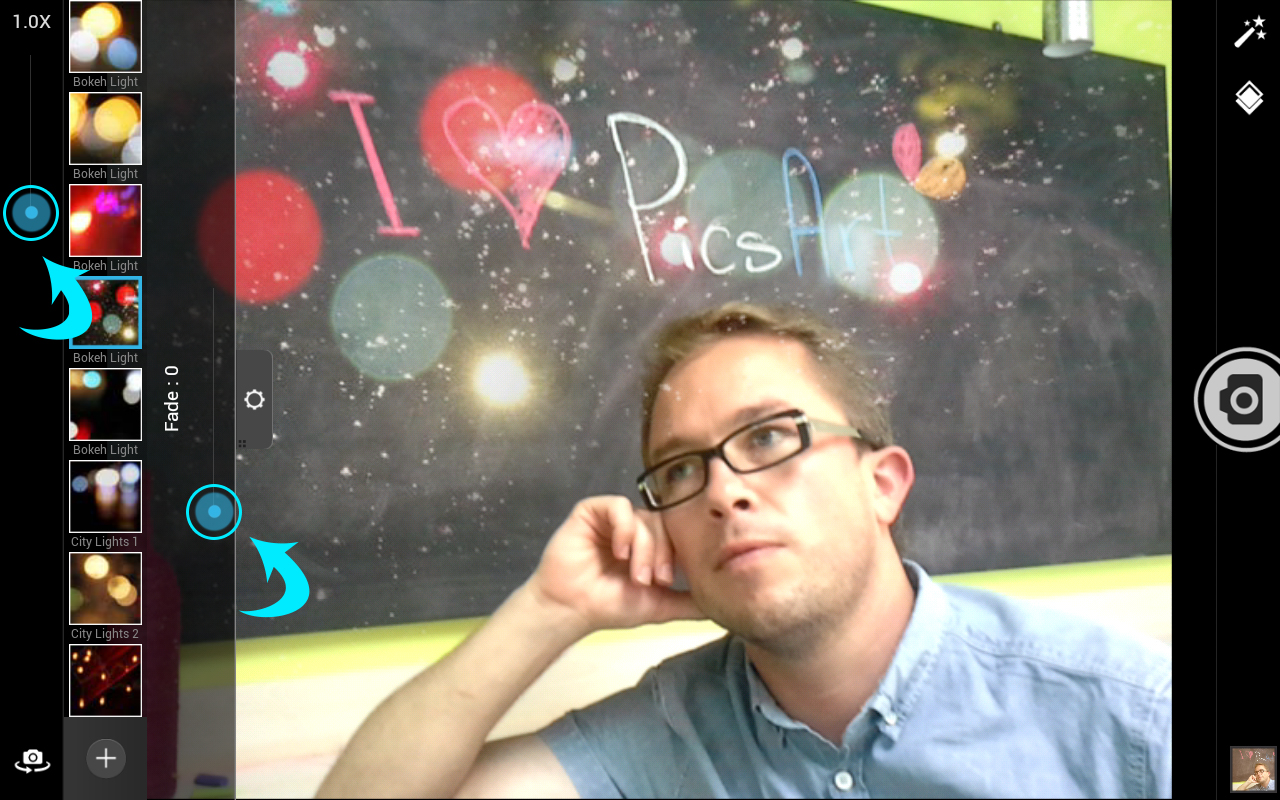
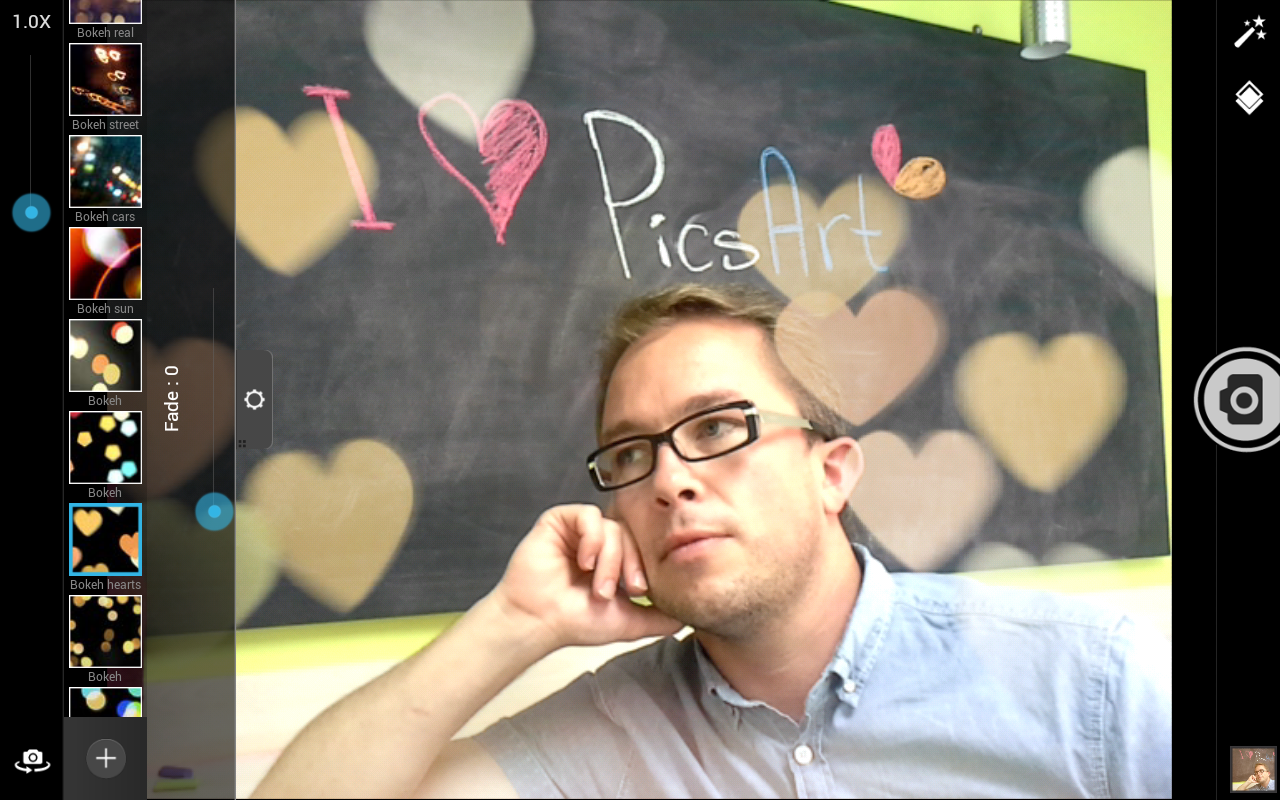
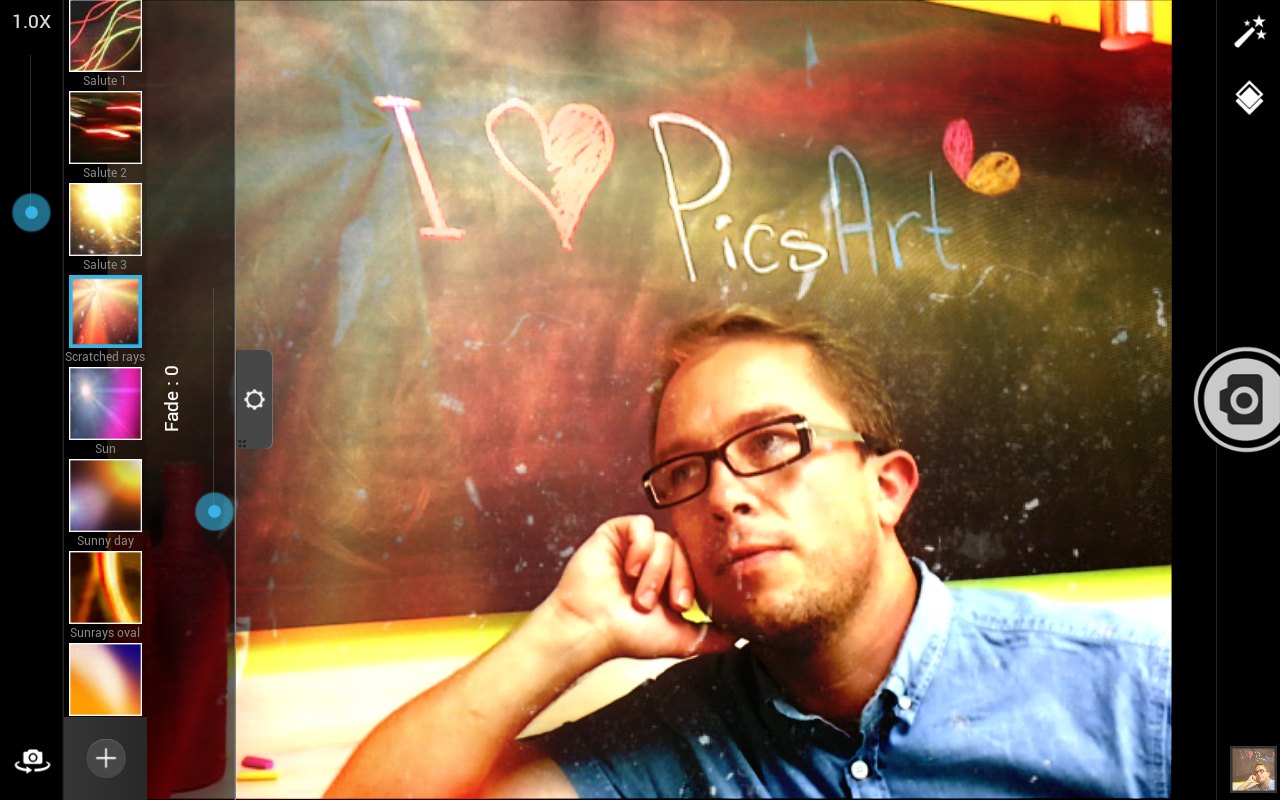
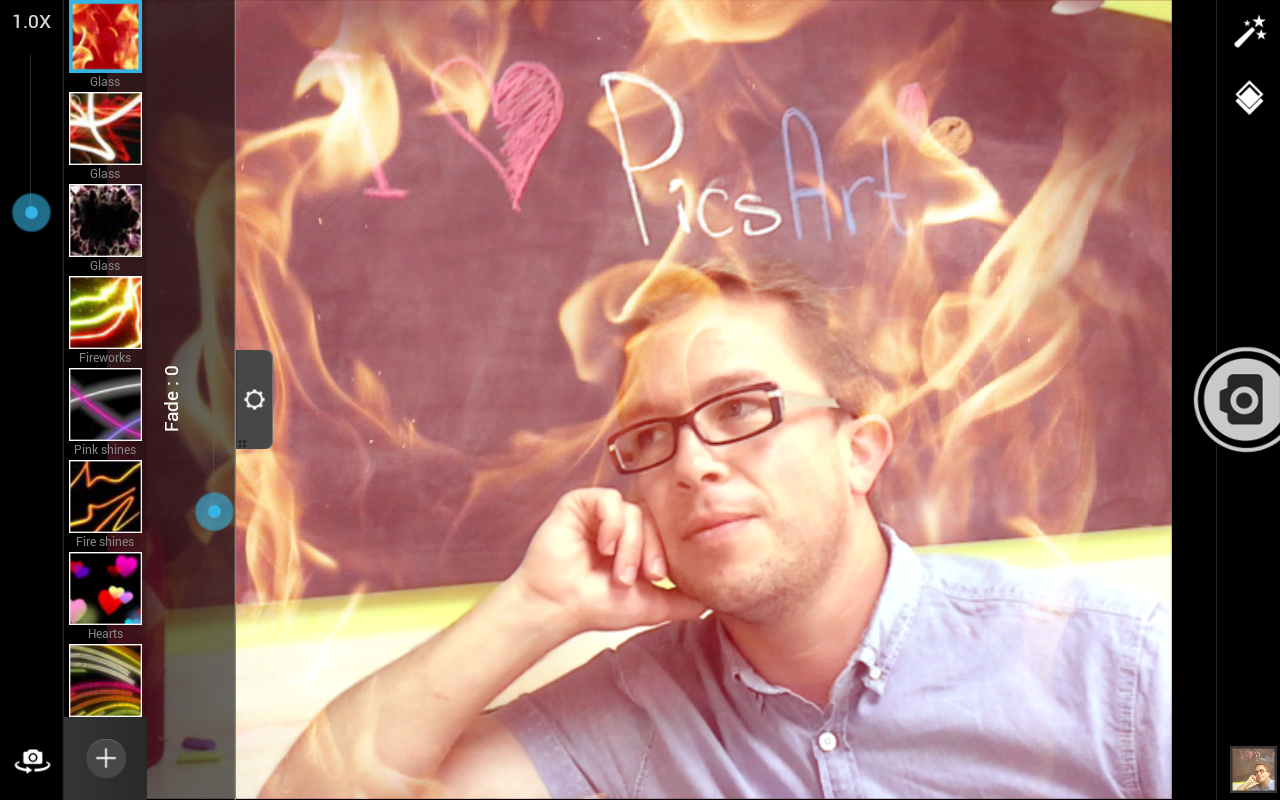
Camera Mask is a new feature for the PicsArt App that allows users to take photos with mask effects applied directly to the camera.
In basic terms, masks are a series of images/effects, often somewhat translucent, that are laid over an original photograph to create a sense of ambiance. These can include borders, lights, and patterns to name only a few. Masks are great for giving images that little extra touch of magic. PicsArt masks are sorted into 4 categories: Border, Lights, Bokeh, and Artistic. PicsArt not only offers a wide array of options to choose from, but allows users customize masks individually on the fly.
With the Camera Mask option, masks work in the same way, except that instead of being laid over a previously captured image, this feature lays masks over a live camera, allowing you to shoot photos through the mask.
Below is a practical tutorial to acquaint users with the Camera Mask feature. We have broken down the process into 6 easy steps.
Step 1.
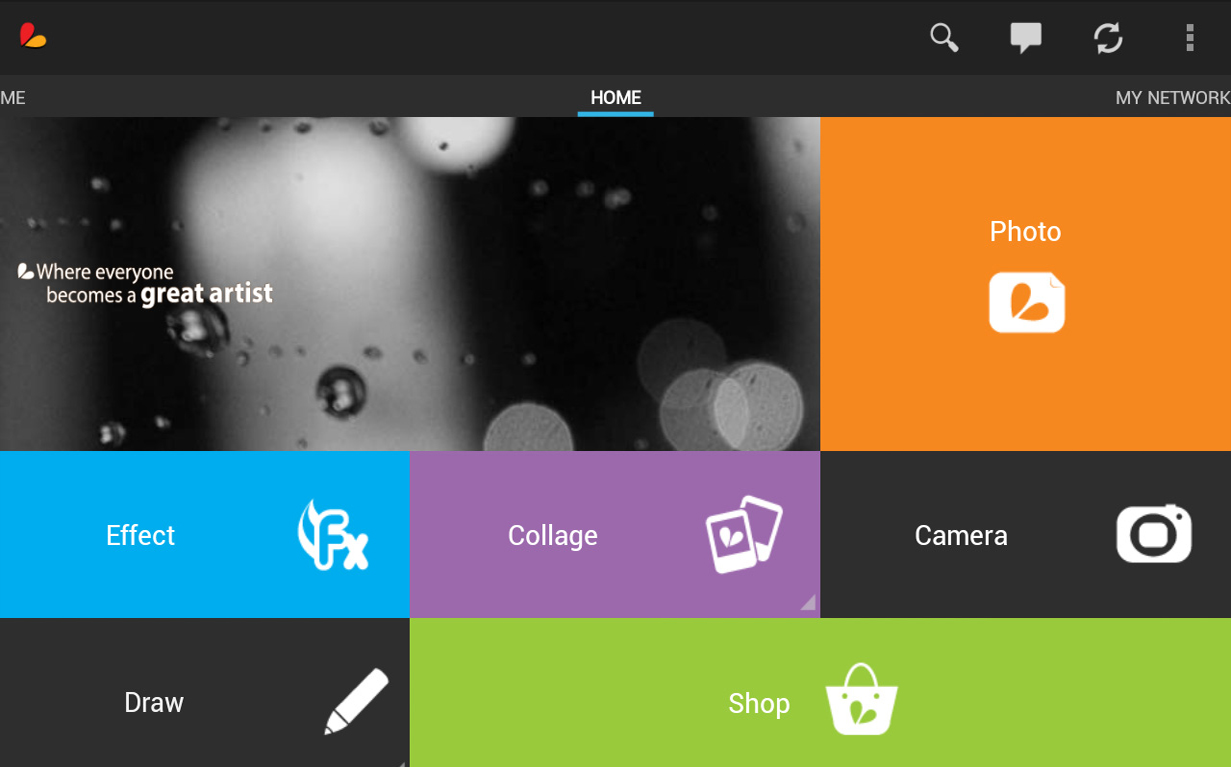
Select the Camera section from the main menu to open your camera.
Step 2.
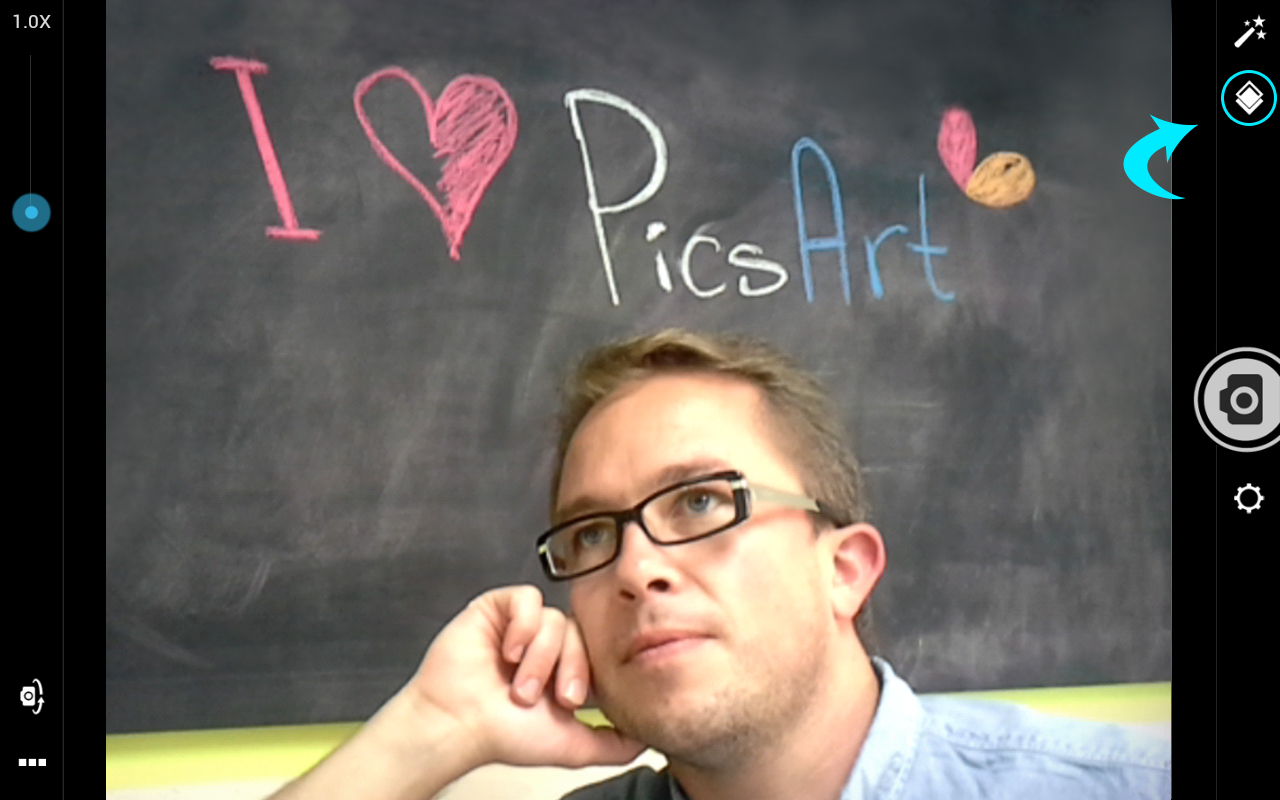
Click on the masks icon, which looks like two small overlapping diamonds located in the menu bar.
Step 3.
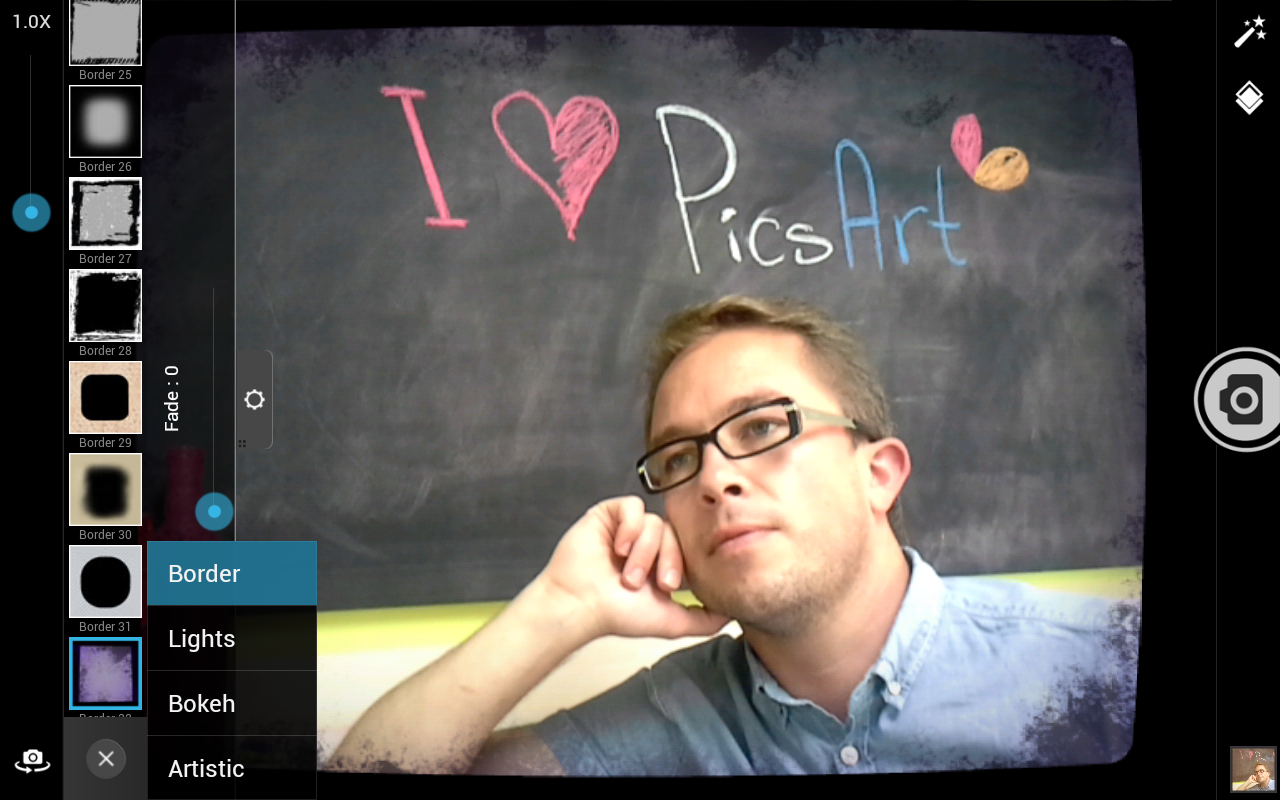
Select the small plus sign in the masks menu bar to choose from different types of masks.
Step 4.
Choose a mask from the menu to apply it to your camera.
Step 5.
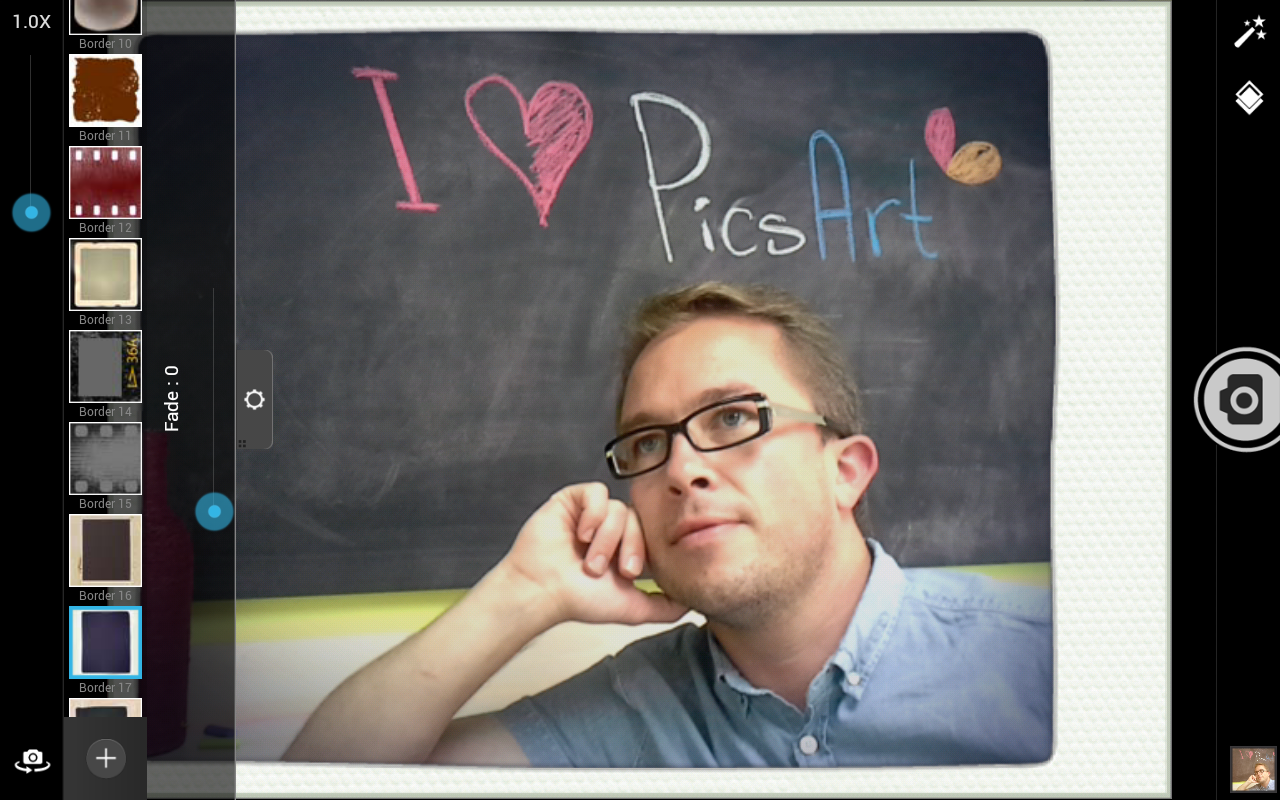
You can use the blue sliding bar to digitally zoom in and out, as well as the fade bar to customize the intensity of your mask.
Step 6.
Take your photo. Don’t be afraid to take as many photos as you like with the applied mask and experiment with PicsArt’s many mask options.
