Contents
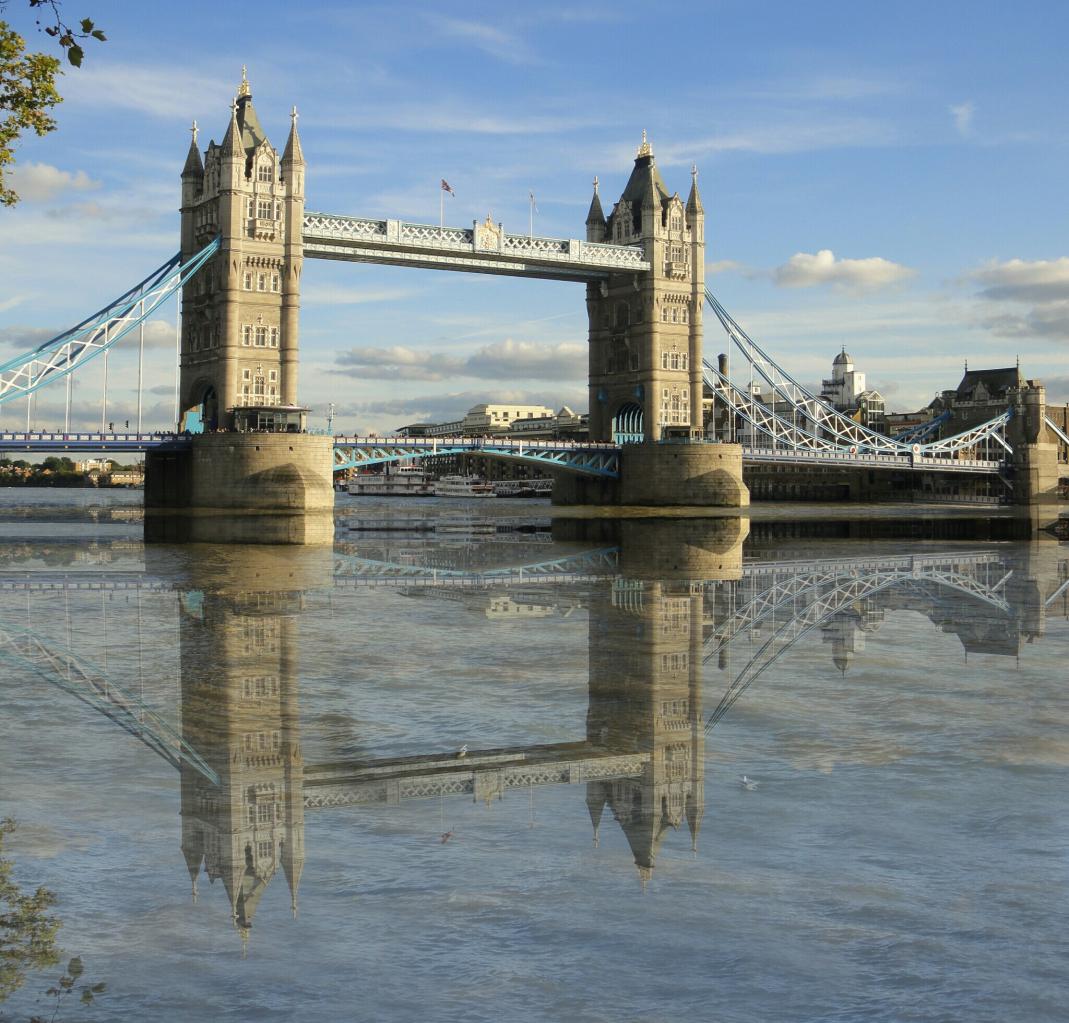
This week, we’ve unveiled some exciting new features for the PicsArt app! One of our favorites is the fun new Mirror Effect, and we want you to enjoy it as much as we do, so here’s a little tutorial to get you started.
The Mirror Effect, as you might guess from the name, will create a mirror image of all or part of your photograph. There are several options within this effect, so it has a whole host of applications! As well as producing funny shots of your friends and allowing you to create cool double images, this can help to create the effect of a scene reflecting in a lake or river, or even in the glass panel of an open door.
Although Mirror Effect can be used on any type of photo, it can best help you to create particularly stunning landscape photos. Even if there is no lake in the original photo, the customizing tools within the effect let you blur and alter the mirrored image to create the illusion of moving water, the result of which is a gorgeous water reflection as seen below.
However, it’s certainly not limited to landscape shots; one of our favorite ways to use Mirror Effect is to create abstract art from any type of photo. Creative placement of the ‘mirror’ can skew things that otherwise look normal, making a whole new, different and sometimes surreal image from the one you have.
There are several different options within the Mirror Effect that allow you to exercise your creativity in many different ways. Once you’ve decided whether to use the horizontal or vertical effect in your photo, the “Offset” option allows you to move the ‘mirror’ to the correct place on your image to ensure you’re getting the perfect reflection. Once you’ve got this in the right place, you can then apply the “Brush” over all or certain sections of your image to create the look that you want!
A Step by Step Tutorial
Step 1:
First, you will need to open “Photo” and select an image; one with a clear, obvious subject will work best, although this effect can be used on any kind of photo!
Step 2:
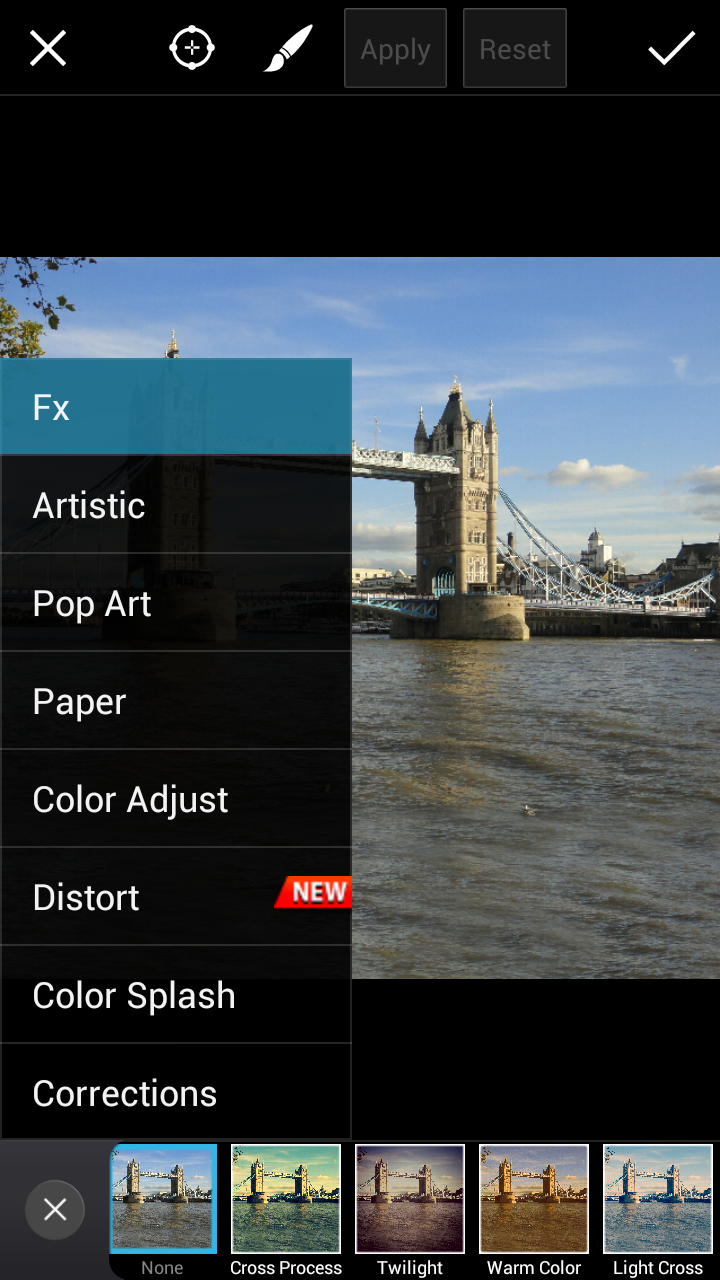
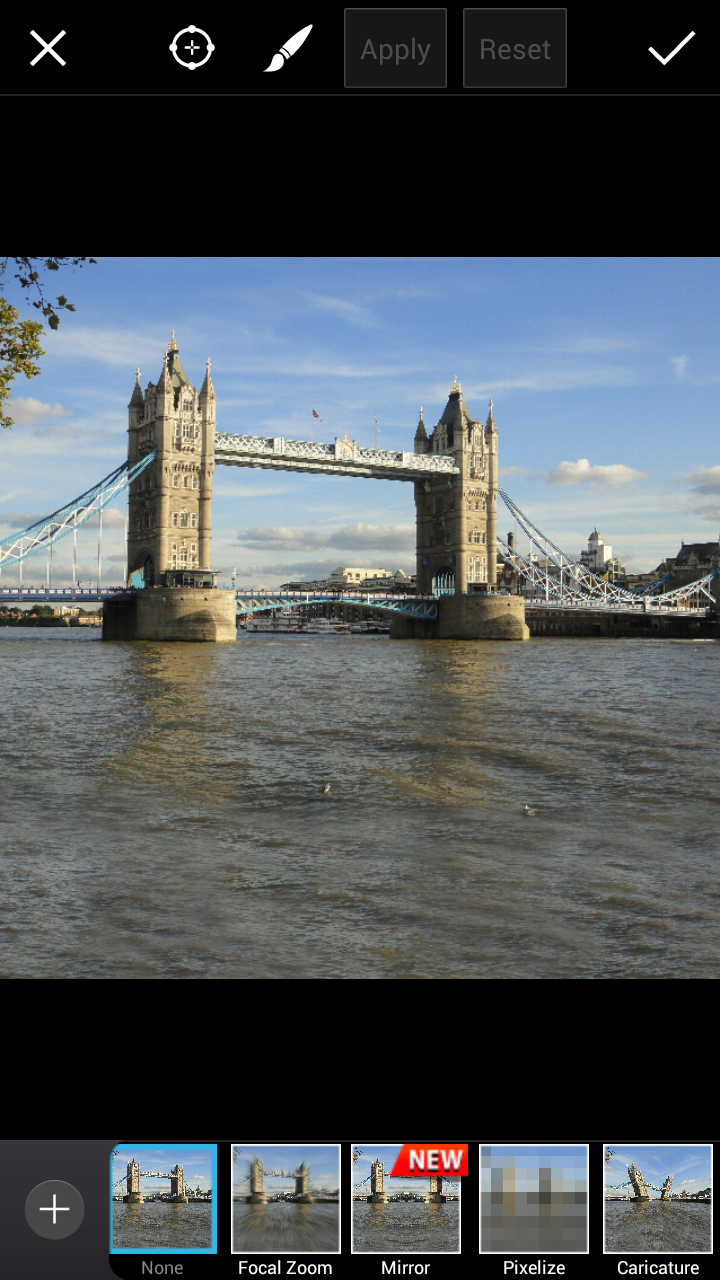
Select “Effect” and then click “Distort” from the drop-down menu. You’ll be able to see “Mirror Effect” as one of the options along the bottom. Tap on it to select.
Step 3:
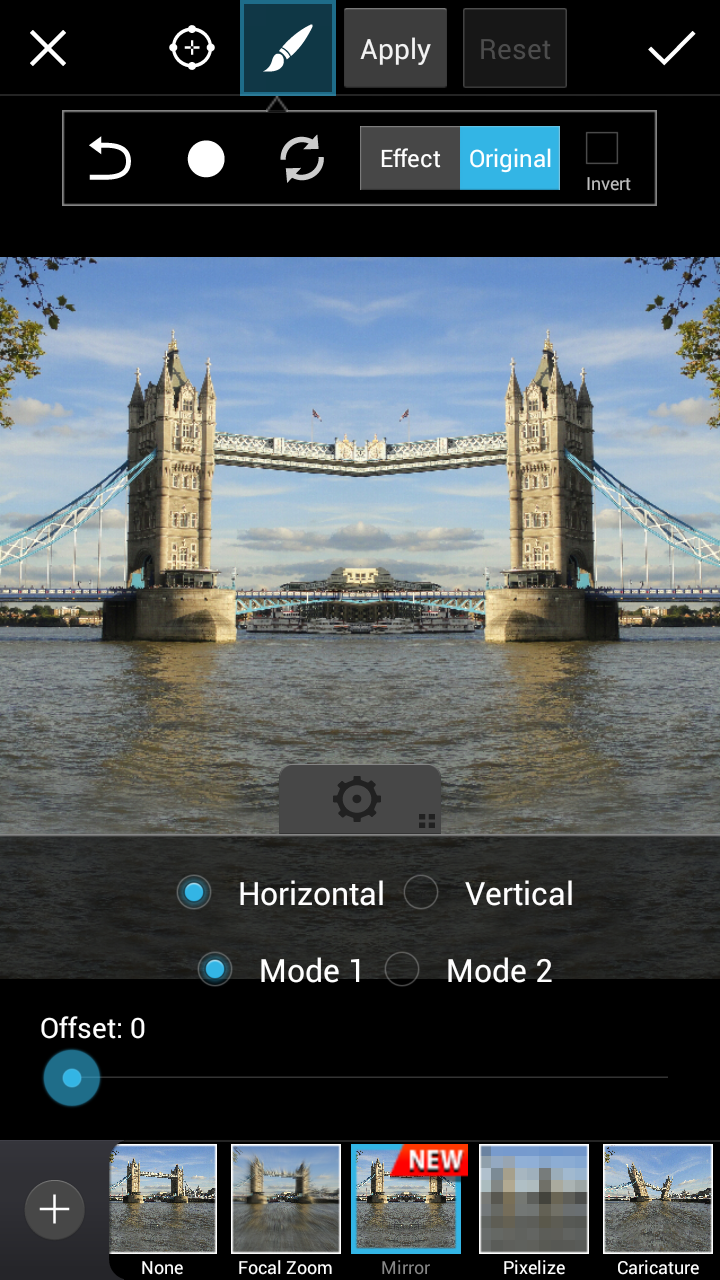
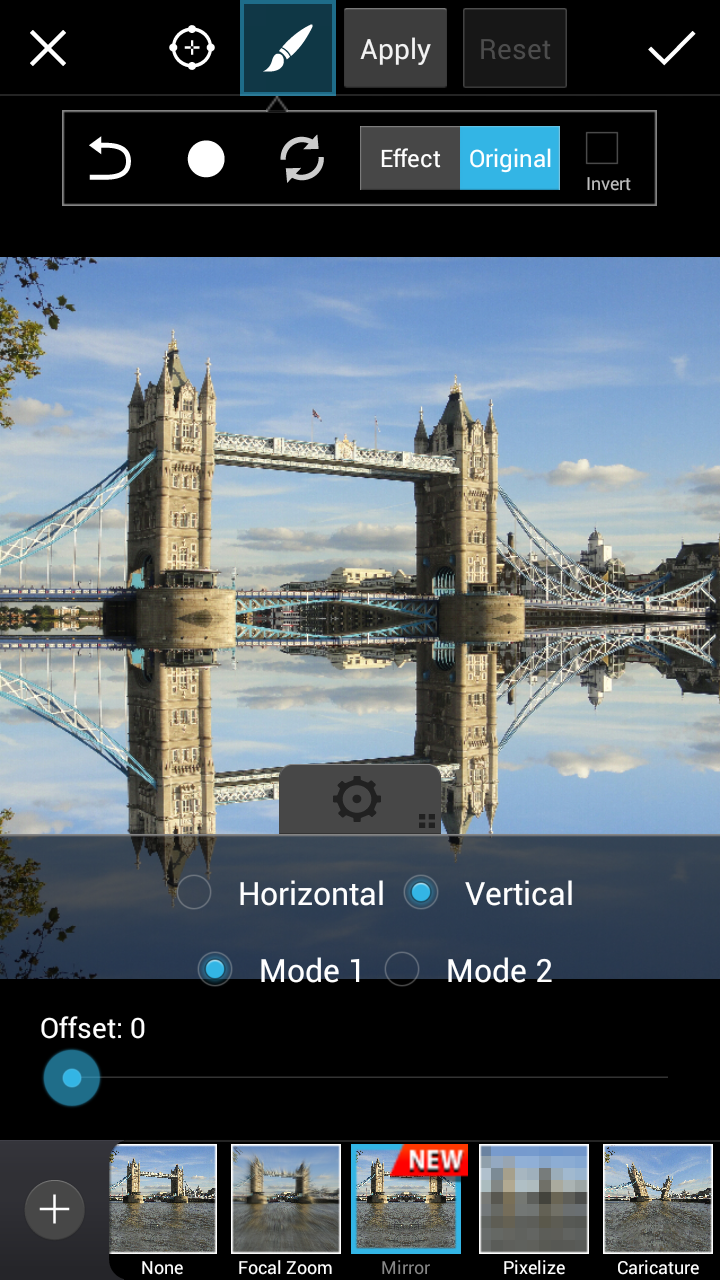
Choose either “Vertical” or “Horizontal” mode of reflection. For the picture we’re using, we’ll need “Vertical”. Drag to adjust “Offset” to place the ‘mirror’ in the right place.
Step 4:
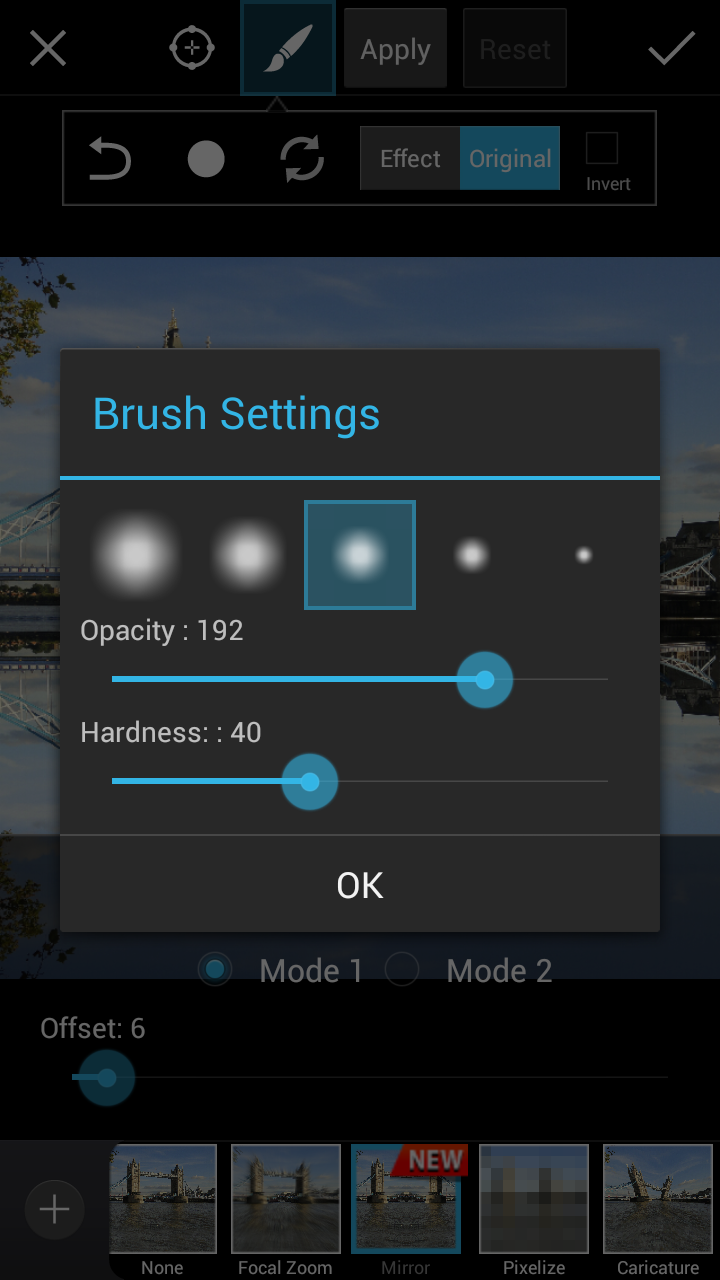
Select “Brush Settings” and adjust the settings for “Opacity” and “Hardness”, then brush over your photograph as you wish to create a host of fun effects.
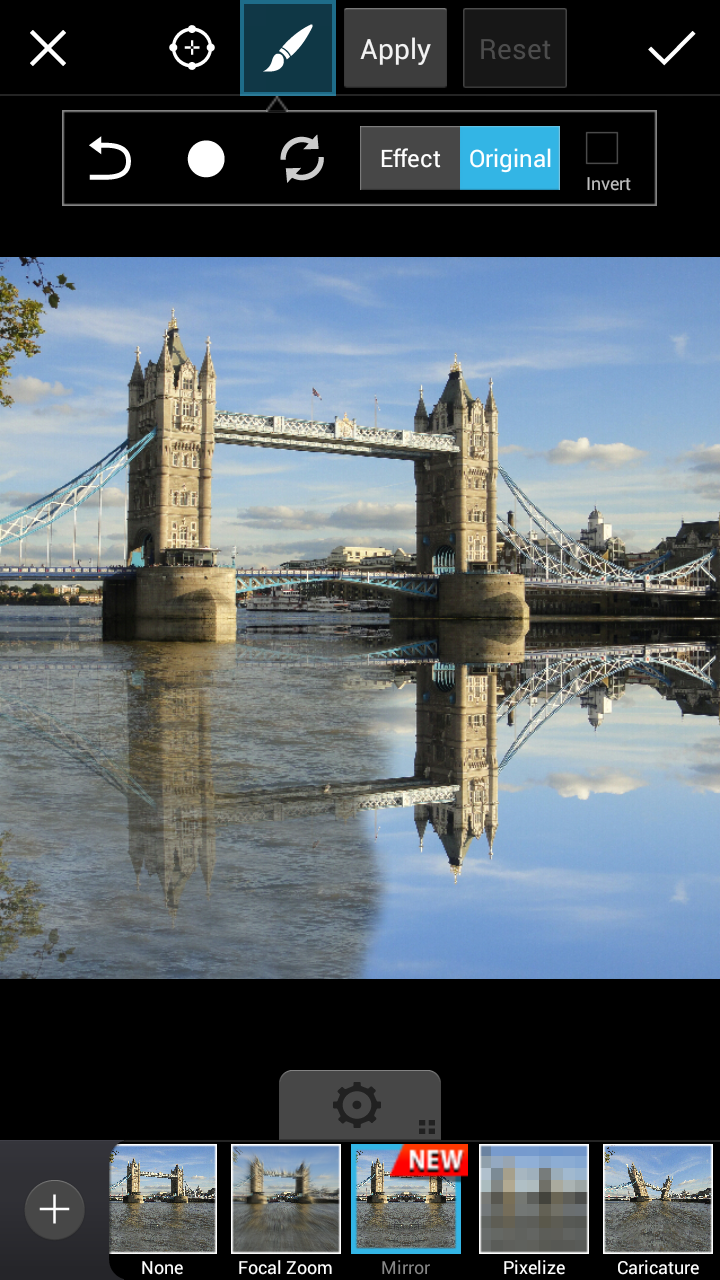
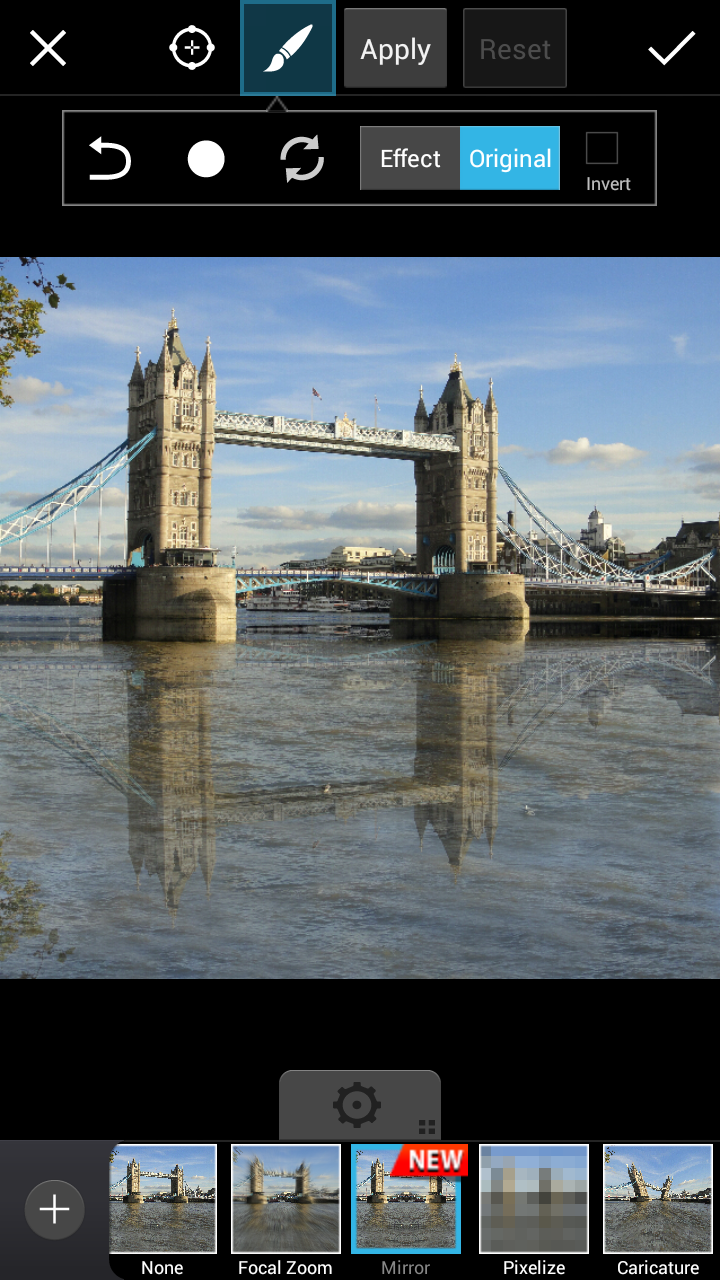
When you’re happy with the way your Mirror Effect looks, save the changes by clicking on the Checkmark and upload your photo to your gallery! Don’t forget to tag it properly so others can find it and see just how awesome the Mirror Effect can be!


