
Rainbows are one of nature’s most magnificent phenomena. When it comes to art and graphic design, the rainbow effect can make your composition and layout pop in an incredibly unique way. Some graphic rainbow filters look so realistic that it’s hard to believe they’re edited in. Today, we’ll go over what rainbows represent, how to create them at home, and how to use them in your designs. But first: science!
A rainbow is a meteorological occurrence caused by reflection, refraction, and the dispersion of light. When sunlight enters a rain droplet, some of the sunlight is reflected while the rest is refracted. This causes the light inside of the droplet to disperse into the colors we see as it exits the droplet. This process results in a spectrum of light in the sky that looks like a multicolored arc. Rainbows caused by sunlight always appear directly opposite of the sun.
In real world scenarios and digital graphic, rainbows invoke feelings of happiness and hope In modern society, this is especially true in the LGBTQ+ community, where the rainbow symbolizes pride, inclusivity, and a celebration of life.
Different Ways To Use Rainbow Photo Effects
Whether you’re celebrating and supporting your community or you simply like the look, rainbow effects can really make your designs burst with energy, creating a unique look that’s unparalleled. Let’s talk a little bit about the different ways you can use rainbow photo effects.
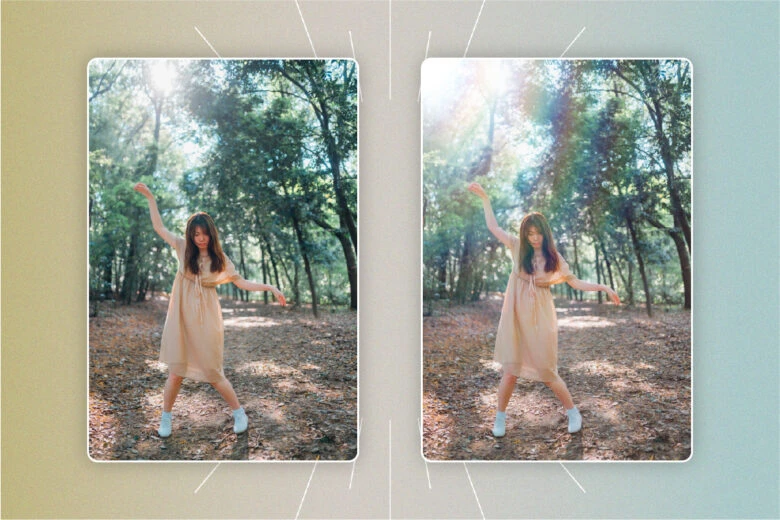
Rainbow Photo Filter
Adding a rainbow filter to your design is the quickest and easiest technique for an on-the-go rainbow photo effect. With a click of a button, you can transform an ordinary photo into something extraordinary.
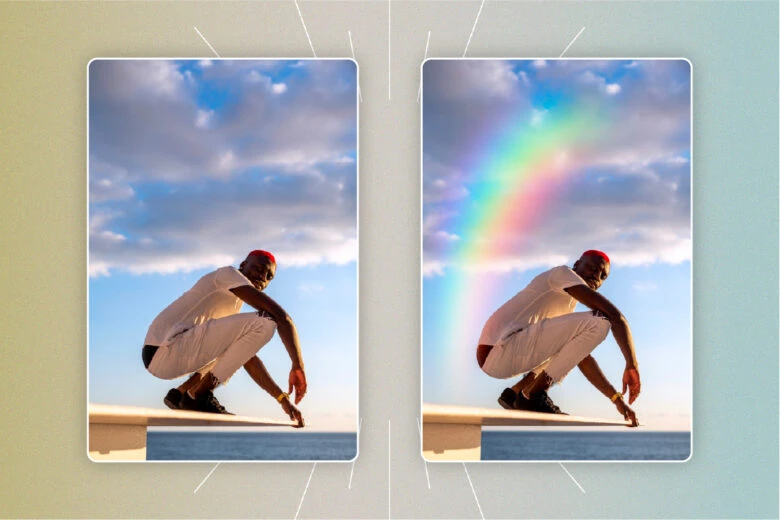
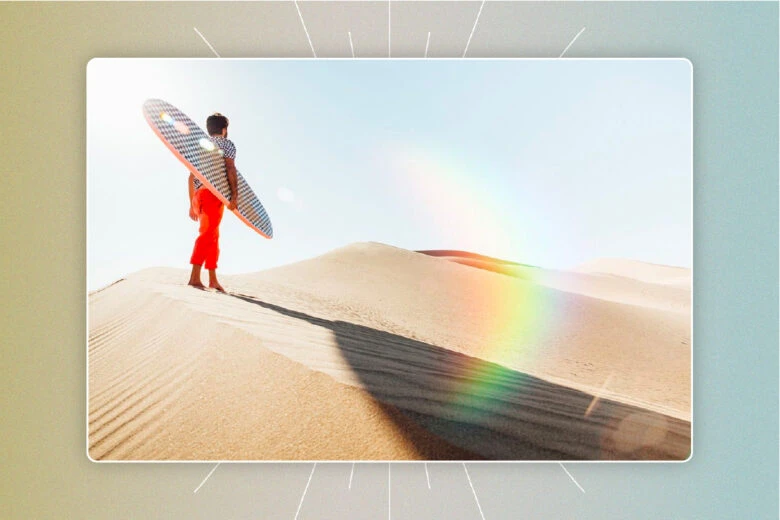
Rainbow Background or Overlay
A rainbow background provides a foundation for you to add other design elements to whereas a rainbow overlay will add a layer of rainbow stripes on top of your design. Using Picsart you can add a variety of rainbow backgrounds or overlays to your image and adjust the opacity until you achieve your desired look.
Rainbow Stickers
Stickers are another fun and unique way to add creative elements to your design. You can add rainbow-specific stickers, or compile a multitude of colorful stickers to create your own rainbow. Picsart offers a range of pre-made options and you can even make your own custom sticker.
Rainbow Brush
Similar to the Stickers feature, the Brushes feature in Picsart mobile allows you to apply rainbow stickers with a paint-like brush tool. You can select a rainbow pattern and use your finger to brush it onto your image in any pattern you’d like. For example, you can draw a heart around your selfie, but instead of a solid color, you can use the brush tool and paint with a rainbow butterfly pattern.
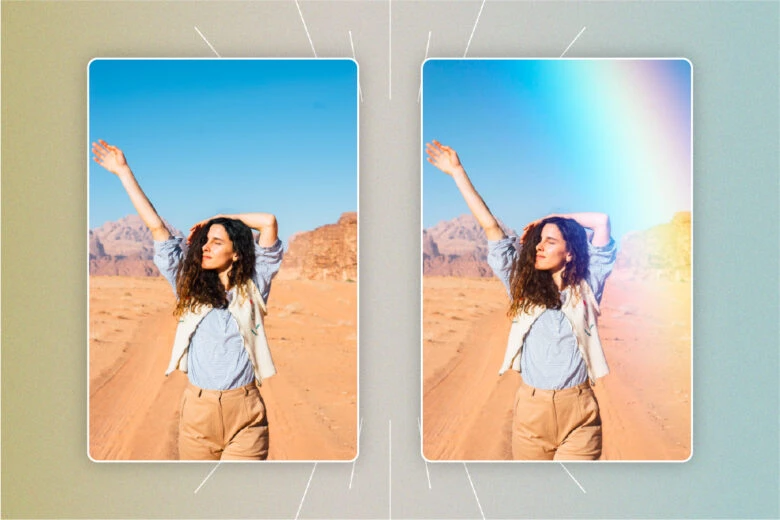
Rainbow Outline or Vignette
Another way to use rainbow effects in your imagery is to add a rainbow outline or vignette to a photo. Using a vignette will emphasize the main subject in your photo by creating a focal point. For example, you can add an opaque rainbow spiral or ring around the main subject of your photo, which will create a beautiful organic outline and maintain focus on the center of your image.
Rainbow Text
Adding some rainbow text on your image can be a great way to add a bit of color to your design. This works especially well if your design is mostly black, white, and gray. There are a few ways to create a rainbow text. You can either make each letter of your text a different color or you can make each word or sentence a different color. You can also create different colored backgrounds for each word or sentence while having a visible text color that will show against all the rainbow colors. Remember the correct rainbow order: red, orange, yellow, green, blue, indigo, and violet.
How Do You Make a Rainbow Effect in Your Room?
Rainbow light filters are all over social media. This trend involves using light refraction made by homemade objects to create a gorgeous rainbow effect on your selfie or your background. If you’re wondering how to create a DIY rainbow light filter, you can do so using simple objects you can find at home.
1. Make a Rainbow Using a Mirror
What You Need: Large bowl or dish, water, mirror, sunlight, window, and a white piece of paper.
Instructions: Fill a large bowl or dish about halfway with water. Place a mirror inside of the bowl so it is partially submerged underwater and partially out of the water. Place the bowl with the mirror inside near a window with direct sunlight hitting the mirror. This method works best early morning or before sundown. Take your piece of white paper (the bigger the better) and move it around above the bowl to capture the rainbow. Move the white paper around until you eventually catch the rainbow light. You can adjust how the rainbow looks by moving the paper closer or further away from the mirror.
2. Create a Rainbow Using a CD
What You Need: Flashlight and a CD.
Instructions: If you were born after the early 2000s, you might not have a clue about the struggles of burning a CD and you probably don’t have any laying around the house. If you do have a CD or DVD, all you need to do is flash a light onto the reflective side of the disc and a visible rainbow will bounce off onto yourself or wherever you are pointing the CD.
3. Make a Rainbow With a Homemade Prism
What You Need: Three mirrors, sunlight, or strong light.
Instructions: A prism is a plastic or glass geometric object (usually triangular) that separates white light into the colors of the rainbow by refracting light and breaking it according to its wavelength. Essentially the same process that occurs in nature can be recreated using three mirrors. Create a homemade prism by pointing three mirrors at each other and holding your prism near sunlight or a strong light. You should see a beautiful rainbow light reflected off.
How to Create a Rainbow Effect on Your Photos
If you don’t have any of these materials available or you don’t want the hassle of creating a homemade rainbow, there’s an easy fix for that. Follow these simple instructions on how to make a rainbow light filter for your photos using Picsart creative tools.
On the Web
Looking for a rainbow photo filter online? Follow these simple instructions on your tablet, laptop, or desktop.
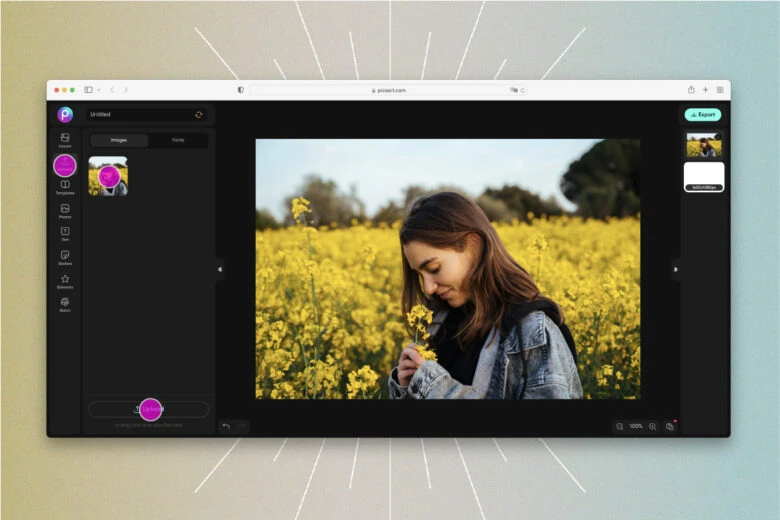
1. Open the Picsart web editor and click on New Project to start.

2. Upload the image you want to edit.
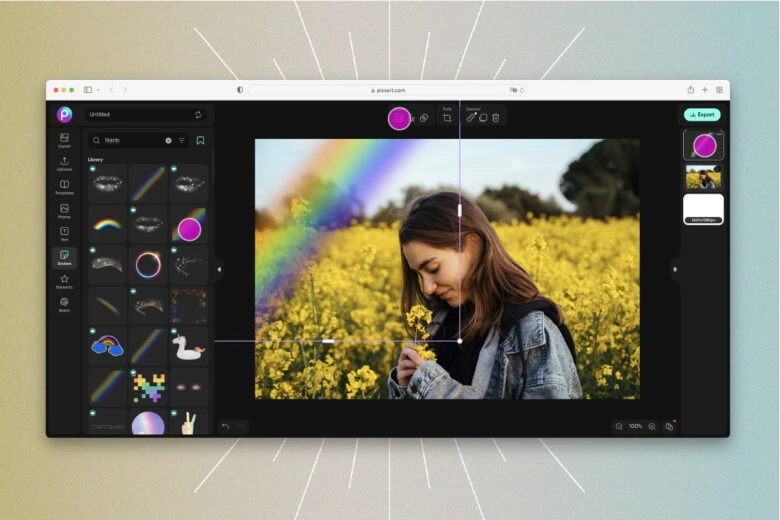
3. To add rainbow stickers, click on the Stickers tool on the left-hand side. Then type “rainbow” in the search bar. Click on a sticker, resize, and rearrange on your photo accordingly.
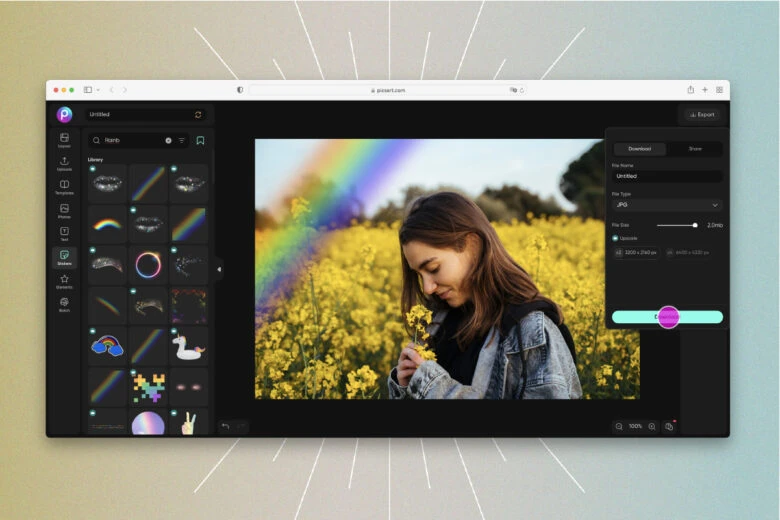
4. Add any finishing touches (text, shapes, filters, effects, etc) then click on the Export button to download your work.
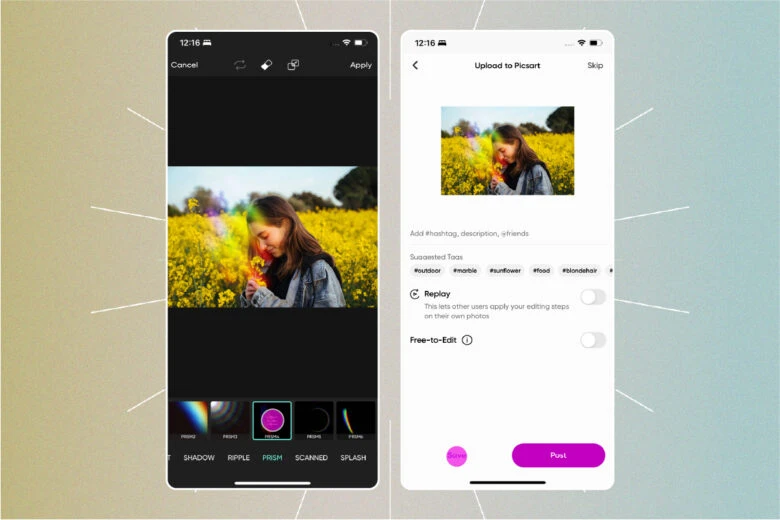
On Mobile
1. Open the Picsart app and tap the purple plus symbol to start.
2. Upload the image you want to edit.
3. Select Mask from the toolbar at the bottom.
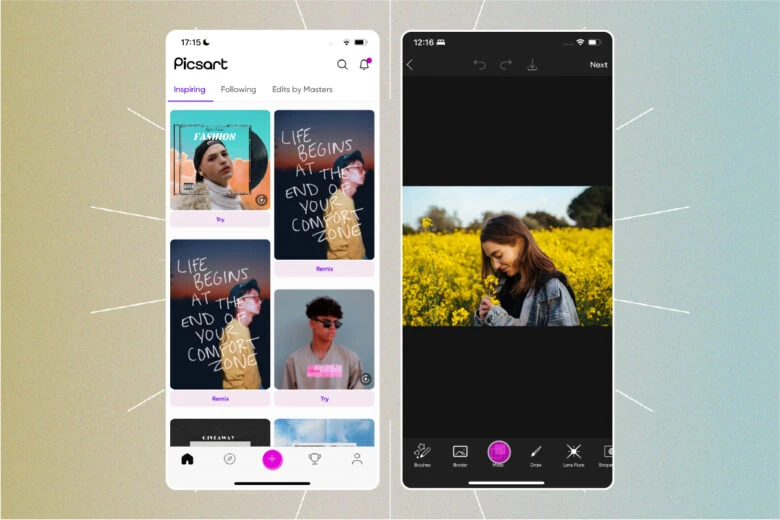
4. Scroll until you find the PRISM masks.
5. Select the PRISM mask you like best, long pressing to adjust and apply the hue and opacity levels you need. Tap on Apply to confirm your edits.
6. Save to your device or post your creation to the Picsart community.
Create at the Speed of Culture
Picsart is a full ecosystem of free-to-use content, powerful tools, and creator inspiration. With a billion downloads and more than 150 million monthly active creators, Picsart is the world’s largest creative platform. Picsart has collaborated with major artists and brands like BLACKPINK, Taylor Swift, the Jonas Brothers, Lizzo, Ariana Grande, Jennifer Lopez, One Direction, Sanrio: Hello Kitty, Warner Bros. Entertainment, iHeartMedia, Condé Nast, and more. Download the app or start editing on web today to enhance your photos and videos with thousands of quick and easy editing tools, trendy filters, fun stickers, and brilliant backgrounds. Unleash your creativity and upgrade to Gold for premium perks!


