Contents
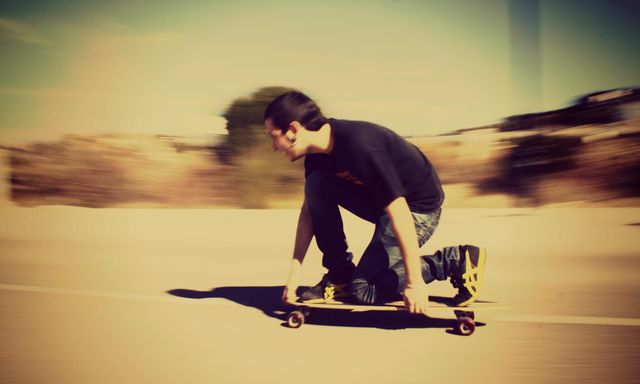
As you already know if you’re a regular PicsArt user, we are constantly designing various features to help you express yourself to the fullest using the PicsArt app. One of these features is the Motion Blur. Capturing motion can be difficult if you’re working with a camera-phone (or even sometimes with a DSLR!) so this effect has been designed to help our photographers make the most of their action shots!
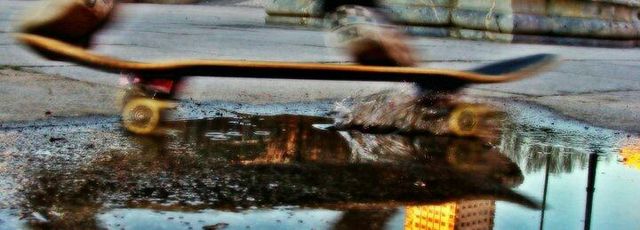
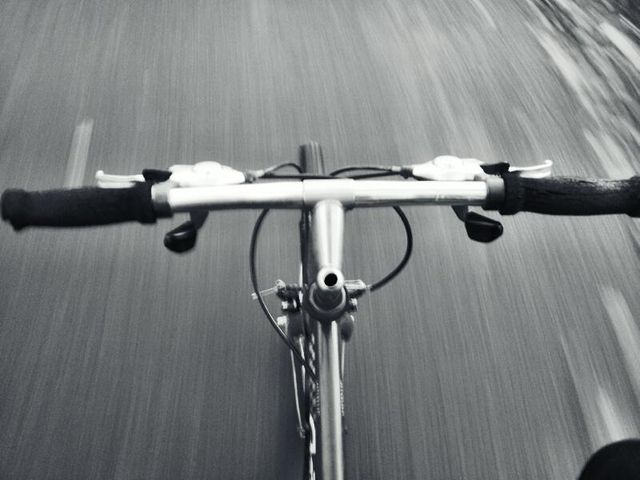
Perfect for capturing images of your friends leaping, diving and riding, whether they are shot against the lush green of the summer or the deep red of fall foliage, there are many inventive and creative ways that Motion Blur can be used. Don’t be afraid to create some beautiful abstract artistic images as well as some awesome sports shots!
While the Motion Blur Effect can create a sense of speed and movement in your pictures, it also allows you to wipe parts of your images free from blur, so that you can choose which parts of your images appear blurred by movement, and which parts appear still and clear. This is a great way to edit action shots of yourself to make your friends feel like they were truly there!
Motion Blur: A Step by Step Tutorial
Step 1: Choose a Photo
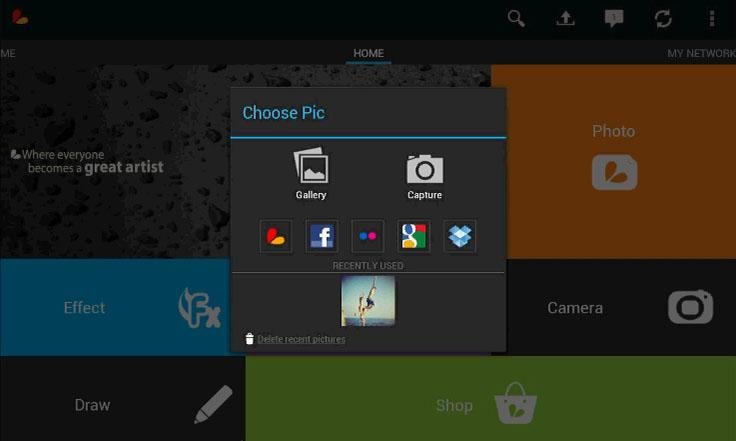
First, you will need to open “Photo” and select an image; be sure to pick one that has a sense of movement or speed, or one with a clear subject that could benefit from the “motion blur” treatment!

Step 2: Select the Motion Blur Effect
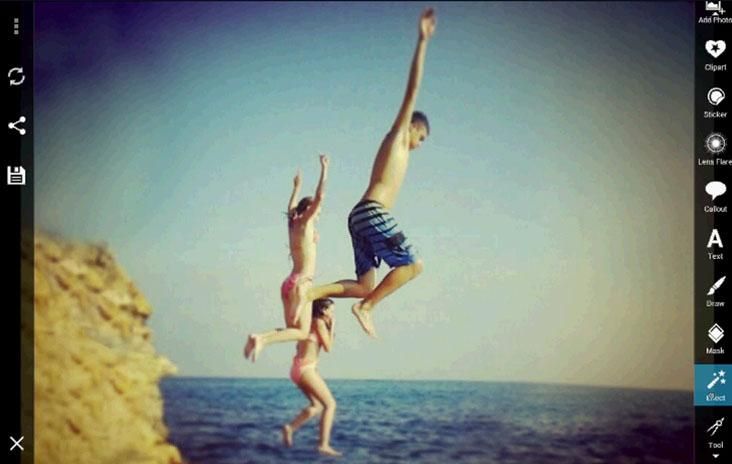
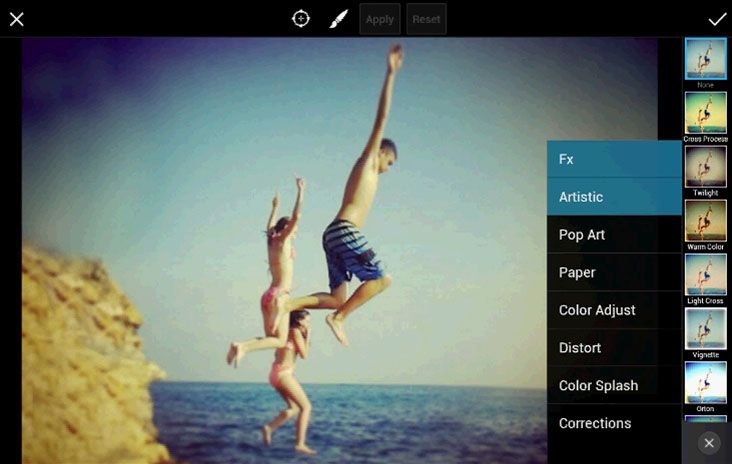
When your photo is loaded, click “Effects” then select “Artistic” from the drop down menu. Scroll down the artistic effects menu to find “Motion Blur” and select it.
Step 3: Cutomize the Photo Effect
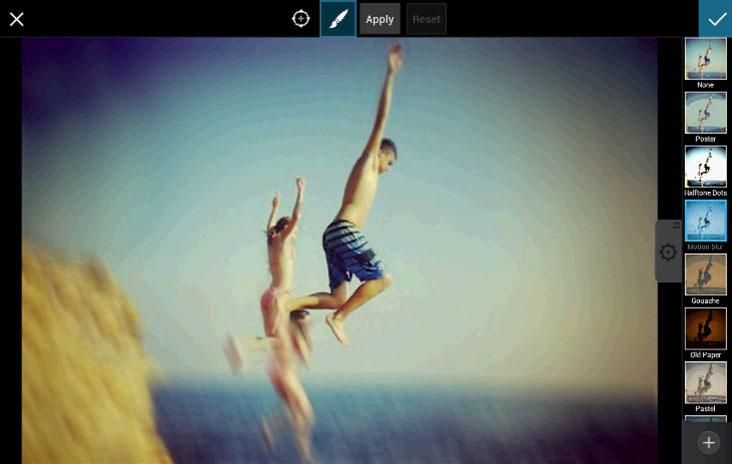
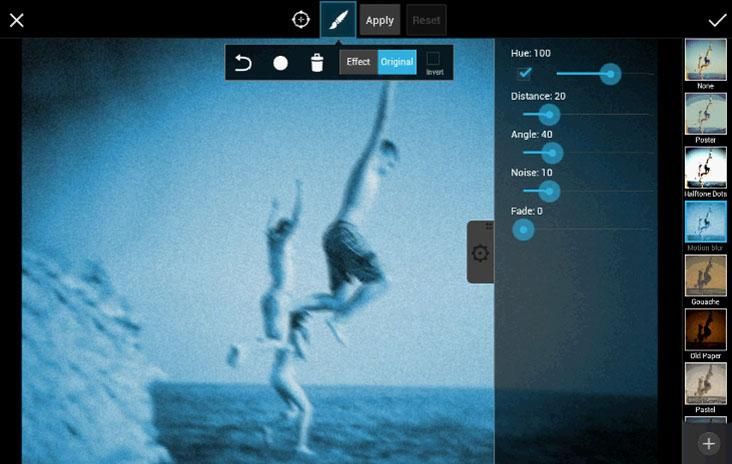
When you select “Motion Blur”, the effect will automatically colorize your photo. Select the color that you prefer by dragging the “hue” slider, or turn the colorization off entirely by unclicking the box next to the slider. Your photo will turn back to its original color.
Step 4: Correct Amount of Motion Blur
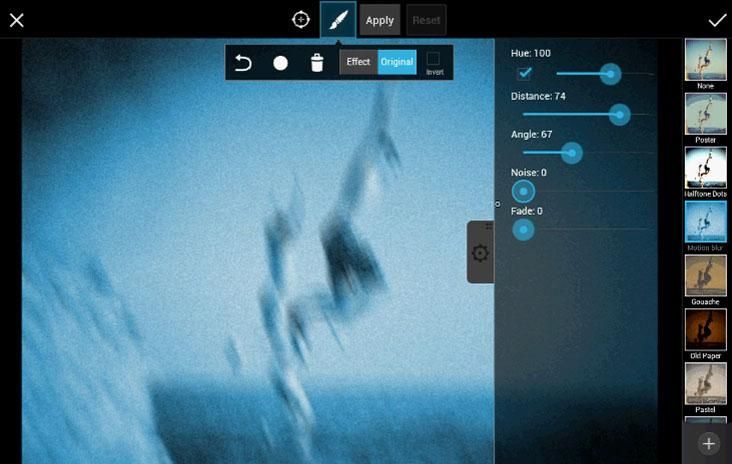
Play around with the “Distance”, “Angle” and “Noise” sliders to apply the correct amount of motion blur to your photo and ensure that the sense of movement is going in the right direction.
Step 5: Fade Level
Drag the “Fade” slider to manage the level of fade.
Step 6: Customize the Brush
Click the “Brush” button and drag the slider to get the right size brush. Click the brush shape that you want to use then click back to the photo screen.
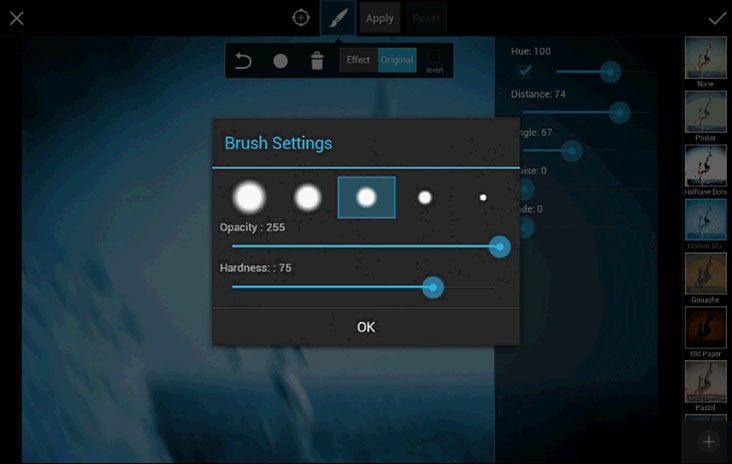
Step 7: Brush out the Motion Blur
Brush over the subject of your photo, or the part that you would like to keep clean from motion blur. With the central subject of your photo in focus and the rest with a motion blur, your image will enjoy a gorgeous sense of movement!
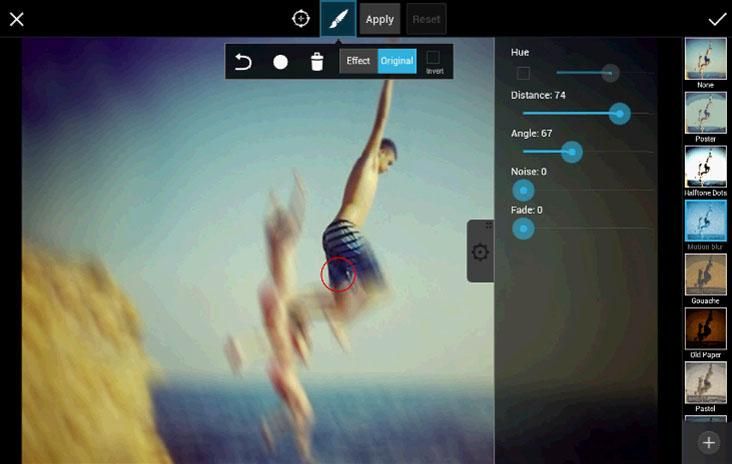
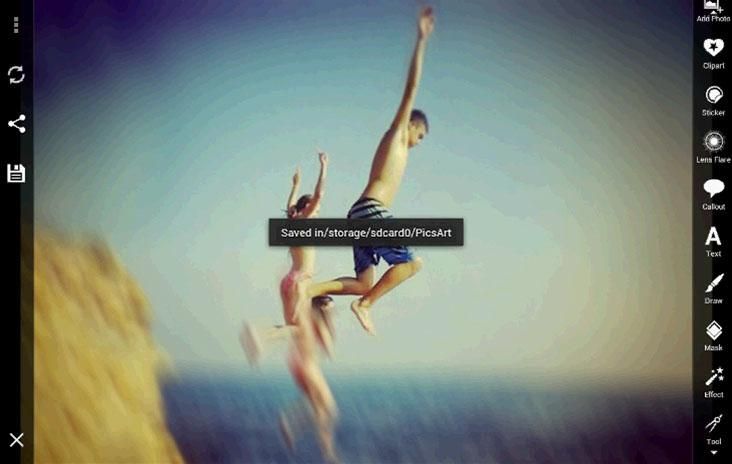
Step 8: Save and Upload to PIcsArt
When you’re happy with your edited photo, click the Checkmark button to save your photo, and don’t forget to upload it to PicsArt and tag it with “motion blur” so others can take inspiration from your work!
