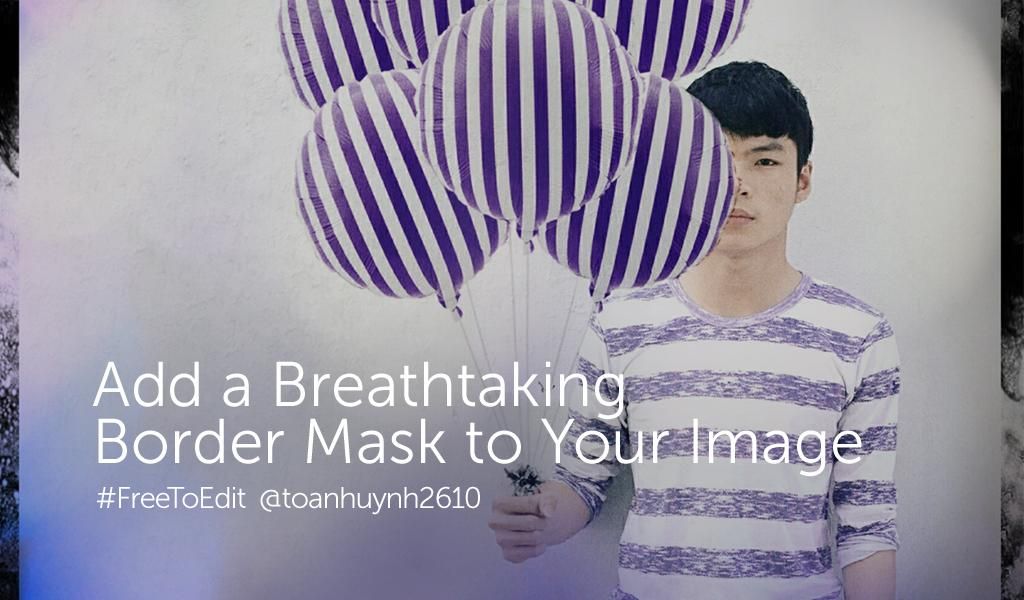
In this step-by-step tutorial, we’ll show you how to use the photo editor to apply Border Masks to your images. Read on to learn how to do it, and then share your own edits with the PicsArt community!
Step 1: Open Image in the Photo Editor
Open your image in the photo editor. Scroll through the toolbar until and tap the Mask icon.


Step 2: Select a Border Mask
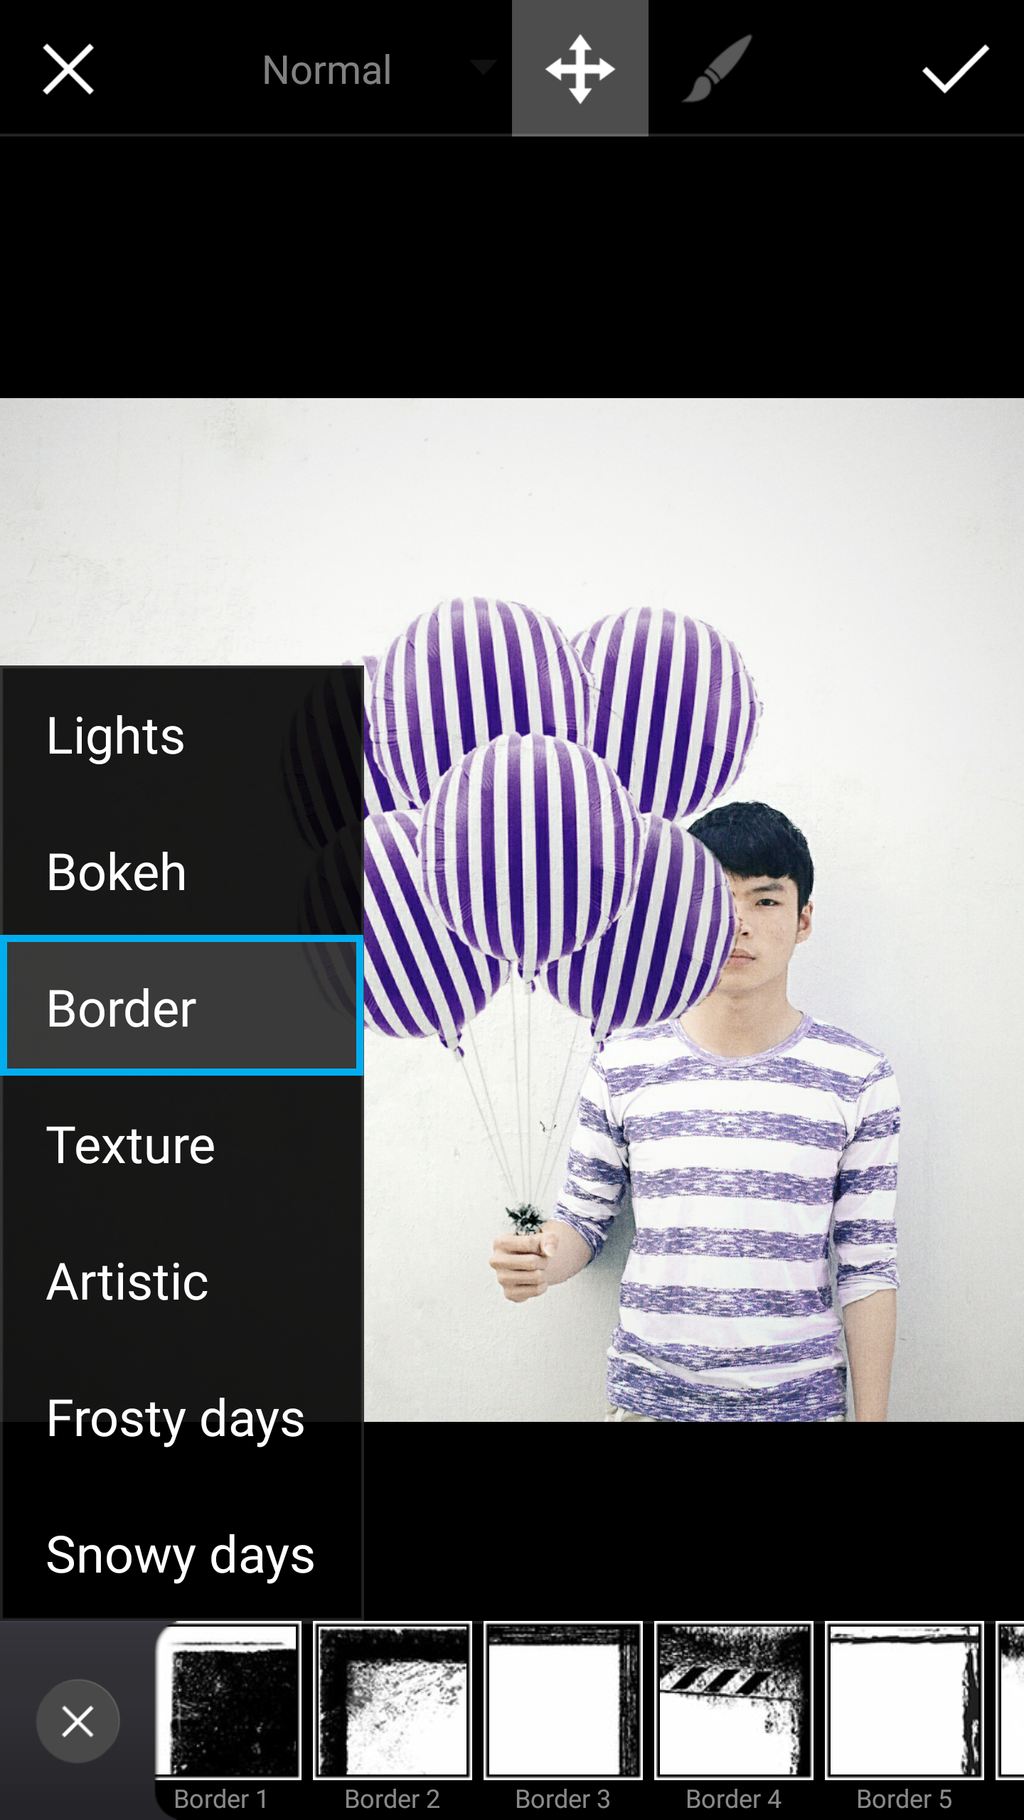
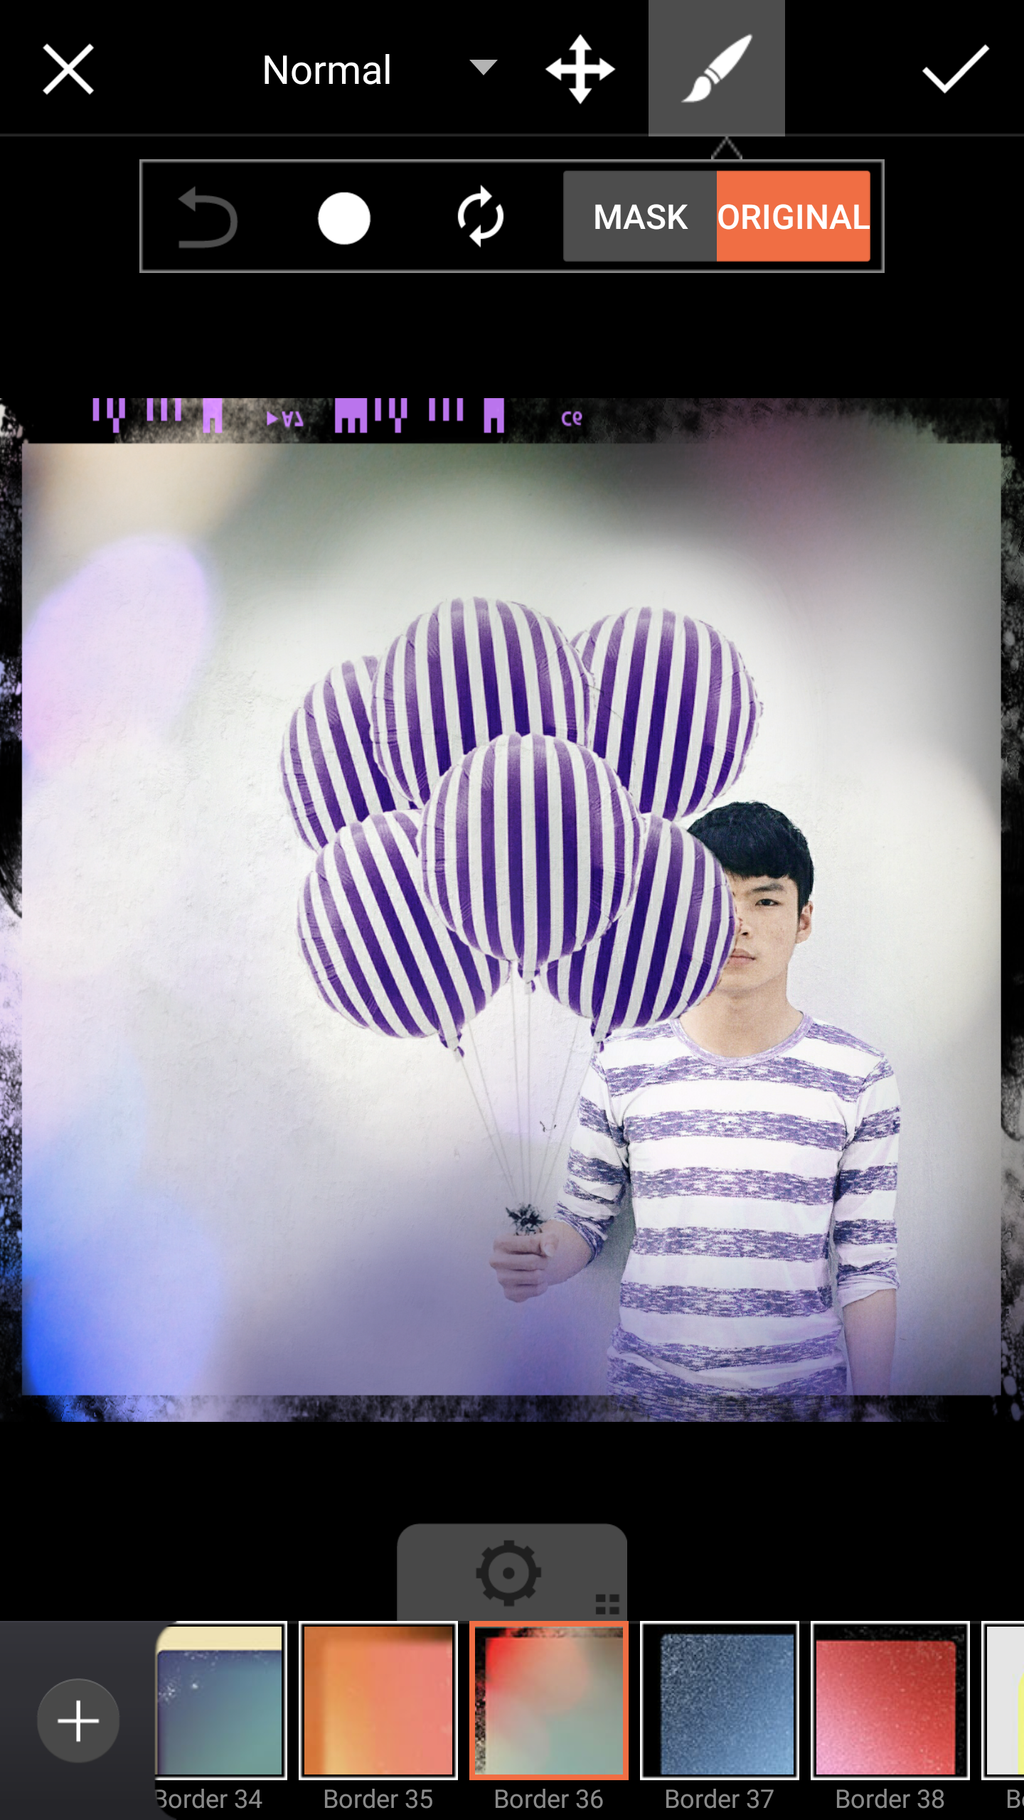
Select the Border section. Scroll through the available options until you find one you like. In this case we have selected Border 36.
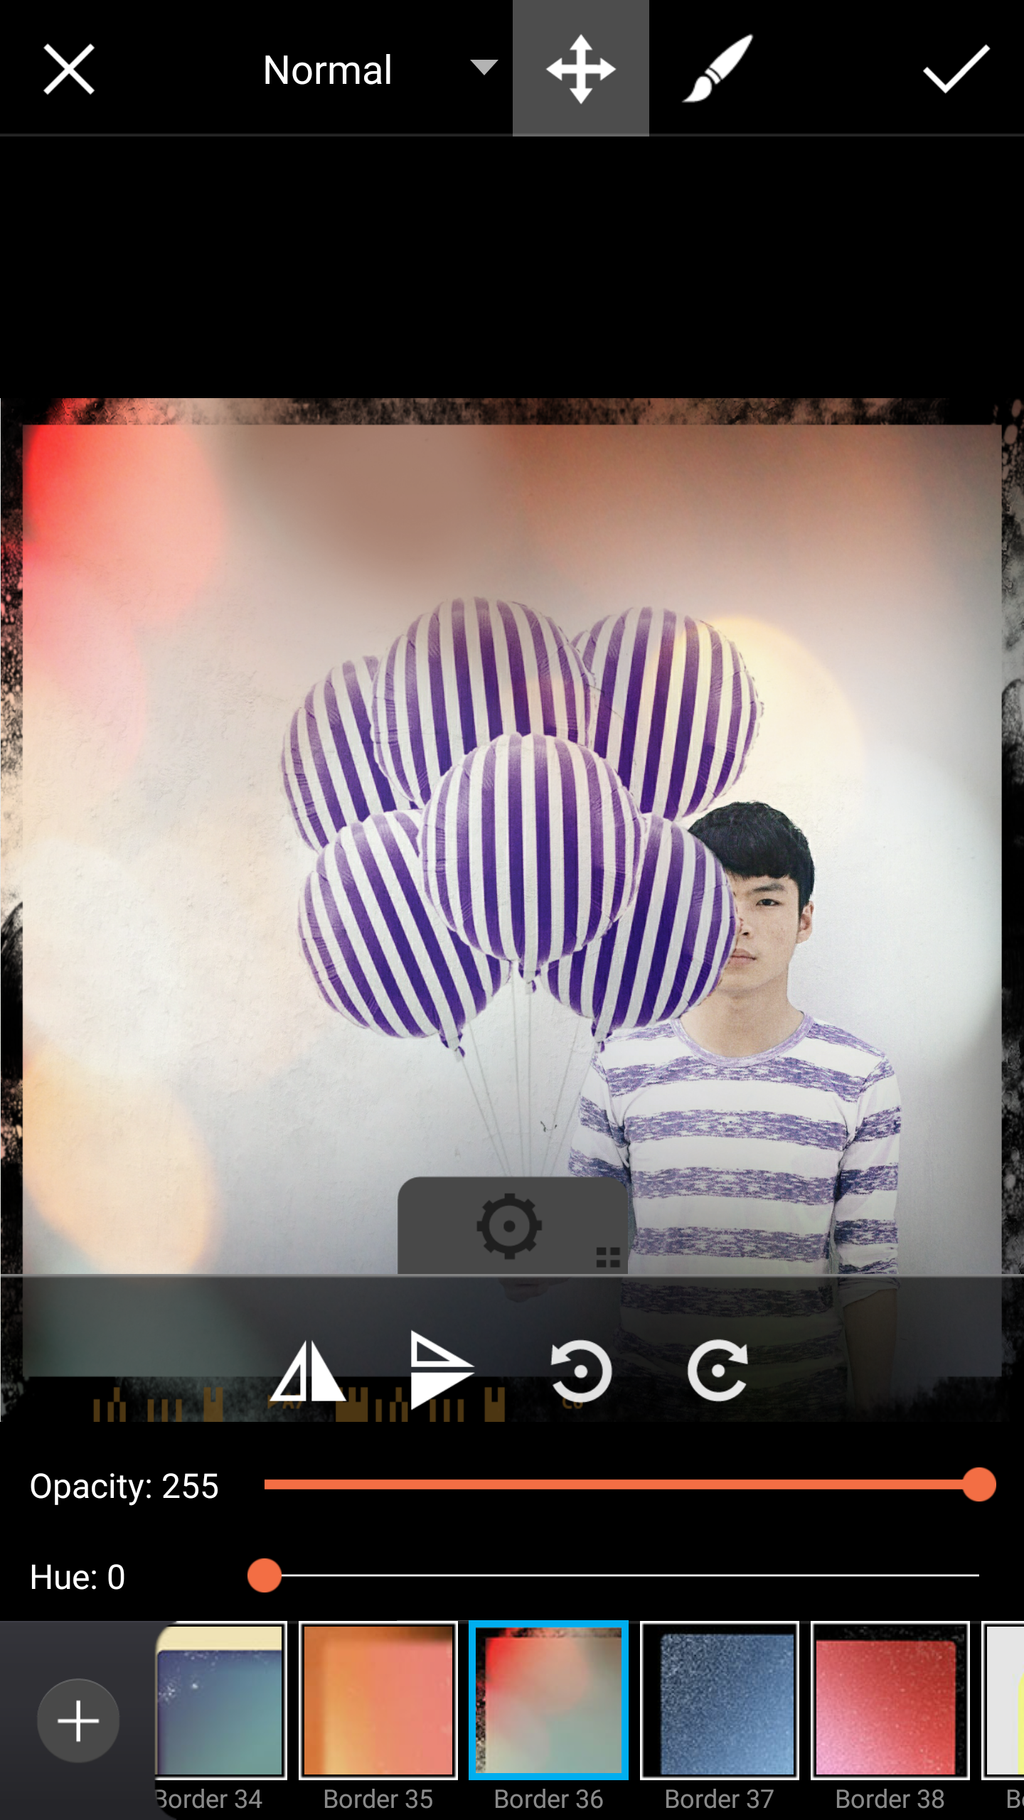
Step 3: Adjust the Settings of Your Mask
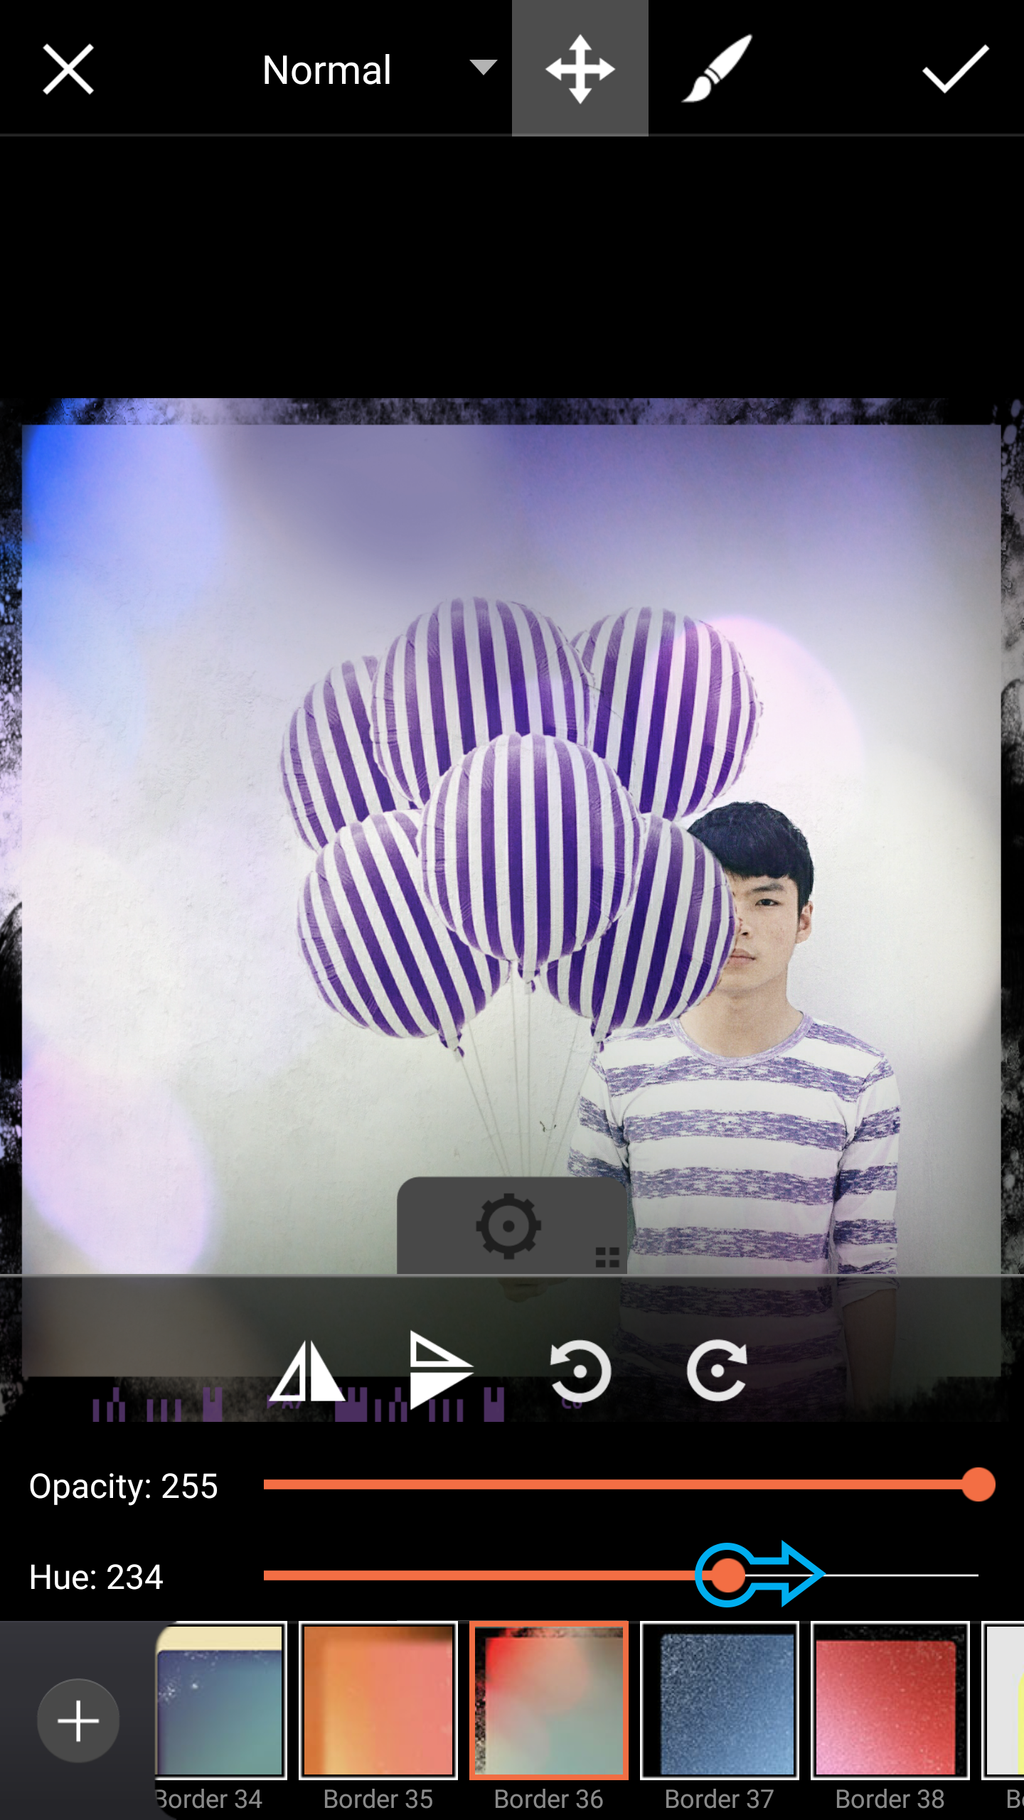
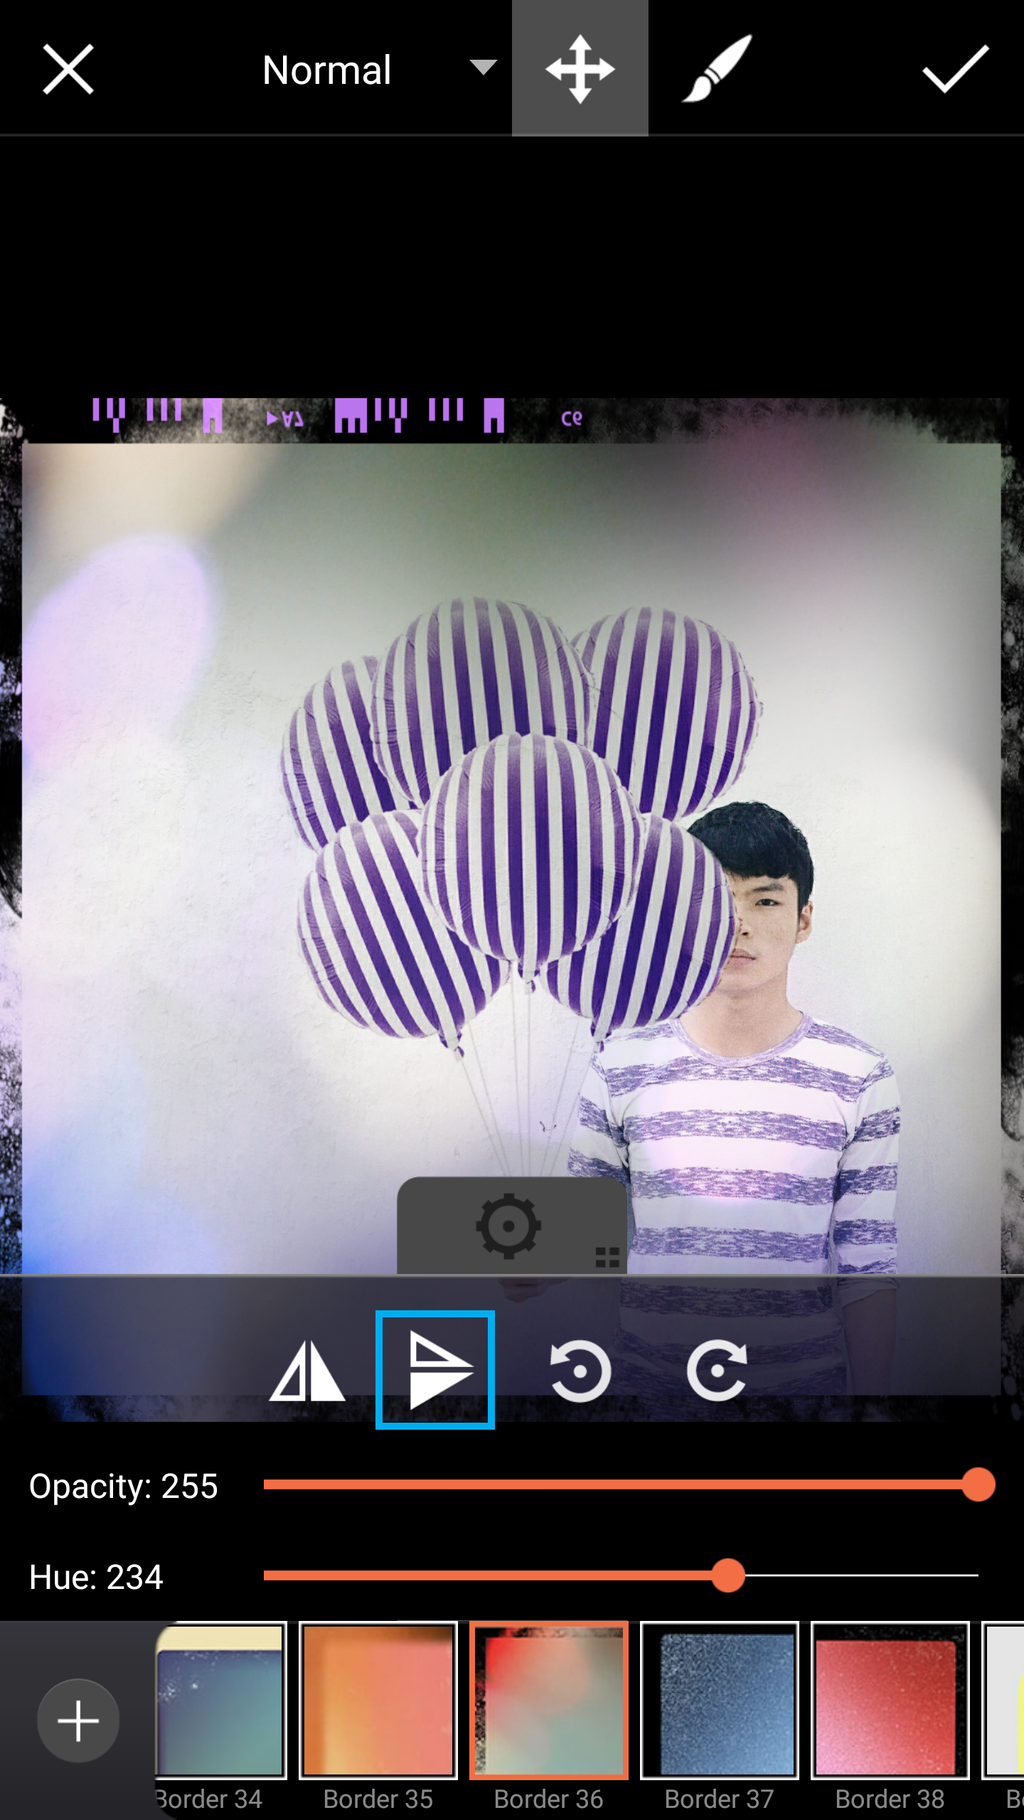
With your finger, use the slider to adjust the hue of your Border Mask. Then, tap the icon to flip the Mask upside-down.
Step 4: Erase Portions of Mask to Make Subject Visible
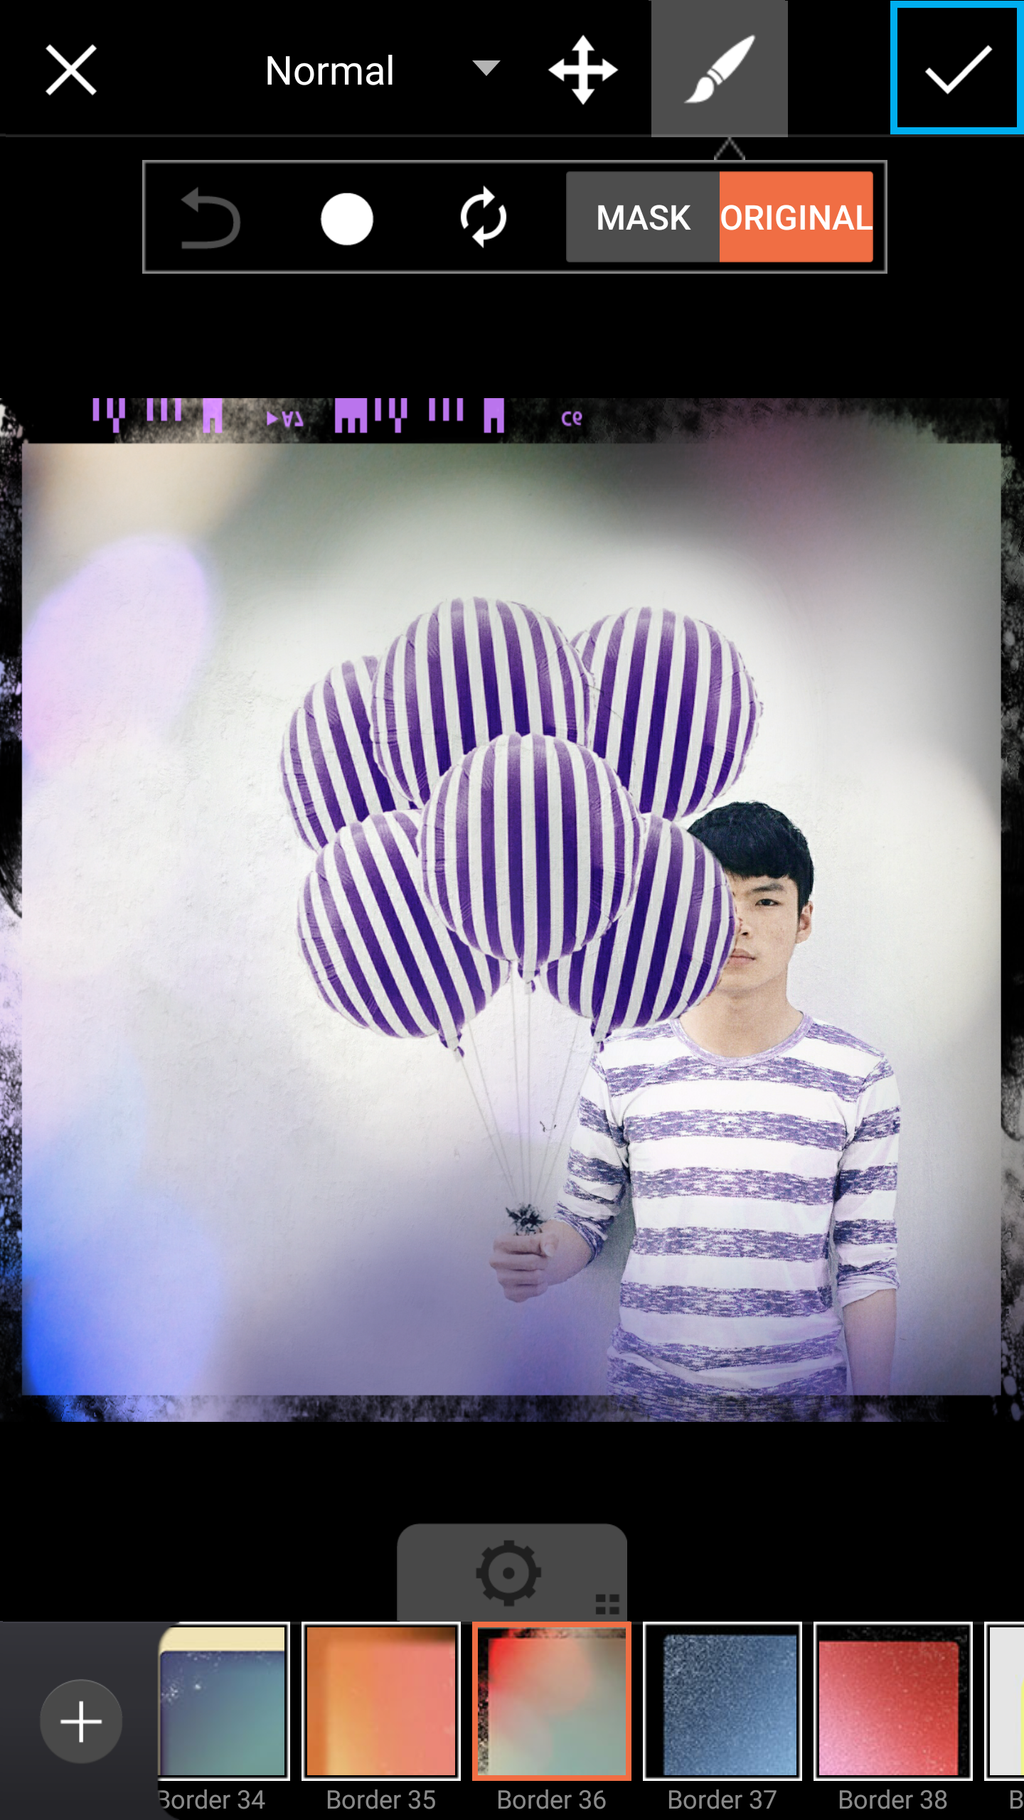
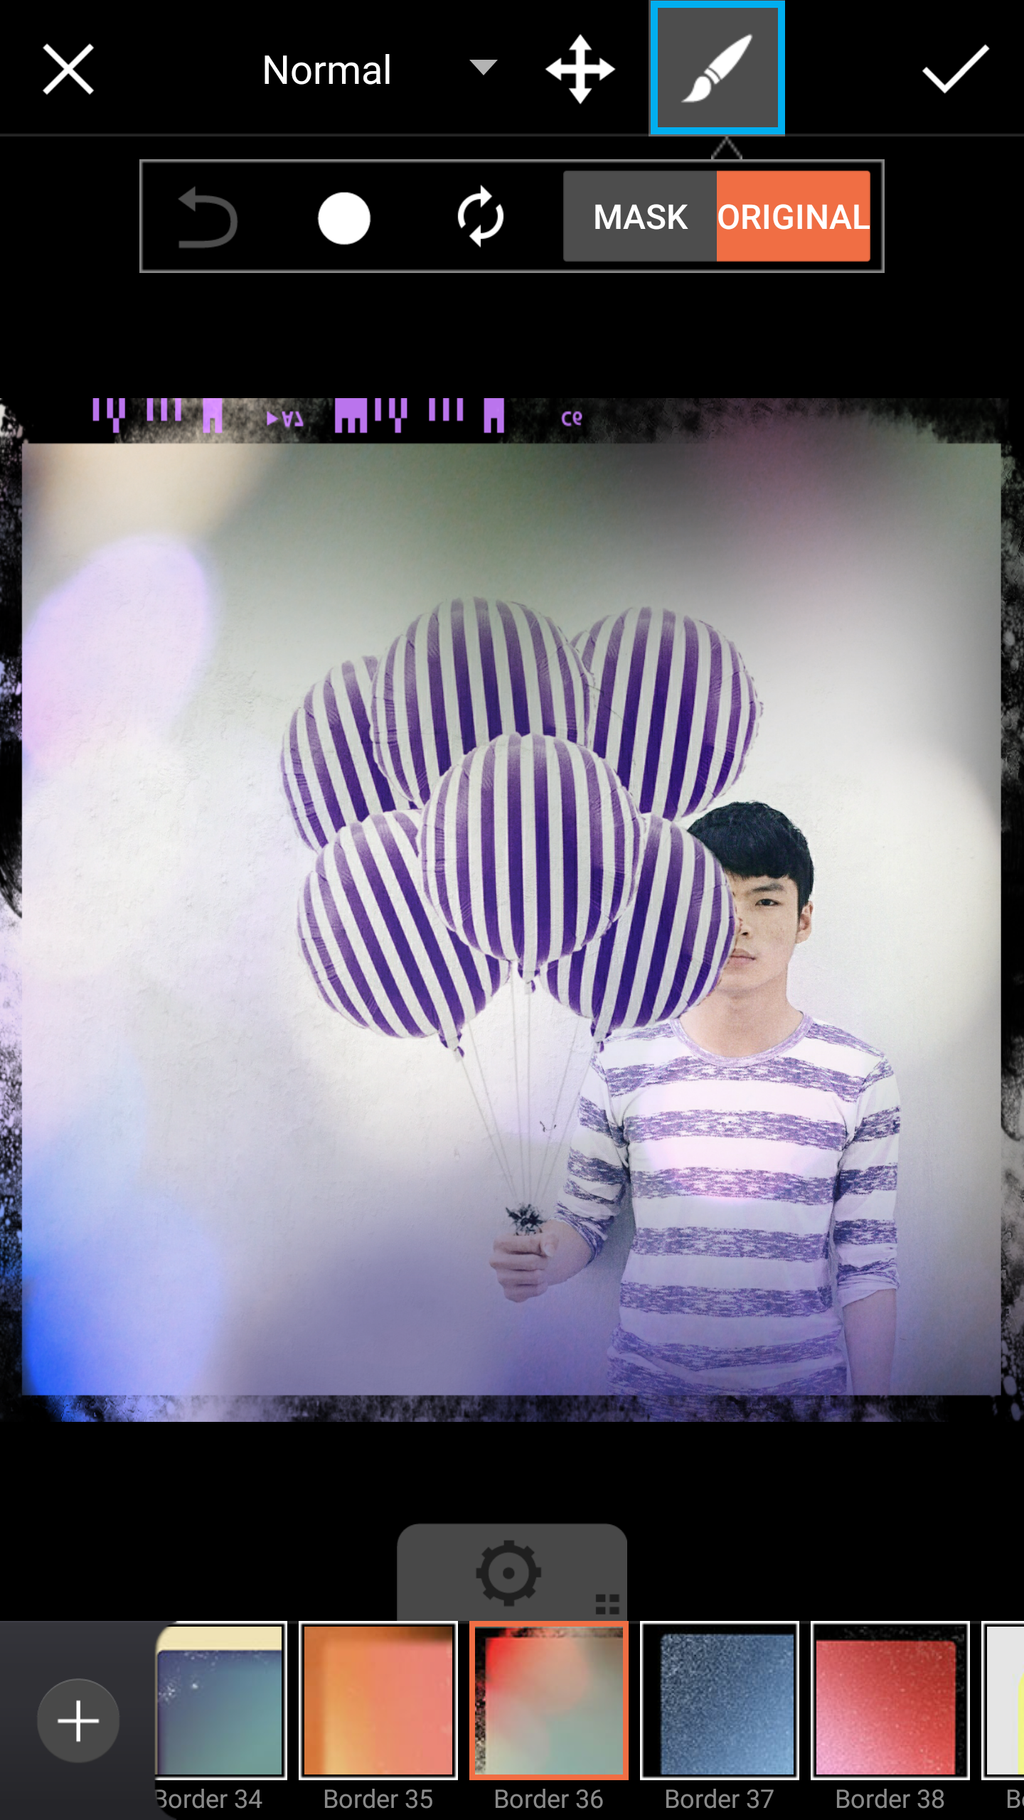
Tap the paintbrush icon to activate the Eraser Tool. Use your finger or stylus to erase the portions of the mask that obscure your subject.
Step 5: Confirm and Save
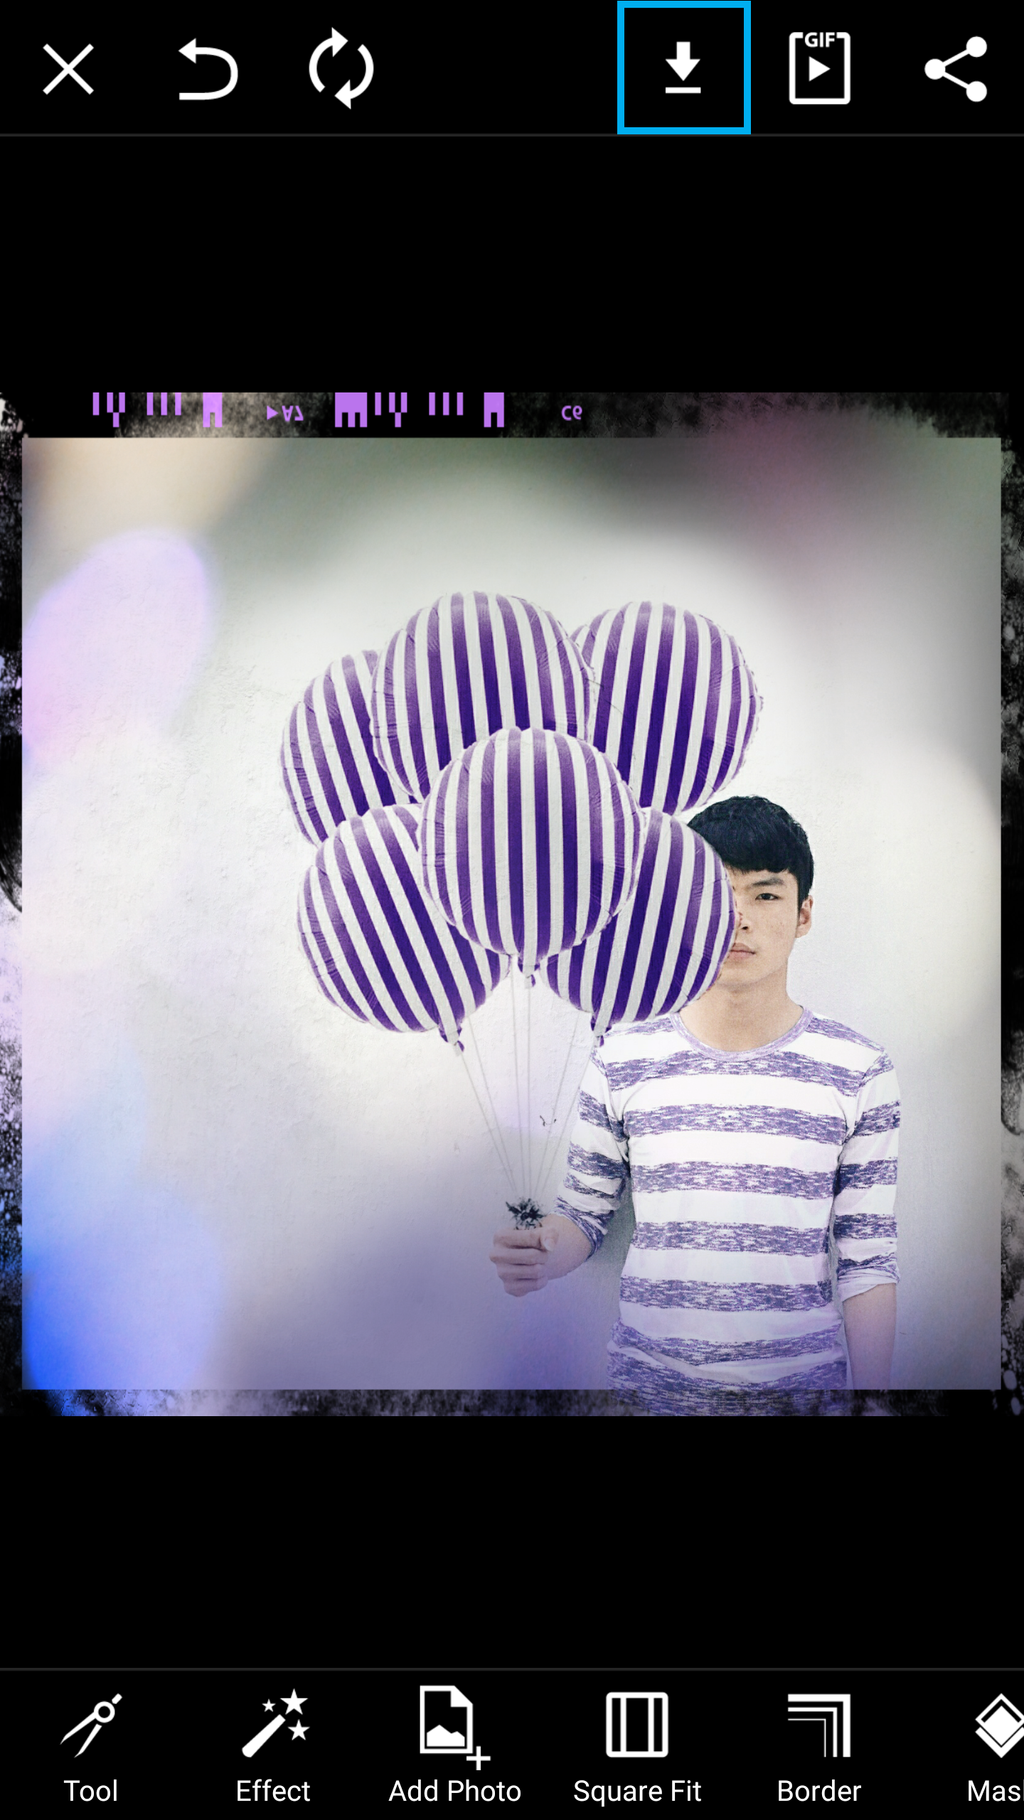
When finished, tap the check mark to confirm your changes. Save your image and share it in the app!
