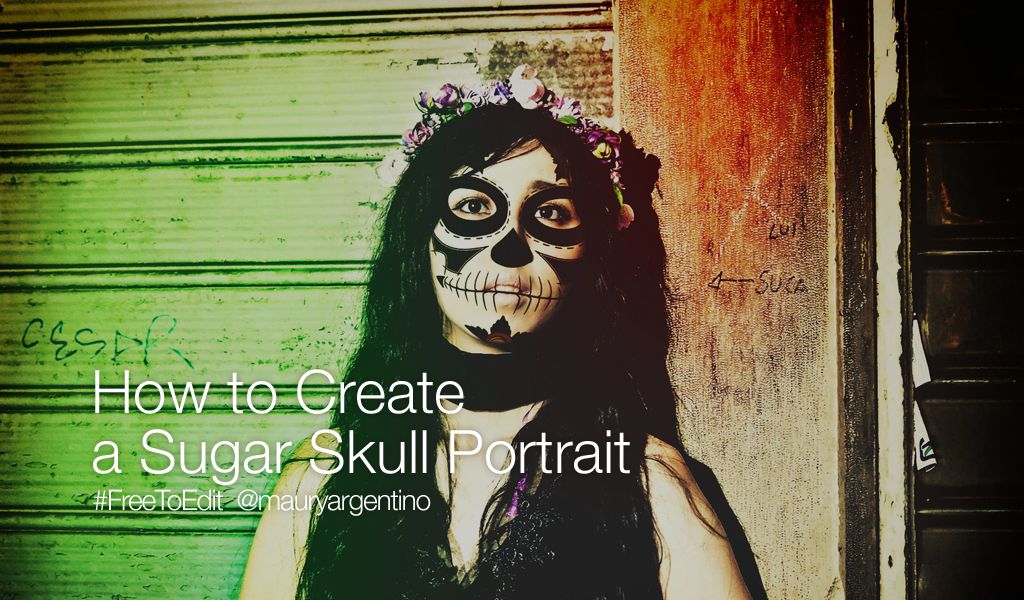
In this tutorial, we’ll show you how to use the photo editor to create a sugar skull portrait. Read on to learn how to do it, and then start transforming your own images! Be sure to share your creations with the hashtag #DayOfTheDead.
Step 1: Open Clipart Menu
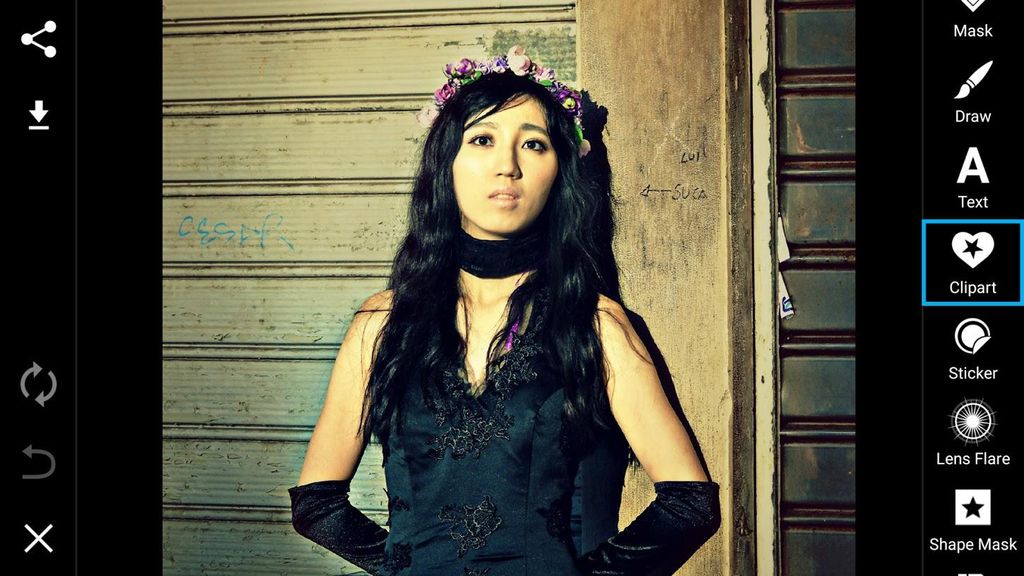
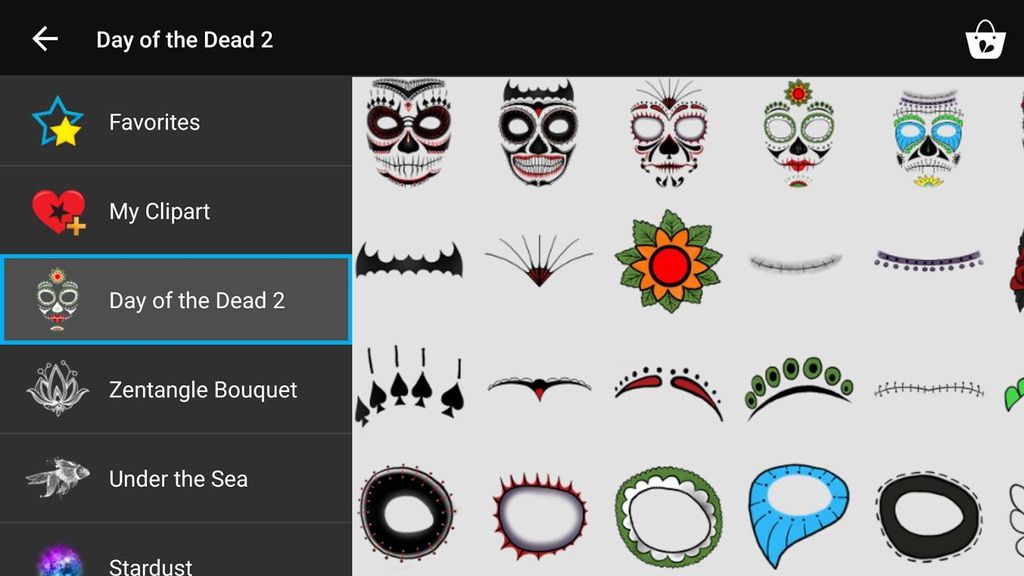
Open your image in the photo editor. Tap on the Clipart icon (you may need to scroll through the toolbar to find it) and select the Day of the Dead 2 package.
Step 2: Select Clipart Image
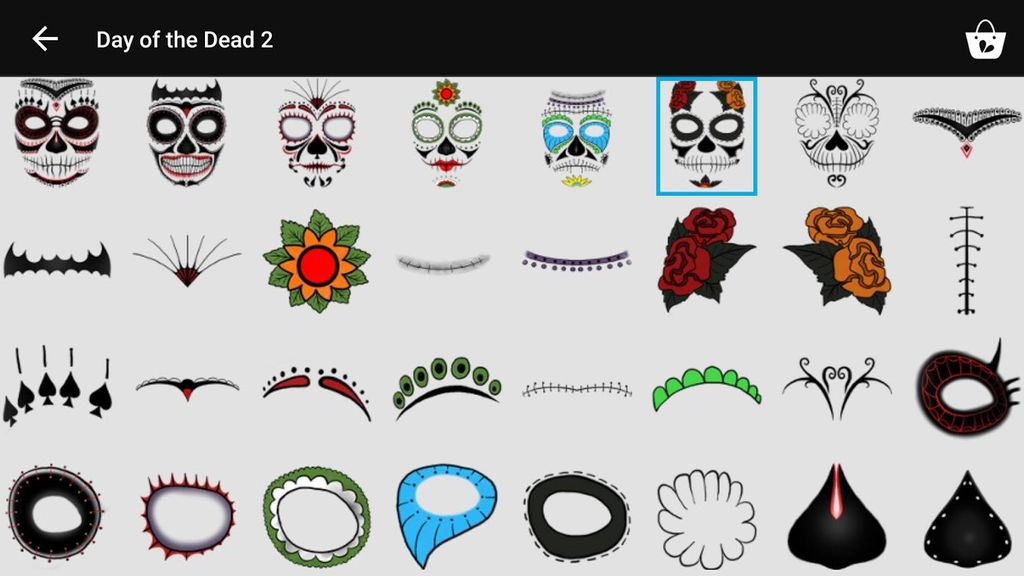
Select the clipart image you would like to use. Tap on the Normal text to view your blending mode options.
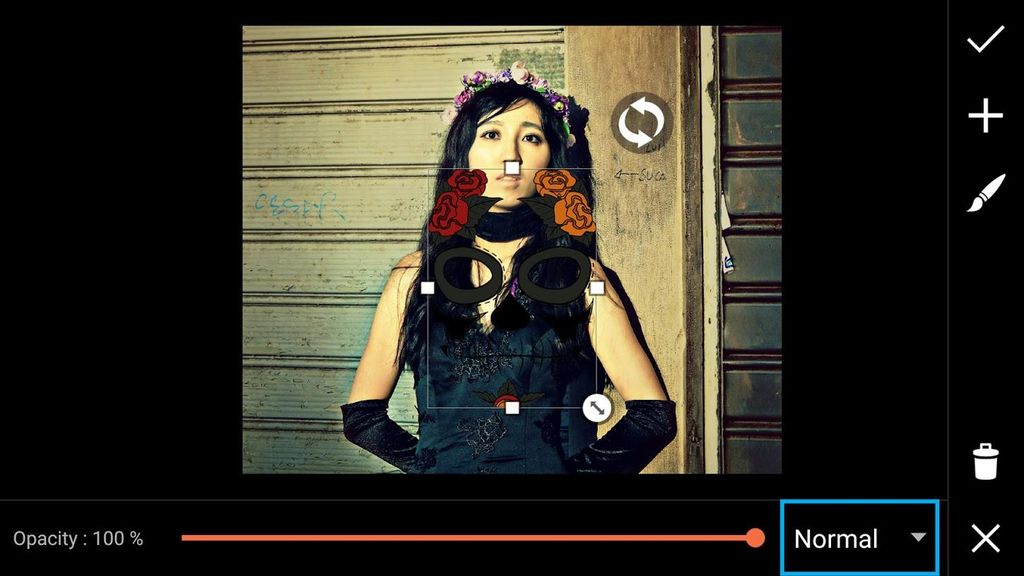
Step 3: Select Blending Mode
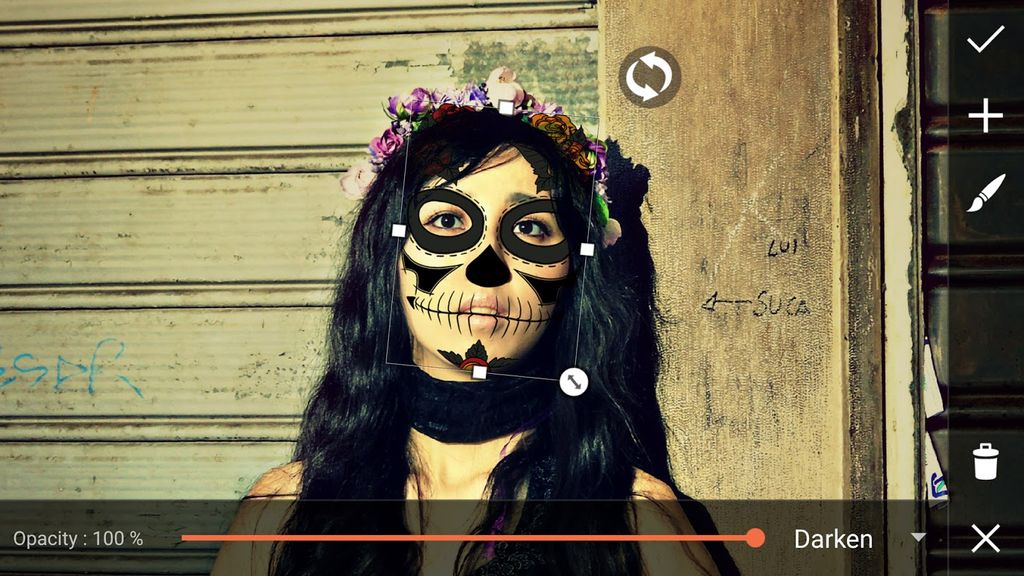
Select Darken. Pinch to zoom in on your image.
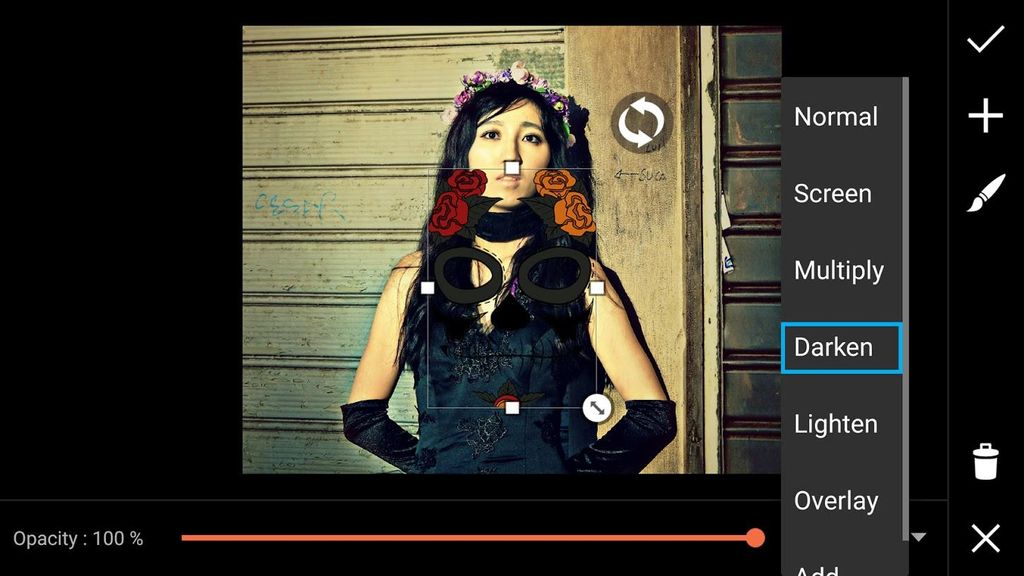
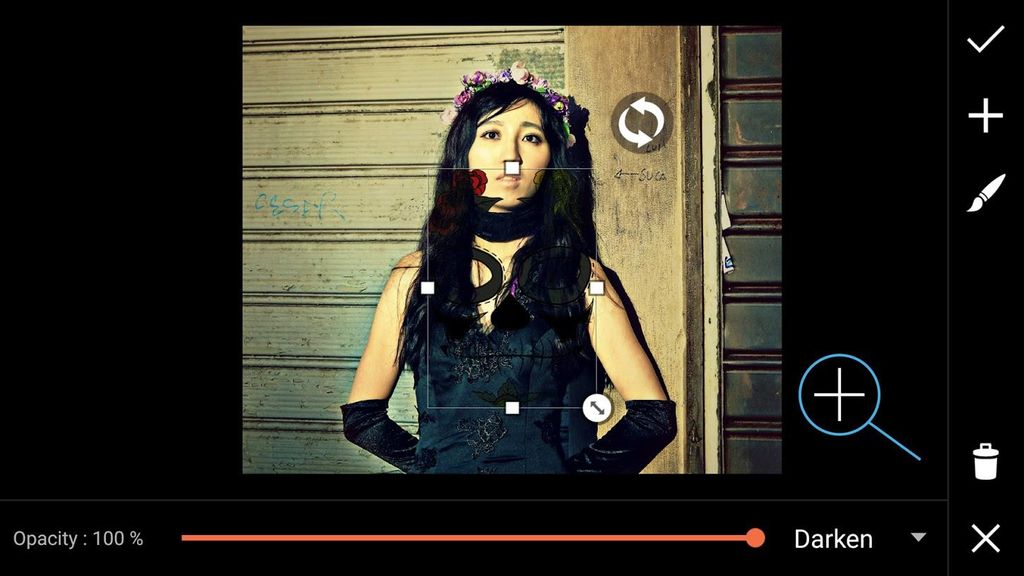
Step 4: Place Clipart Image
Drag the image to place it, dragging the bottom right corner to adjust the size. You can also adjust the orientation of the image with the circular arrow icon.
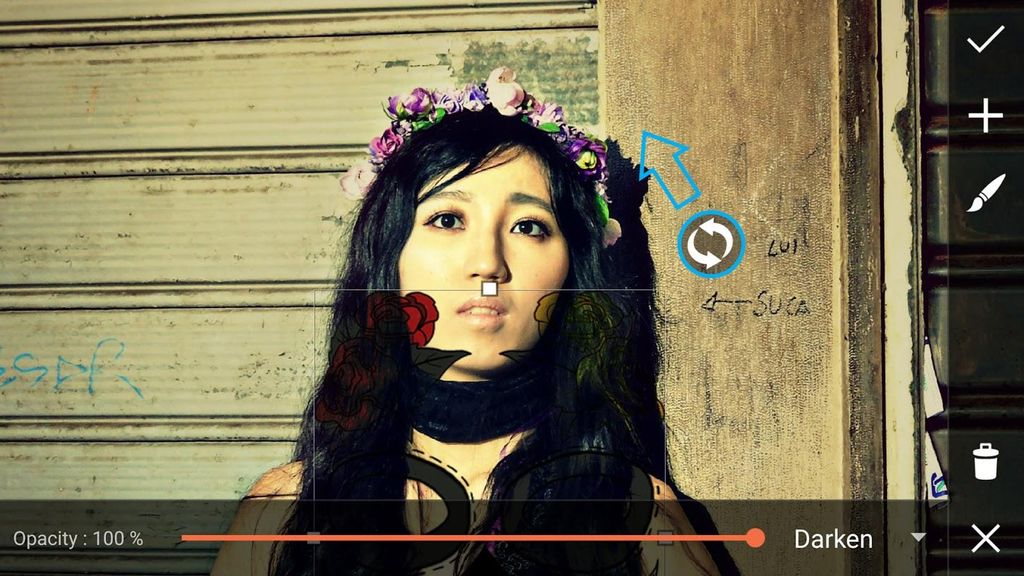
Step 5: Erase Clipart Image
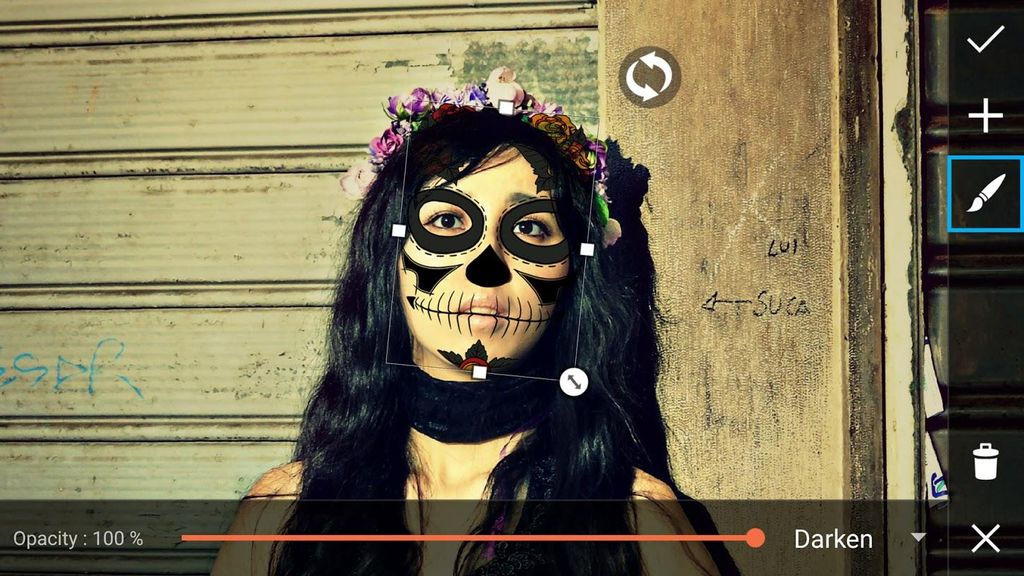
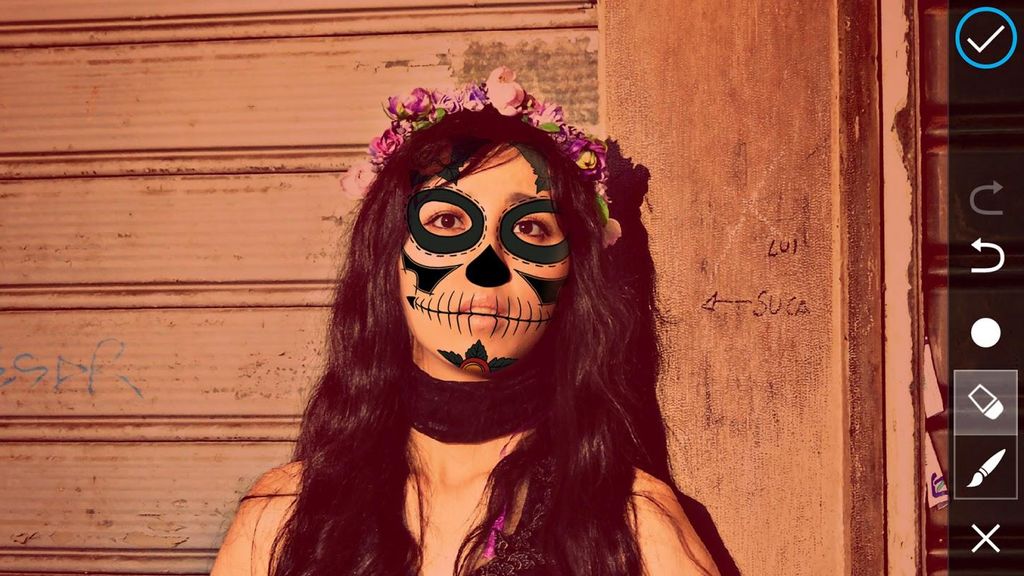
Tap on the paintbrush icon, and use your finger to erase unwanted parts of the clipart image, so that it blends seamlessly into your photo. We removed the top part of the mask to make it appear more realistic. Tap on the check mark to confirm.
Step 6: Open Effects Menu
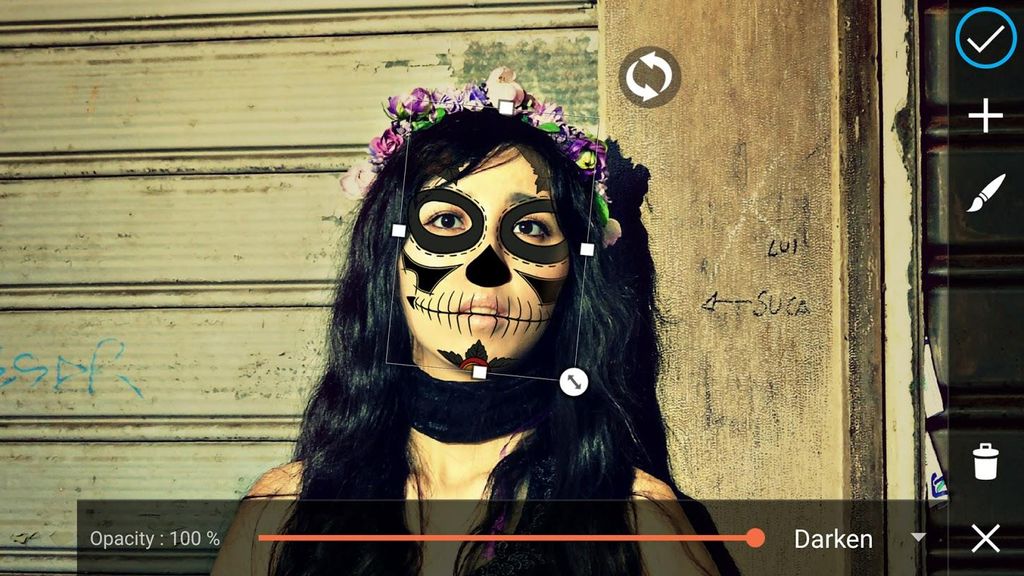
Tap on the check mark again to confirm. Tap on Effect to open the effects menu.
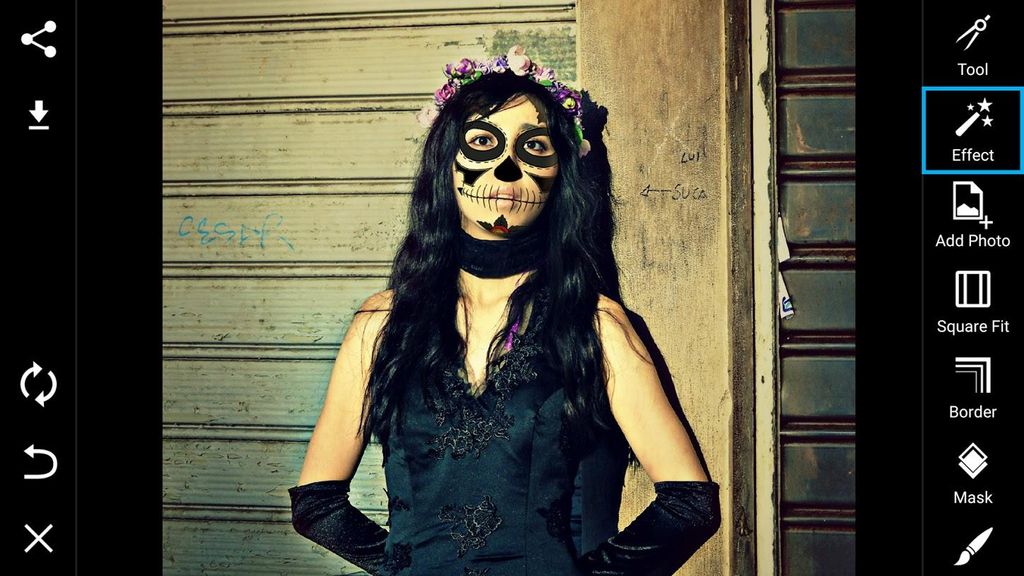
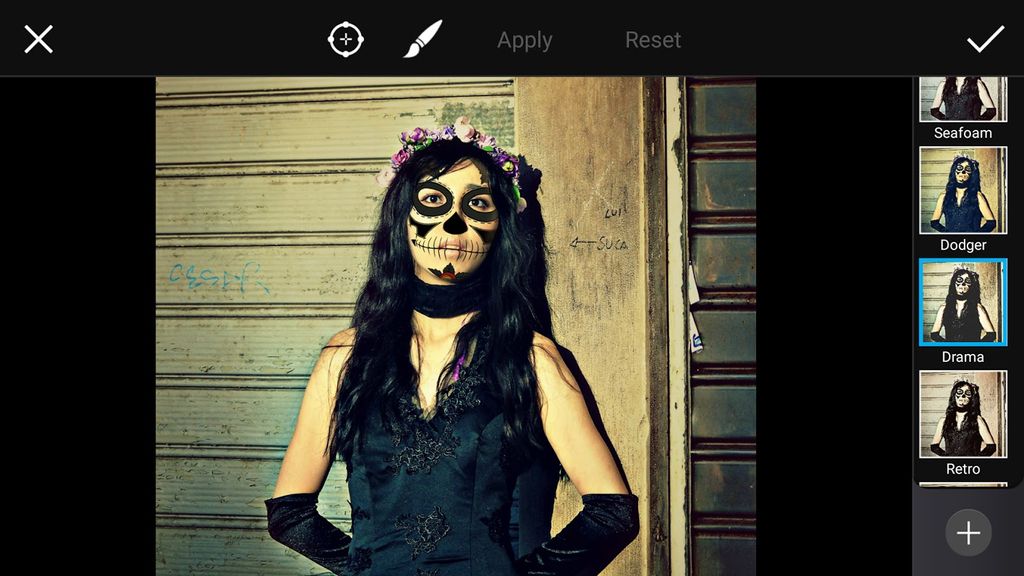
Step 7: Apply Drama Effect
Scroll through the list of photo effects and select the Drama Effect from the Fx section. Tap on the check mark to confirm.
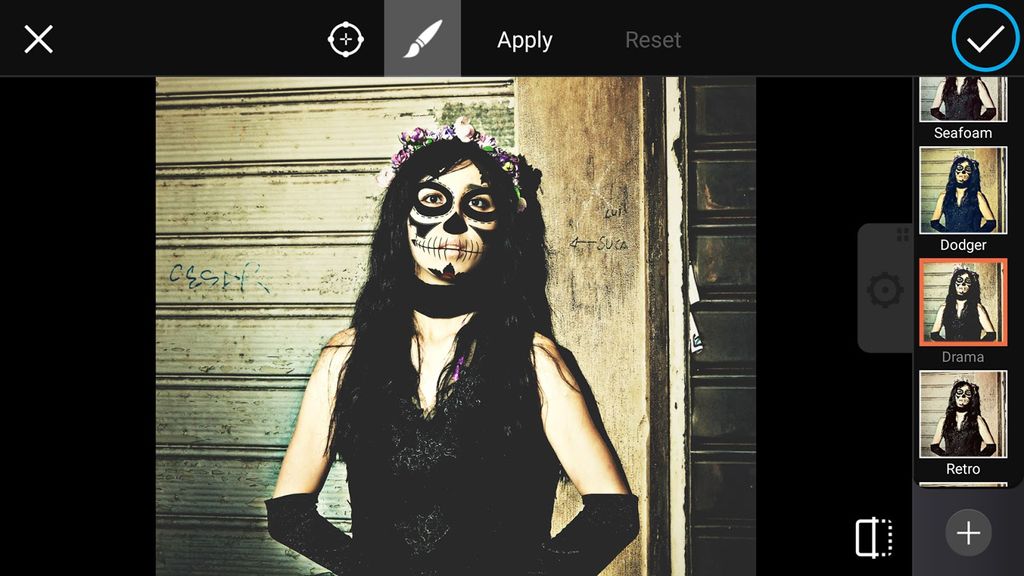
Step 8: Apply Light Mask
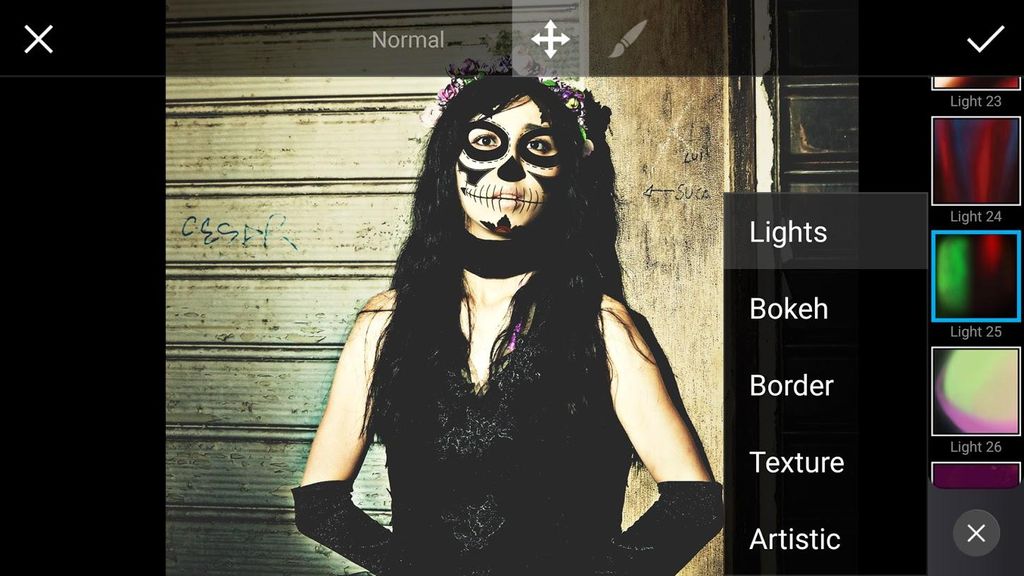
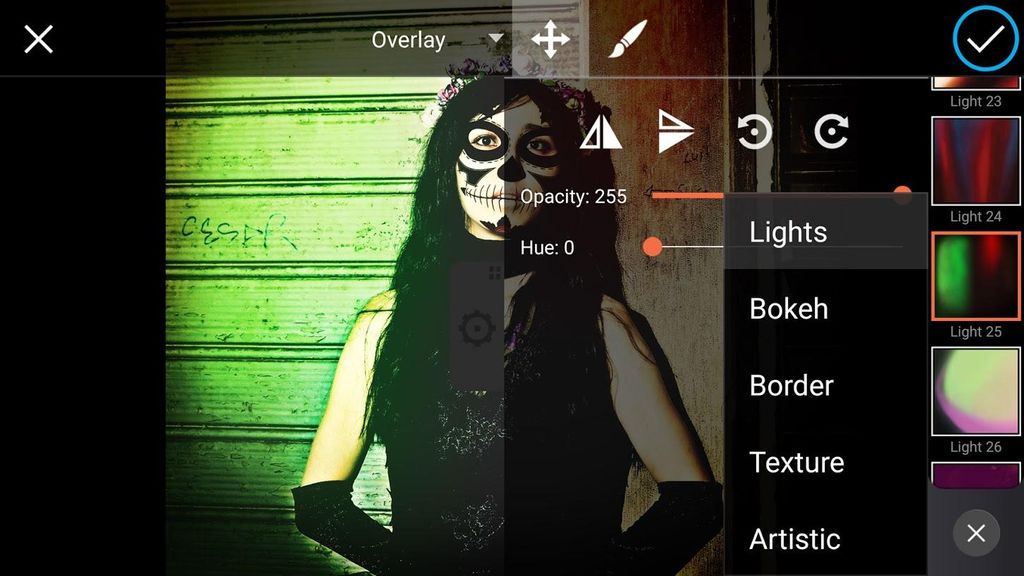
Tap on Mask and select the Light 25 Mask from the Lights section.
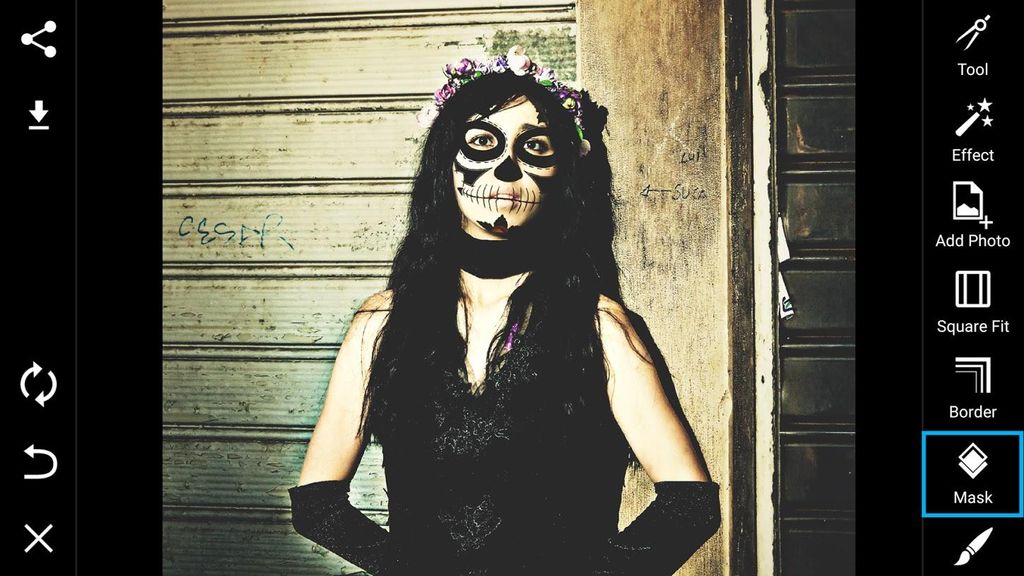
Step 9: Confirm & Save
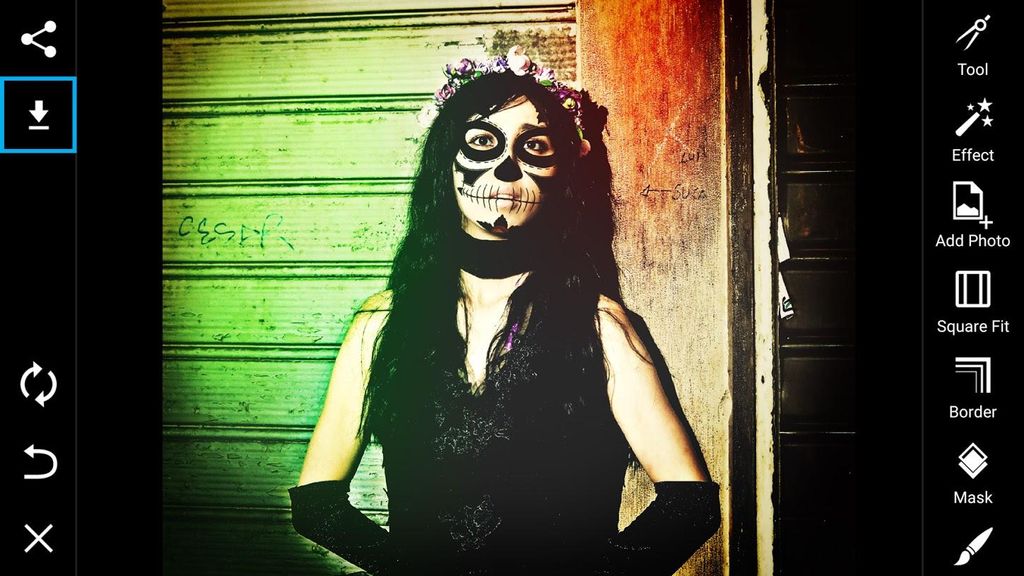
Tap on the check mark to confirm. Save your work and share it with the hashtag #DayOfTheDead!
Original #FreeToEdit image by @mauryargentino.


