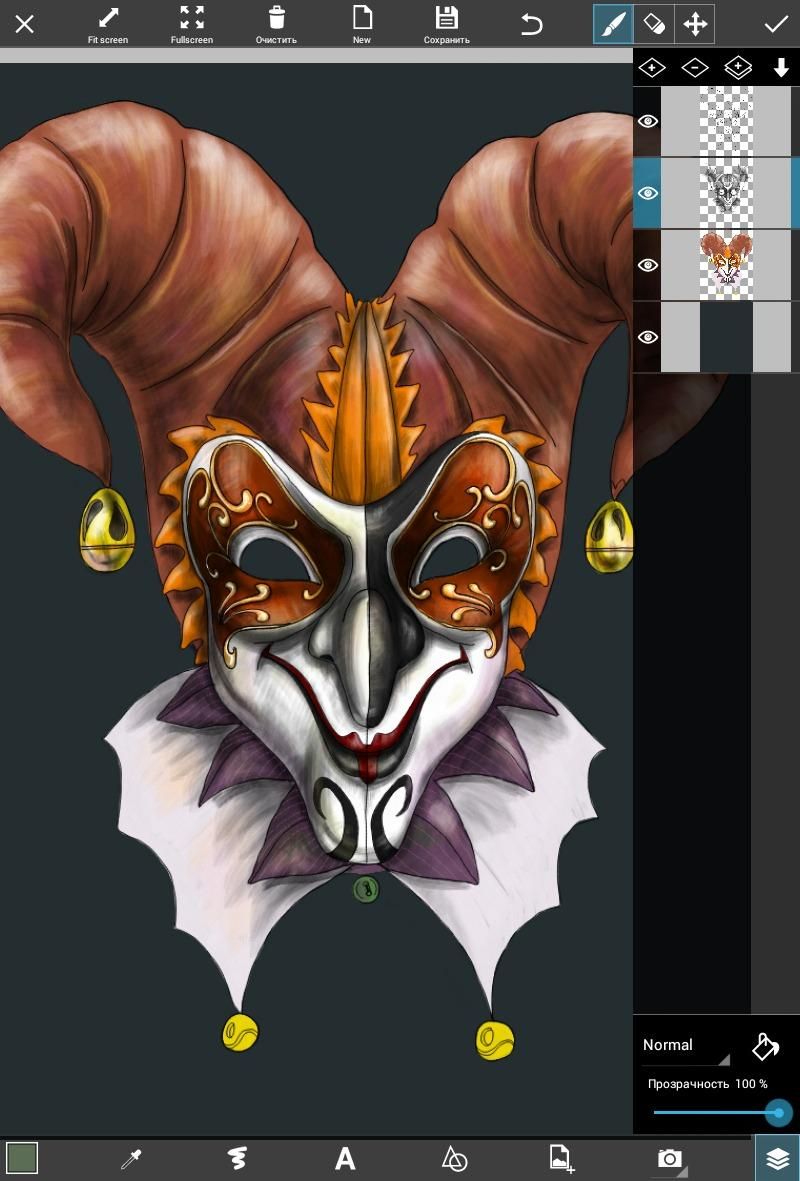
This week, we are holding a Mask Drawing Challenge, in which users are facing off drawing masks of all sorts using PicsArt drawing tools. It is Halloween at last, and what better way to celebrate than to paint the finest mask your skills and imagination can produce, but before you get to work, check out this tutorial we have prepared. This tutorial breaks down the process step-by-step, so that you can get an idea of what it takes to create a great mask before you start on your own masterpiece. Good luck!
Step 1: Open the PicsArt Drawing Tool
Select “Draw” from the main screen and then select “Draw blank” to start a new drawing from scratch. You have the option of choosing the precise width, height, and orientation of your drawing before entering your work space.
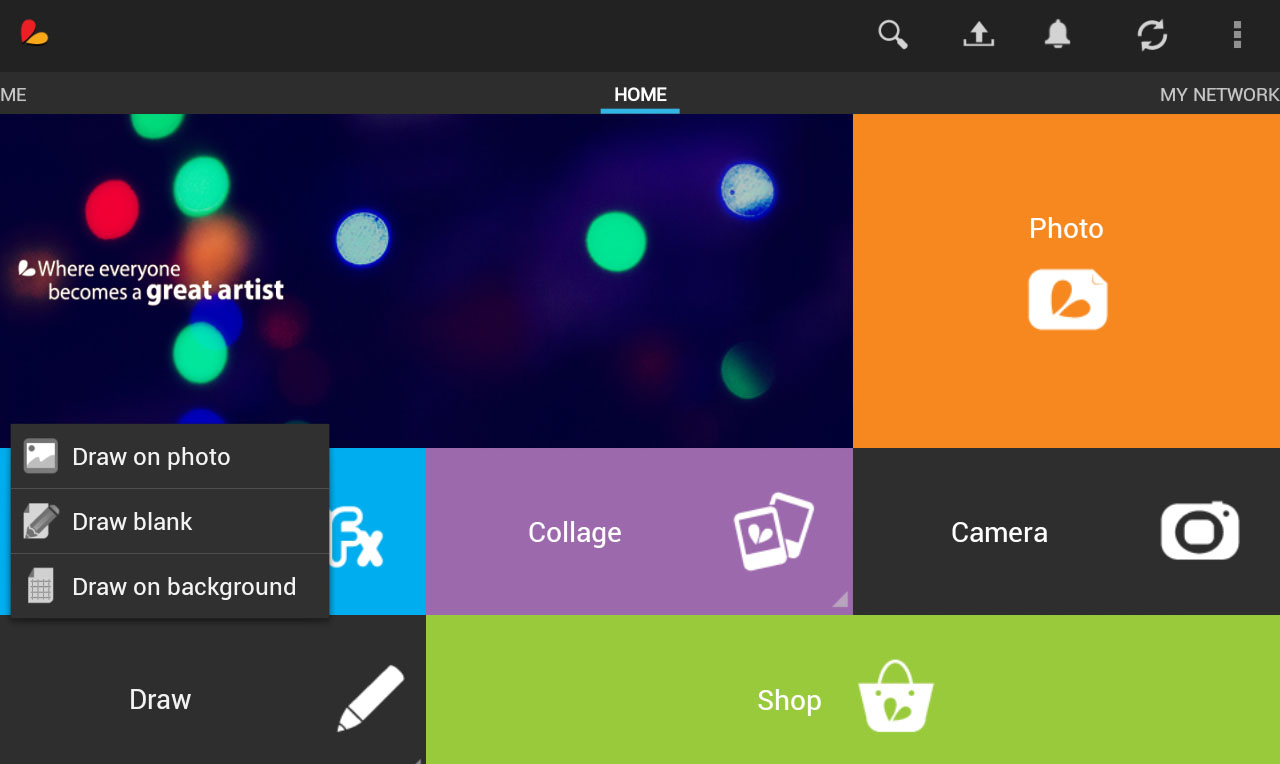
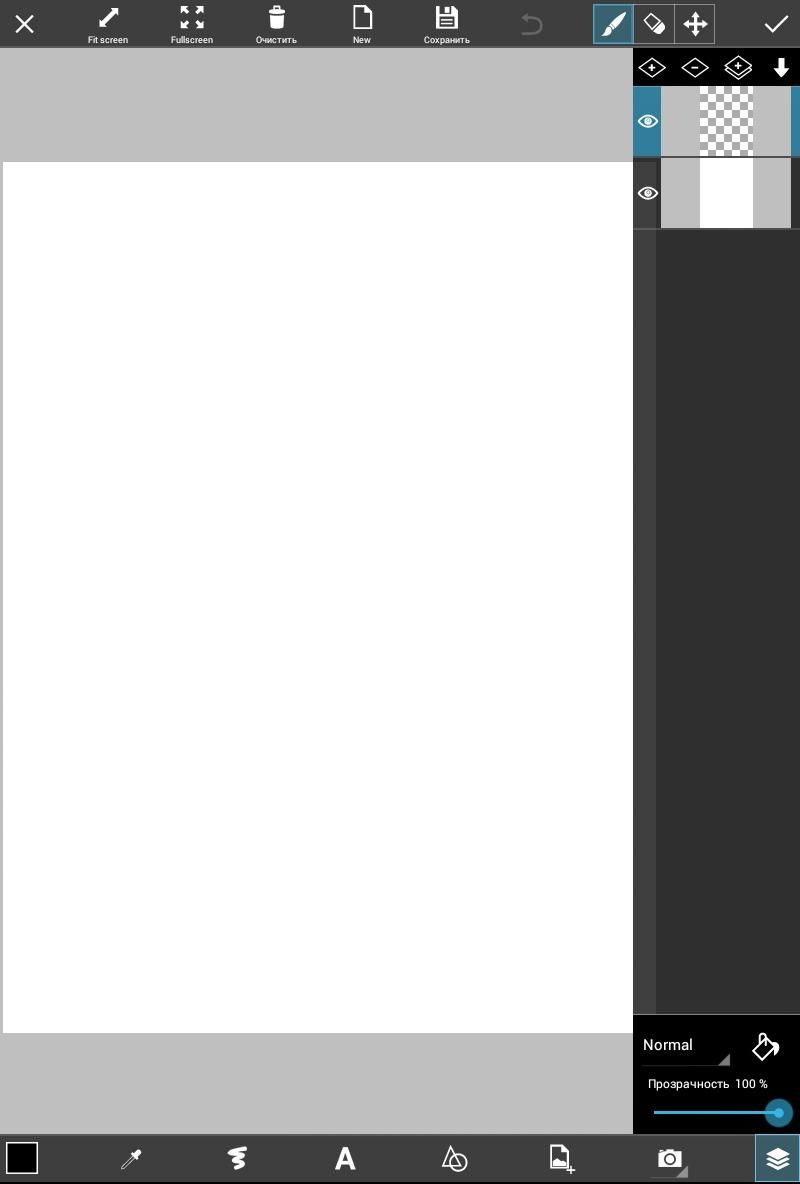
Step 2: Draw the Basic Shape
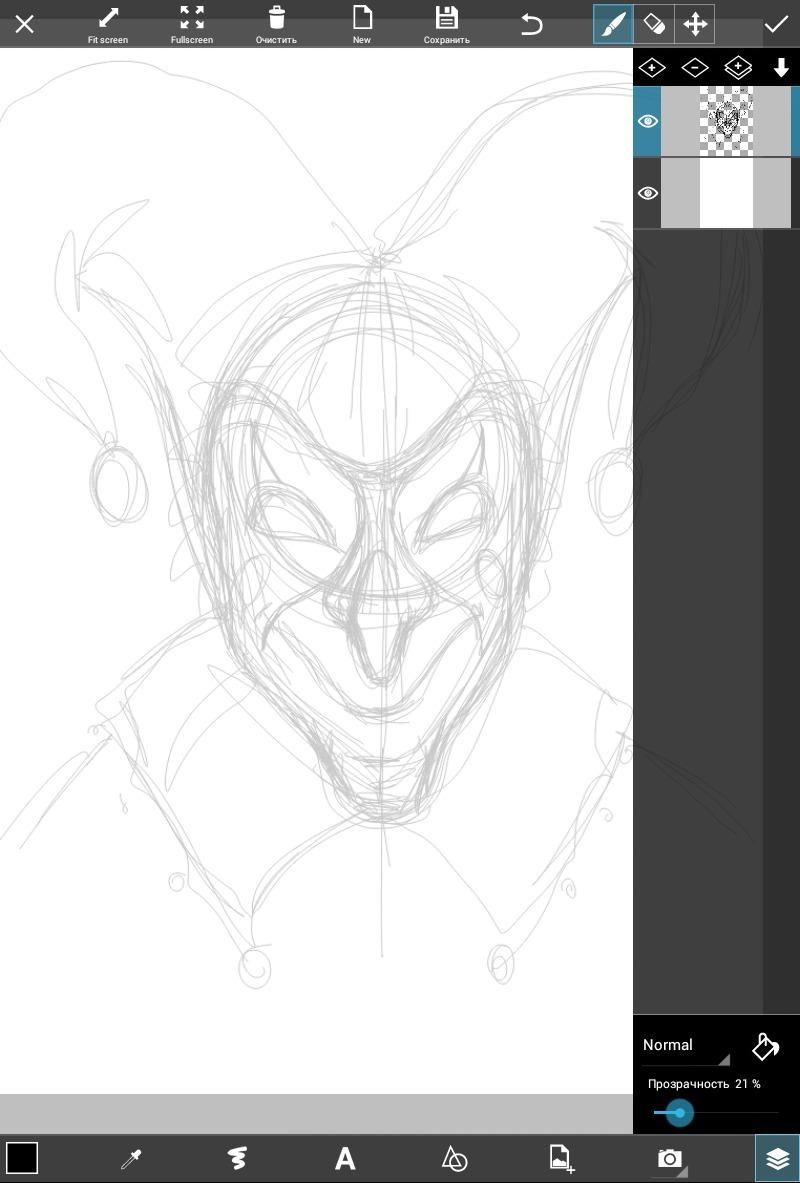
Draw a very rough outline of your Mask, and figure out what kind of a mask you want to draw.
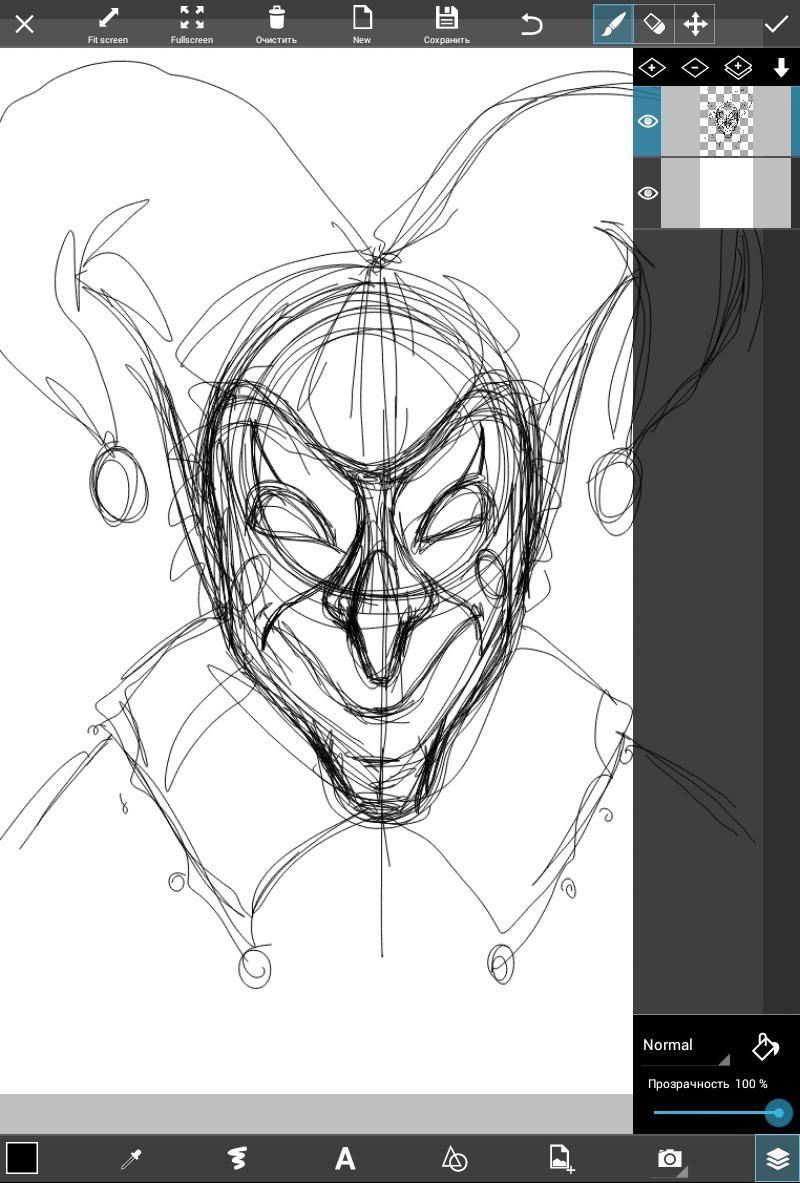
Step 3: Outline the Face
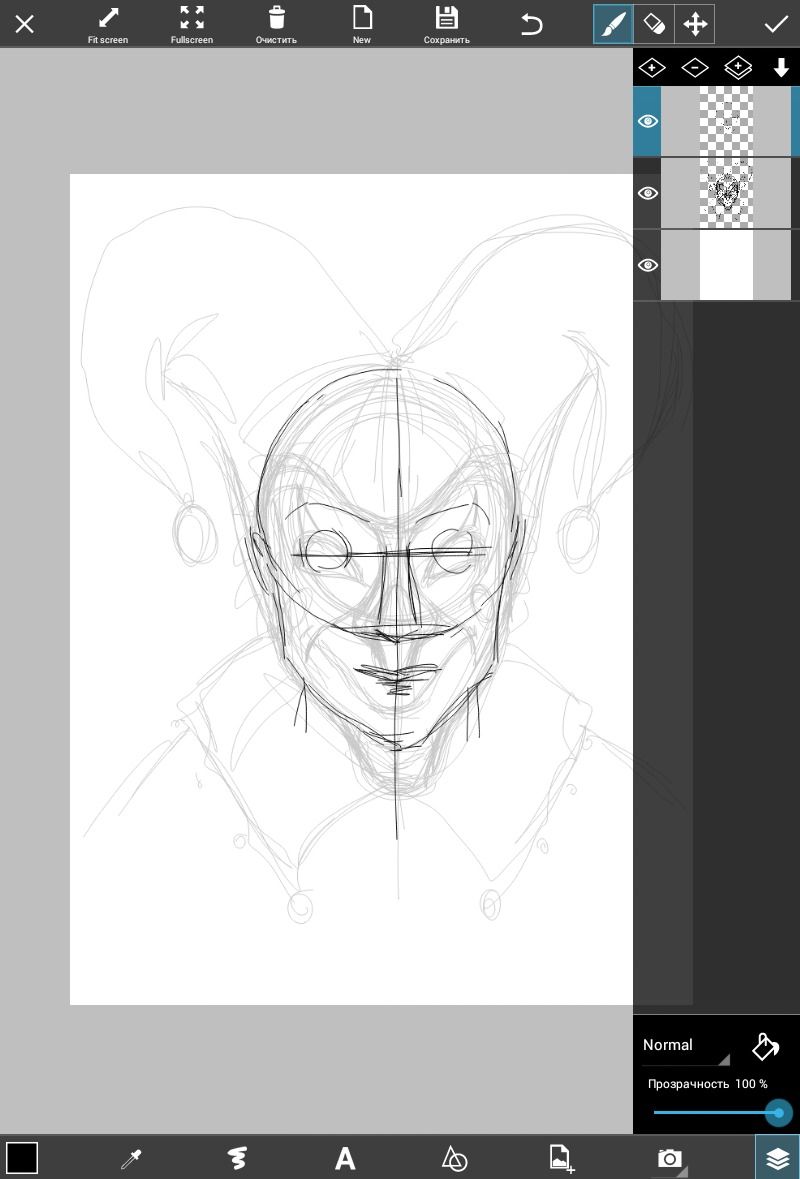
Reduce the opacity, add a new layer, and over your mask, trace an outline of the face. Line up the symmetry, and portion out elements like the eyes, skull shape, and jaw.
Step 4: Draw a Final Outline
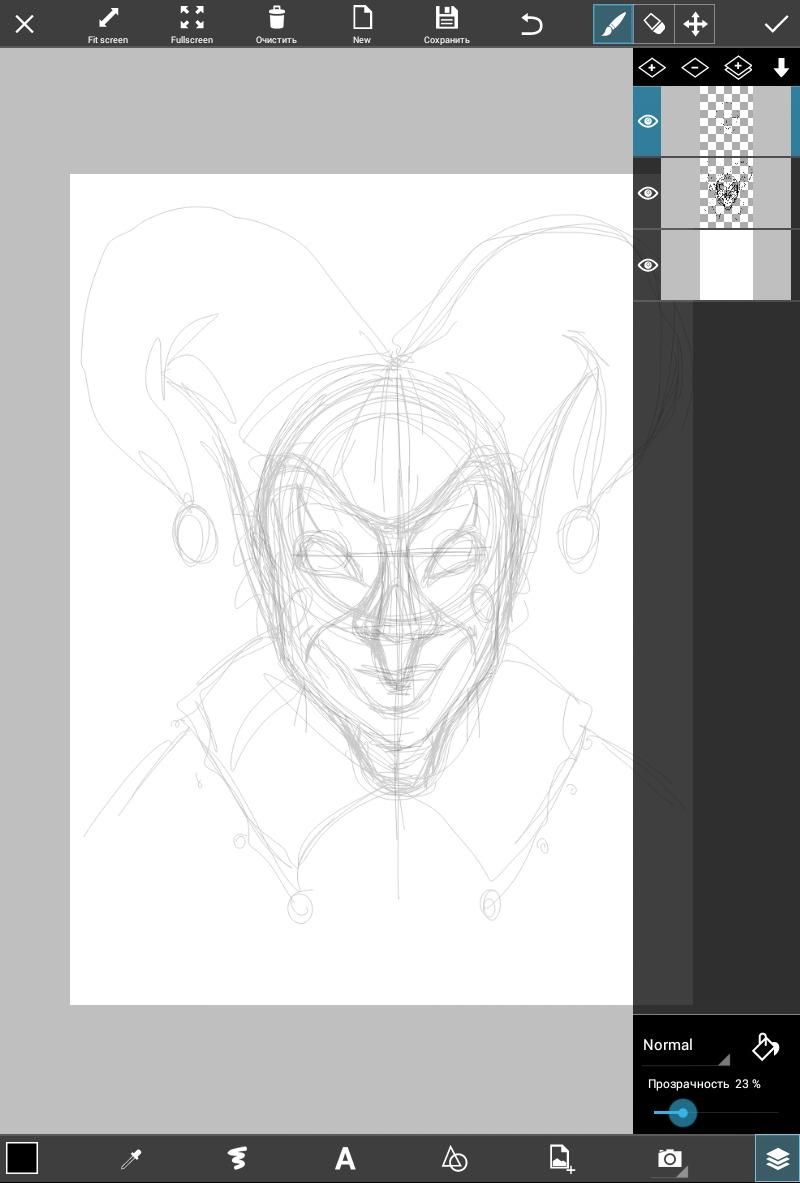
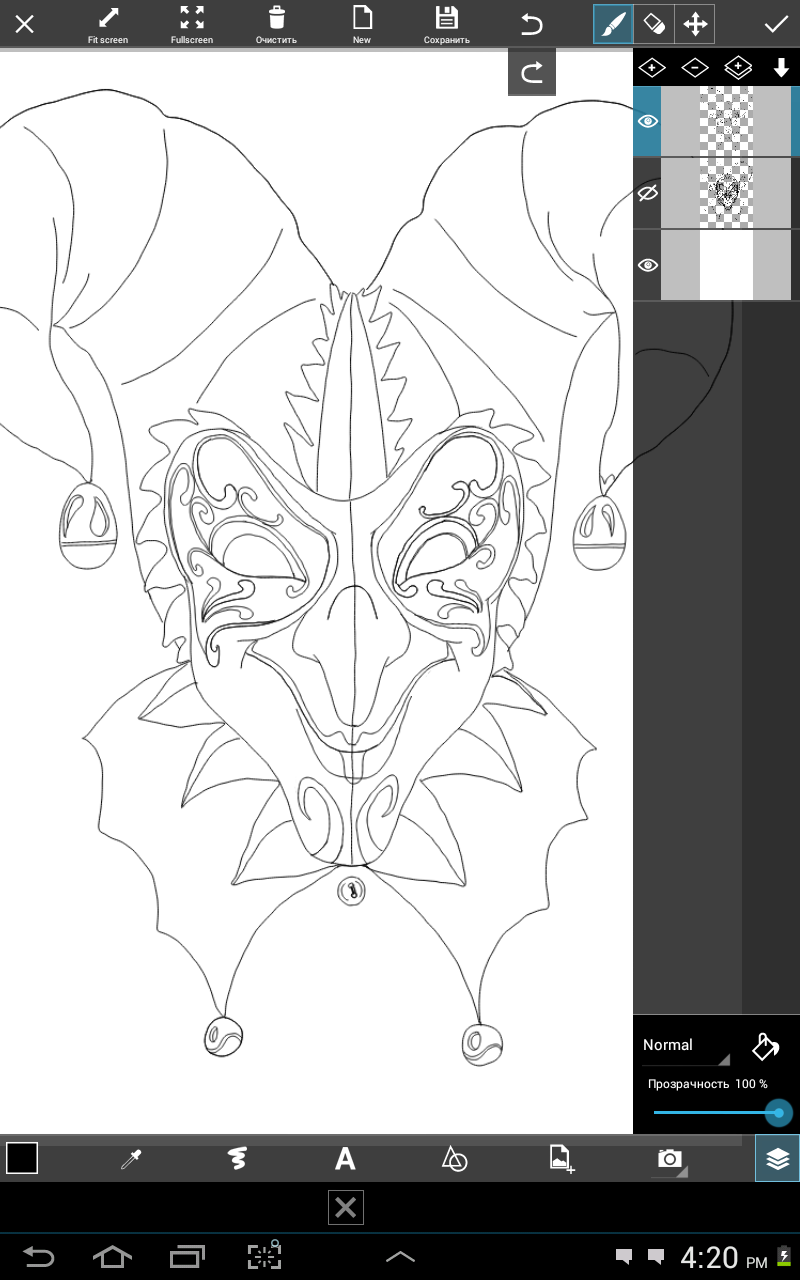
Reduce the opacity and create a new layer. Trace a final outline, using your previous two outlines as a guide.Make sure you use clean and deliberate strokes and add finer details to your drawing. Delete all previous outlines.
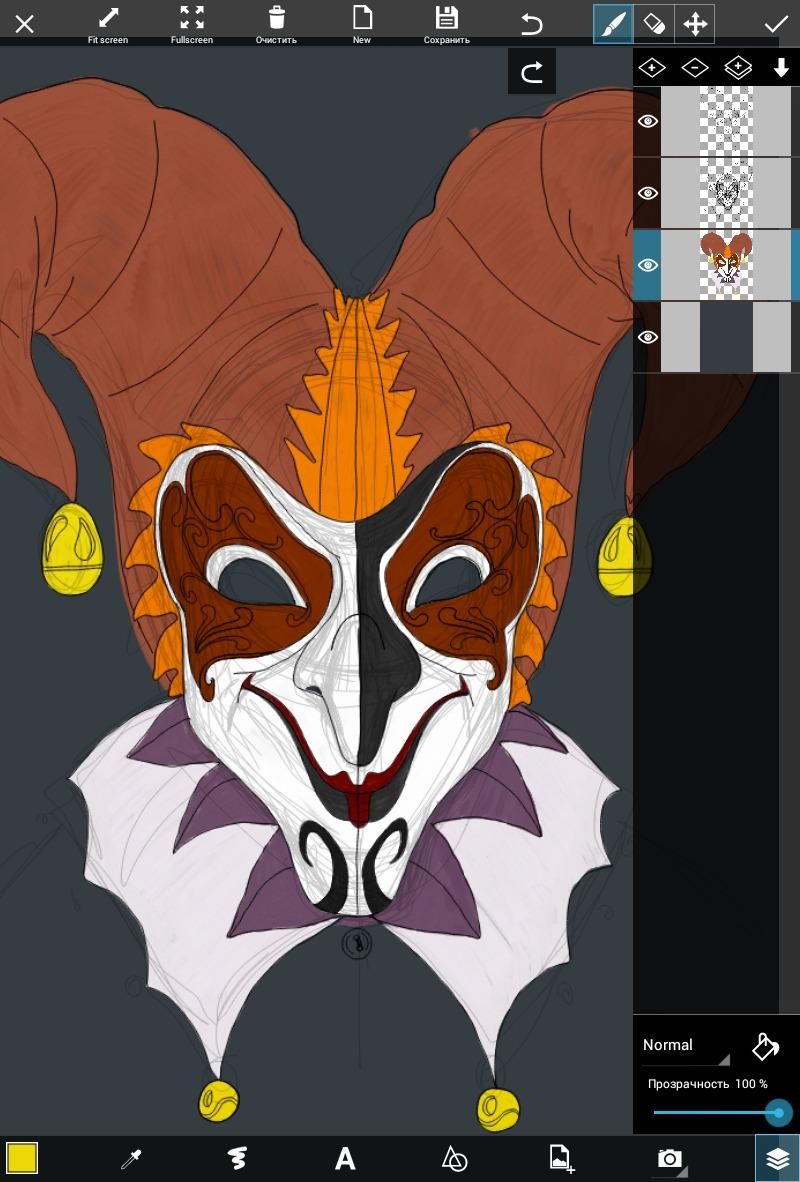
Step 5: Color the Drawing
Color your drawing by using various brushes and colors in separate layers. Start with just the base colors.
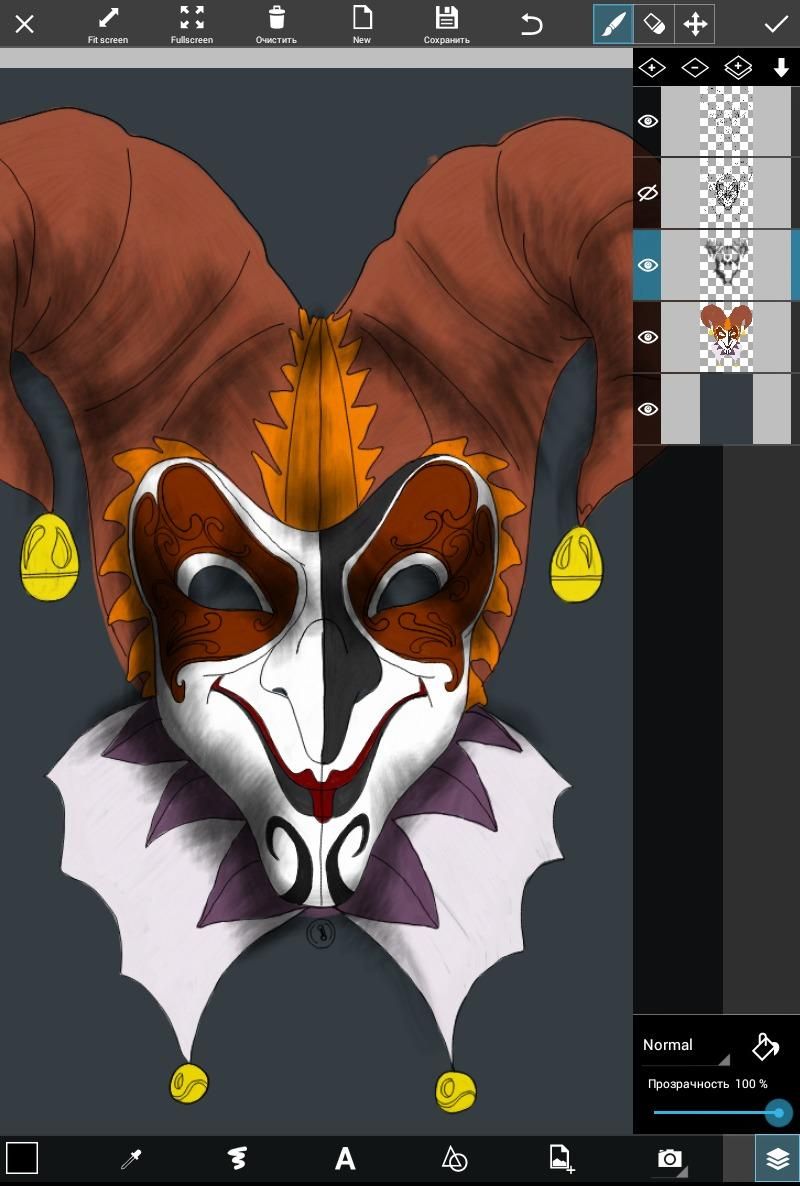
Step 6: Add Shading
Use brushes of darker and lighter tones to create lighting and shading in your drawing. Spray-brushes and translucent brushes allow you to add shading without overpowering your base colors.
Step 7: Finish Your Background
Finalize your drawing by finishing your background. You might want to do something more elaborate, but a simple layer of shadow between your mask and background will also suffice.
