
This week’s Drawing Challenge is asking our users to follow the way of the Samurai. Let this drawing tutorial guide your finger when you draw a Samurai using PicsArt Drawing Tools for this week’s contest! Samurai are artistic in nearly every way, from their style of combat to the plates of their armor, right down to the edge of their blade. Warriors of such precision demand artists of equal craftsmanship, but have no worries, with the right tools and the right guidance, you too can draw like a pro! This step-by-step tutorial breaks down the drawing process, so that you can get grasp on how to construct a beautiful sketch. Take it as a literal guide, use it to acquaint yourself with the app, or simply scan it for artistic inspiration.
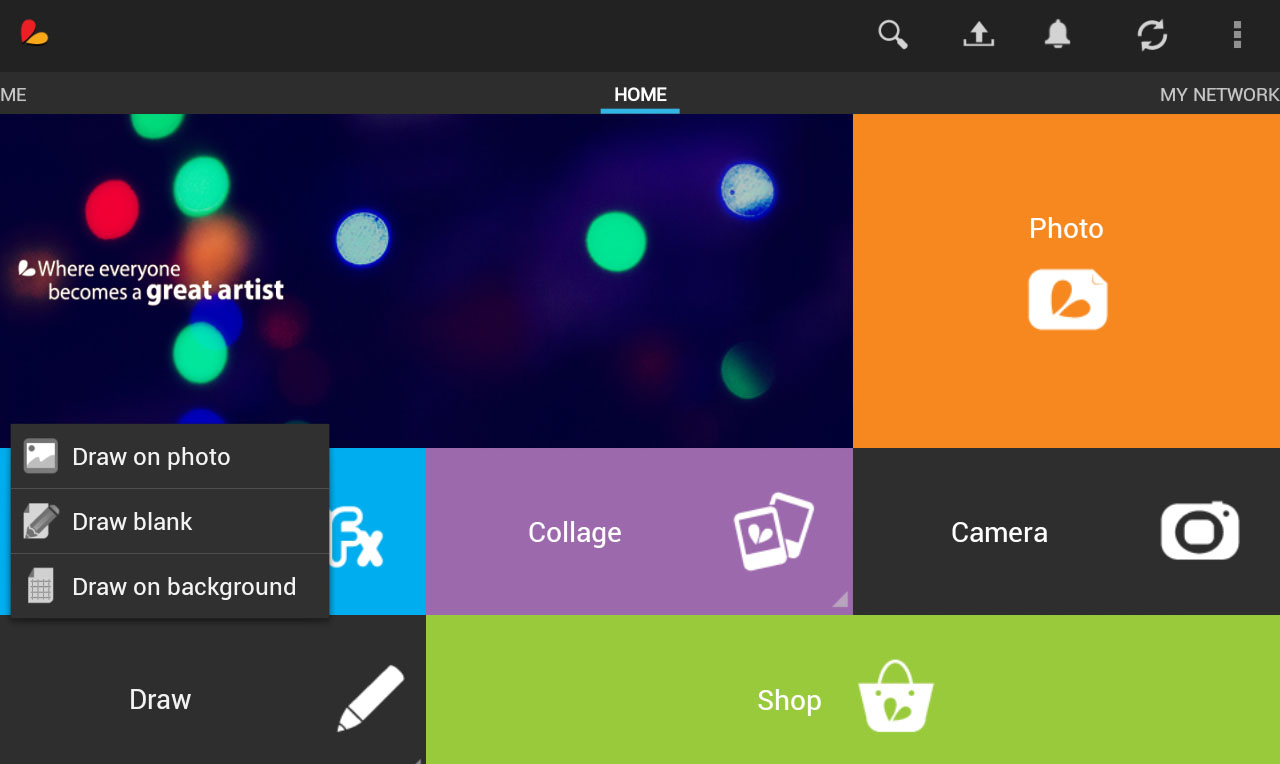
Step 1: Open the PicsArt Drawing Tool
Select “Draw” from the main screen and then select “Draw blank” to start a new drawing from scratch. You have the option of choosing the precise width, height, and orientation of your drawing before entering your work space.
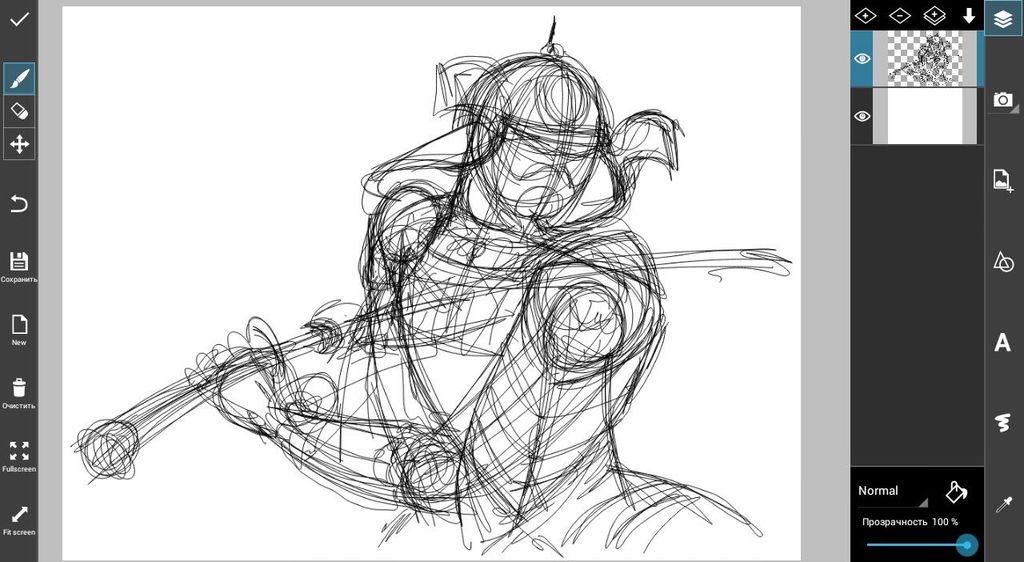
Step 2: Draw the Basic Shape
Draw a very rough Samurai outline, vaguely shaping everything from the position of his body to the shape of his helmet and armor.
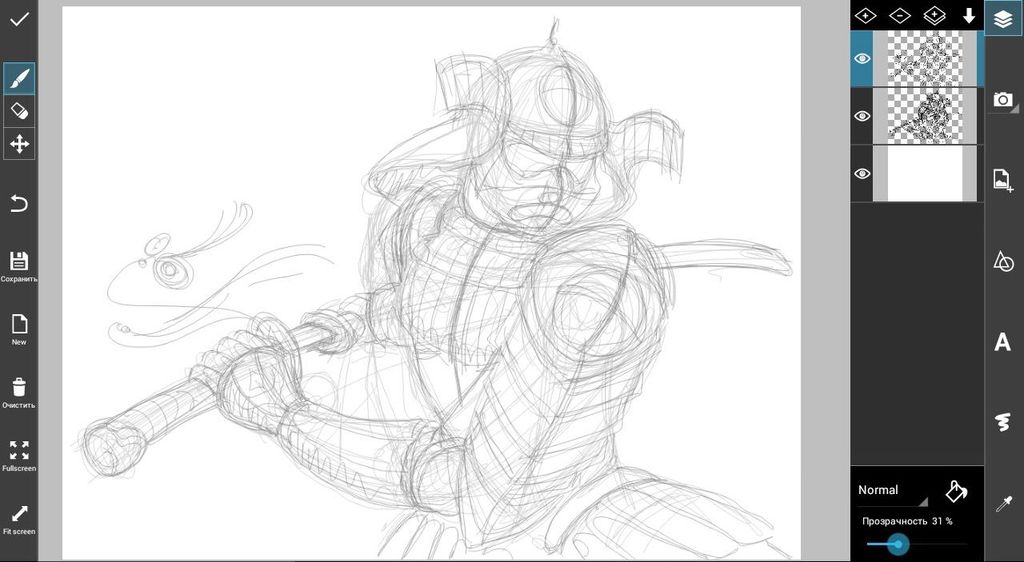
Step 3: Refine Your Outline
Reduce the opacity, and in a new layer, trace your rough outline with a more precise outline, choosing really how you want your samurai to look. When done, reduce the opacity again and create a new layer.
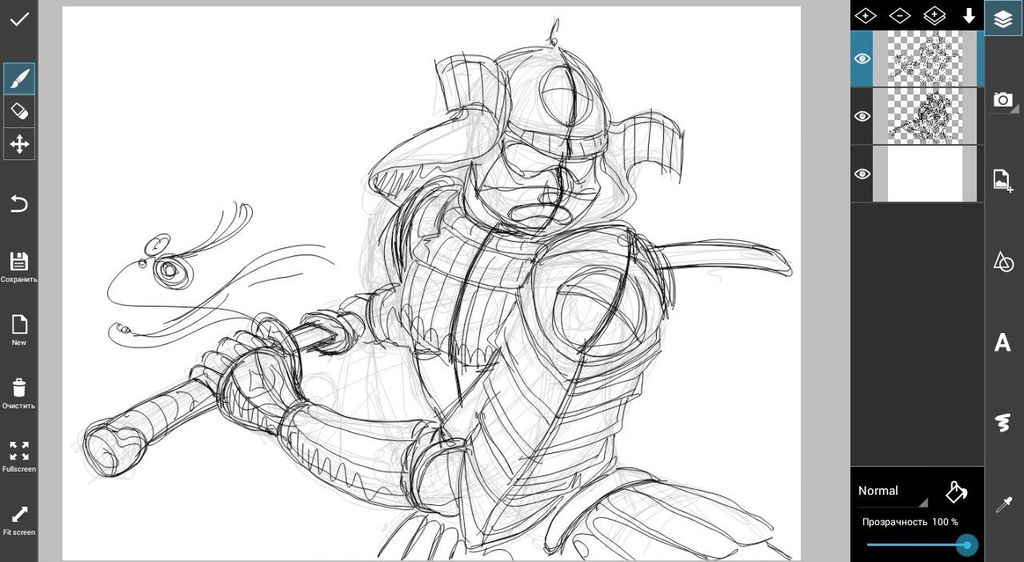
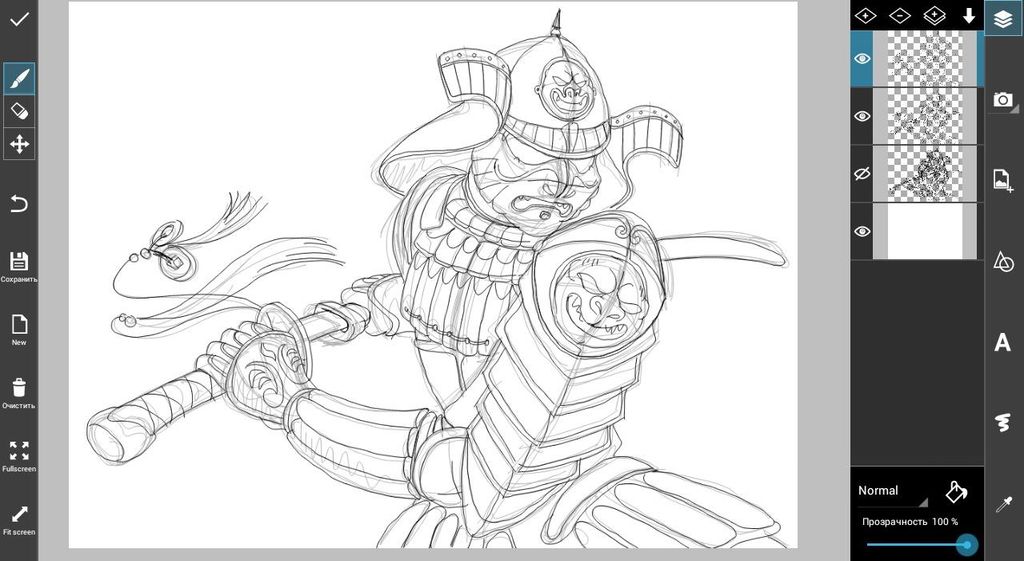
Step 4: Draw Final Outline
Trace the final outline, using the previous two outlines as a guide. Use clean and deliberate strokes to ensure that your armor is smooth and add all of the extra little details that bring it to life. Delete previous outlines when finished.

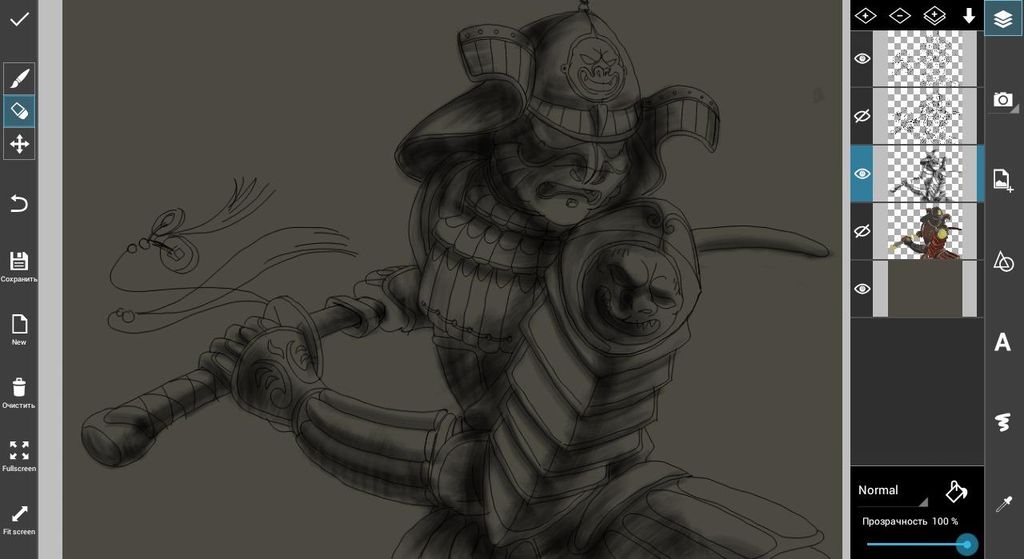
Step 5: Background and Shading
Add 2 new layers for your shading and background. On your samurai, use a translucent spray brush with a black or very dark grey color to add shading. Pick a direction for your light source, and shade all areas that are not directly exposed to sunlight. Color your background layer.
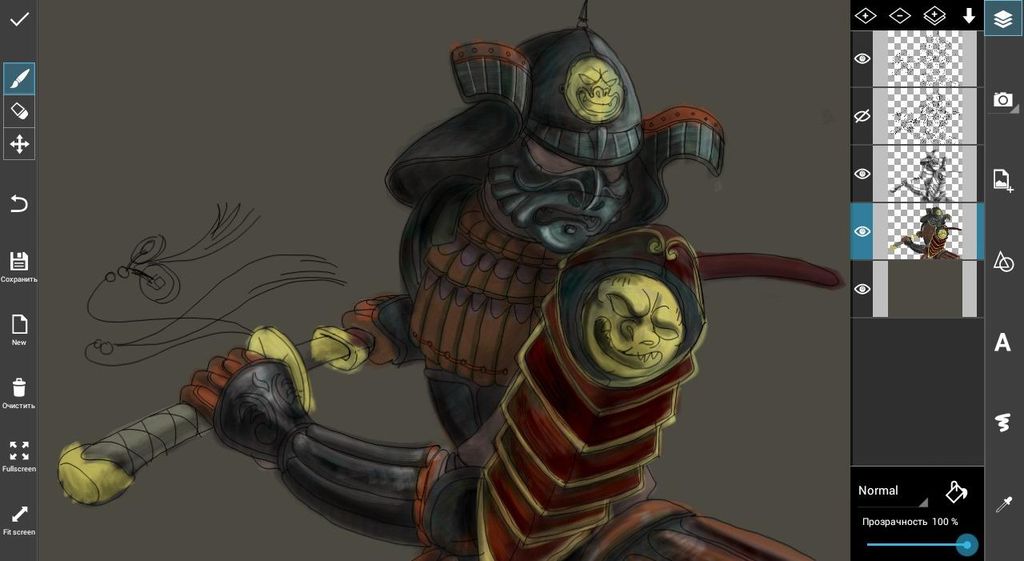
Step 6: Add Color
Add another layer between your shading and outline, then hide the layer that has shading. In the new layer, color in your outline. To color fine details and add lighting, simply add layers higher, so that you can tackle each task individually.
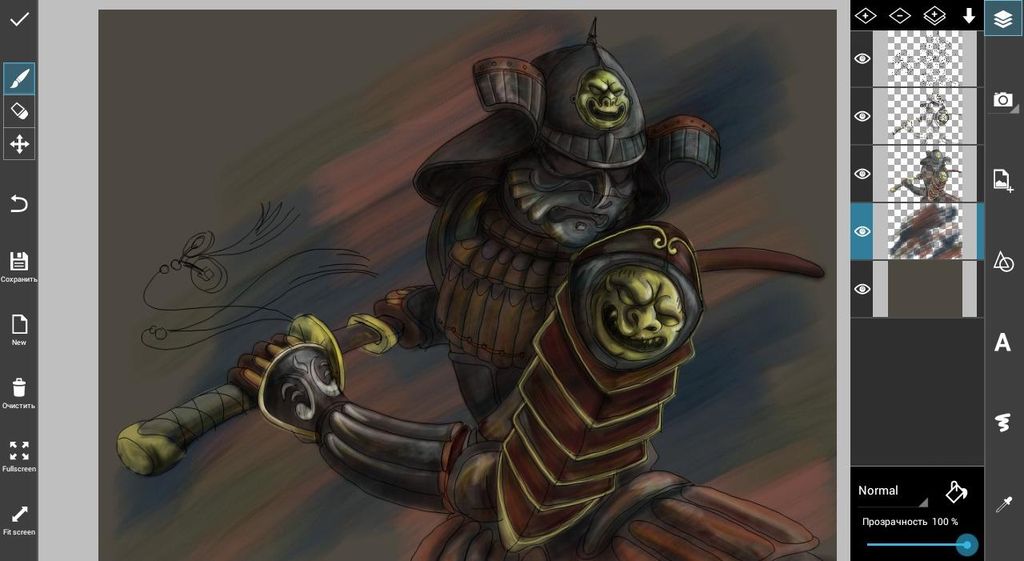
Step 7: Finish Your Background
In your background layer, create an ambience by using colorful streaking brushes. This can add movement to your drawing, depending on what angle you draw them in. Reduce the opacity when you are finished, so as not to oversaturate the drawing with color.
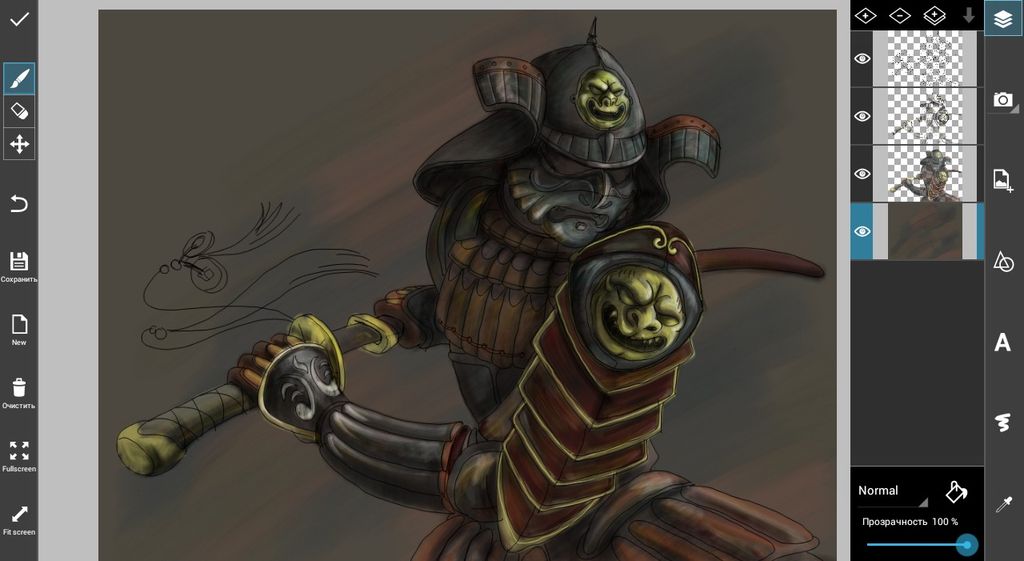
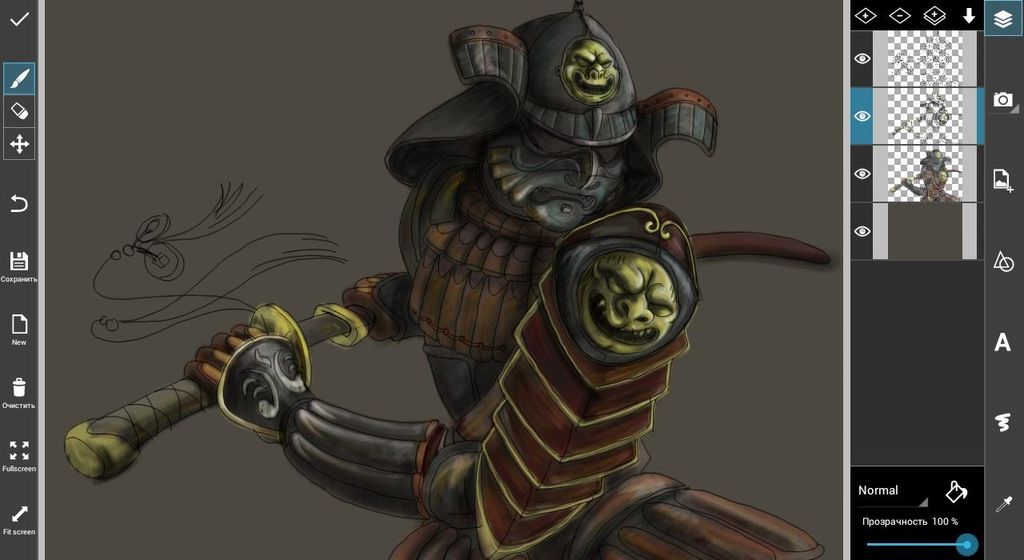
Step 8: Touch Ups
Add whatever details needed to make your drawing pop: extra touches of lighting, empty spots of color. You can also erase any extra lines that don’t add to your drawing.
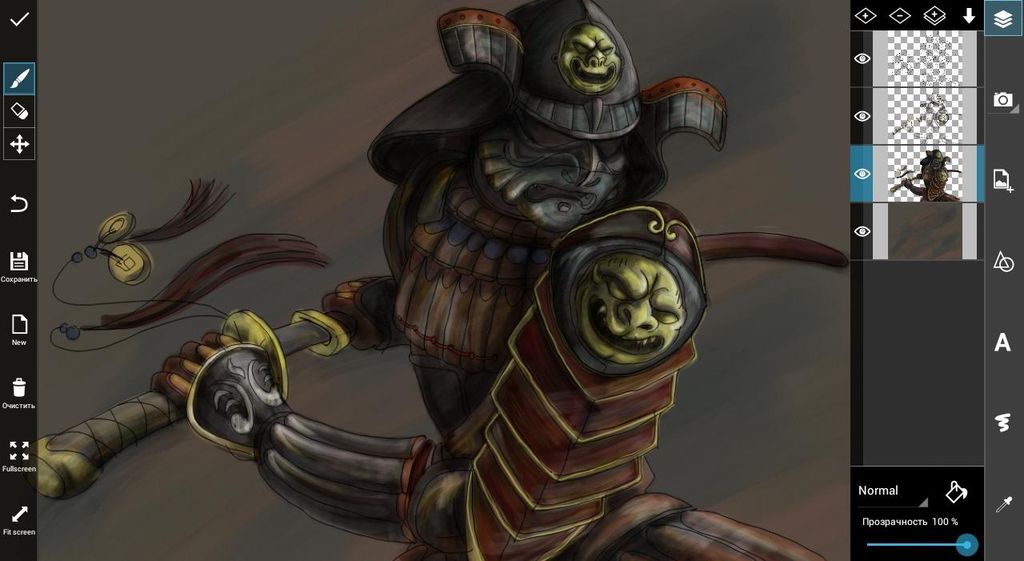
Congratulations, your Samurai is ready to defend your honor in this week’s Drawing Challenge!


