
It goes without saying that every picture should be of something, but it’s easier to preach than to practice. Sometimes a picture’s focal point is simple and obvious, like in a portrait. Other times, we’re so eager to capture the big picture that we forget to ask ourselves, “Exactly where am I supposed to look in this photograph?”. Without something to focus on, the eye can get confused and lost. But, by giving some forethought to your focal point, you can create powerful compositions that capture your viewer’s attention and hold it.

Finding the Focal Point
When you take a photograph, instead of seeing it as a real-world three-dimensional scene, imagine it as a final, two-dimensional image. What is the first thing (just one single thing) you want the viewer to see? This is your main subject, or focal point. It could be anything – a person, a tree, a flower, a building – or, if you’re doing a close-up, it might even be one specific part of the subject, like a person’s eye, a flower’s petal, or a bug’s antennae.
Enhancing Impact
Once you know what you want your focal point to be, there are various ways that you can make it stand out.

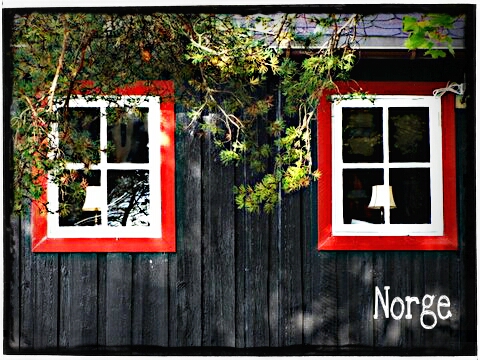
Photo Contrast
Separating your subject from its surroundings will make it more distinct; this division can come in the form of contrasting colours, contrasting shapes, and contrasting tones, among other things.
Brightness of the Picture
The eye is drawn to lighter areas, so the brightness of your subject can attract attention to it, particularly if the rest of the scene is darker.

Photo Focus
Using a wider aperture (a smaller f-number) on a manually-controlled camera gives you a shallow depth of field, meaning more blur in front of and behind your focal point. This directs the eye towards the sharp area and away from the negative space. On the PicsArt camera, you can achieve this effect using the “Portrait” scene mode.
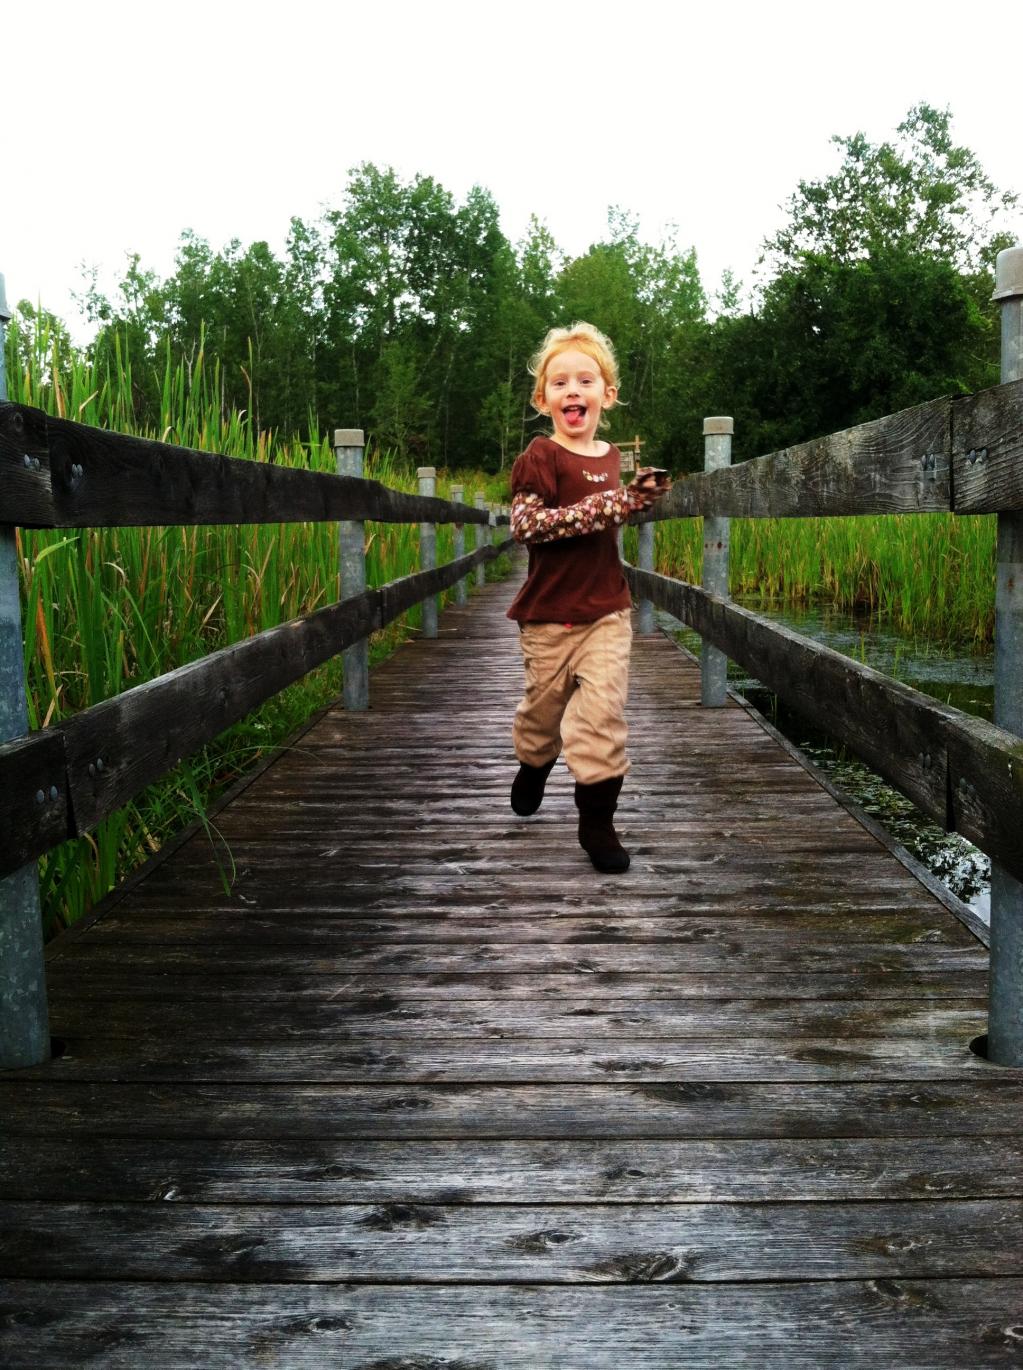
Photo Position
Placing your focal point according to the rule of thirds will give it maximum visual impact.

Motion Blur
If your subject is moving at a different pace than its surroundings, play with a slower shutter speed to either freeze the surroundings while the subject moves, or vice versa.
Multiple Points of Photo Focus
A photograph can include multiple points of focus, but you must take care not to clutter the frame or confuse the viewer. Secondary focal points should support and enhance the first, not compete for attention. Try not to include more than a few major subjects in a single picture.
Leading the Eye
Once you’re happy with how your main subject is displayed, try to compose the negative space in such a way that it directs attention towards the focal point. This can be with leading lines that point towards it, an underexposed background, or by using the impact enhancement techniques mentioned earlier. If you have multiple subjects, use these elements to draw the eye between them, from one to the next.
When using a DSLR on auto focus, remember that it will have multiple focus points that you can use. You’ll be able to see them arranged in a pattern through the viewfinder. If you set your camera to single-point focus, you can use the controls to select which specific part of the frame you want to focus on. This allows you to lock in on a specific area, rather than relying on your camera to guess the focal point for you.
On the PicsArt camera, simply place your subject in the center of the frame and touch your screen to focus on it. Then recompose and shoot the picture, and bring it into PicsArt where you can isolate the focal point with selective colouring or blurring effects, then share your creation with the world.


