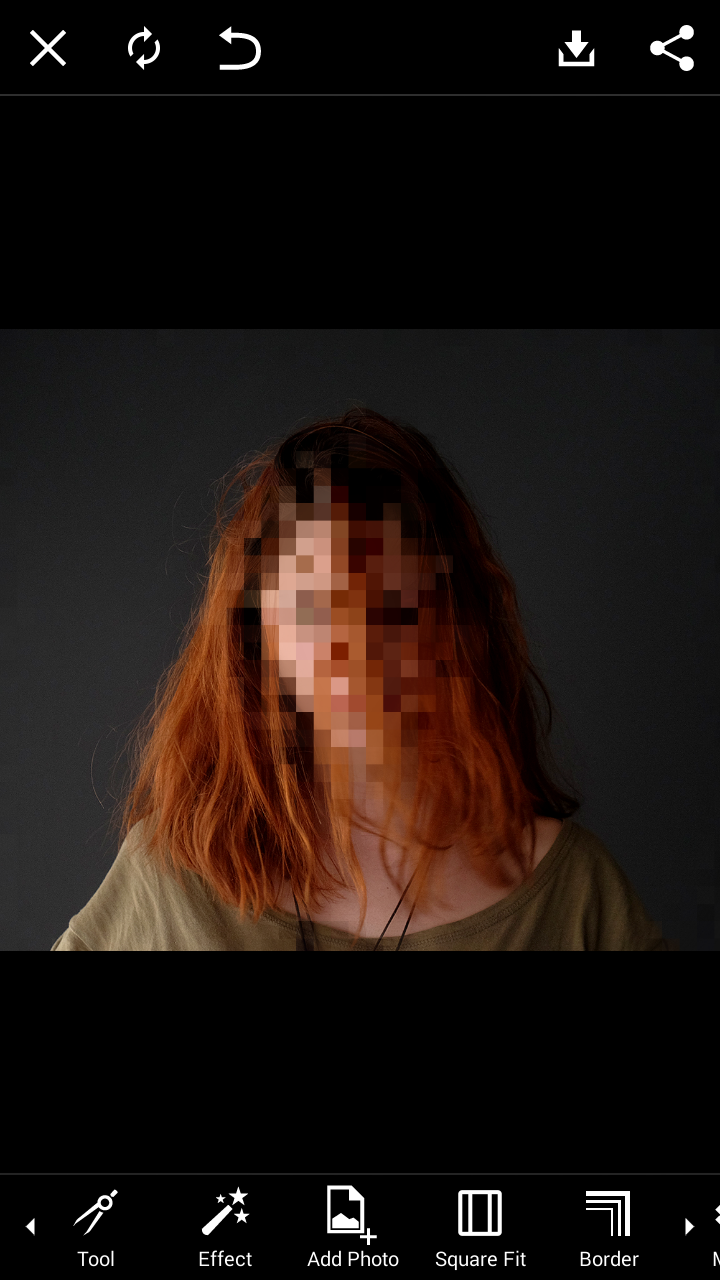
In this world where everyone’s lives are on the internet, everyone could use a bit of pixelated faces in their photo-editing repertoire to get some much needed anonymity. This tutorial will show you how to do just that by using the Pixelize effect to scramble bits of your photos into indistinguishable blocks pixels.
Use it to invoke the imagery of security camera footage in the nightly news, call back to the retro look of poor display resolution, or disguise parts of your photos that you want to keep classified. Follow the steps below to find out how!
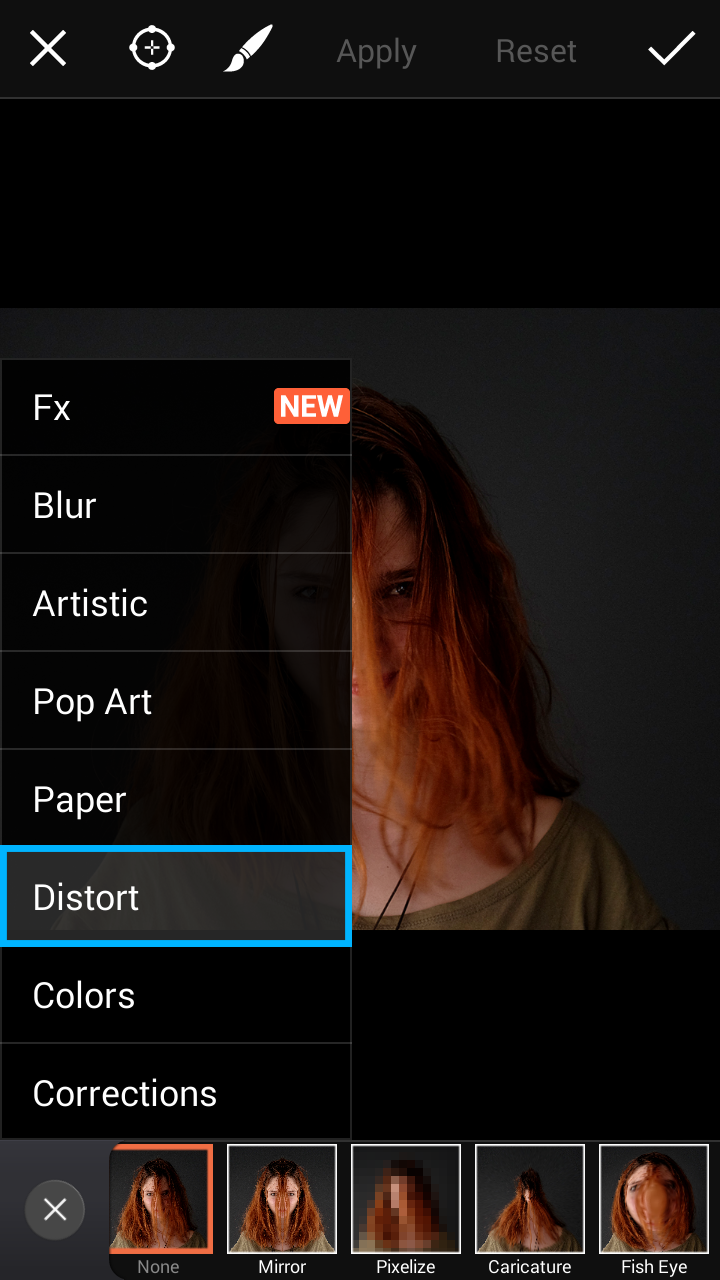
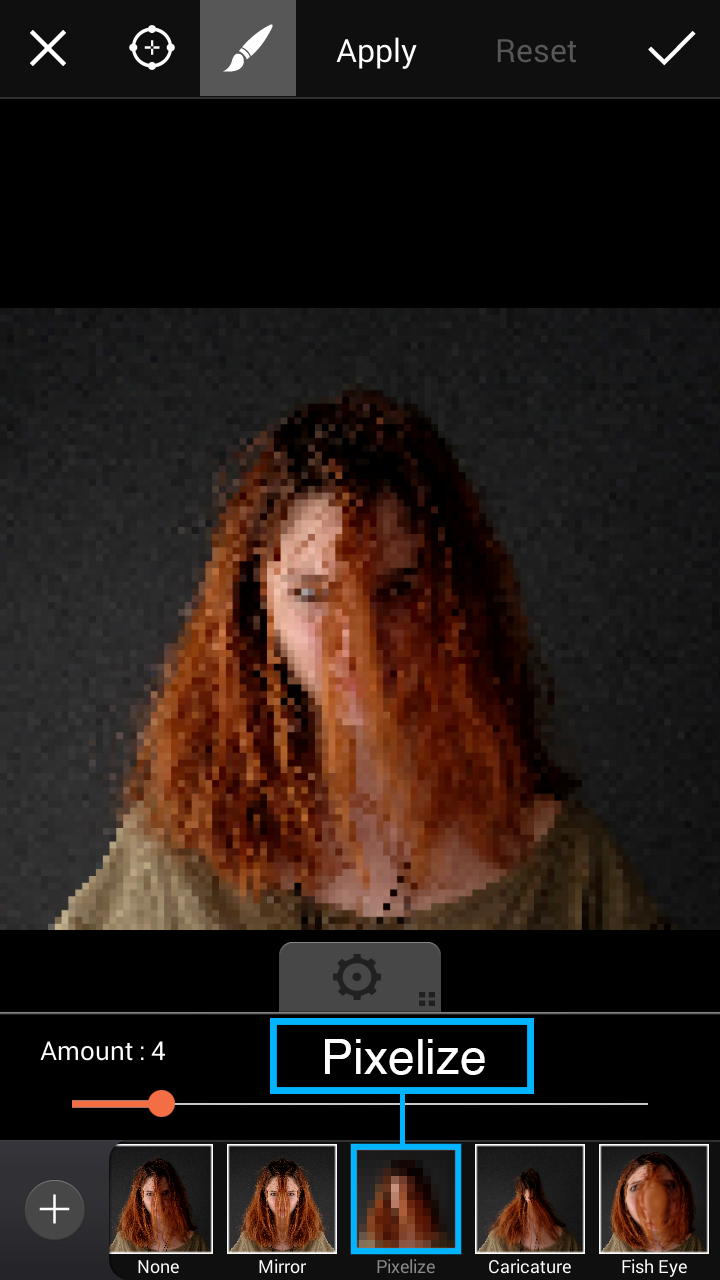
Step 1: Effects Menu
Press the magic wand Effects icon to open the effects menu. The Pixelize effect is in the Distort section. Scroll through the section and tap Pixelize when you see it.
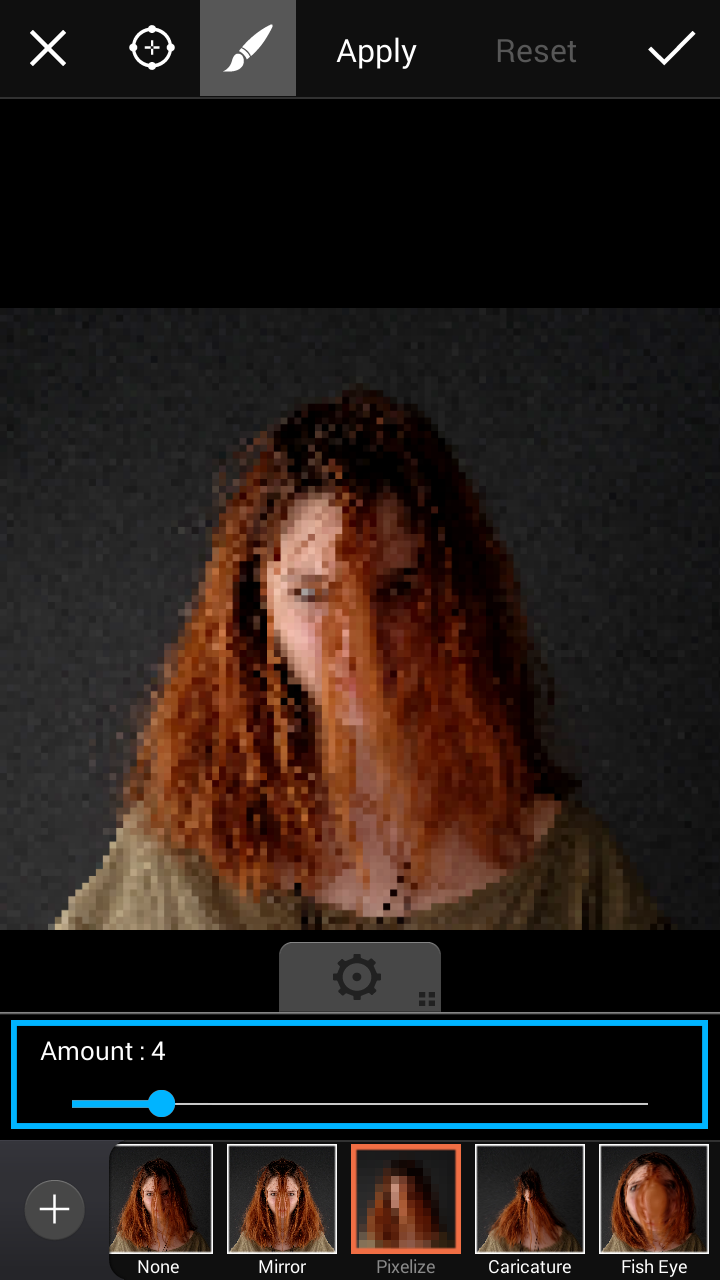
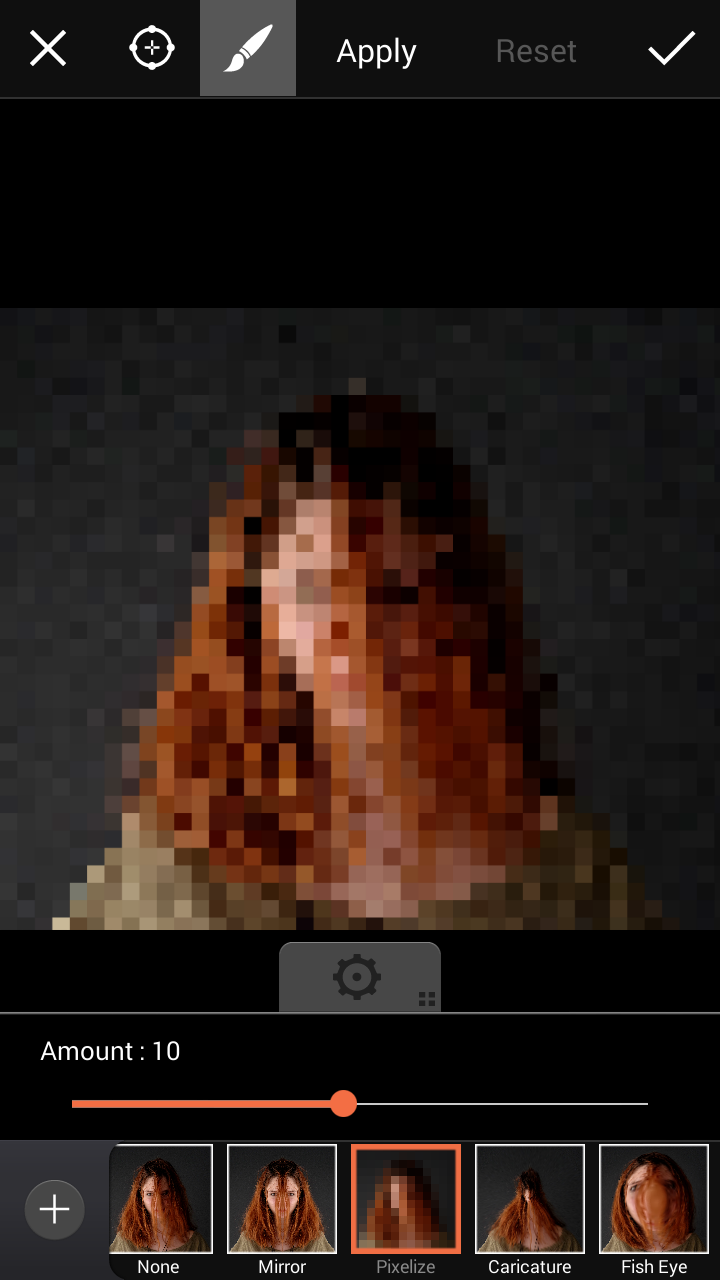
Step 2: Amount
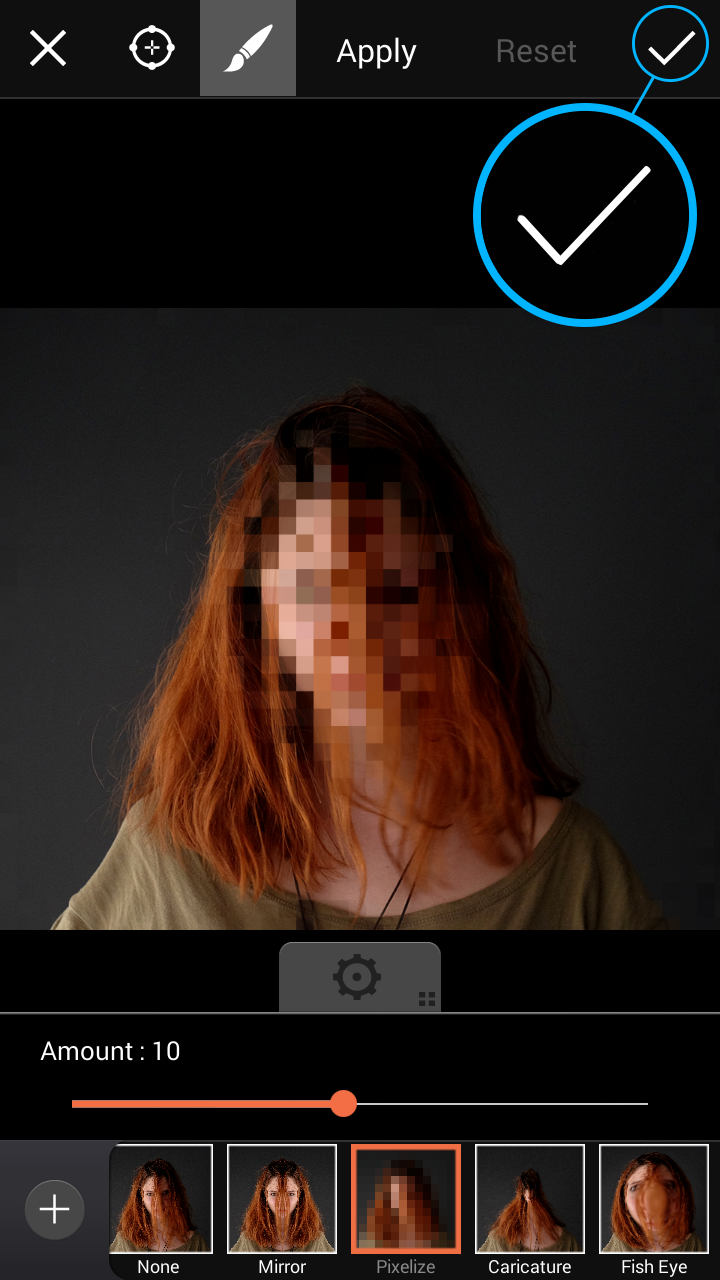
Use the amount slider to customize the size your pixels. Big pixels offer maximum anonymity, smaller pixels keep the image distinguishable, and are more of a stylistic choice.
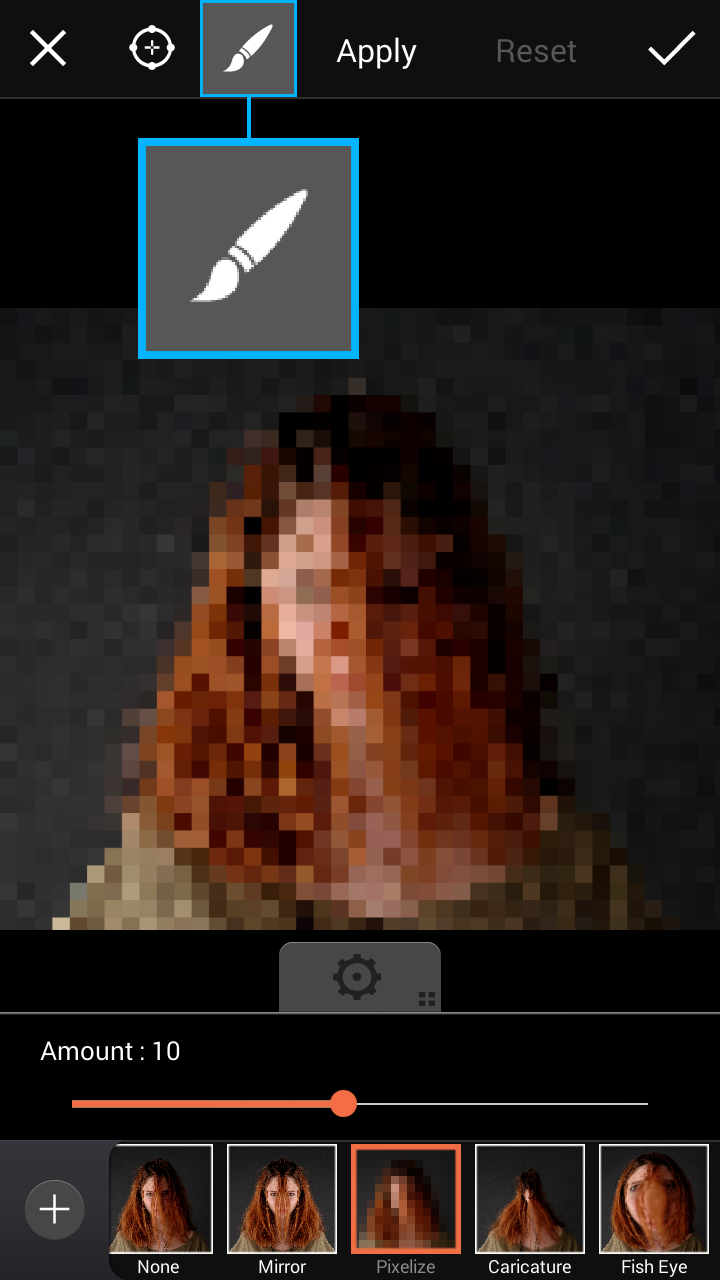
Step 3: Brush
You can choose where you want the effect by painting it on and off with the brush. The default brush setting of “Original” will let you erase the effect where you don’t want it applied. You can also tap the box labeled “Effect”, and paint it back on.

Step 4: Confirm
Press the checkmark to confirm.