
What if I told you there was a way to prevent underexposed images with just one button? You are in luck, as this feature already exists. It’s called the ISO, and it’s one of the most powerful yet least understood settings for many photography students. Whether you’re using a point & shoot or a DSLR, you can utilize this functionality right now. This article will detail exactly when and how to adjust the ISO for the best results.
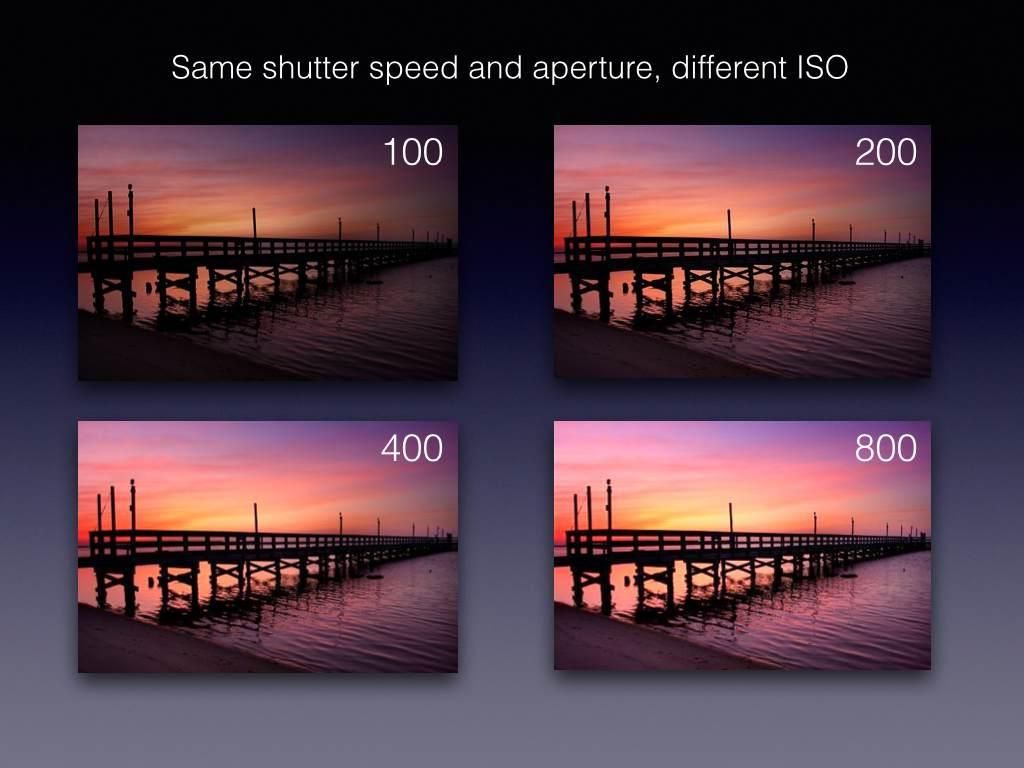
Think of your camera as a light gathering sponge. The higher the ISO number, the more light it soaks in. At ISO 200 for example, the camera gathers twice as much light as ISO 100. Notice how the images get progressively brighter in the sample below. The shutter speed and aperture did not change, only the ISO.
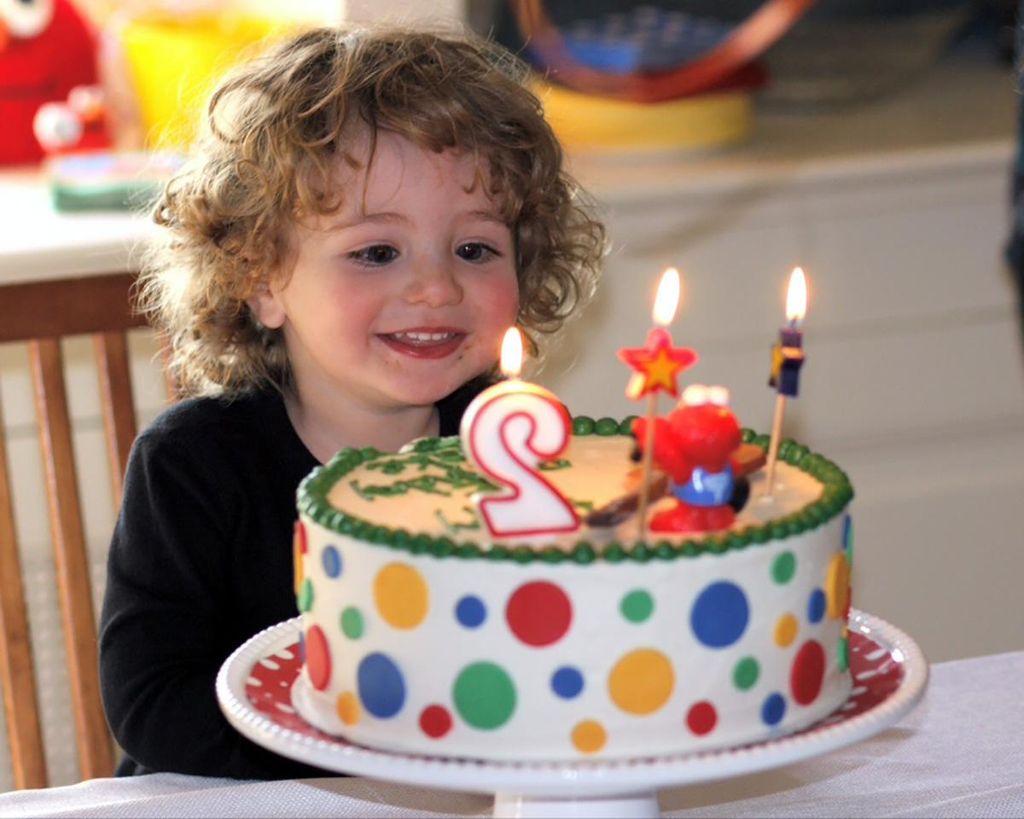
The amount of light in our homes may appear sufficient to our eyes as they automatically adjust. To a camera however, it’s not nearly enough to make a proper exposure. Birthday parties are a great example as the lights are turned off for the cake and candles. In these low light situations, you’ll often benefit from an ISO of 1600 or 3200. With the camera able to collect the existing light faster, a quick shutter speed of 1/250 can be used to freeze the child’s movement.
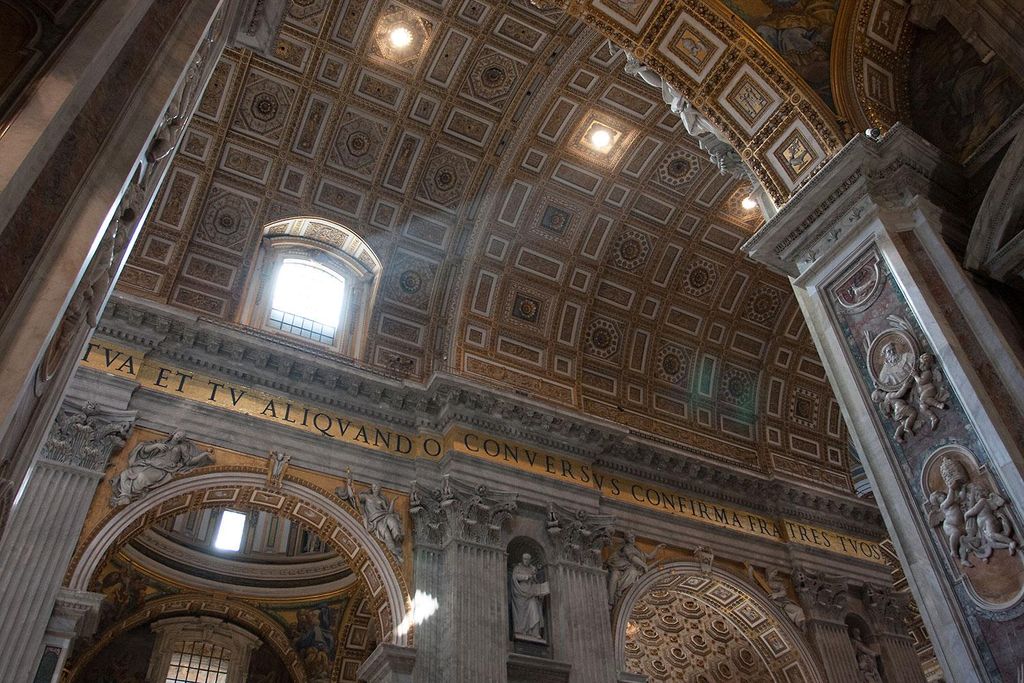
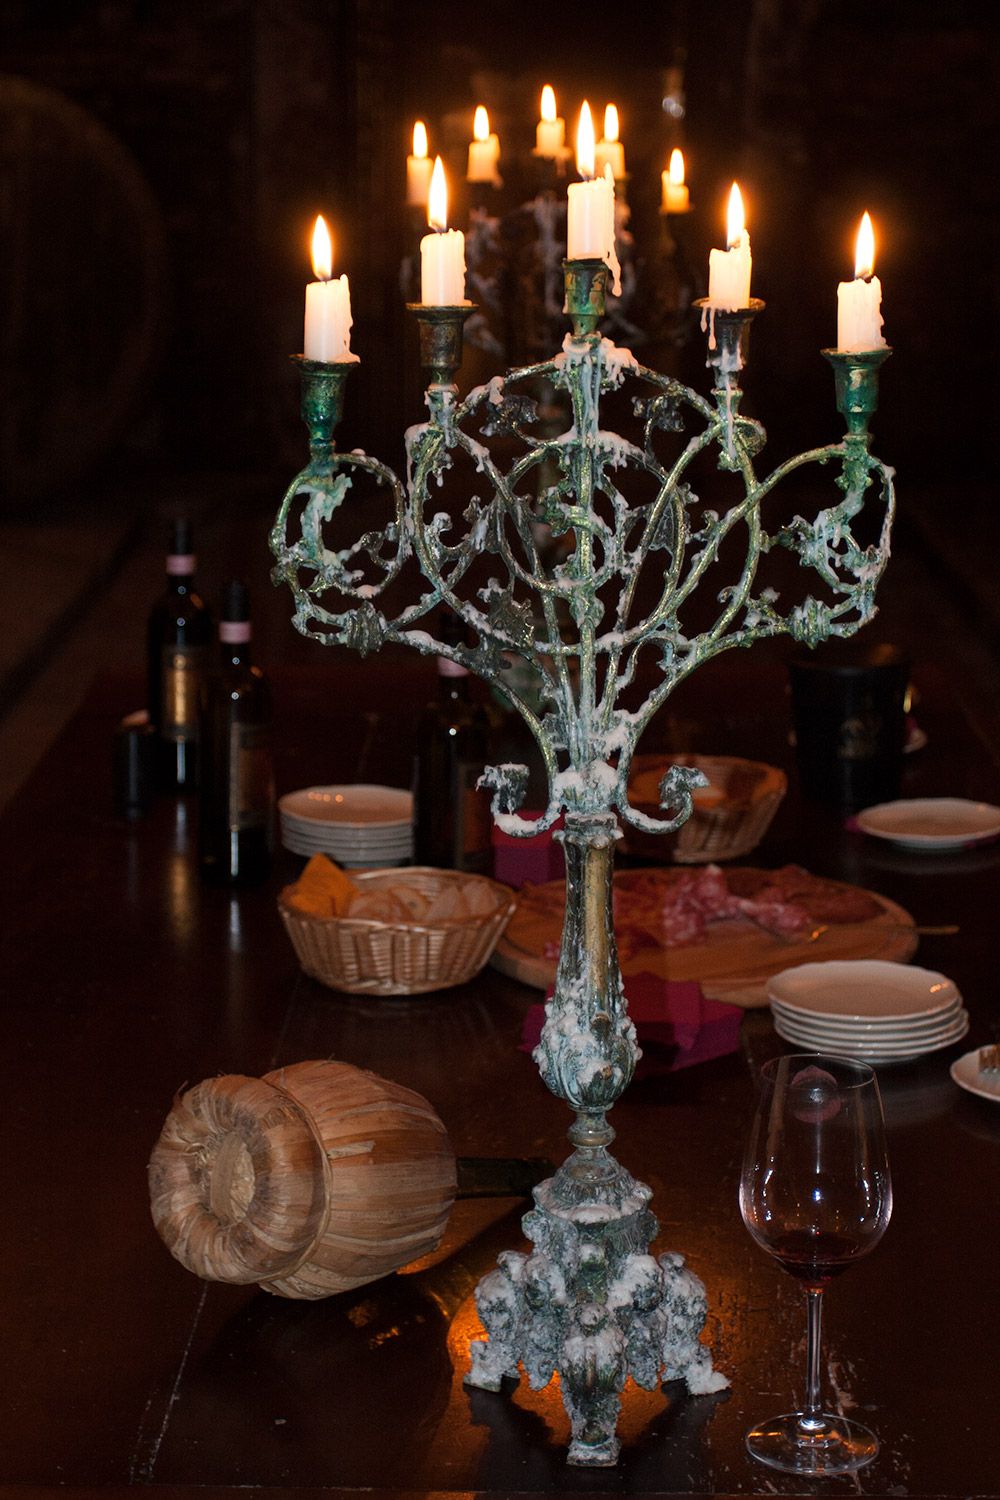
Some of the world’s most exquisite architecture and artwork are found in the darkest spaces of churches and museums. To further complicate matters, many restrict flash photography. By adjusting the ISO, you can leave the flash off, and still capture well-exposed pictures. At a recent visit to St. Peter’s Basilica in Vatican City, it was not uncommon to shoot at extraordinarily high ISOs such as 6400 or 12,800. As technology continues to improve, some high-end cameras now offer ISO 102,400 and 204,800. Essentially this allows a photographer to shoot in near darkness.

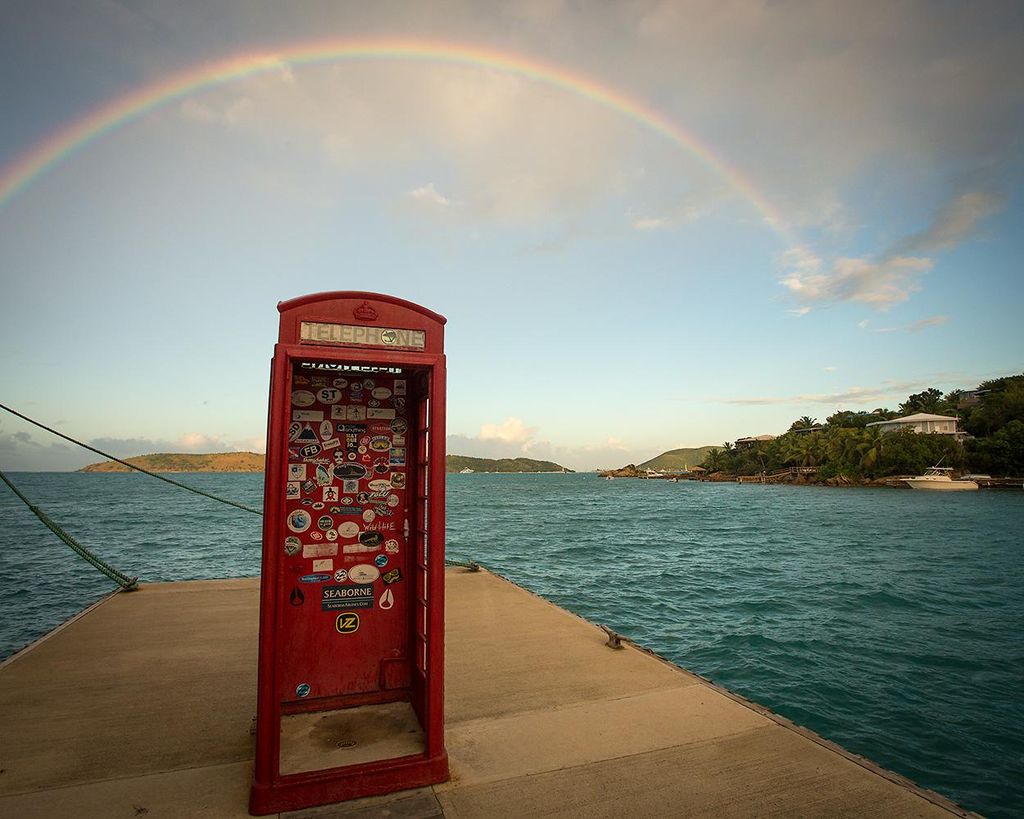
You may be surprised to learn that a high ISO can even be helpful on a bright sunny day. For example, if you are photographing a landscape without a tripod, the shutter speed can be no slower than 1/125 to prevent camera shake. To achieve great depth of field the desired aperture would be f11 or f16. This will keep everything sharp from near to far. With these two decisions made, you may take your photo only to find that it’s too dark. This is where the ISO comes to the rescue. Simply double the ISO number and watch as the photo gets brighter. Still need more light? Double the ISO again.
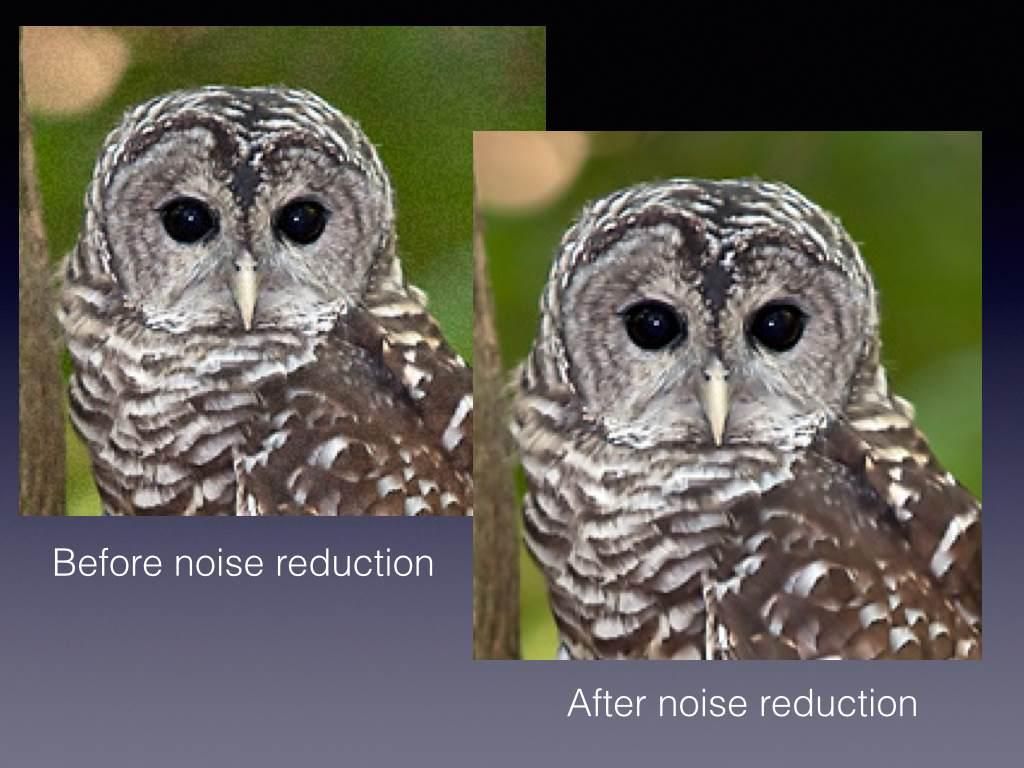
There is a slight trade off for using such high ISOs. The greater the number, the more digital noise will appear. This is typically not very noticeable until you reach the extreme ISOs like 3200 and above. This is not a reason to shy away from raising the ISO however. The artifacts are incredibly easy to eliminate using the noise reduction tool available on most image editing programs today.
By incorporating ISO control into your image-making process, exposure is no longer limited to just aperture and shutter speed. With this new technical knowledge, it also increases your photographic opportunities. With the ability to shoot anywhere, the possibilities are nearly endless. Use the ISO to your advantage and you’ll see a definitive improvement in your craft. Problematic scenes that were once too dark are now well within your reach.
______________________________
Photos and Text by Chris Corradino


