
Want to add something special to your favorite photos? Whether you’re working on your latest marketing campaign or editing Instagram posts, adding text to your photos can help you drive engagement, followers, comments, and likes — all while sharing your unique story with the world.
The good news? It’s easy to add text to pictures, and photo editing tools like Picsart come equipped with everything you need to create the perfect edit—from customizable fonts to eye-catching curved text. Here’s how to add text to a picture on iOS, Android, and Windows.
How to add text to photos on iOS
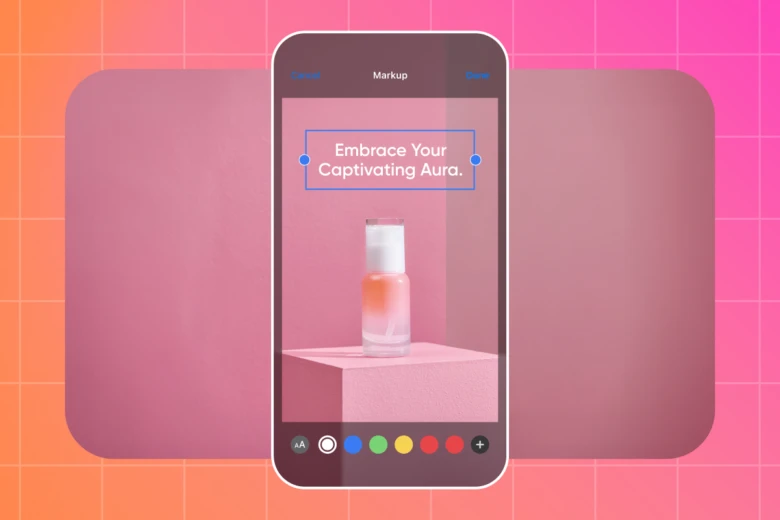
If you’re using an iPhone or iPad, you can use Markup (one of Apple’s built-in apps) to quickly add text to your photos. Markup is available in Photos, Messenger, and Mail, so you can easily edit your photos from multiple apps.
Markup is straightforward, and it only takes a few seconds to add text to your photos. Here’s a quick guide on how to add text to photos on iPhone.
- Launch the Photos app. Tap the Photos icon to open the app. Then, select the photo you want to add text to.
- Start editing your photo. Tap Edit on the top-right corner. Next, choose the More option and select Markup.
- Add text to your photo. In the bottom-right corner, tap the Plus (+) button. Select Text to add text to your photo.
- Customize your text. Once you’ve typed out your message, you can change your text color and explore different fonts, sizes, and text alignments with the aA button.
- Save your photo. When you’re finished editing, tap Done in the top-right corner to save your finished design.
Meanwhile, if you’re using a Mac, you can add text to photos using the Apple Photos app. Just like editing on an iPhone or iPad, you’ll select the Markup tool in the Photos app and follow the steps outlined above.
How to add text to an image on Android
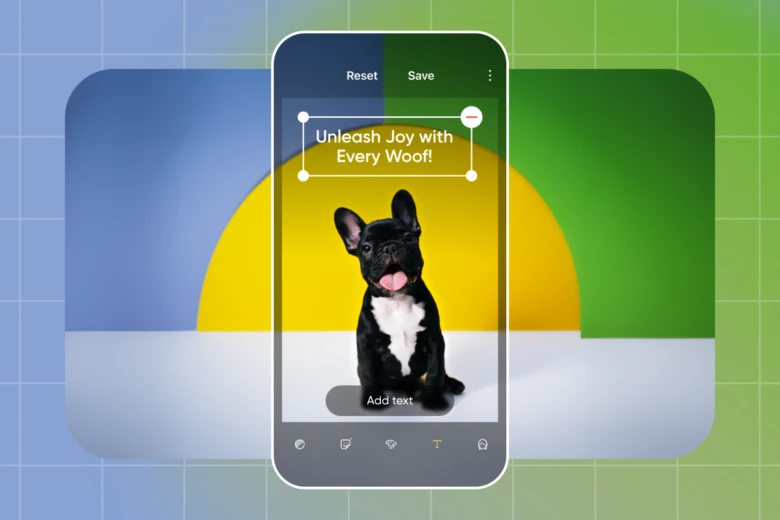
Looking to enhance your pictures with text? If you’re using Android, you can use the Markup app to add text to your photo on Google Photos.
Similar to iOS, Markup is quick and easy to use, even if you’re not a graphic design pro. Here’s how to add text to a picture on Android.
- Open Google Photos. Launch the Google Photos app. Then, choose the picture you want to add text to.
- Start editing your photo. At the bottom of the picture, tap Edit (three horizontal lines). Next, choose the Markup icon (squiggly line) to start editing.
- Add text to your photo. Tap Text to add text to your photo. Then, type in your desired text.
- Customize your text. When you’re done typing, you can adjust the font type, size, and other features, including the opacity and shadow color.
- Save your photo. Once you’ve fine-tuned your picture, tap Done to save your photo.
How to add text to a picture on Windows
If you’re using a Windows 10 PC, you can add text to photos with Microsoft Photos. Here’s how to get started.
- Launch the Photos app. Open Windows Photos and choose the photo you want to add text to.
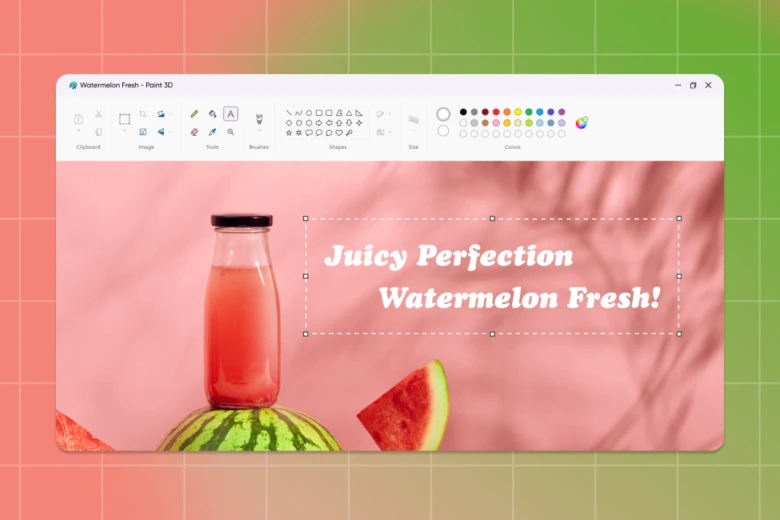
- Open the editing tool. In the upper-right corner of the app, click Edit & Create. Then, choose Edit with Paint 3D to start editing.
- Add text to your photo. At the top of the screen, click Text. From there, you can choose the area on your image where you’d like to create a text box and type your desired text.
- Customize your text. On the right panel, adjust your text with different font, size, color, and formatting options based on your creative style.
- Save your photo. In the upper-left corner, click Menu. Then, choose Save as from the dropdown menu to save your edit.
If you’re editing photos on an older PC (Windows 8 or Windows 7), you’ll need to use the Paint app to add text to photos. Here’s how to add text on photos with Paint.
- Open the Paint app. Open the Paint app and select the photo you want to add text to.
- Start editing your picture. Next, click the Text tool from the left-panel toolbar to add text to your photo.
- Add text to your photo. Click on the image where you’d like the text to appear. From there, type your desired text into the text bar.
- Customize your text. Experiment with the formatting options on the top toolbar to change the color, size, and style of your text.
- Save your photo. Click the Select tool to deselect the text. Then, click Menu and select Save as to save your photo.
How to put text on a picture with third-party apps
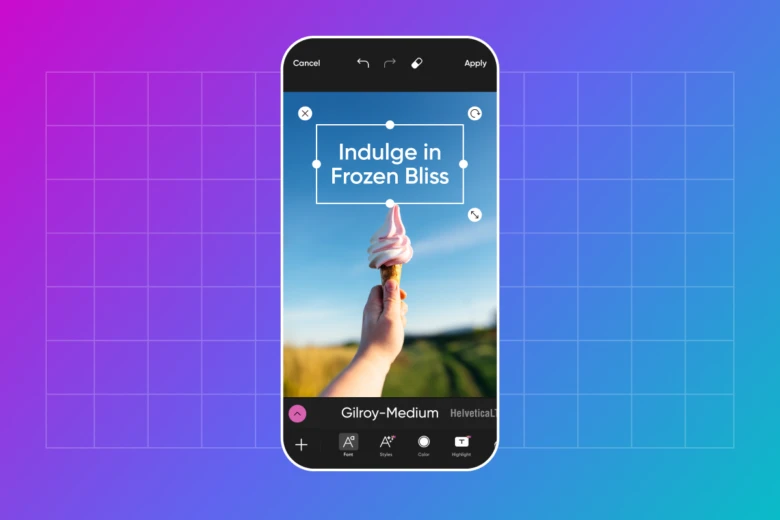
Built-in editing apps make it quick and easy to add text to photos. But if you’re looking for more creative options, Picsart’s beginner-friendly photo editing tools can help you break through the digital noise with unique fonts, scroll-stopping text effects, and more.
So, what are you waiting for? Here’s how to add text to an image with Picsart.
- Open the Picsart Text Editor. Then, choose a photo from your library or use one of our #FreeToEdit templates to start editing.
- Add text. Click the Text tool on the left-panel toolbar to add text to your image. Scroll down to explore our extensive library of designer-approved font presets.
- Select a font or upload your own. Want to take a different approach to editing? Browse our library of fonts, or upload your own by selecting Upload and then Fonts.
- Fine-tune your photo. When you’re done adding text, check out our other photo editing tools to enhance your edit with trendy filters, attention-grabbing stickers, and more.
- Download your edit. Once you’re finished editing, click the Export button on the top-right corner to save the finished product.
If you’re looking for a quick edit, Quicktools by Picsart can help. Quicktools, our comprehensive suite of editing tools, is completely free to use — no account required! This way, you can create instant edits in your browser without downloading any software or registering for an account.
Here’s how to add text to any photo for free with Quicktools.
- Open the Quicktools Add Text to Photo tool. Then, click Upload image and choose the photo you’d like to edit.
- Add text to your image. Click Add Text in the top-right corner to create a text box. Next, drag and drop your text box to the desired area and double-click the box to type your message.
- Customize your text. When you’re done typing, you can easily change the color, size, font, and alignment of your text using the top toolbar.
- Download your edit. Once you’ve picked the perfect settings, click Download Image to save your edit.
Looking for more creative tools? Check out the Quicktools Font Generator to instantly generate unique fonts for social media bios, graphic designs, and more. From a quick word counter to fun text symbols, you’re sure to find everything you need with Picsart’s online text tools.
Tell your unique story with Picsart
With Picsart, you can send the right message with trendy fonts, eye-catching effects, and fun text styles to match your visual’s mood. Plus, you can place your text and resize it as much as needed without any hassle — even if you’re not a seasoned graphic editor.
Unlike other third-party apps, Picsart is free to use and doesn’t require any software installation. In other words, you can add text to images in seconds with just a few clicks and edits without spending hours on editing or wasting any money. Try Picsart today!


