We’ve all been there – taking a seemingly perfect photo, only to zoom in and notice the background is too busy (or plain embarrassing). Does the company Christmas party ring a bell? If you’re on the verge of just discarding the photo, hear us out! There are 4 main ways to highlight the important parts of your photo while tuning out the rest, including Portrait mode, editing apps, and more. Keep reading to find out how to blur your background on an iPhone.
How to blur the background of a picture on your iPhone
Defocusing the background of your photos will make your subject the center of attention, and with an iPhone, it’s easier than ever! Whether you have the latest model or an older version, here’s a simple guide to get you started.
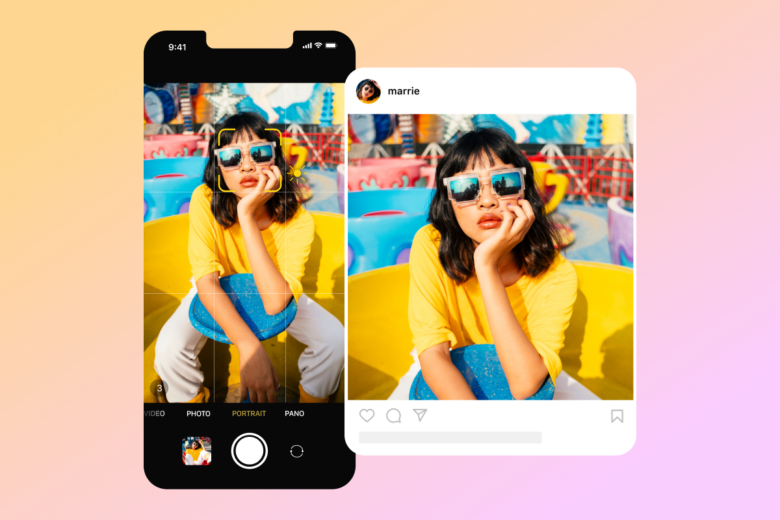
Using iPhone Portrait Mode

Portrait Mode replicates the depth of a professional camera. With its ability to focus on the subject and blur out the rest, it’s one of the best ways to achieve a classic portrait effect. Portrait mode is conveniently available on iPhone models with dual-lens systems. This includes:
- iPhone 7 Plus
- iPhone 8 Plus
- iPhone X and newer models
Steps to take a photo in Portrait Mode:
- Launch the Camera app on your iPhone.
- Select Portrait Mode by swiping through the options at the bottom until you find “Portrait.” It’s usually next to “Photo.”
- Hold your phone steady and tap on the subject to focus. You’ll see a depth-effect preview on the screen.
While you’re hanging out in Portrait mode, you can experiment with different lighting effects like Natural Light, Studio Light, and Contour Light to add more drama to your photos.
Editing background blur in existing photos
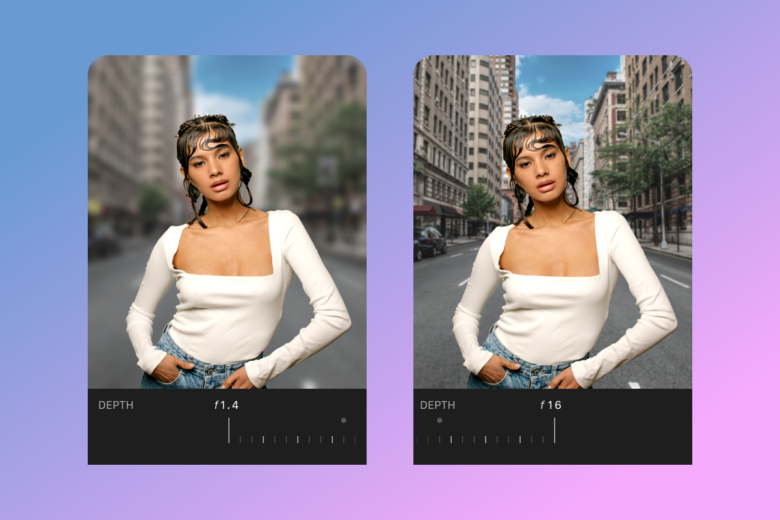
For iPhones with Depth Control (iPhone XS, iPhone XR, and newer models), you can adjust the blur in Portrait mode photos after taking them.

Steps:
- Open the Photos app and find the photo you took in Portrait mode.
- Tap “Edit,” located at the top right corner of the screen.
- Adjust the blur by the depth slider (it looks like an aperture icon) to increase or decrease the blur effect.
Keep in mind that, unfortunately, this feature isn’t available on older iPhones without dual-lens systems.
Blur backgrounds by moving closer to your subjects

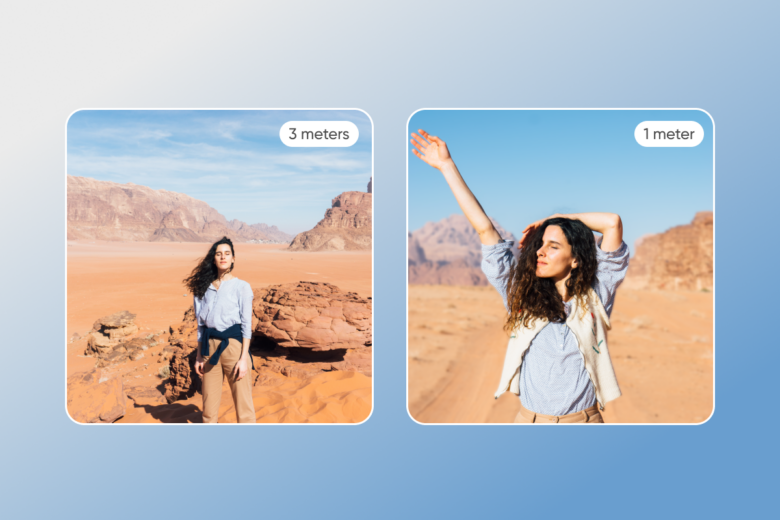
Sometimes, the simplest way to achieve the perfect background blur is to get closer to your subject. When you move closer, the background naturally blurs because of the shallow depth of field. This works best with the main camera lens, capturing the essence of your subject without all the noise in the back.
Ensure you’re close enough, though. About 0.5-2 meters is standard shooting distance. If you’re too close, it may make your face look too large, causing the picture to seem “off”.
Using third-party editing apps
If your iPhone doesn’t support Portrait mode or Depth Control, don’t feel discouraged! Third-party apps like Picsart offer powerful editing tools to blur (or unblur) your photo background seamlessly.

Steps with Picsart:
- Download and open the Picsart app.
- Import your photo by tapping the ‘+’ icon and adding an image.
- Select the “Effects” menu and choose “Blur”.
- Apply the blur effect and adjust the intensity based on your preferences!
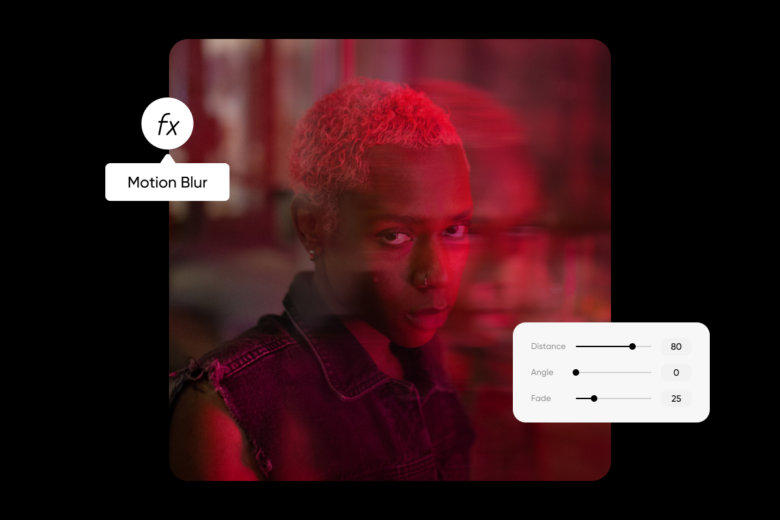
In the Effects menu, you’ll find a variety of trendy blur options, like motion, radial, tilt-shift, and bokeh. Each represents a different aesthetic, so have fun with them while you figure out which suits you.
Luckily, you don’t need the latest tech to learn how to blur your photo background on an iPhone! Picsart allows your older phone to create eye-catching, professional-looking photos with the tap of a finger. Whether you want to change your background or remove it altogether, we have the editing tools you need to stand out from the crowd.
Transform your photos like a pro
Blurring the background of a picture on your iPhone is easier than you think, with 4 simple methods we’ve broken down just for you. Whether you’re using Portrait mode, fine-tuning depth effects, getting close to your subject, or exploring blur tools from innovative third-party apps like Picsart, there’s a technique here for everyone. Now, it’s your turn! Experiment with these methods to see which one works best for your project. Each offers unique benefits, so don’t be afraid to try them all. Happy editing!


