
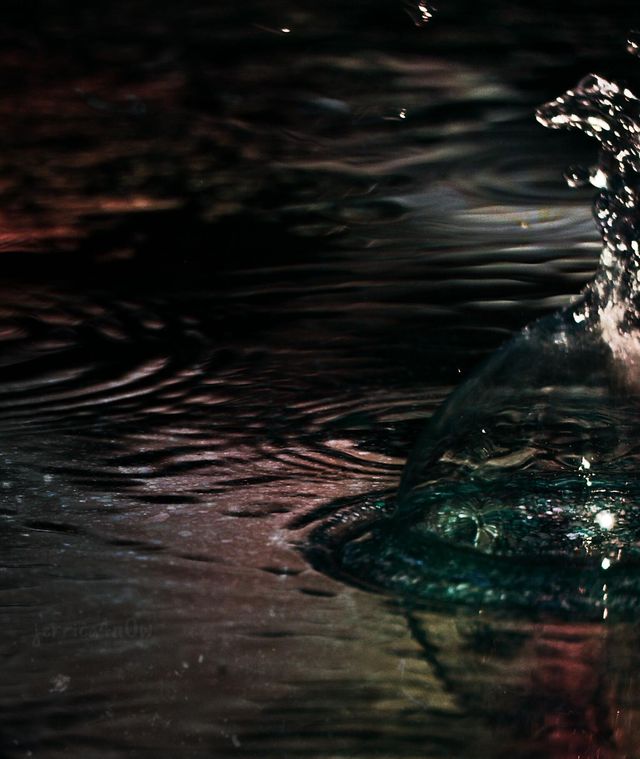
What makes photography so unique from other forms of art is its ability to show us things that we wouldn’t otherwise be able to see. The quick snap of a shutter can freeze motion in time so it can be carefully observed, which has taught us a great deal about the world around us.
Today we’re looking at water drop photography; by freezing the image of a drop suspended in the air or splashing into a pool, we can learn a lot about how water – the most abundant and important substance on earth – behaves. And by using a few simple photography tips and techniques we can recreate the same results that they did, only with more colour and an artistic edge.
What You’ll Need
-
A camera with a fast shutter speed – a DSLR or other manually-controlled camera is best, but the effect can be replicated on many point-and-shoots and smartphones by using the “sports” scene mode. The camera must be capable of either manual or pre-focusing.
-
A tripod. Water drop images take a lot of trial and error, and having to re-frame every shot is an extra headache that you don’t need. Mounting your camera on a tripod allows you to compose and focus on the critical point beforehand, so you’re ready to capture the splash when it hits.
-
Plenty of light. Flash can be used in a pinch, but continuous light such as a bright window or lamp allows you to see what the picture will look like before the shot is taken.
Set Up For Water Photography
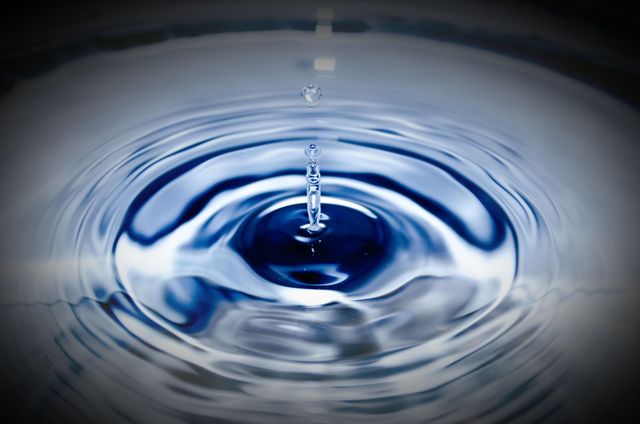
Water drop photography can be easily set up in a sink. Bathrooms are often best because the white porcelain reflects colour so well, but any basin (or bathtub) will do. Simply fill it with a little cold water and turn the tap almost all the way off, but with the valve open just enough to produce a very slow drip. Alternatively, you could suspend a bag of water over a bowl and poke it with a pin to create a dripping effect. The goal here is to get evenly-timed dripping that falls in the same spot every time, allowing you to anticipate the exact point that the drop will hit the water’s surface.

Set your camera up on your tripod and aim it at the surface of the water where the drops are falling. Frame your shot however you like according to the rules of photo composition. It can be skewed a little, according to the rule of thirds, or placed dead centre for a static composition. Pay attention to your negative and positive space, what kinds of reflections are being made in the water, and how the ripples on the surface behave.
Focus the lens, either manually or automatically, on the splash. Adjust your camera’s settings so that it won’t try to re-focus before the shot is taken. The splash will happen too quickly to allow your camera to focus on it before firing.
Once you’re all set up, it’s only a matter of watching the water drops and taking shot after shot of them falling, perfecting your timing to capture the impact on the water’s surface.

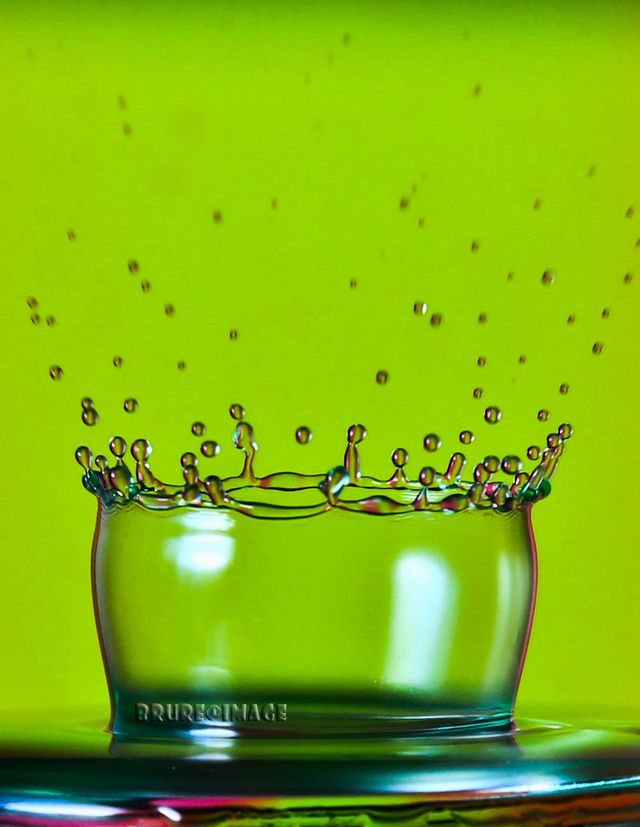
How to Pick Up Colours
Thanks to the principle of refraction and the rounded shape of a droplet, water has a way of harnessing light and colour from its surroundings and reflecting them through itself. If there are objects surrounding your scene, their colours will be reflected in the water. Plants and flowers work very well for this, creating a naturalistic feel (especially if you’re using daylight to illuminate the scene). However, anything with bright colours will produce this effect.
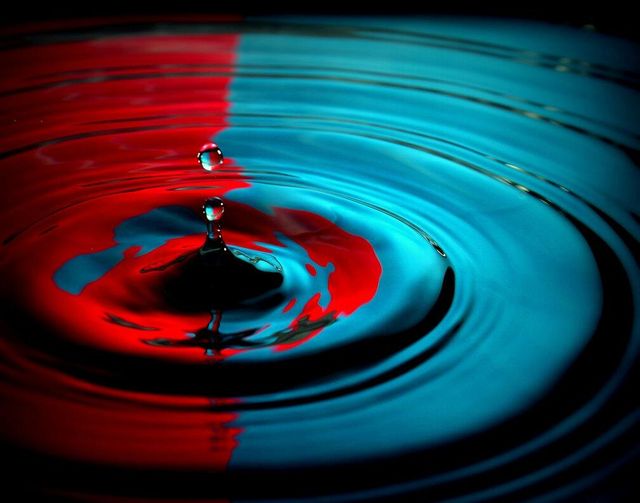
To create colourful water drops, try arranging different objects around the edges of the sink or bowl. Use differently coloured objects and observe the way they are picked up by different parts of the water, often seeming to invert and appear on the opposite side.
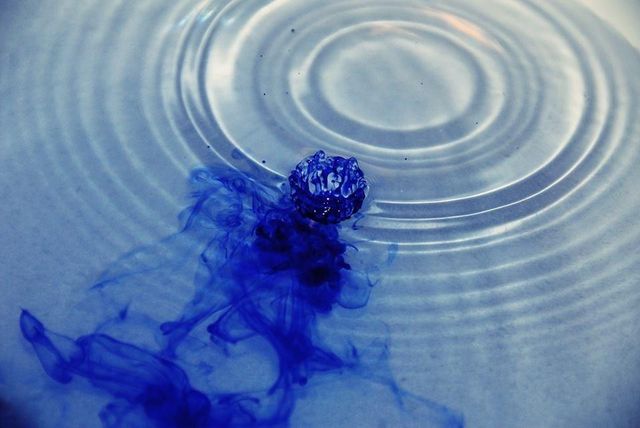
You can also tint your water drops by using a coloured bowl instead of a sink, or by dripping food colouring into the bath. These colours will be much more intense, and give a very different look than ones achieved through reflections.
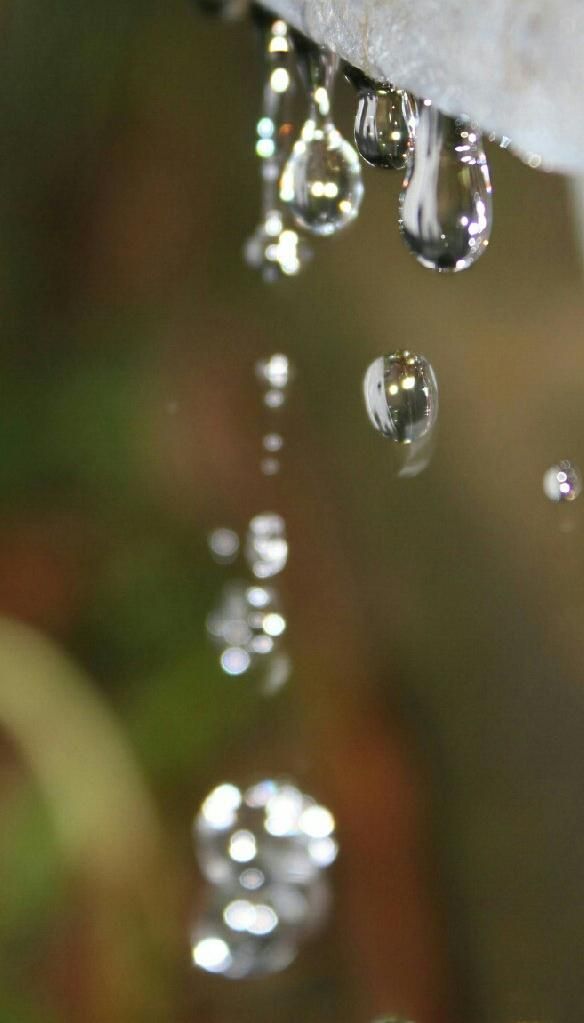
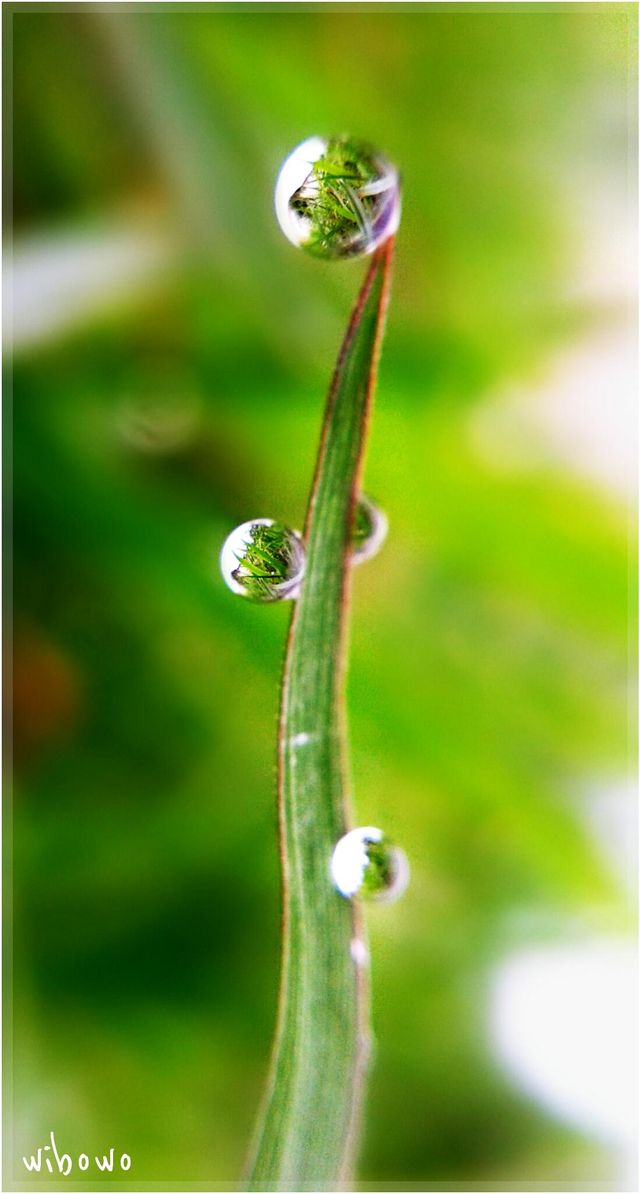
Image Refraction in a Water Drop
While experimenting with colour refraction, you might notice that at certain angles, a water drop projects an intact (though upside-down) picture of an object behind it. This is because water can act like a lens, operating the same way your camera lens does to focus light into a clear image.
Of course, drips and splashes aren’t the only way to capture water droplets. These same principles can be used to photograph drops that sit placid on some leaf or windowsill, too, so don’t be afraid to get creative when it rains and see for yourself all the beautiful and interesting ways that water behaves.


