Contents
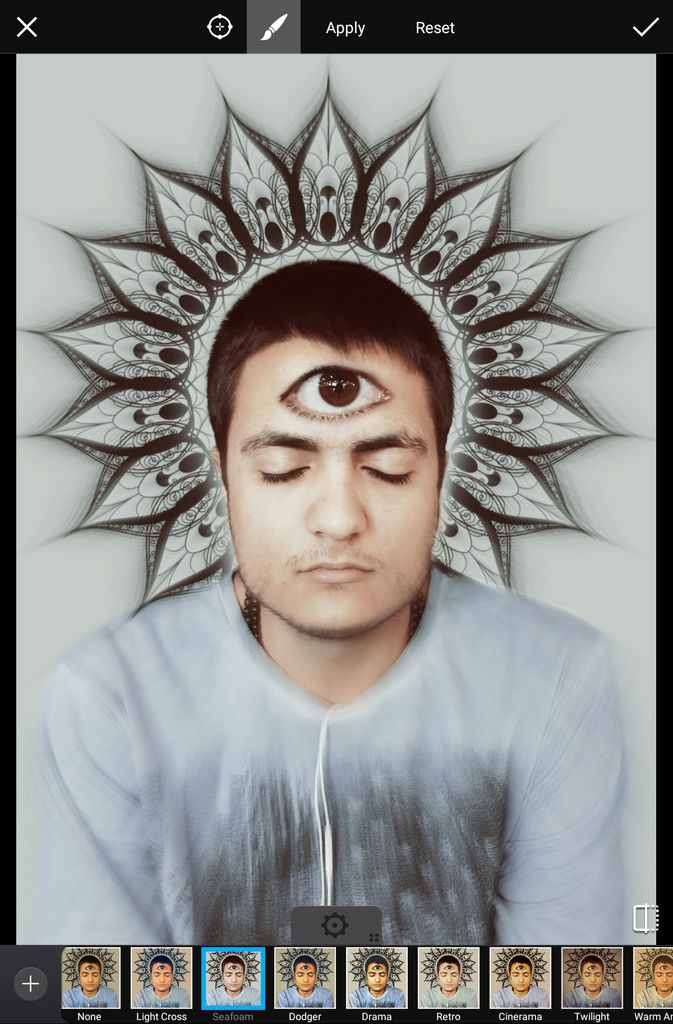
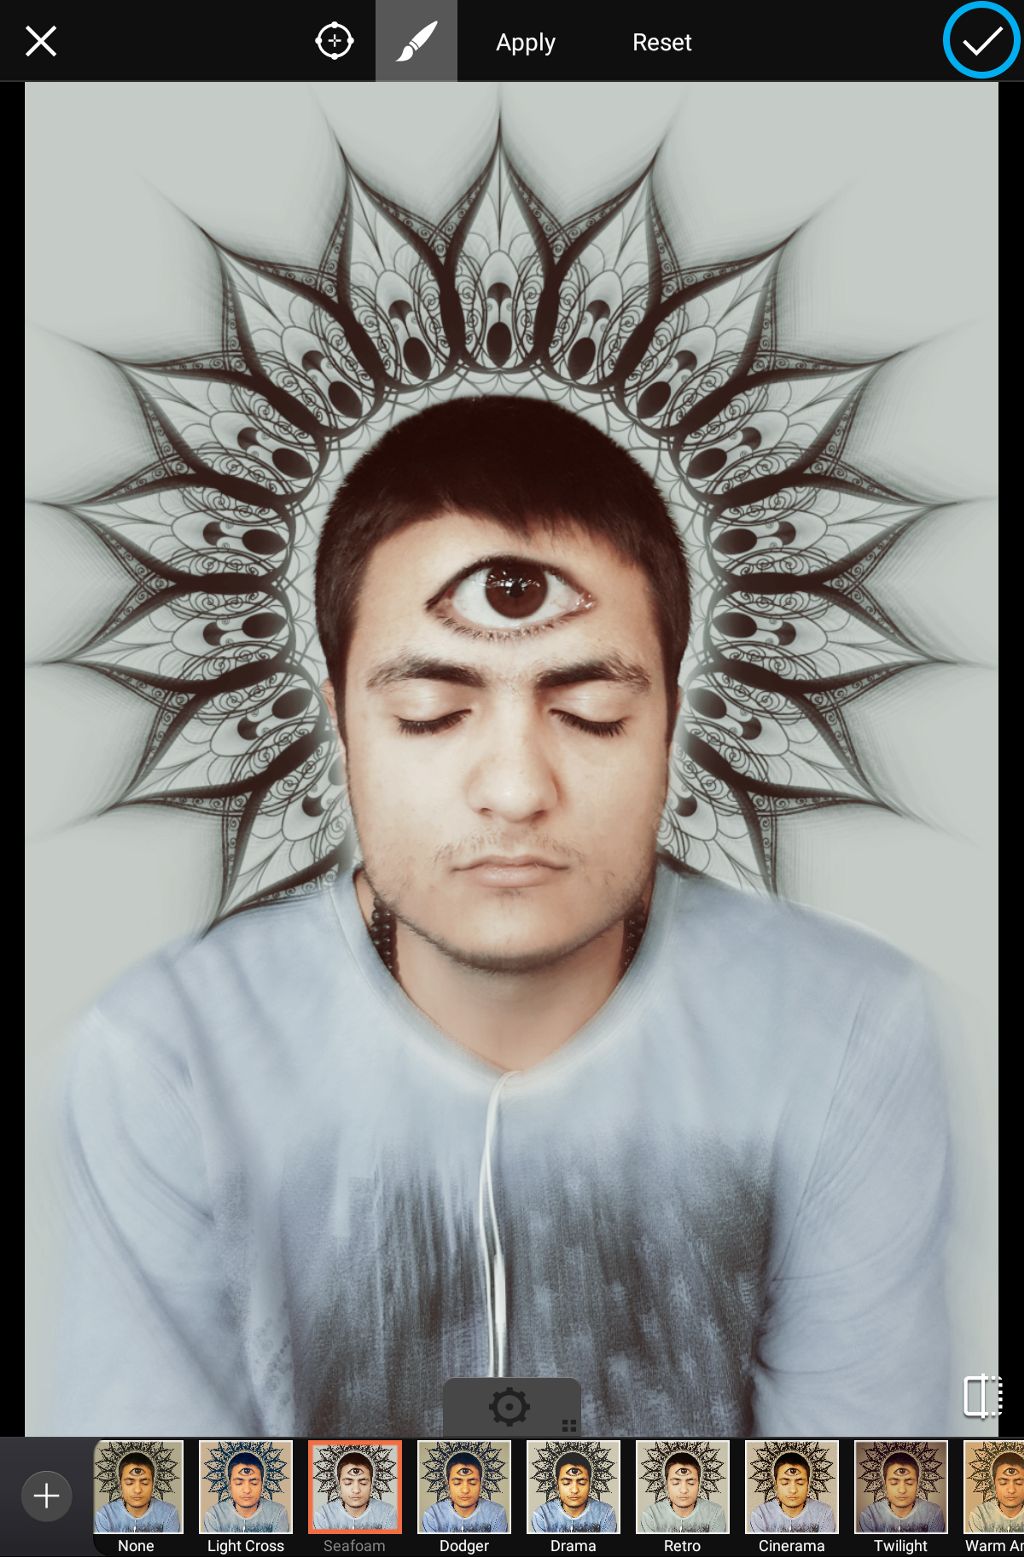
In this tutorial, we’ll show you how to use the photo editor to create custom clipart. Read on to learn how to do it, and then start creating your own!
Step 1: Open Free Crop Tool
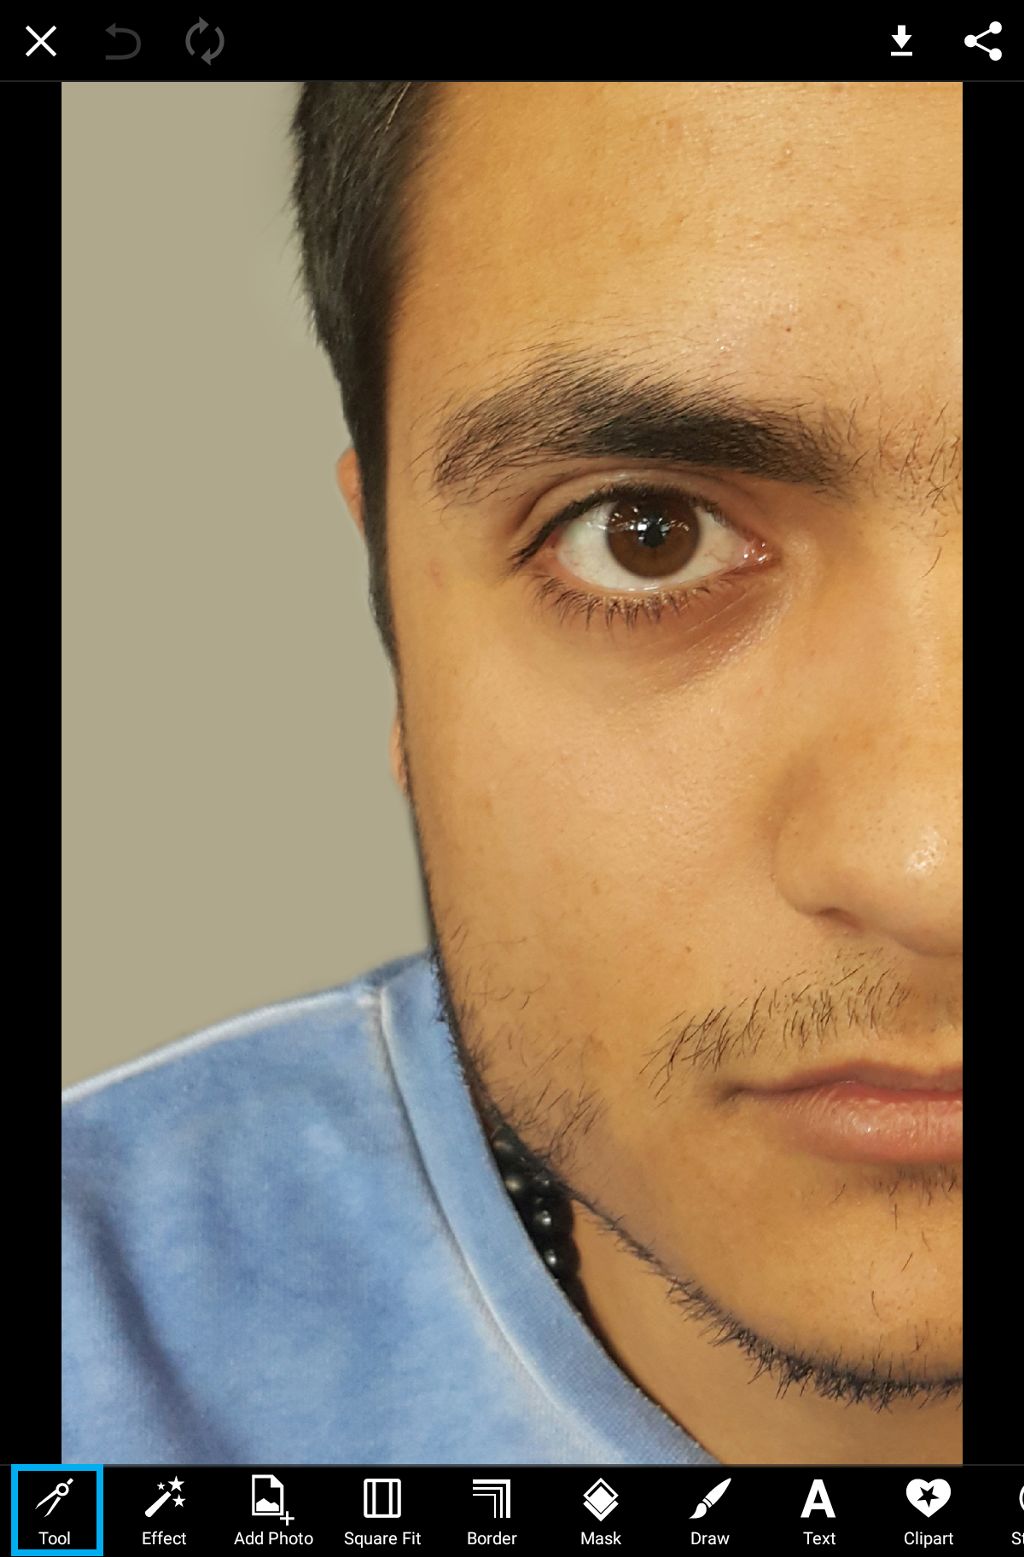
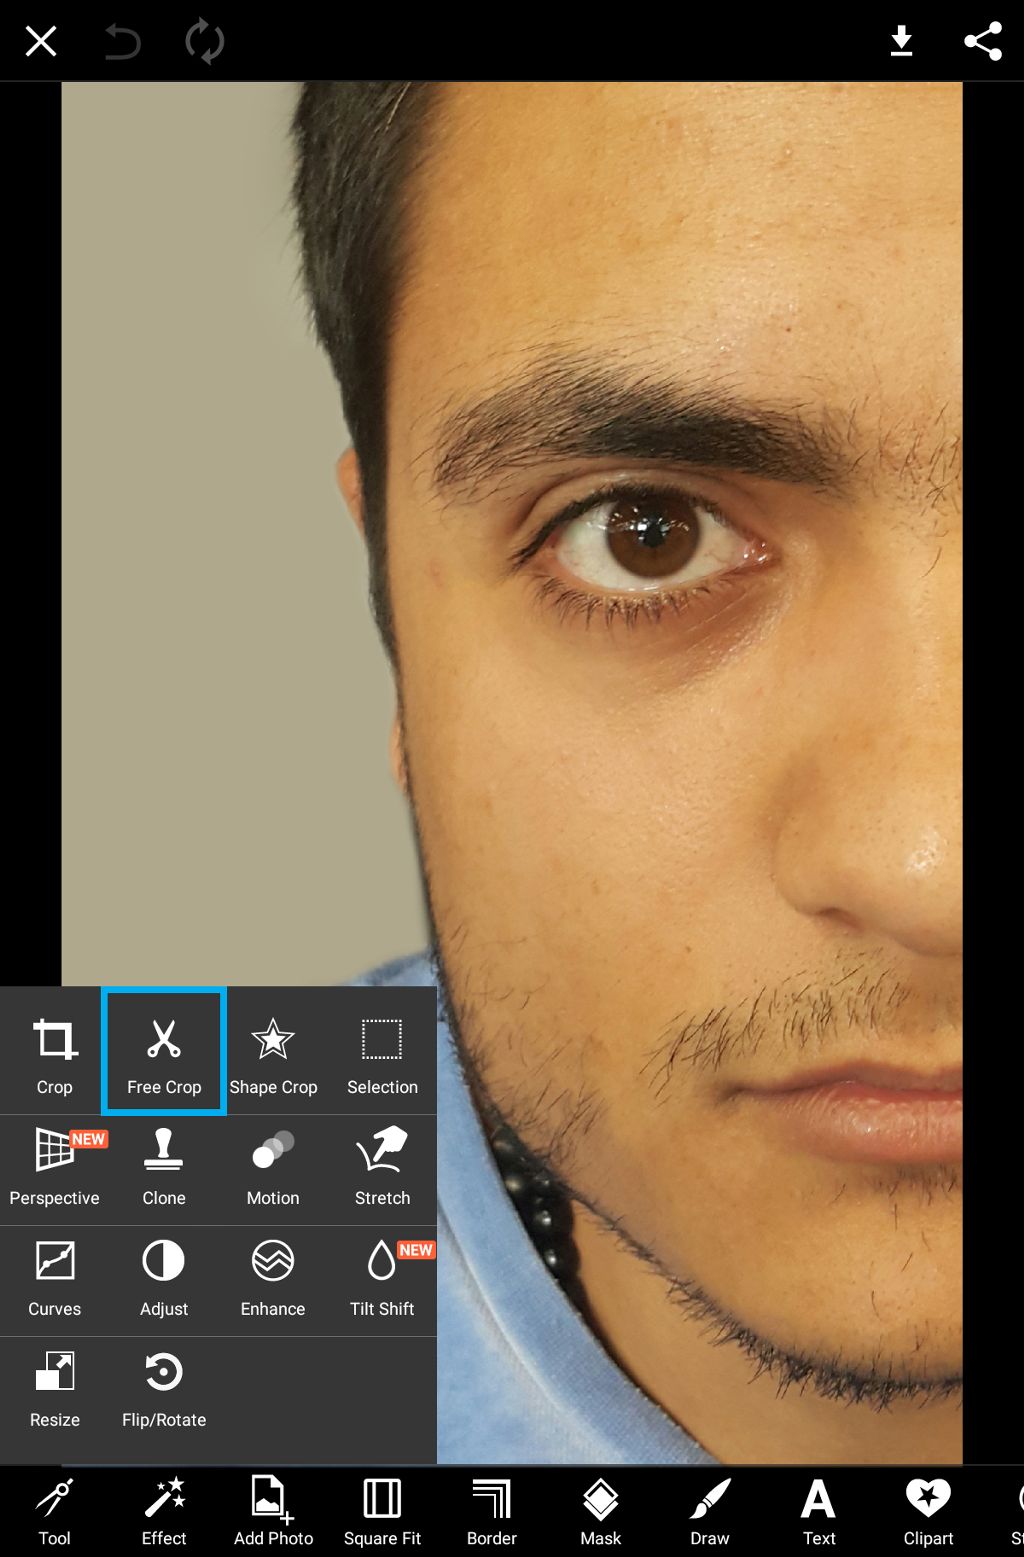
Open the photo that you would like to use as a clipart image in the photo editor. Tap on Tool and select Free Crop.
Step 2: Make Selection & Save
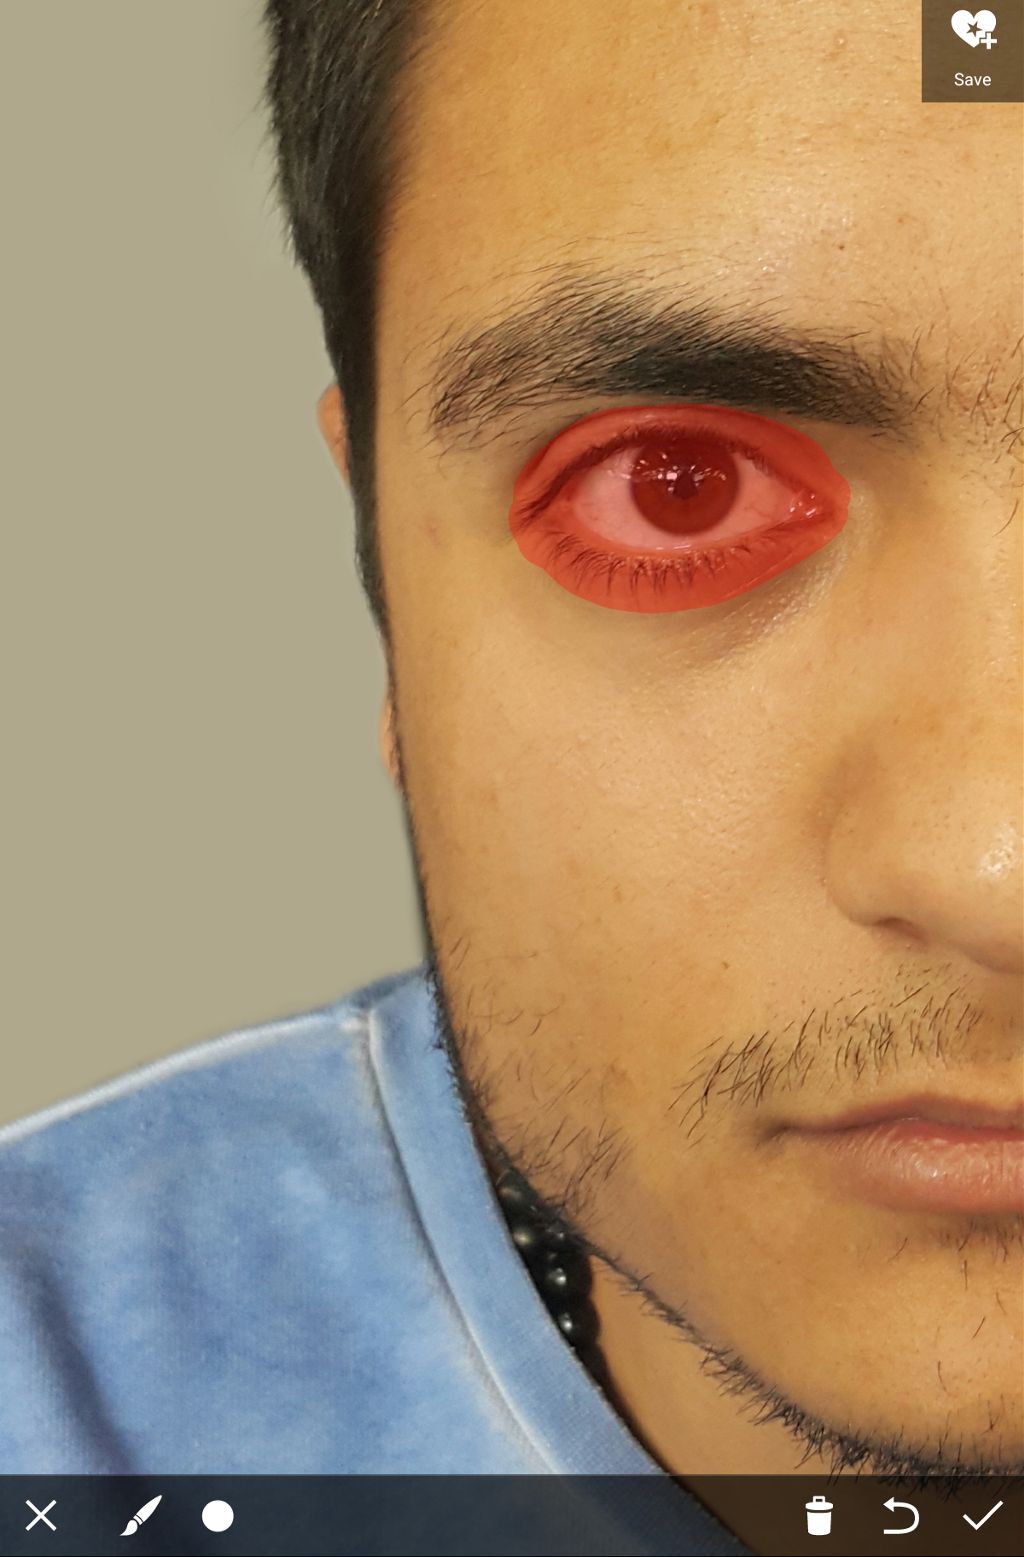
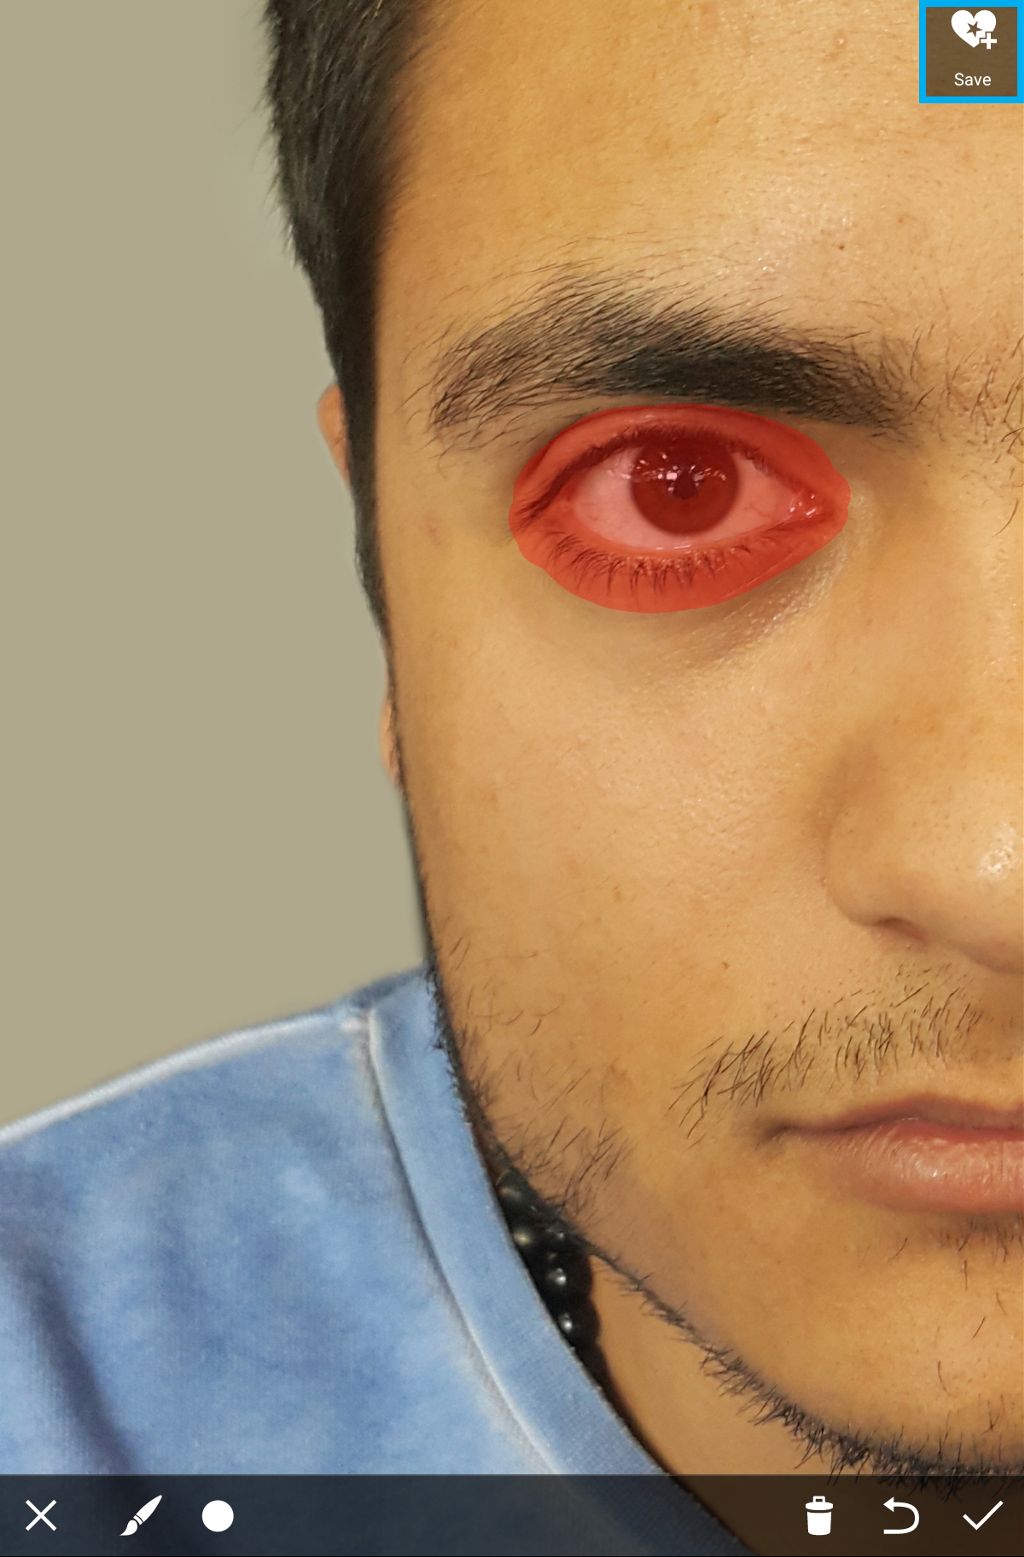
Use your finger to select the part of your image that you would like to save as a clipart image. Tap on the Save icon.
Step 3: Exit Editor
Tap on the X to close the Free Crop Tool. Tap on the X again to close the image.
Step 4: Open My Clipart
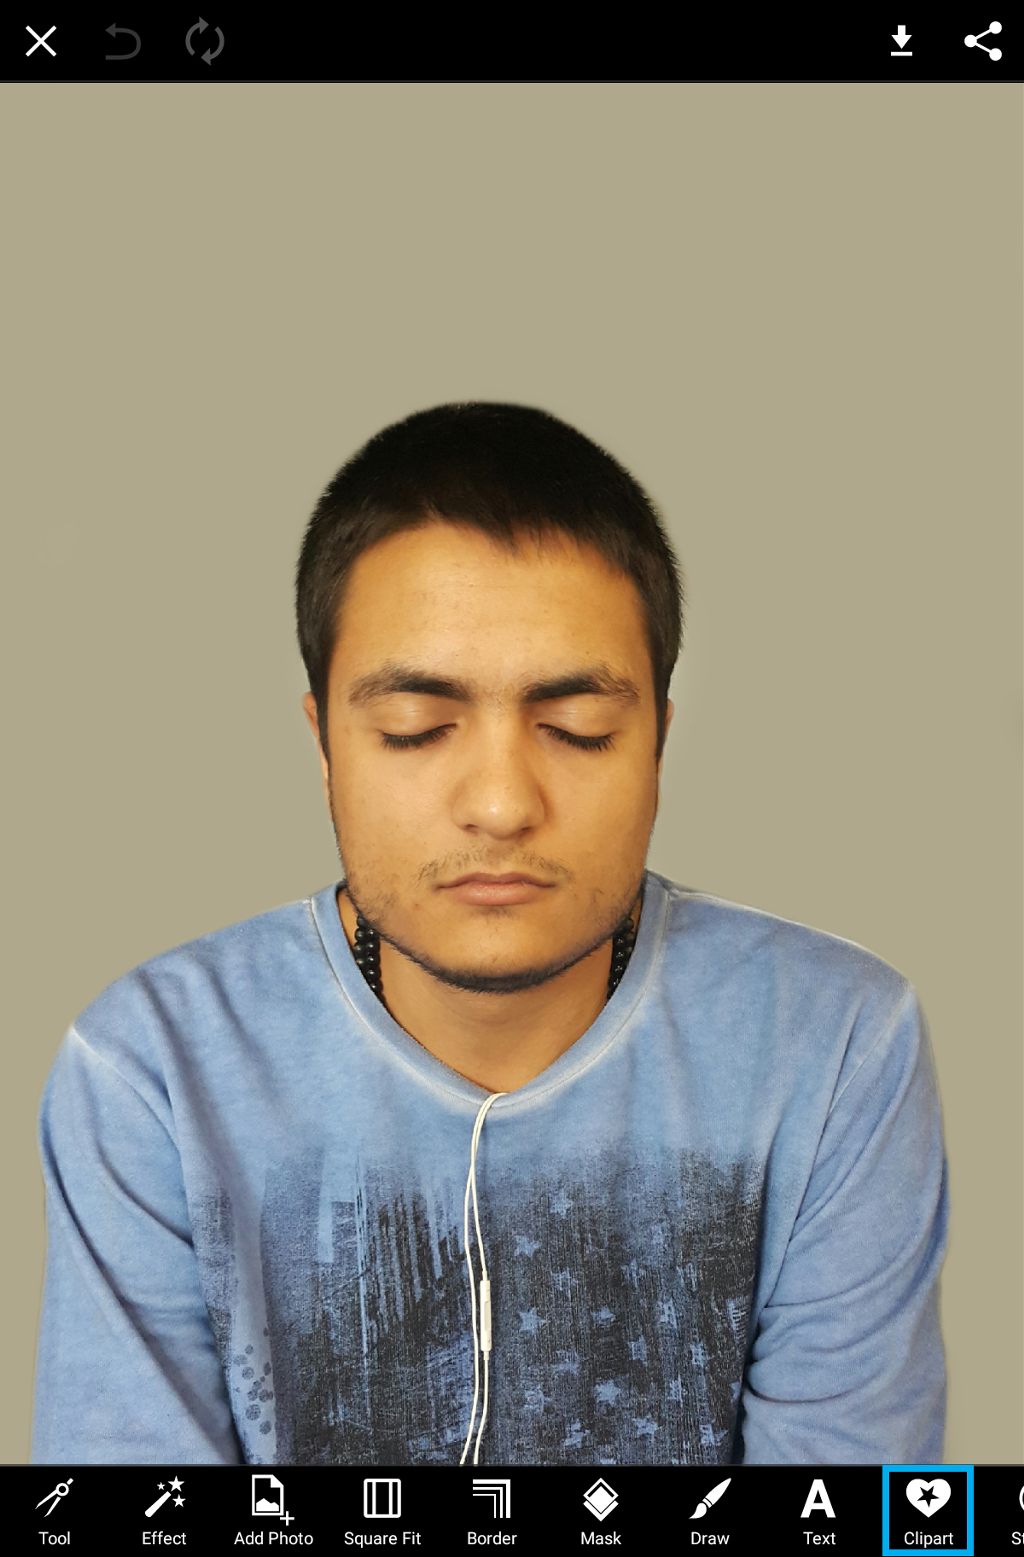
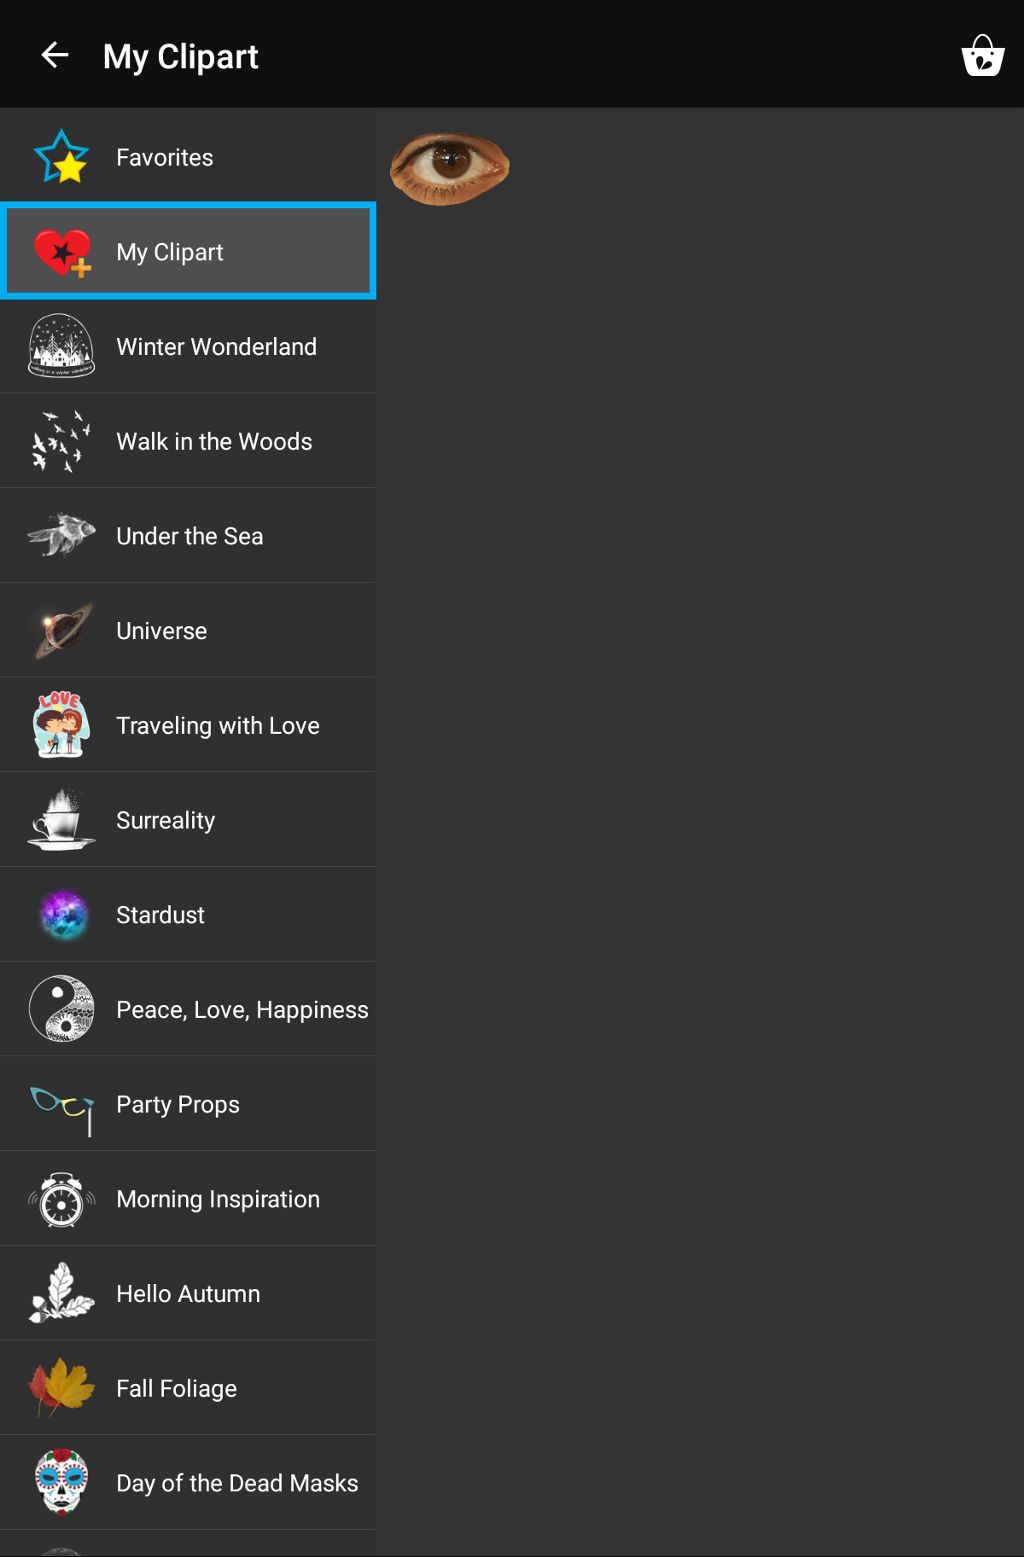
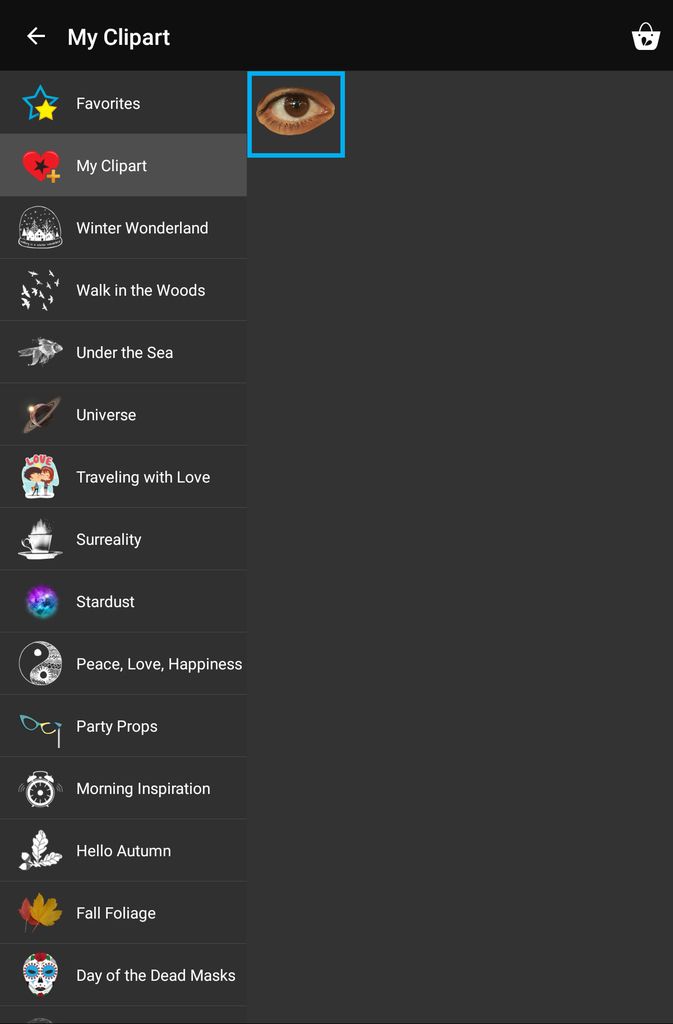
Open the image you would like to edit. Tap on Clipart and select My Clipart.
Step 5: Apply Clipart
Select your clipart image. Use the arrow icon in the bottom right corner to adjust the size of the image.
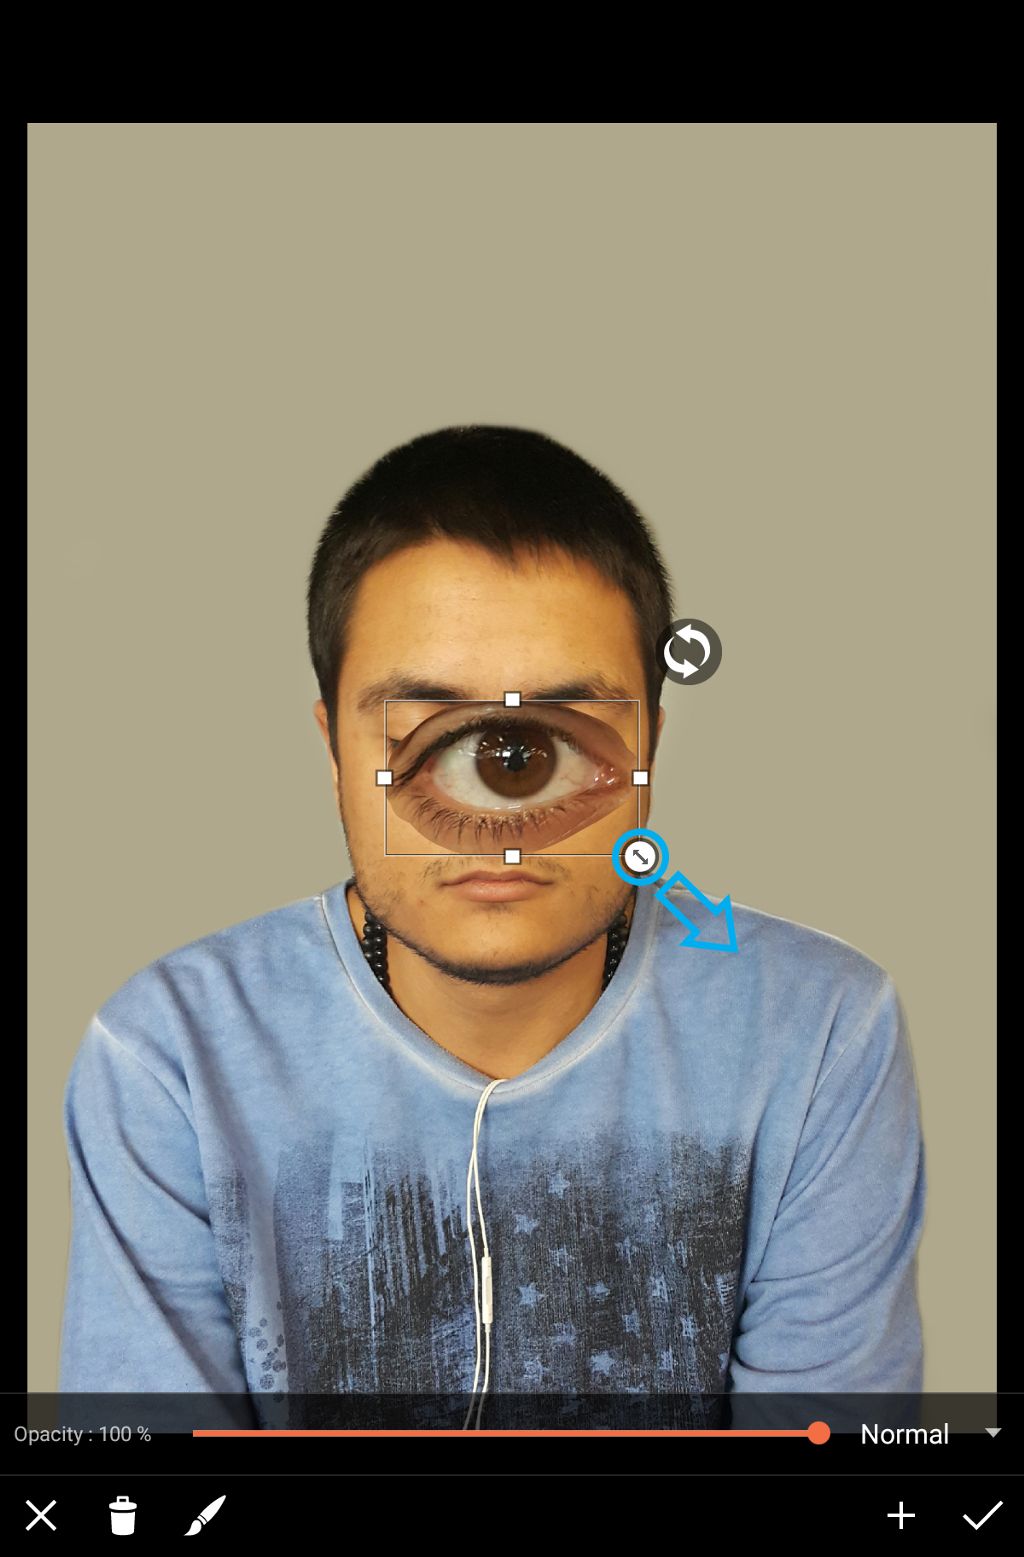
Step 6: Zoom In
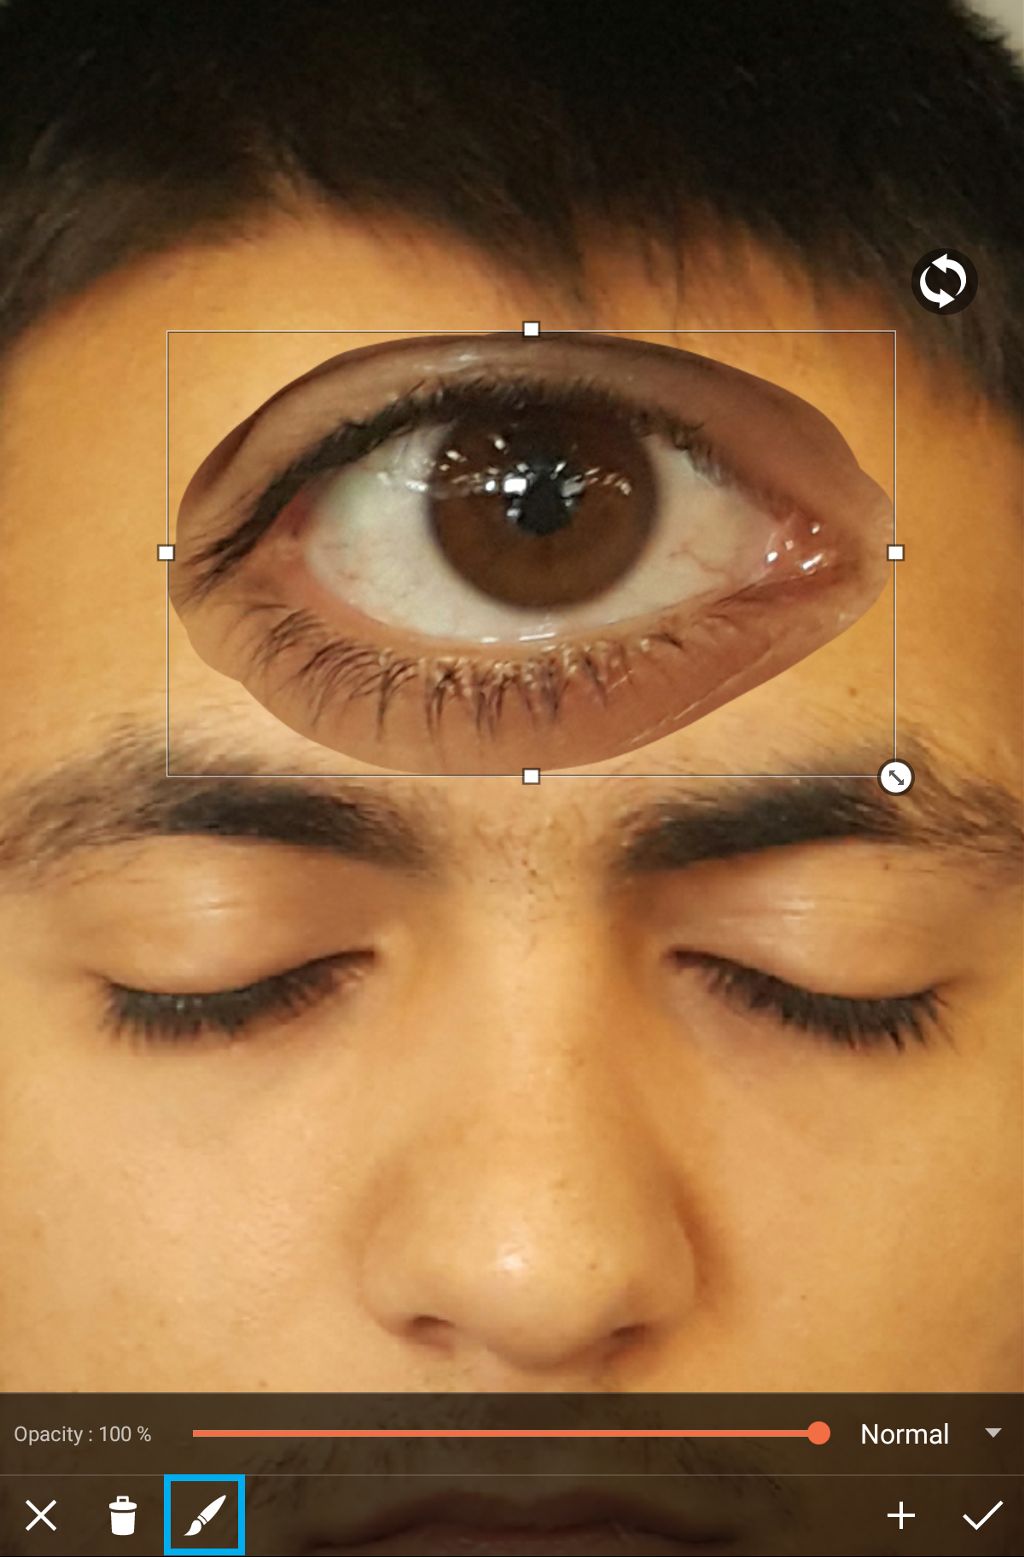
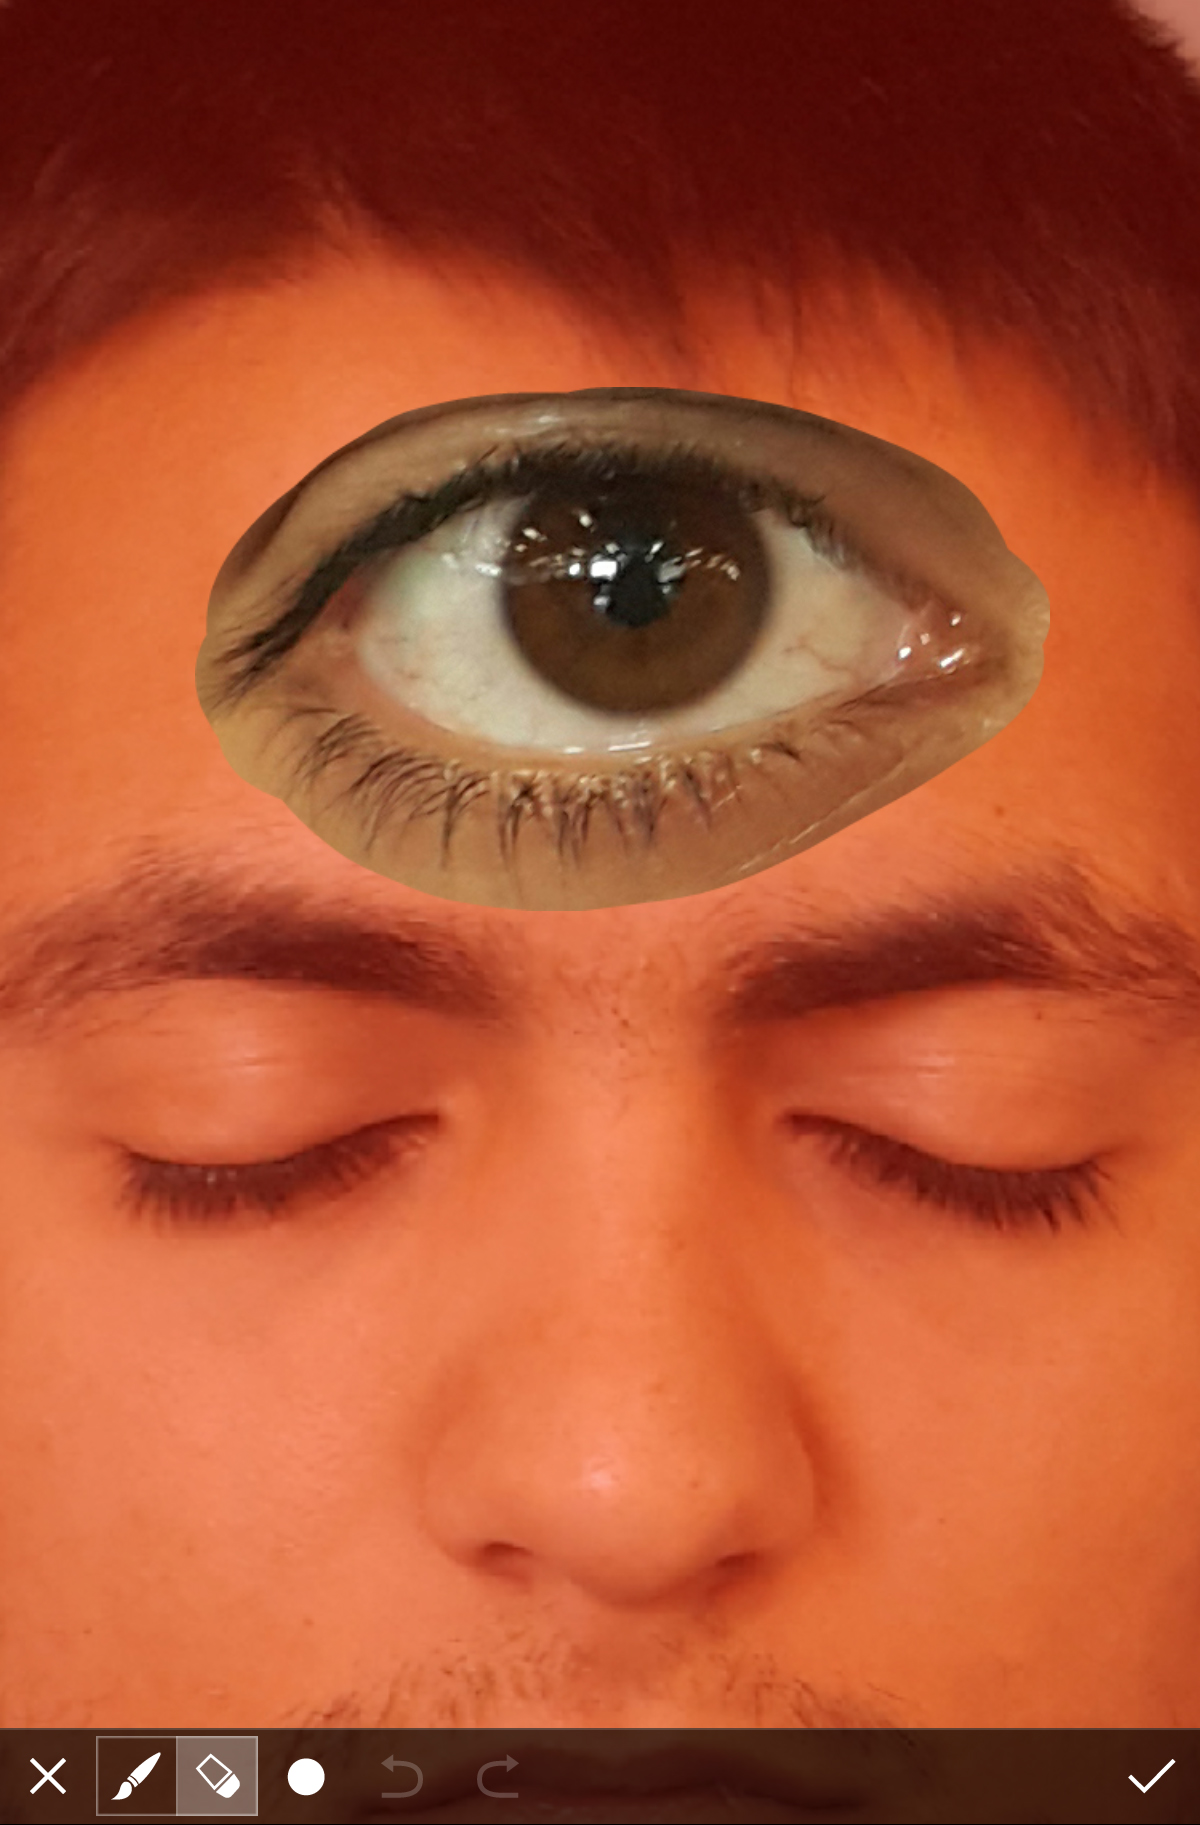
Drag the clipart image to place it where you like. Use two fingers to zoom in. Tap on the paintbrush icon.
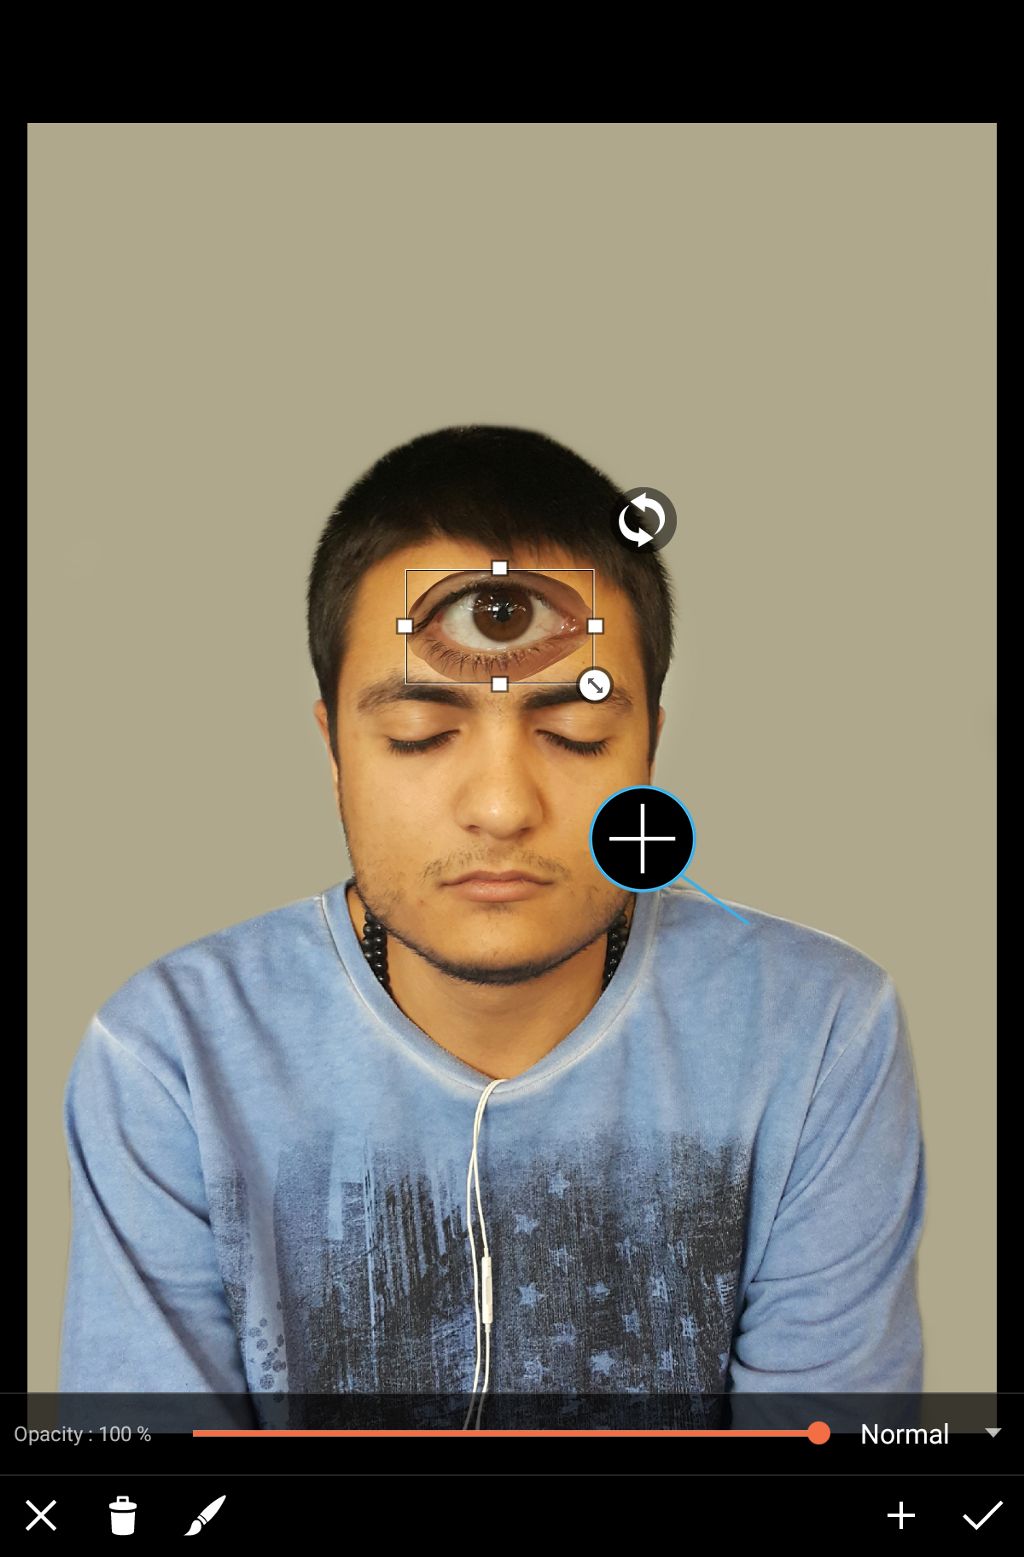
Step 7: Erase Clipart
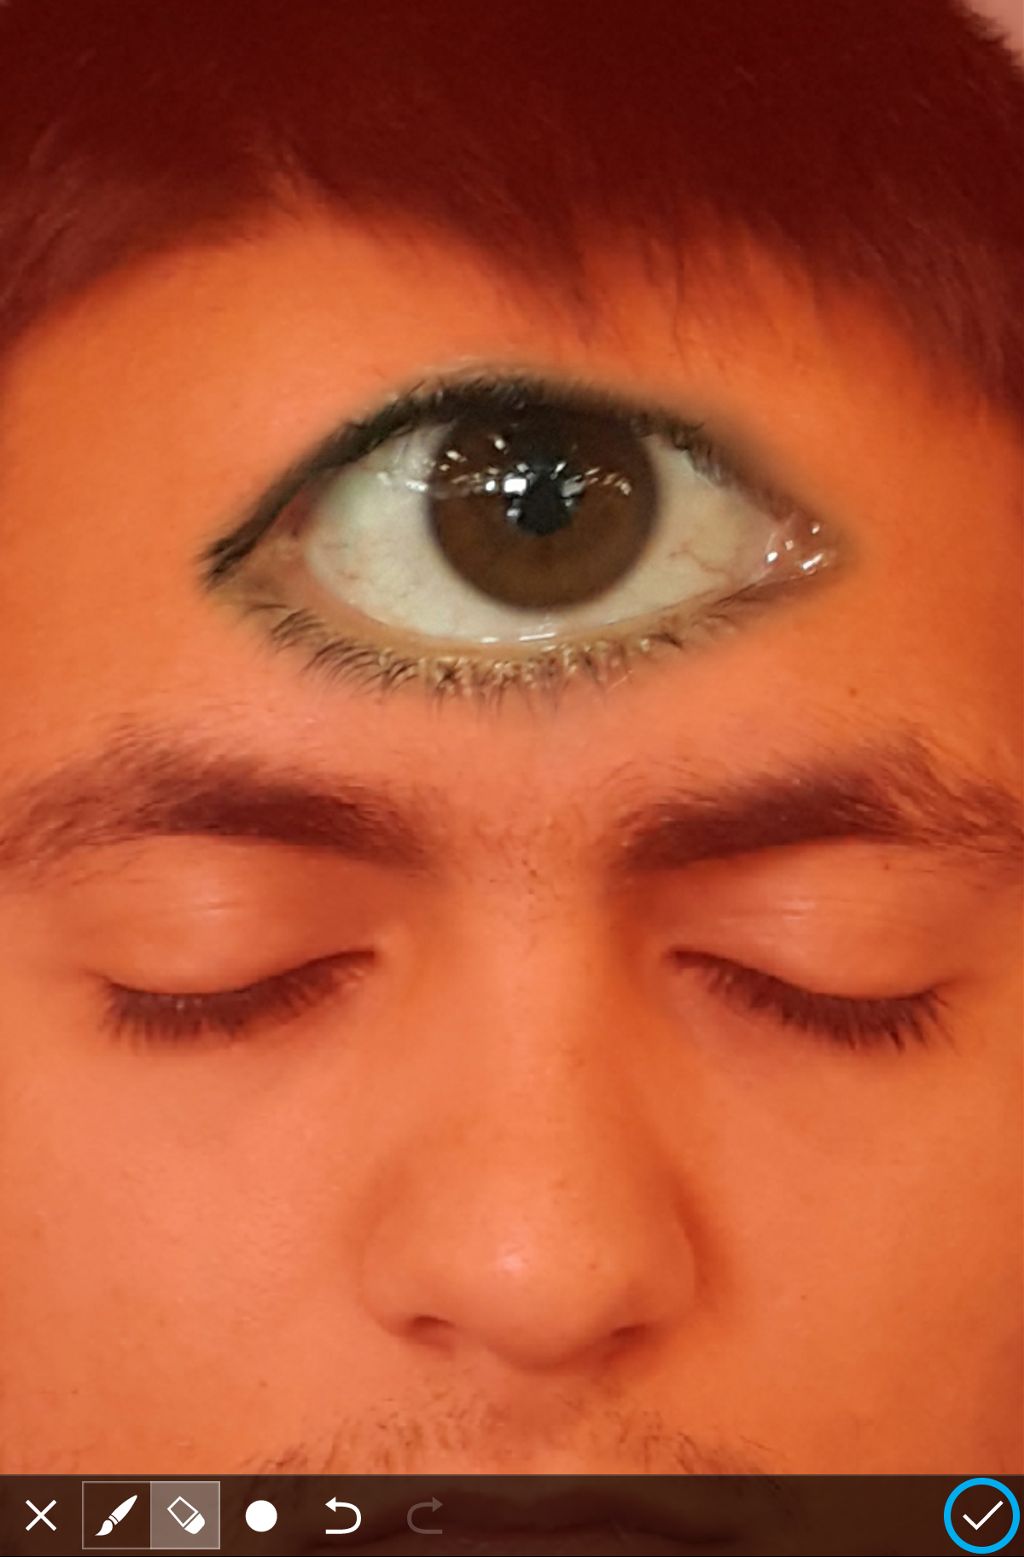
Use your finger to erase the edge of the clipart image so that it blends into the rest of the photo. When you’re done, tap on the check mark to confirm.
Step 8: Open Clipart Menu
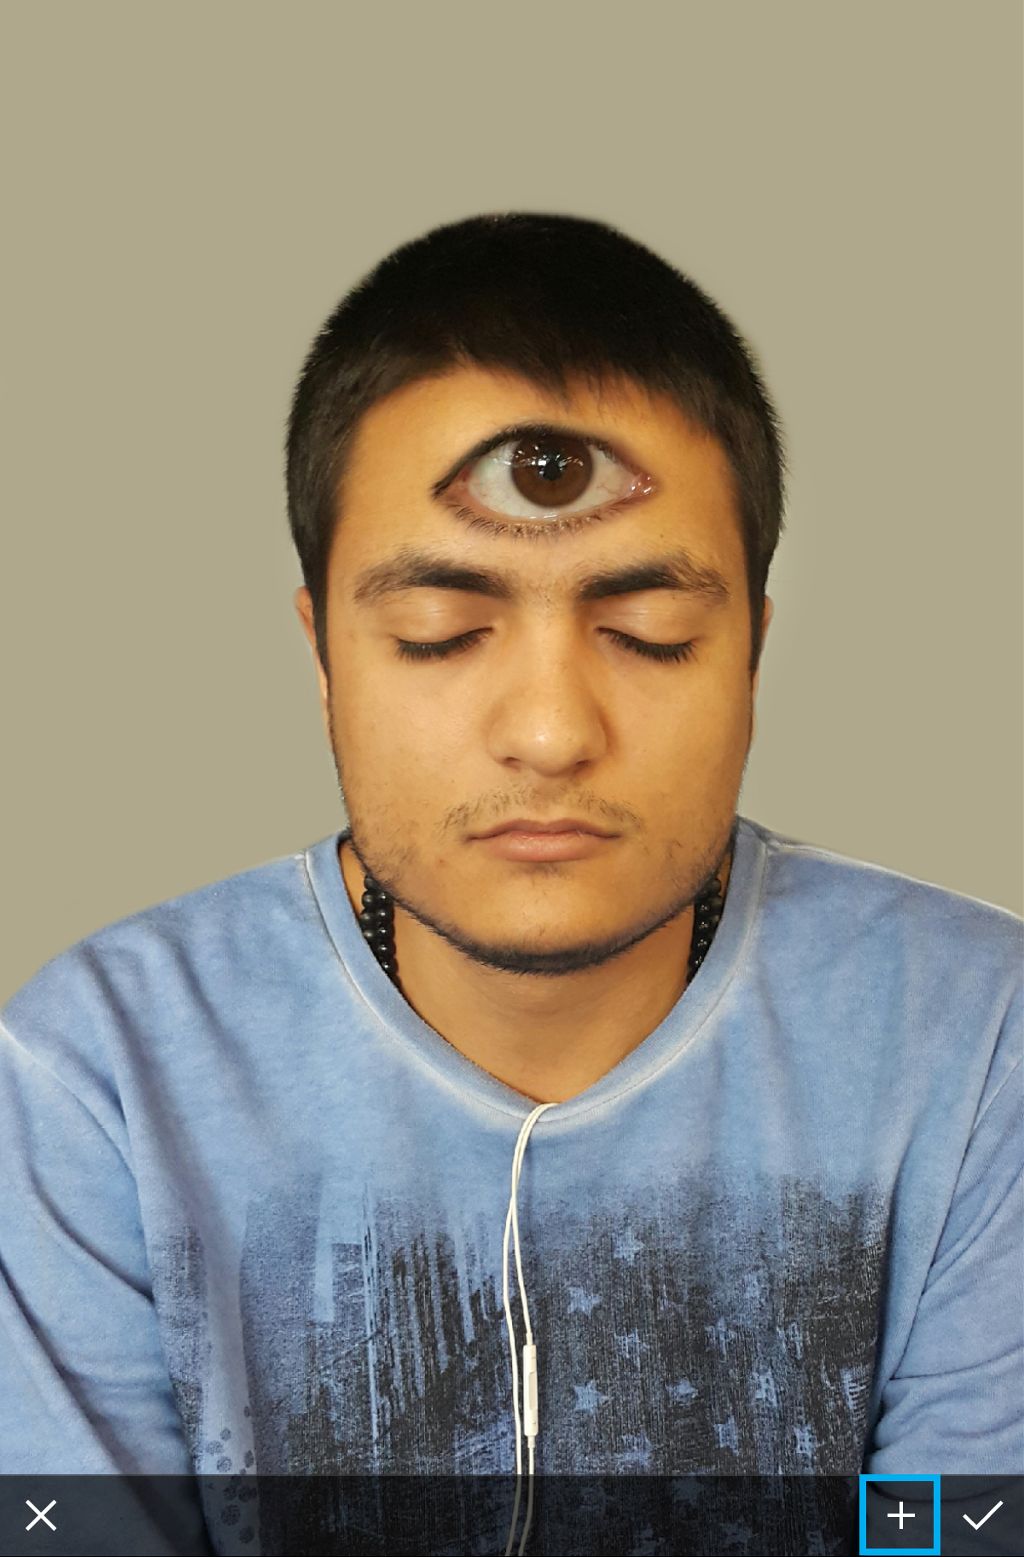
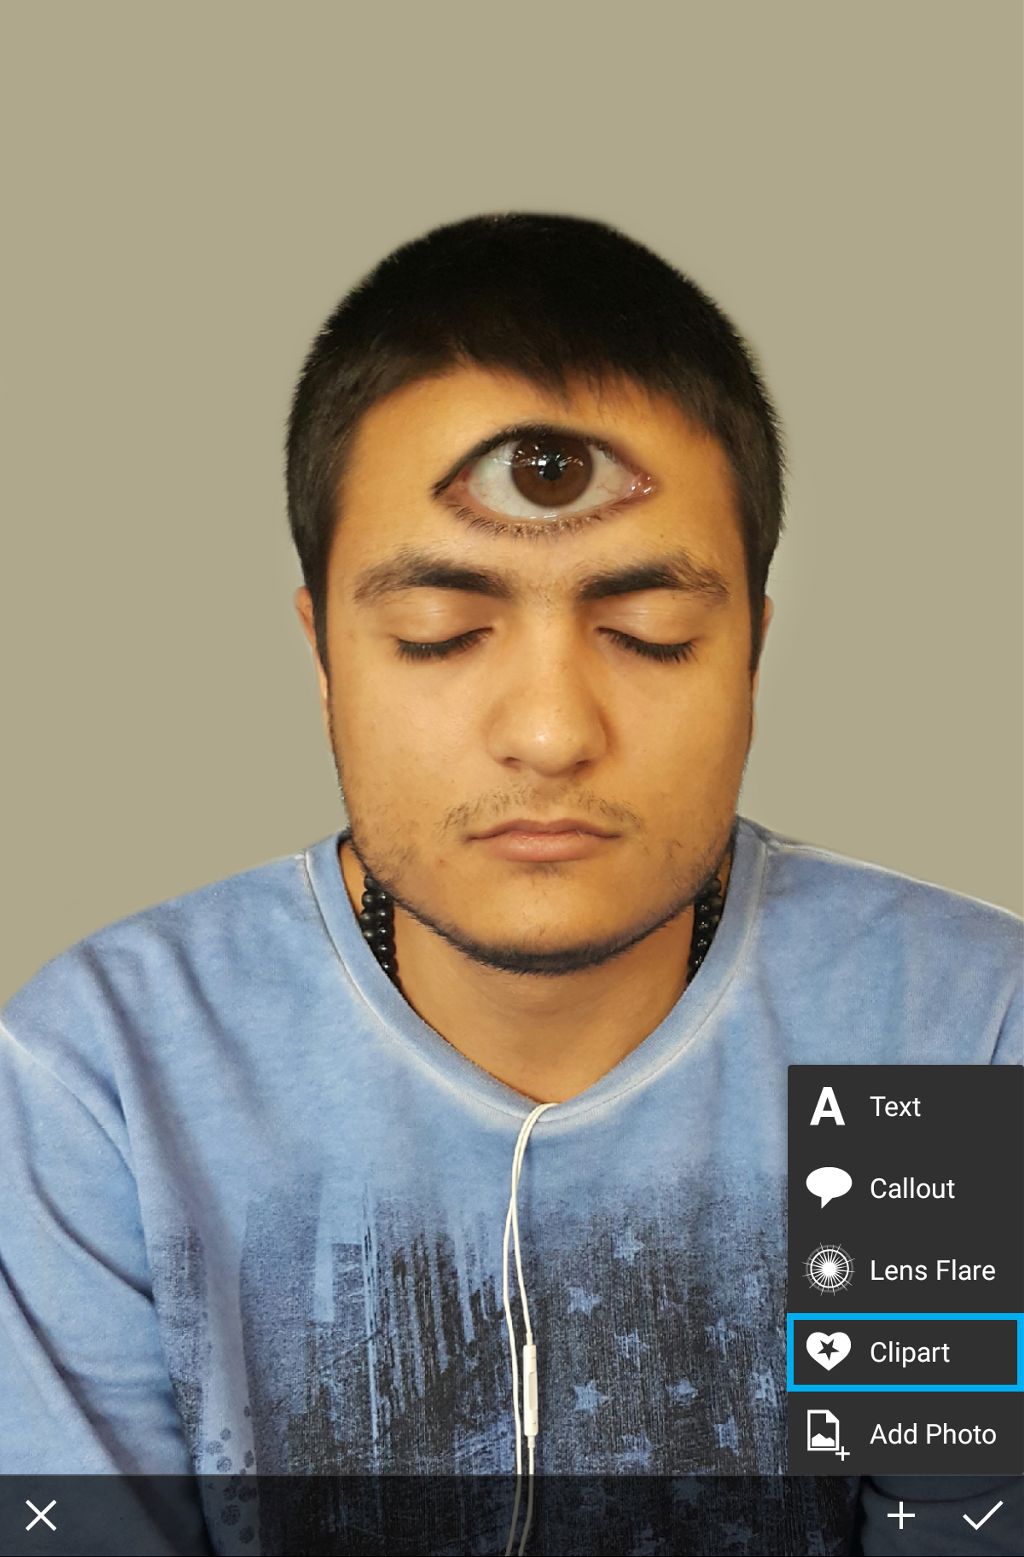
Tap on the plus sign and select Clipart.
Step 9: Select Zentangle Art Package
Tap on Zentangle Art and select the clipart image you’d like to use.
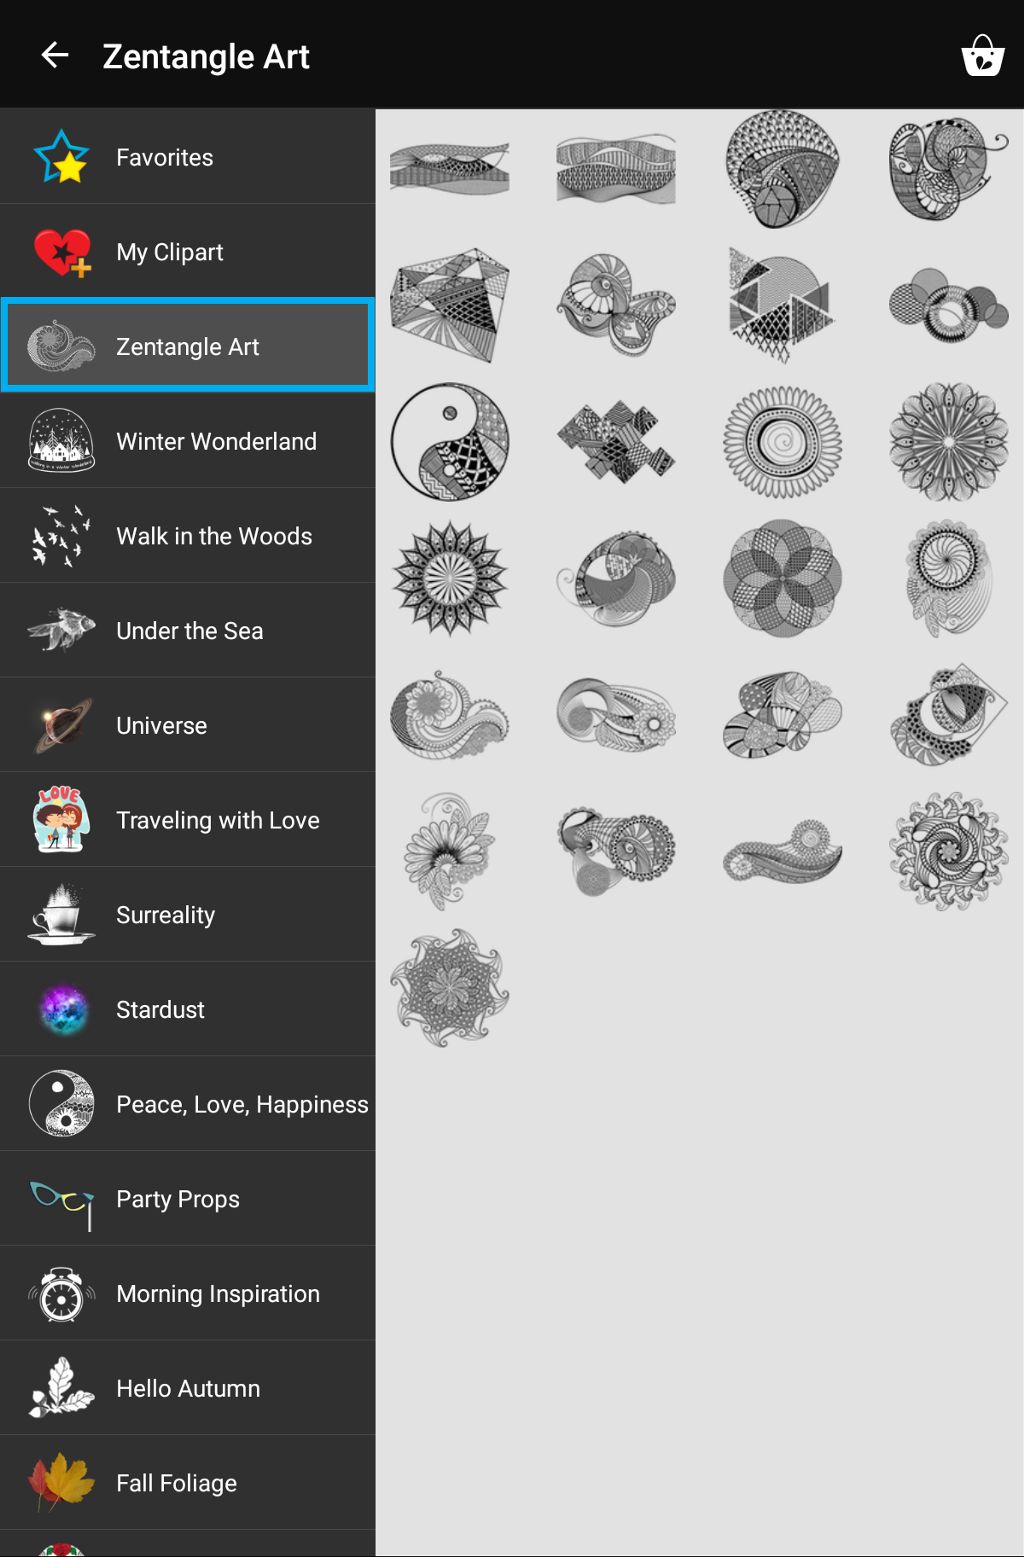
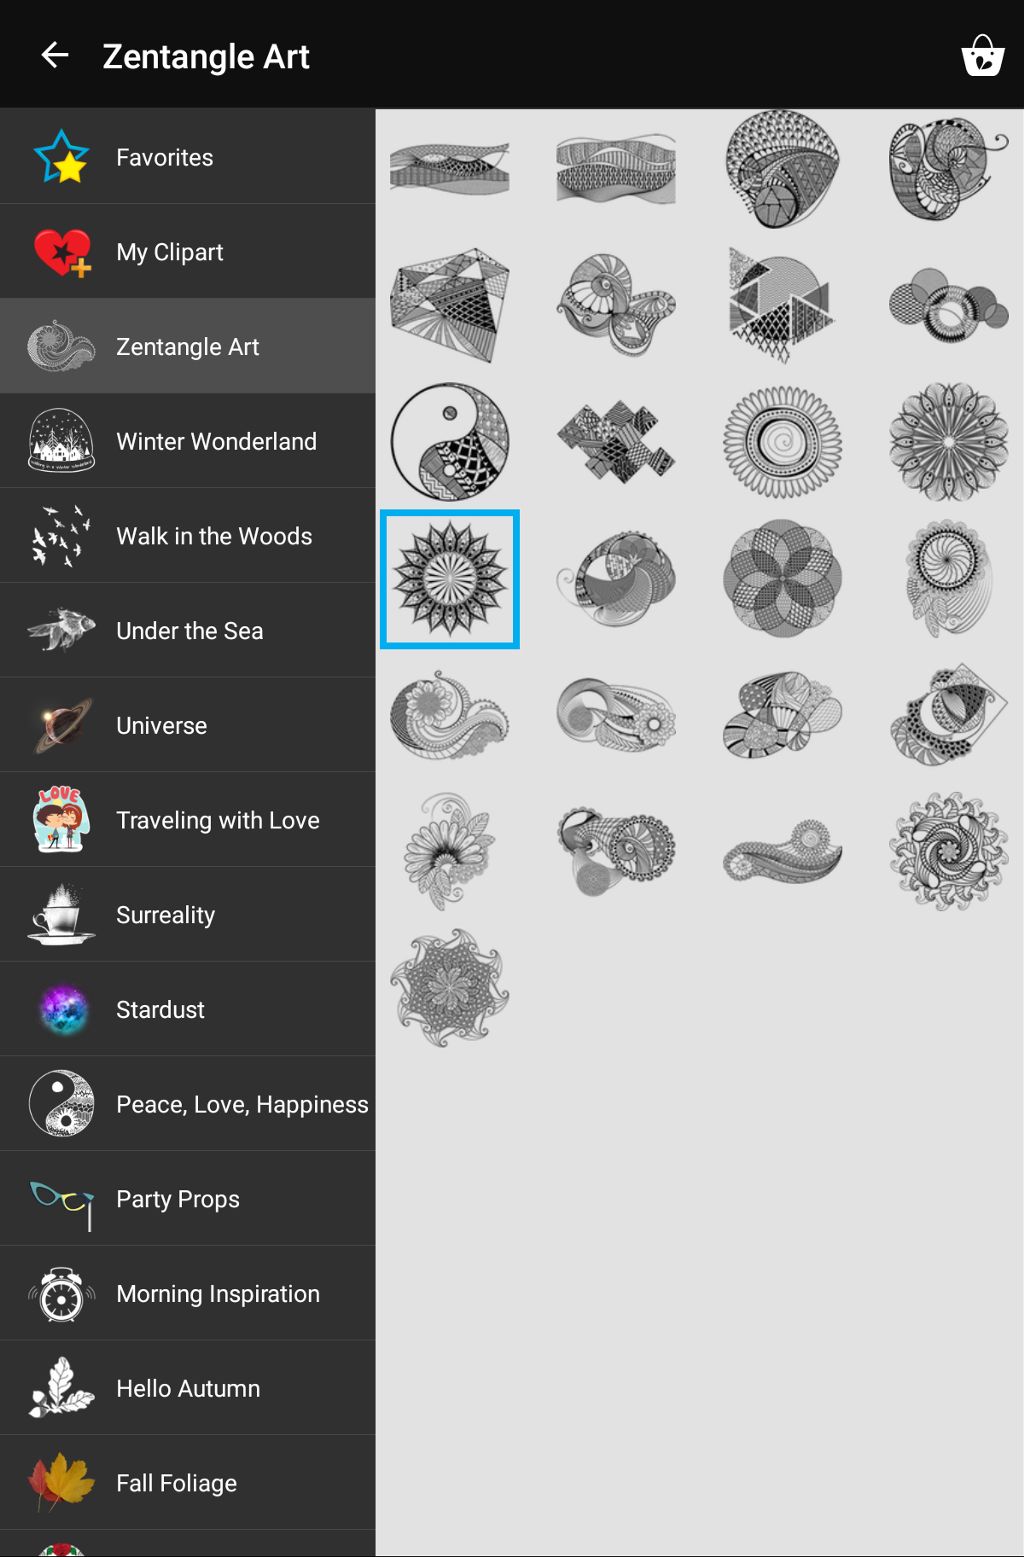
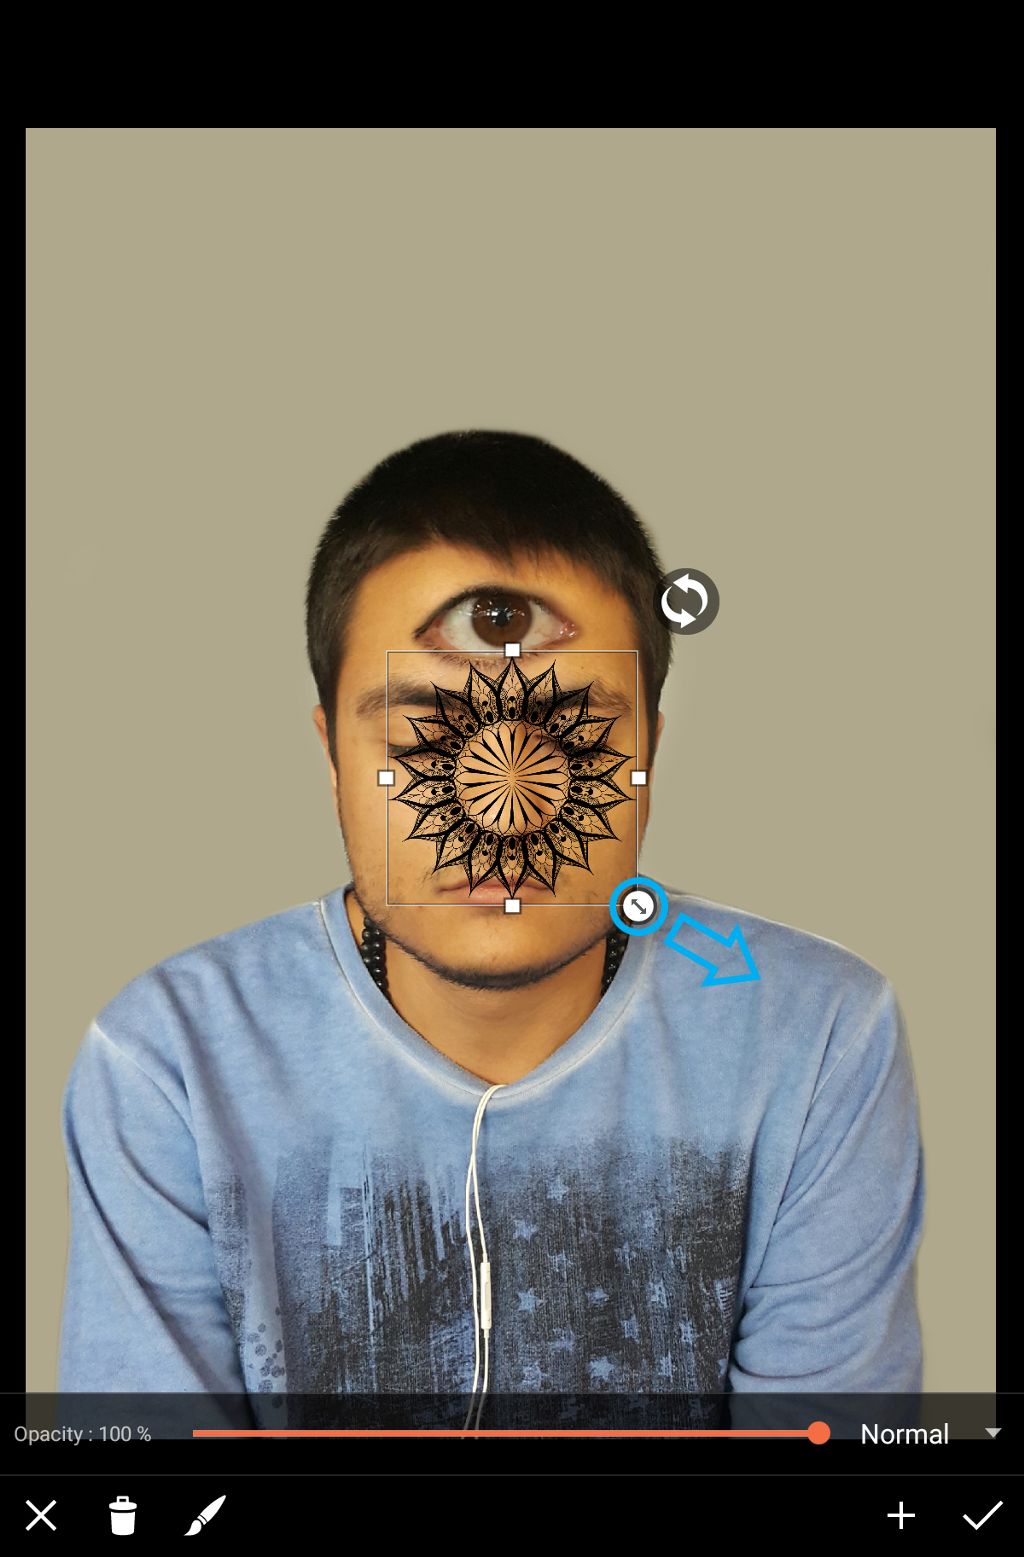
Step 10: Place Clipart Image
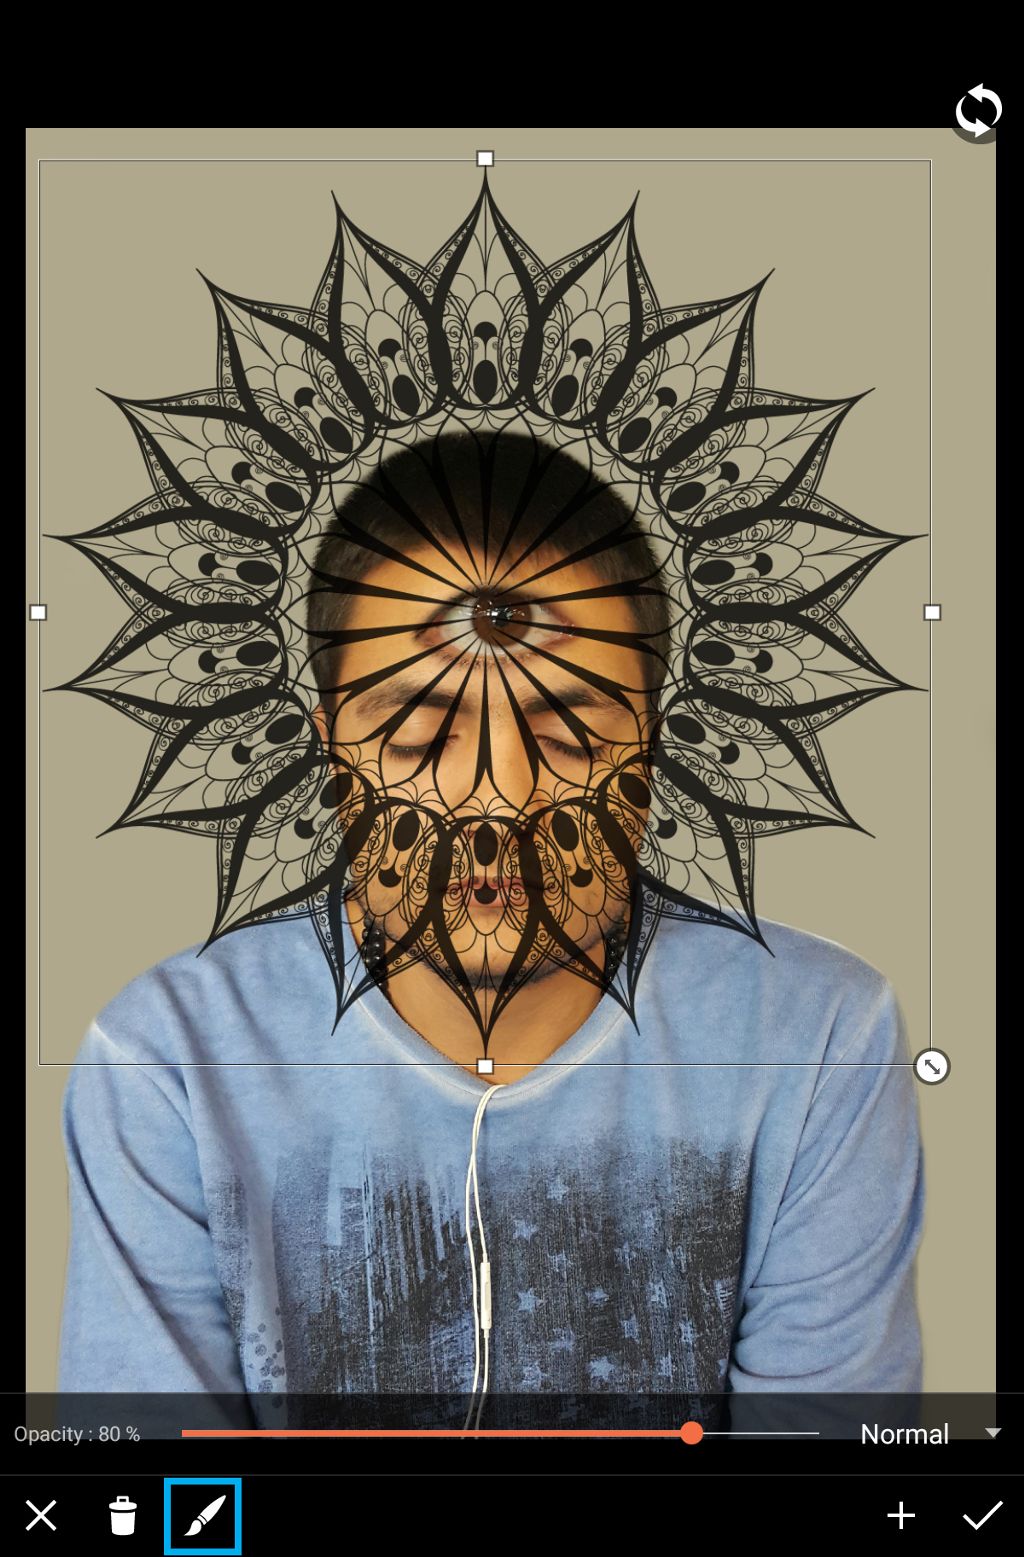
Use the arrow icon to adjust the size of the clipart image, and drag it to place it. Reduce the opacity to about 80%.
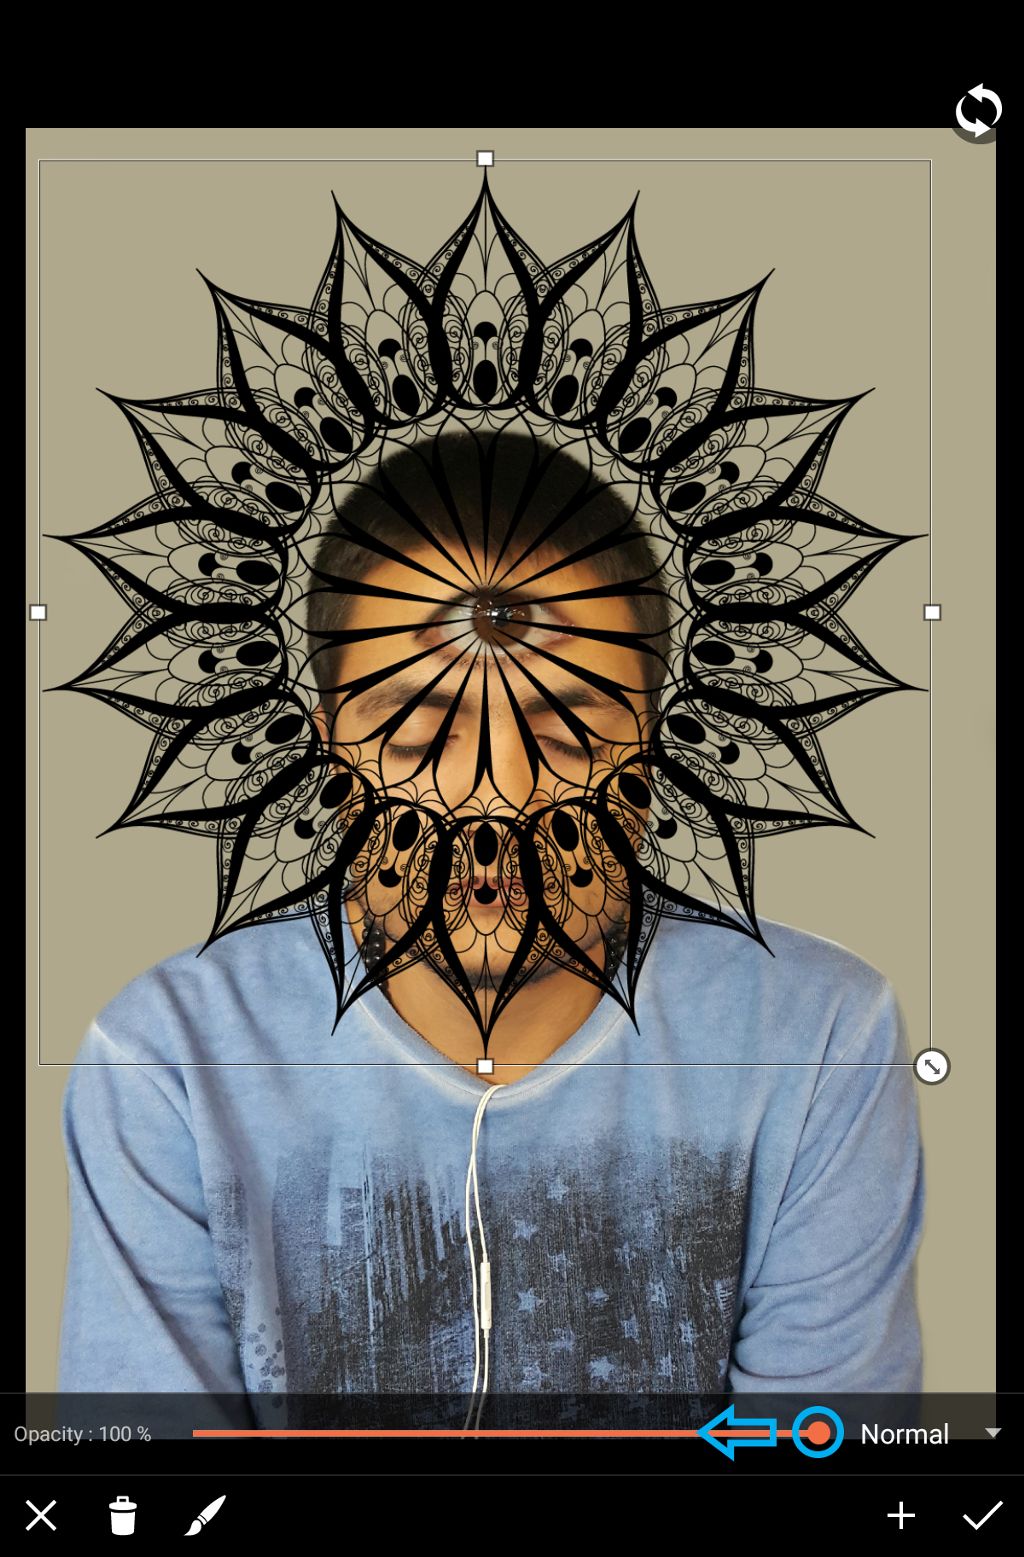
Step 11: Erase Clipart Image
Tap on the paintbrush icon. Use your finger to erase unwanted parts of the clipart image, and tap on the check mark to confirm.

Step 12: Open Effects Menu
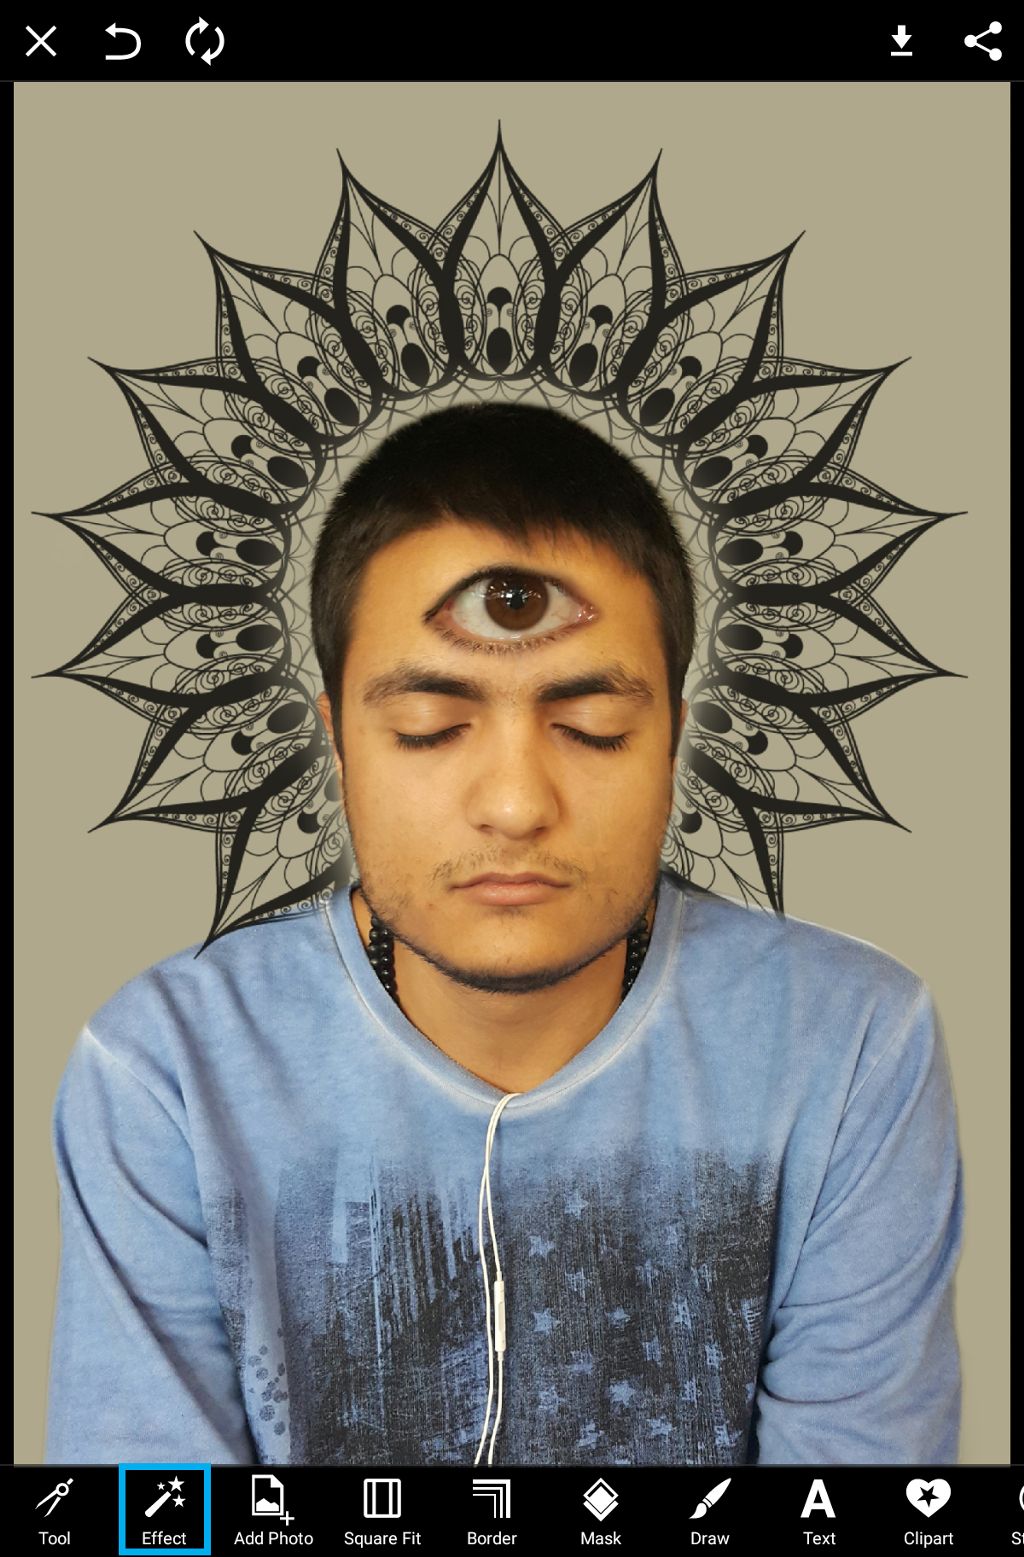
Tap on the check mark again. Tap on Effect to open the effects menu.

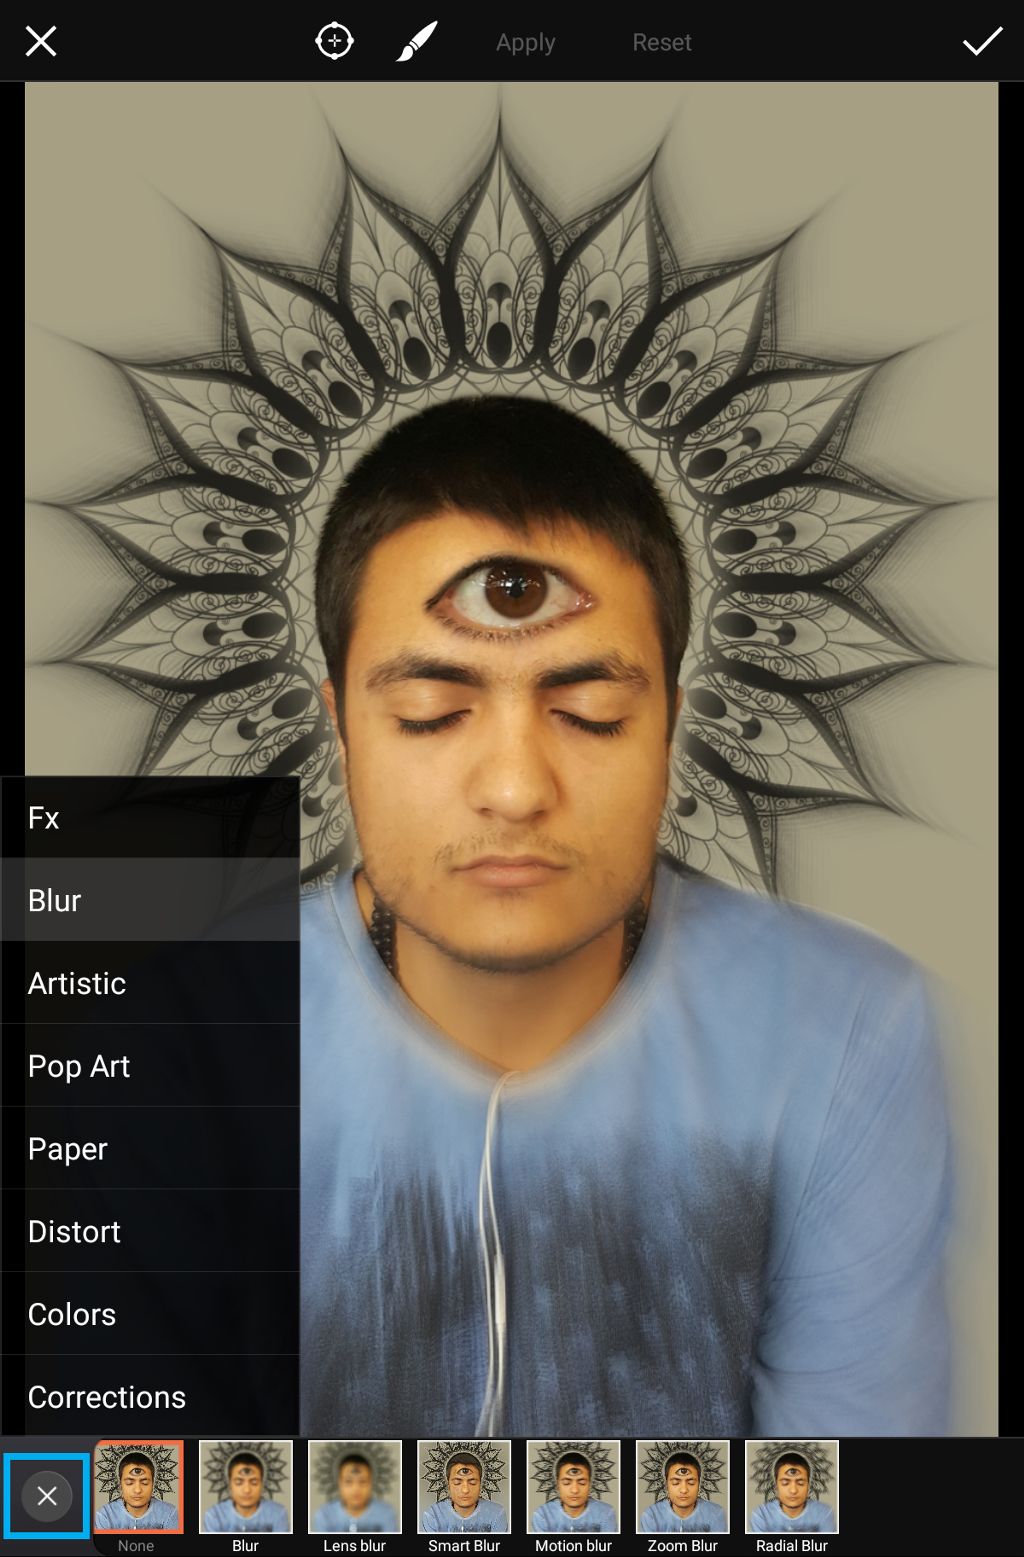
Step 13: Select Zoom Blur Effect
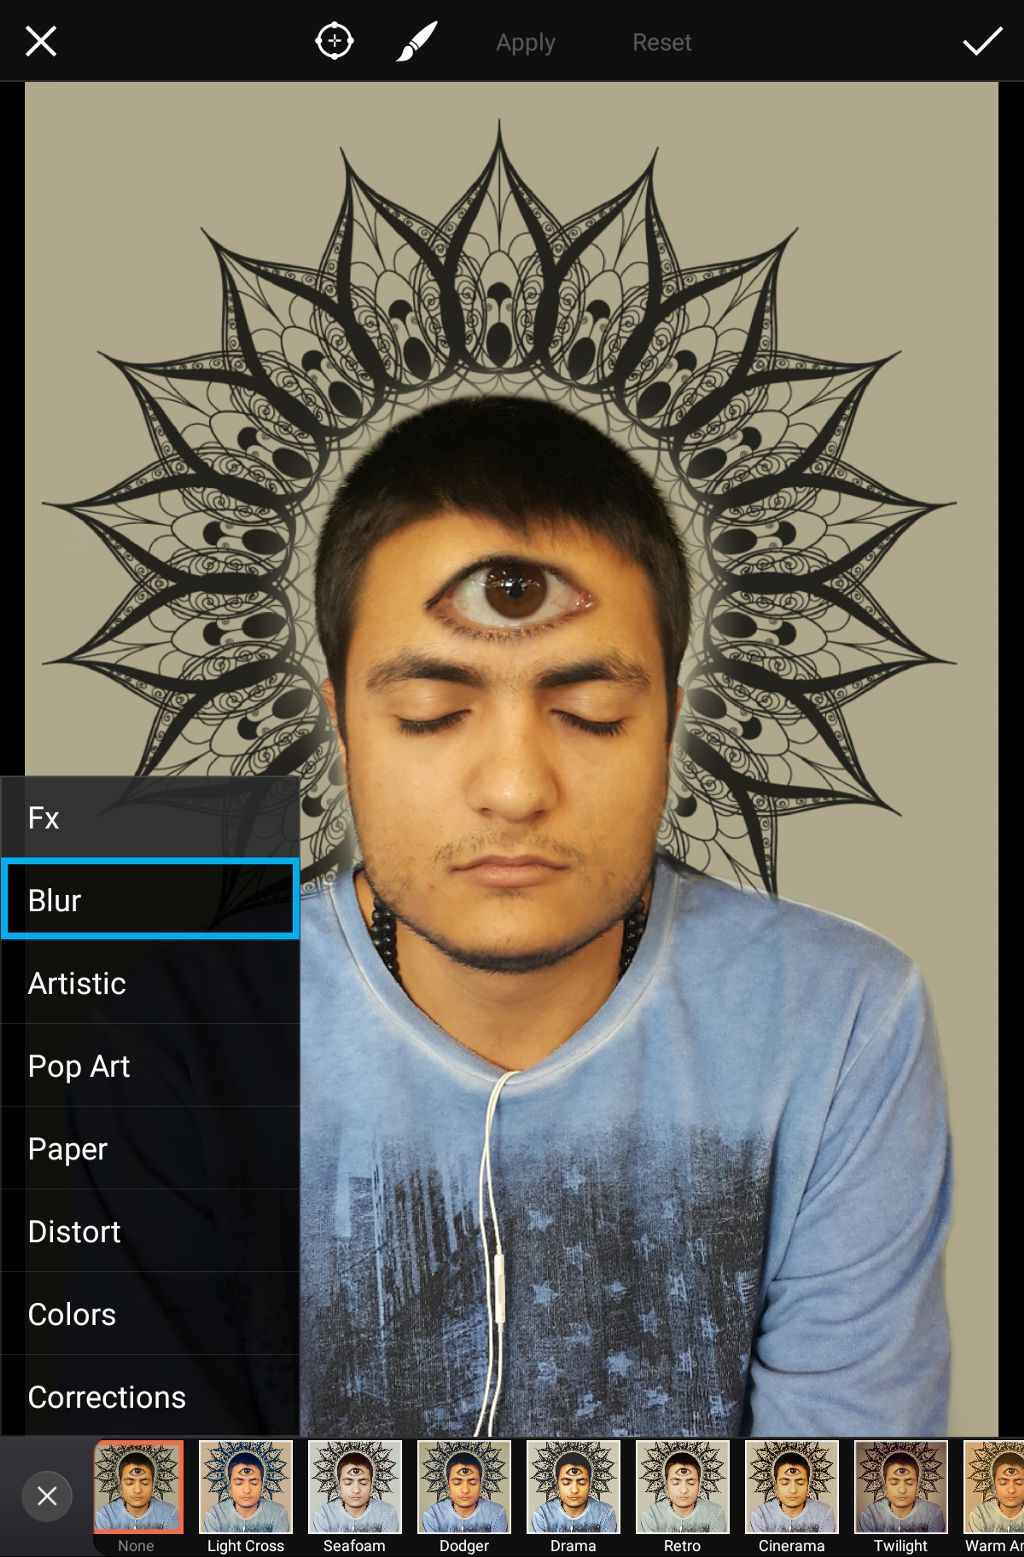
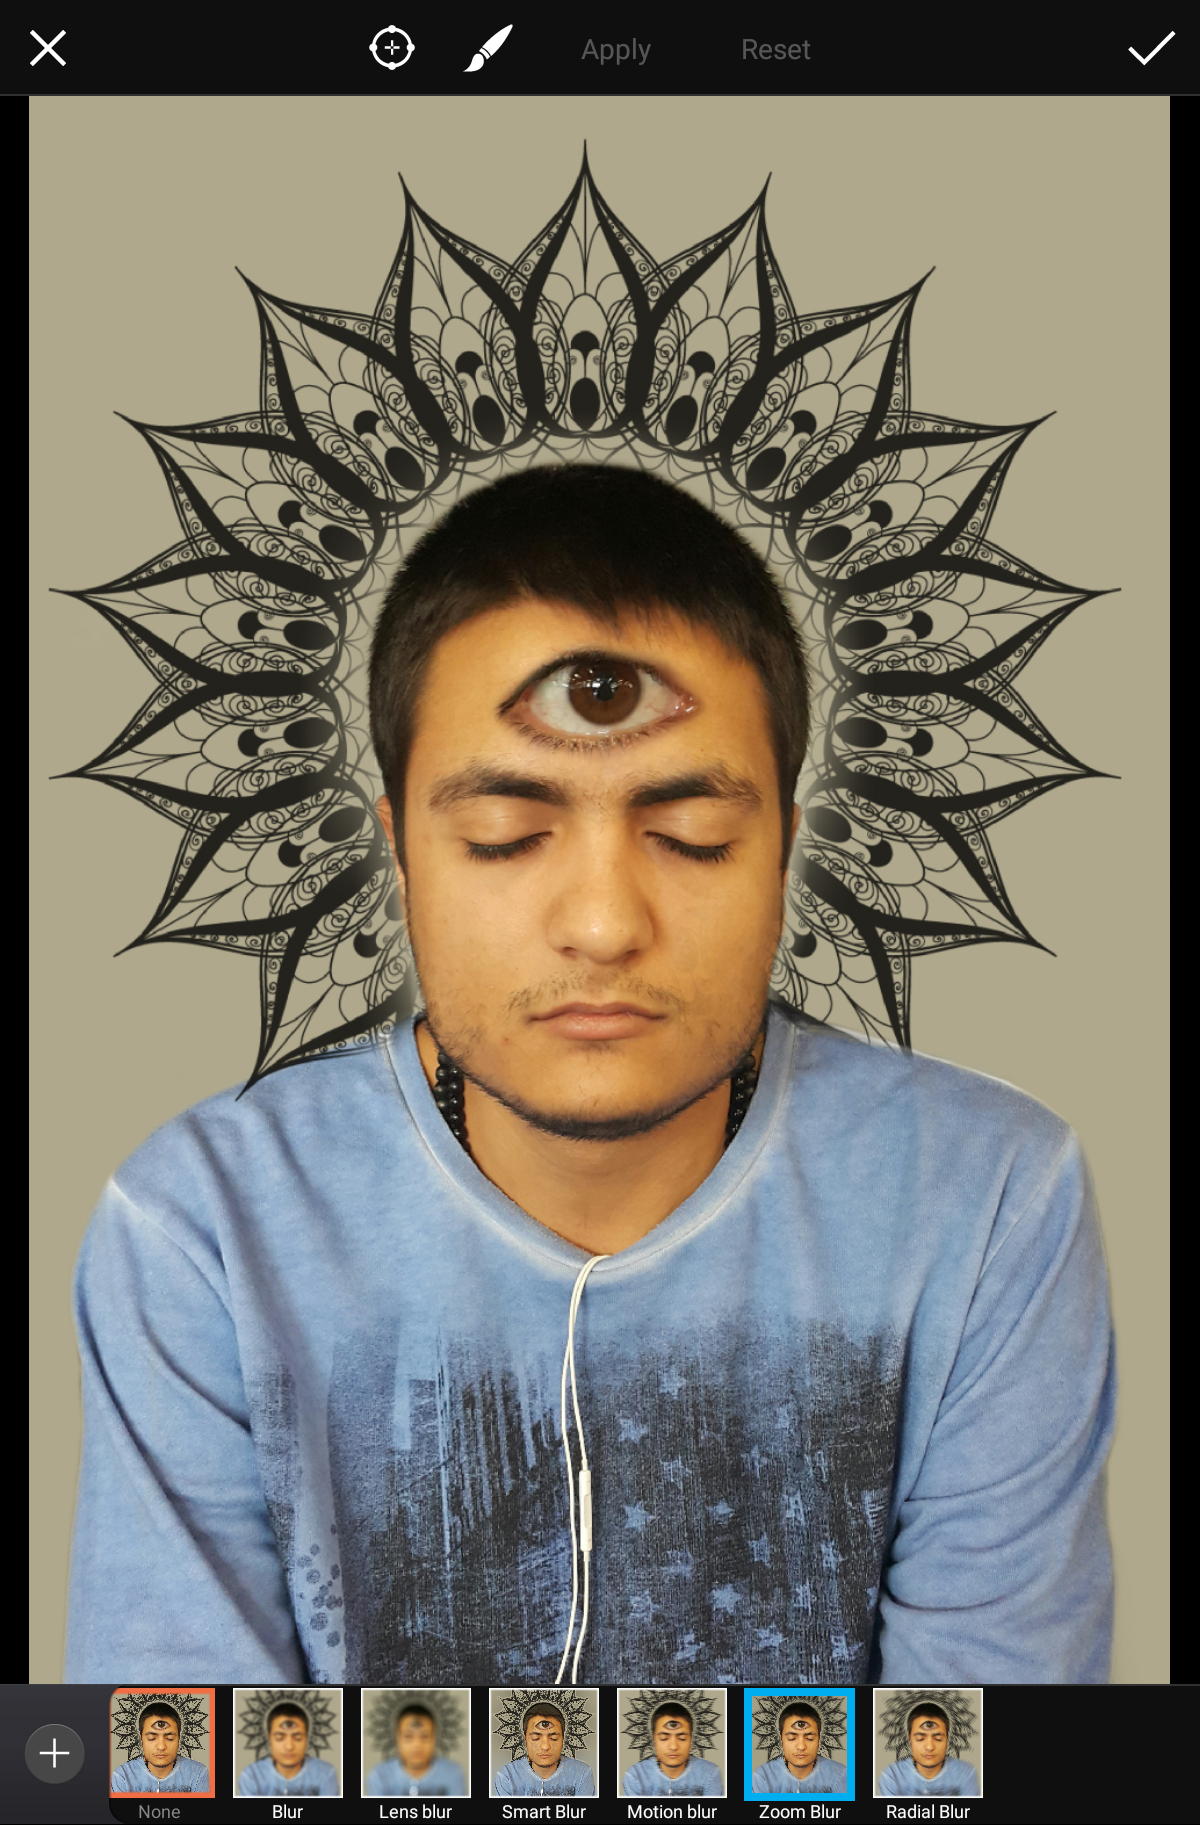
Tap on Blur and select the Zoom Blur Effect.
Step 14: Customize Effect
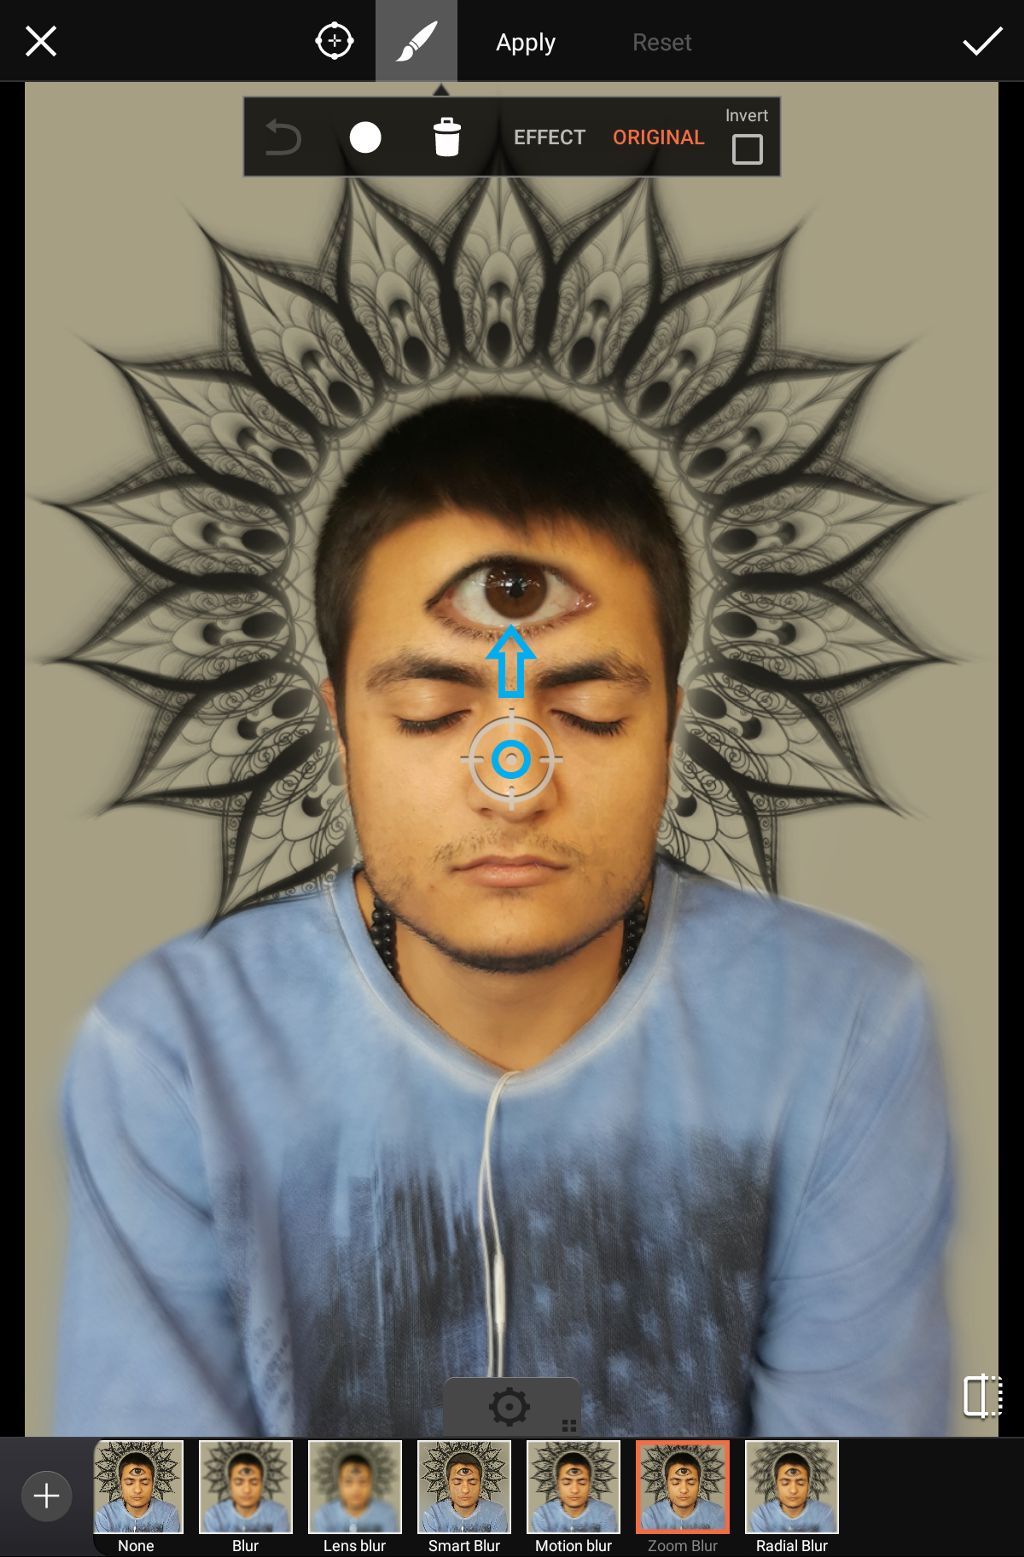
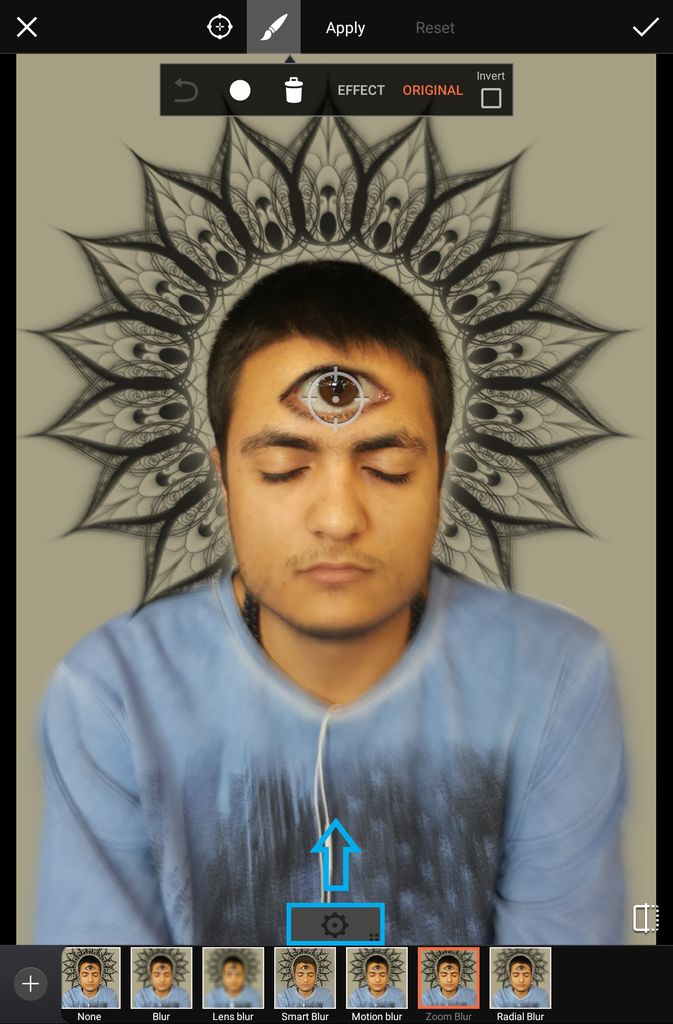
Drag the cursor to select the focal point of the effect. Tap on the gear icon to open the effect settings menu.
Step 15: Adjust Effect Settings
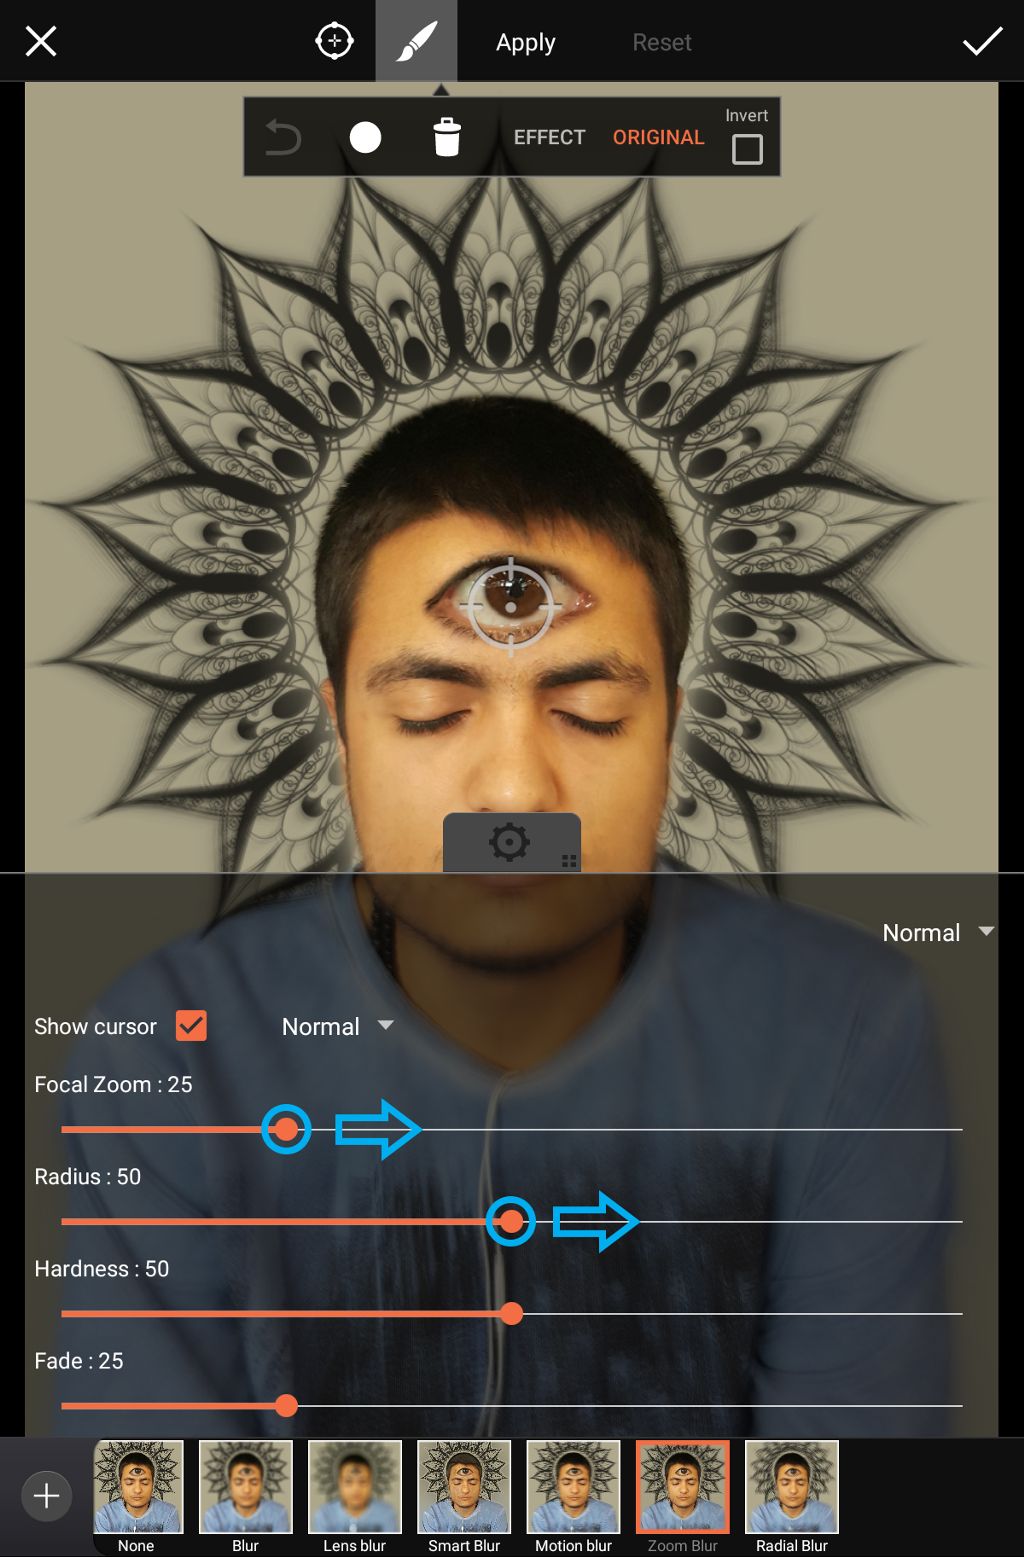
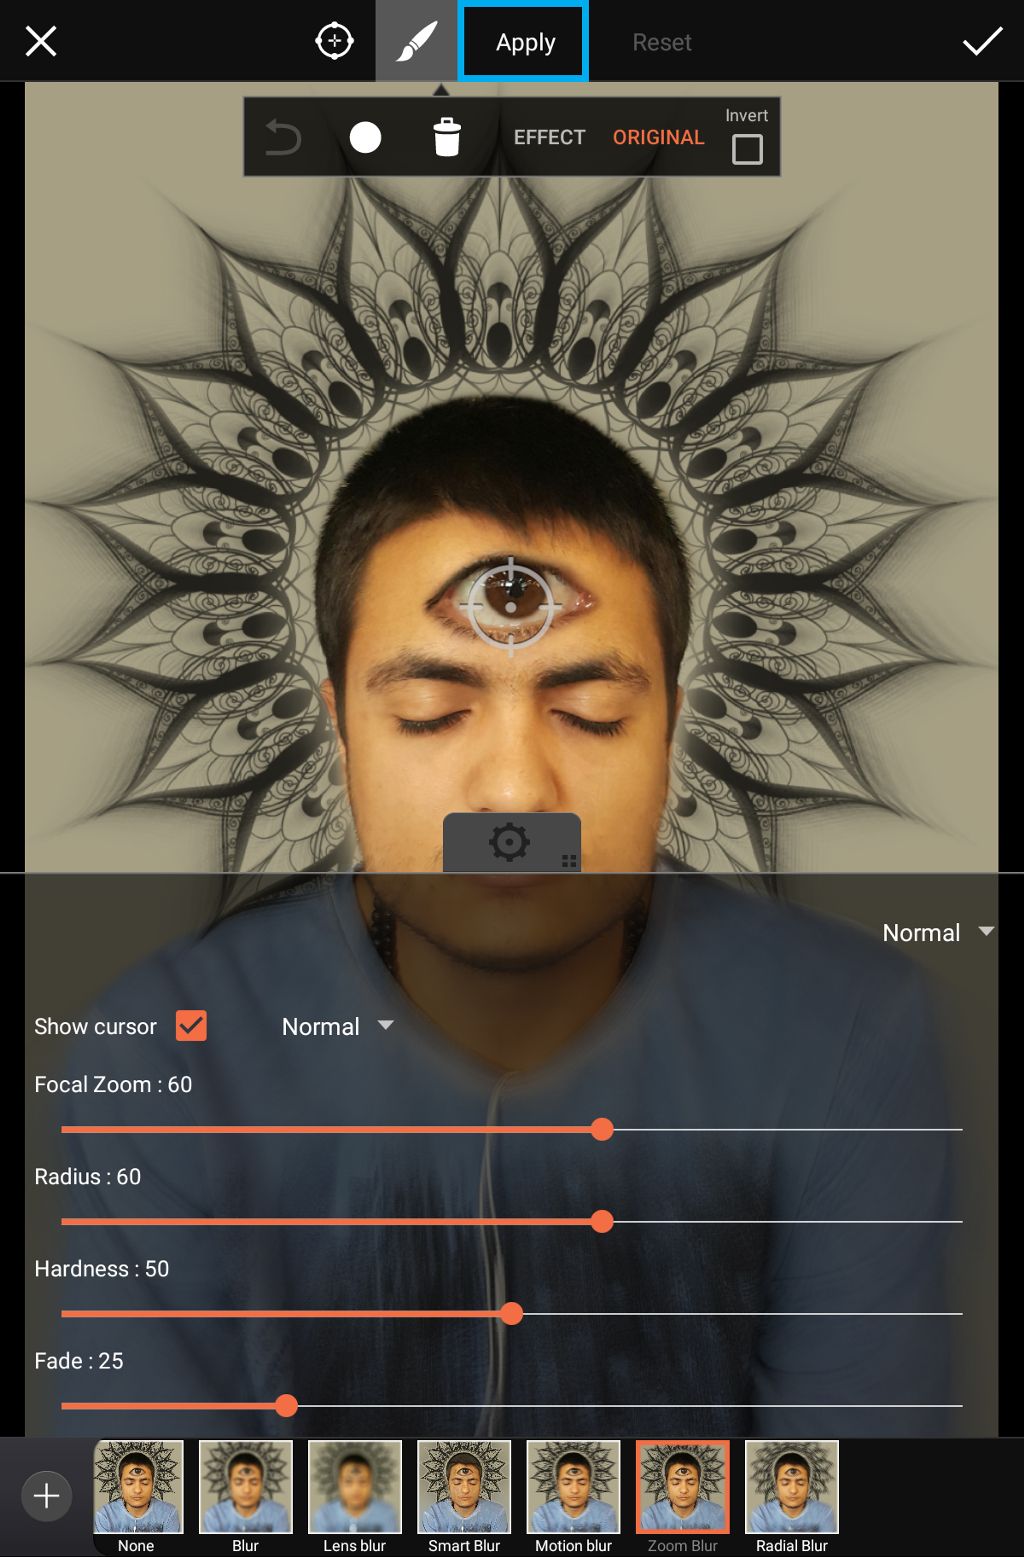
Use the sliders to adjust your effect settings. When you’re done, tap on Apply.
Step 16: Open Fx Section
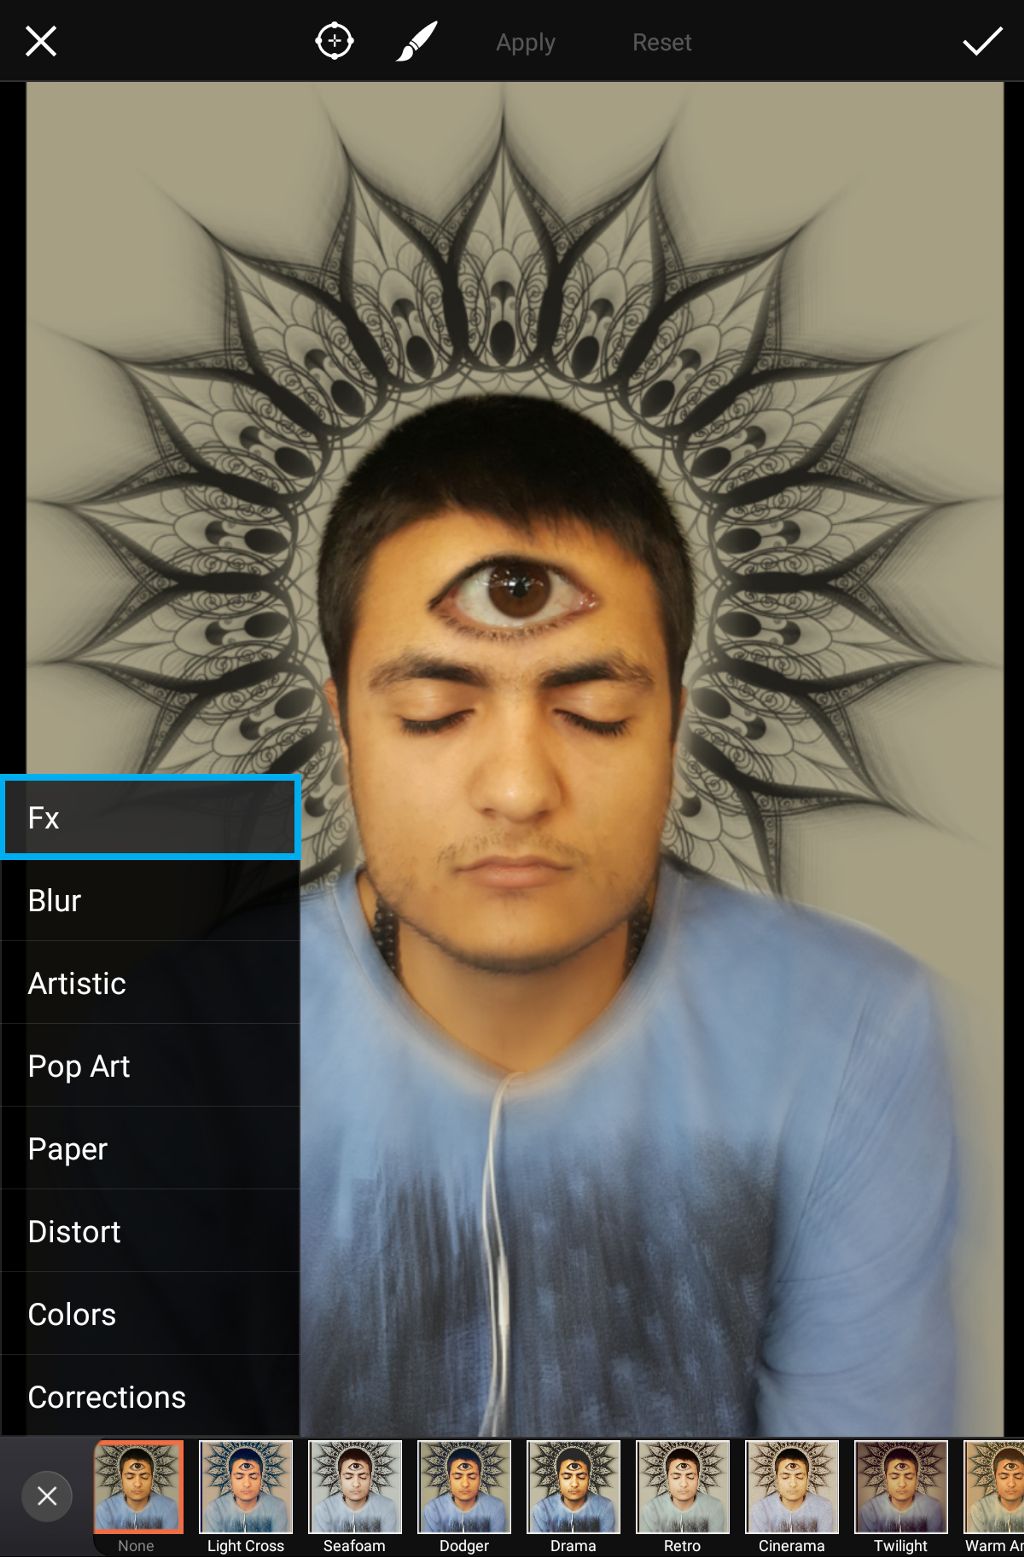
Tap on the plus sign to view the different sections of the Effects menu, and select Fx.
Step 17: Apply Seafoam Effect
Select the Seafoam Effect. Tap on the check mark to confirm. Save your work and share it with the hashtag #CustomClipart!
