In this step-by-step tutorial, we’ll show you how to use PicsArt to create a picture within a picture. Follow along to learn how to create a mind-bending optical illusion, and then share your own creations with the hashtag #PictureInPicture.
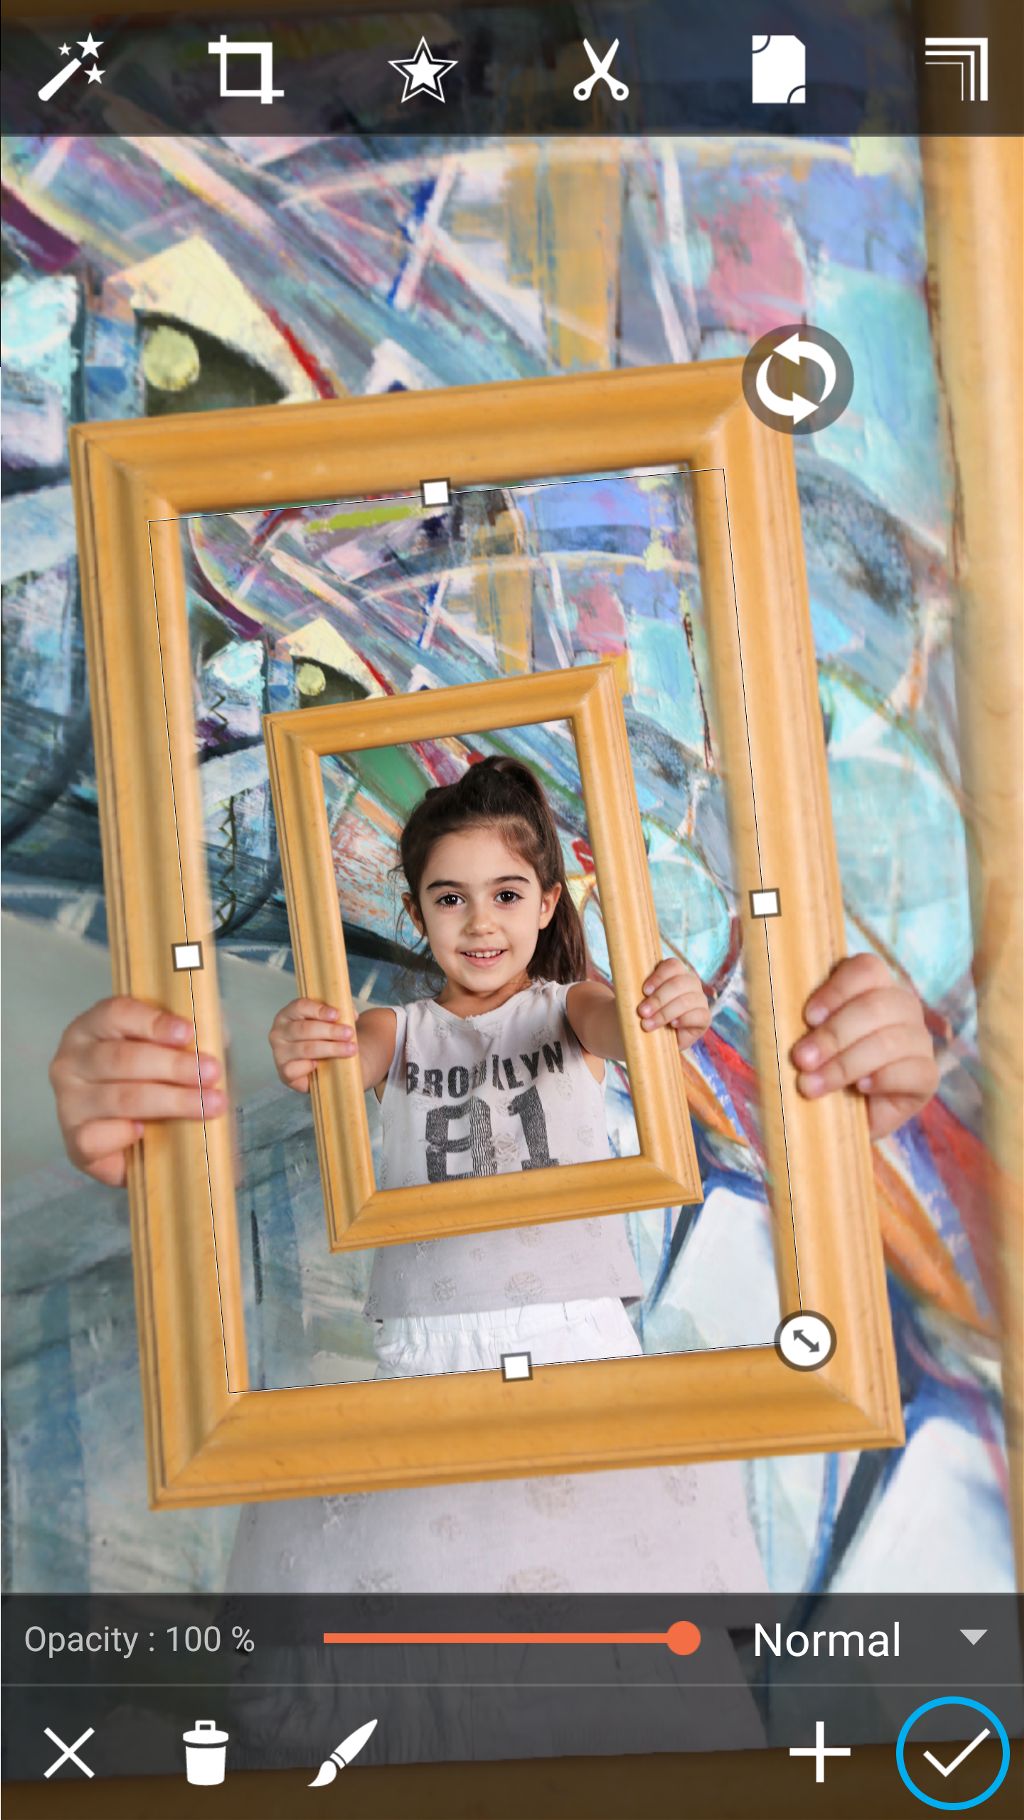
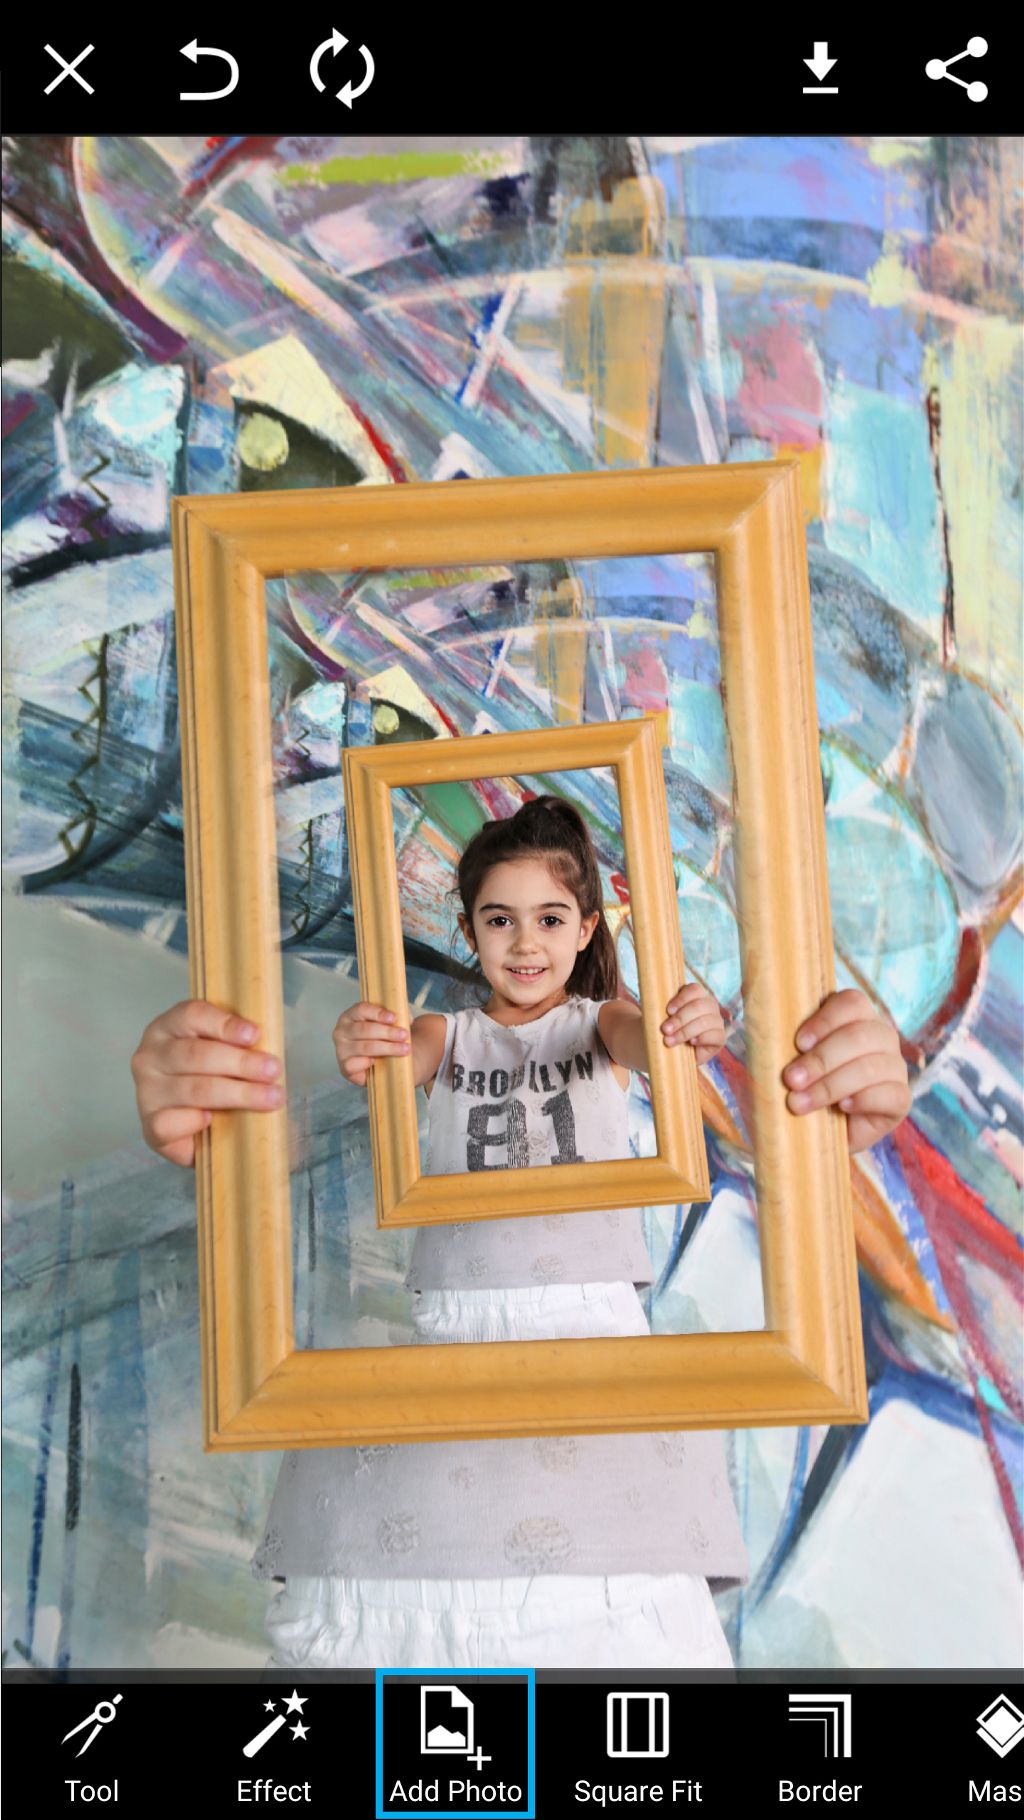
Step 1: Add Photo
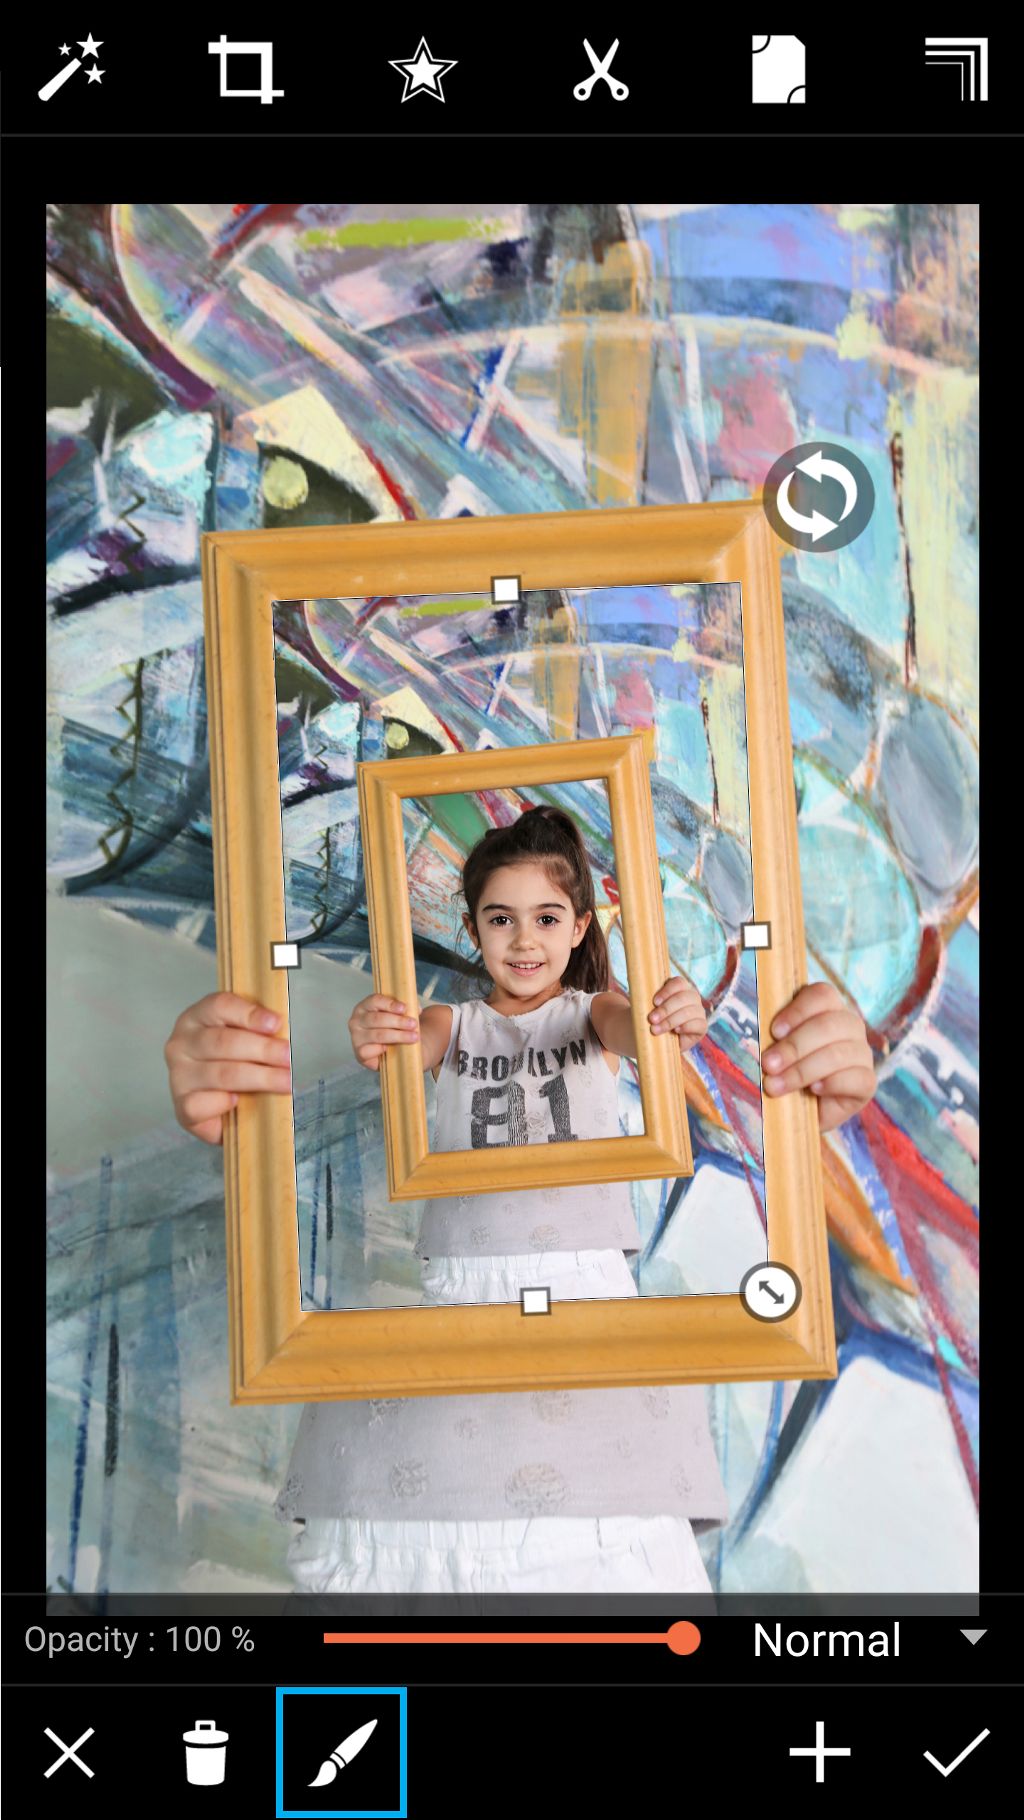
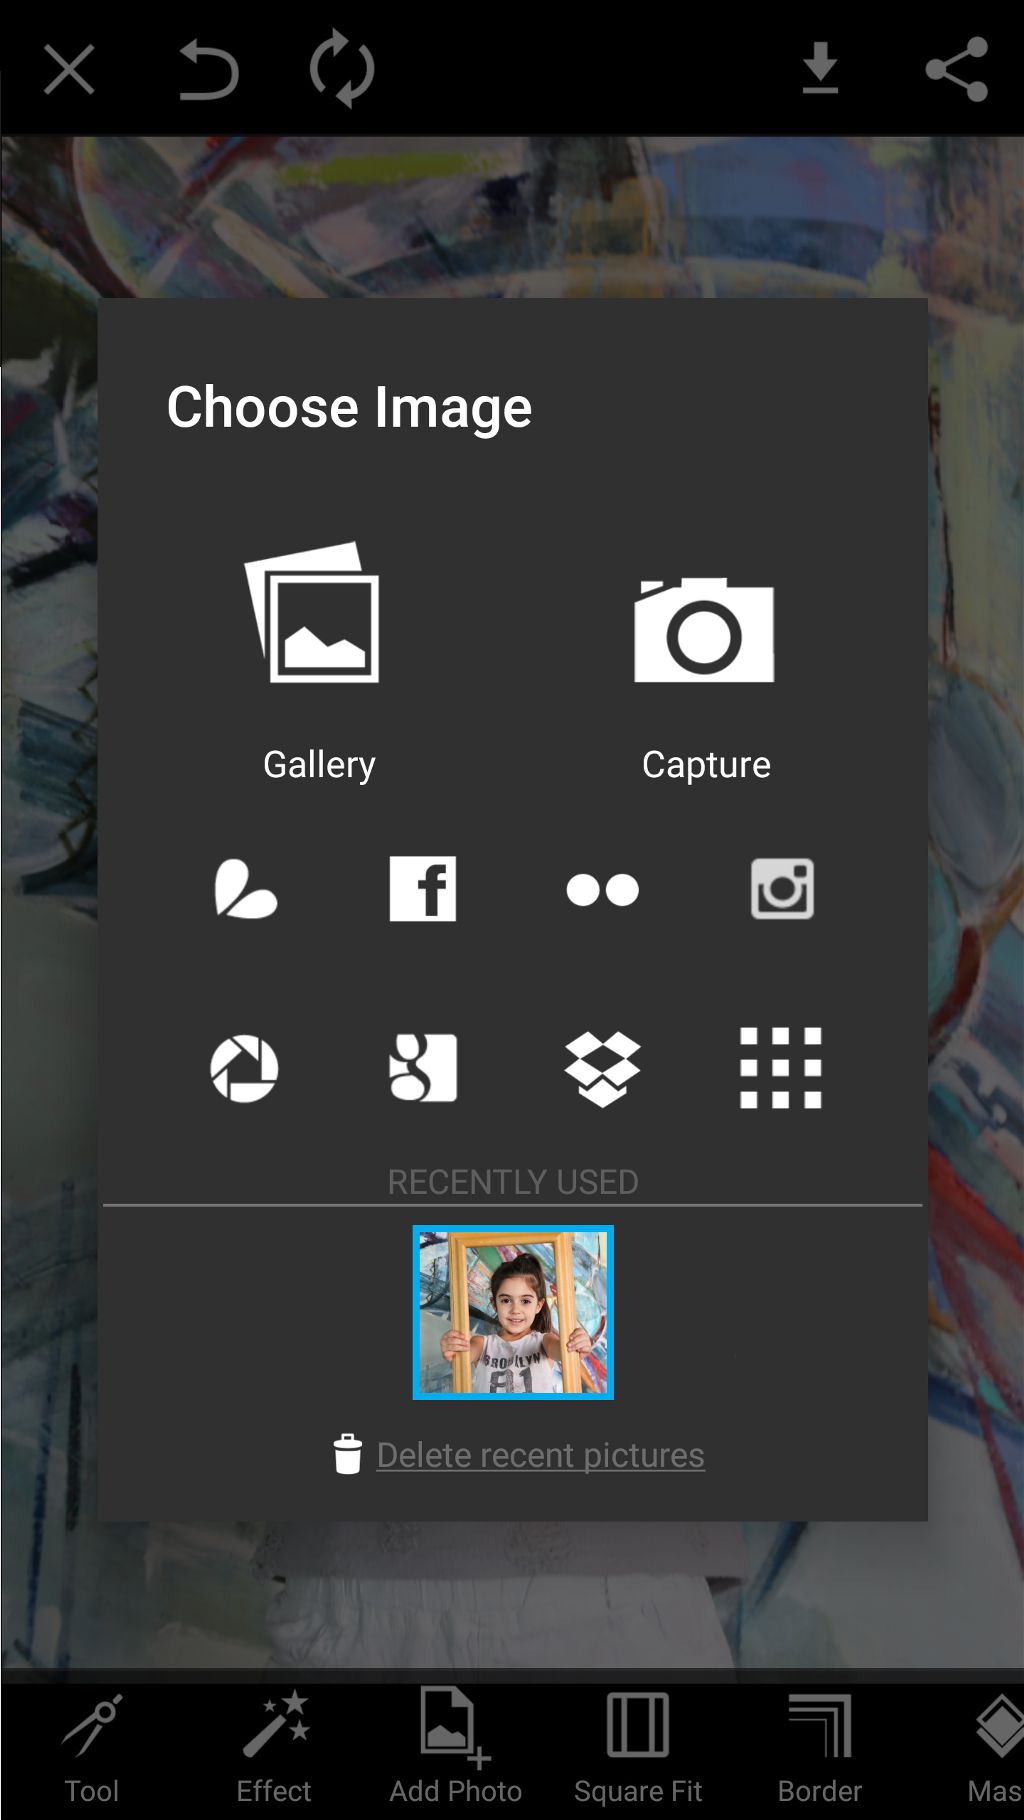
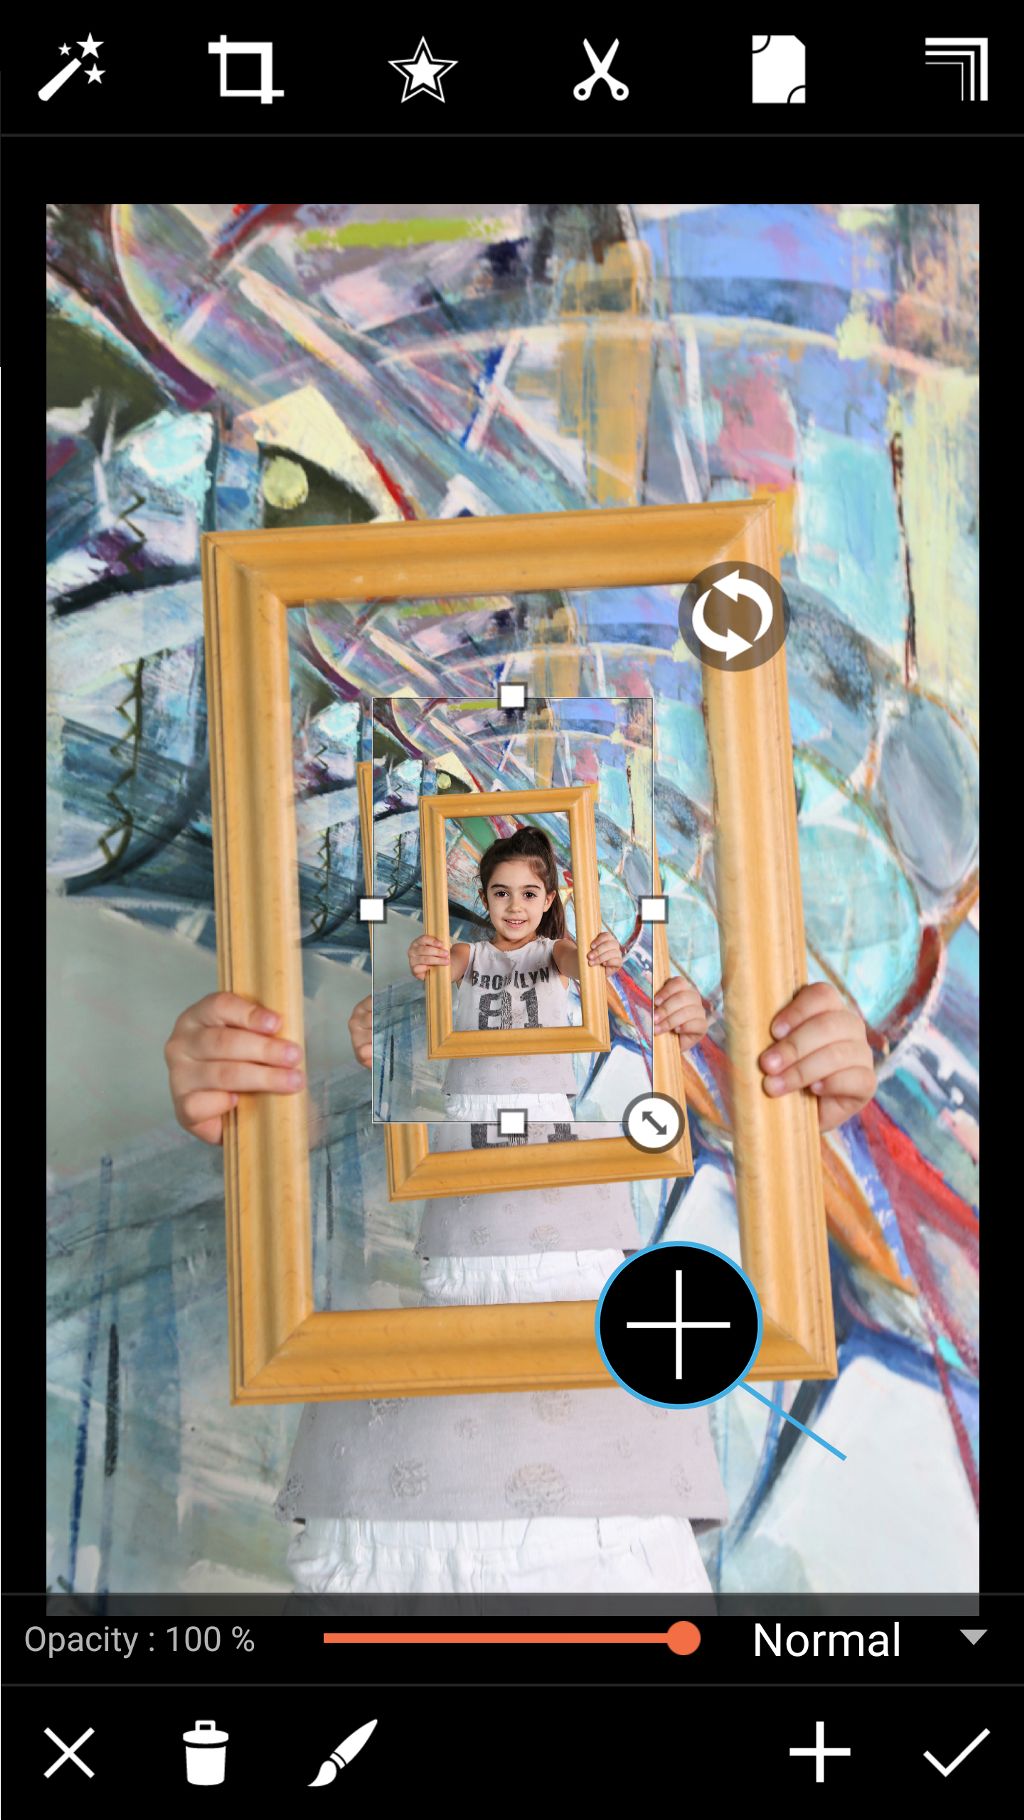
Open your image in the Editor. Tap on Add Photo and select the same image. Use the arrow icon in the bottom right corner of the added image to adjust the size.
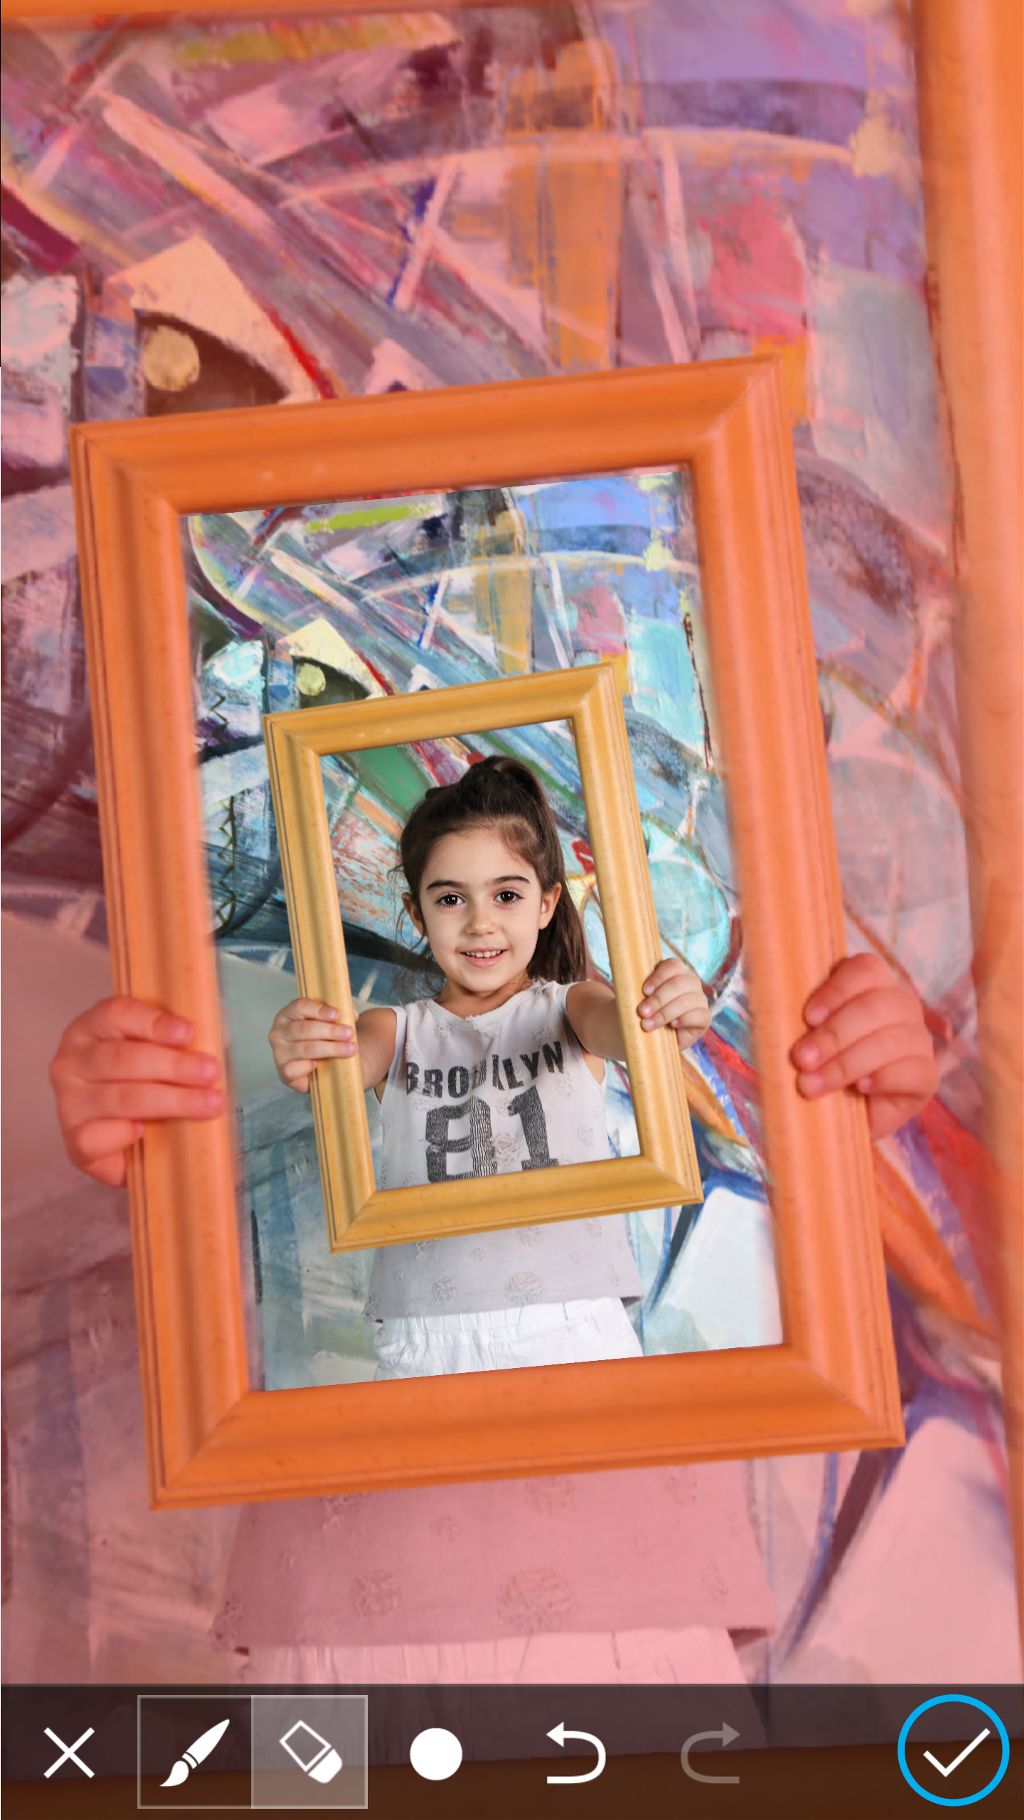
Step 2: Erase Added Image
Tap on the paintbrush icon. Use your finger to erase the edges of the added photo so that it blends into your image.
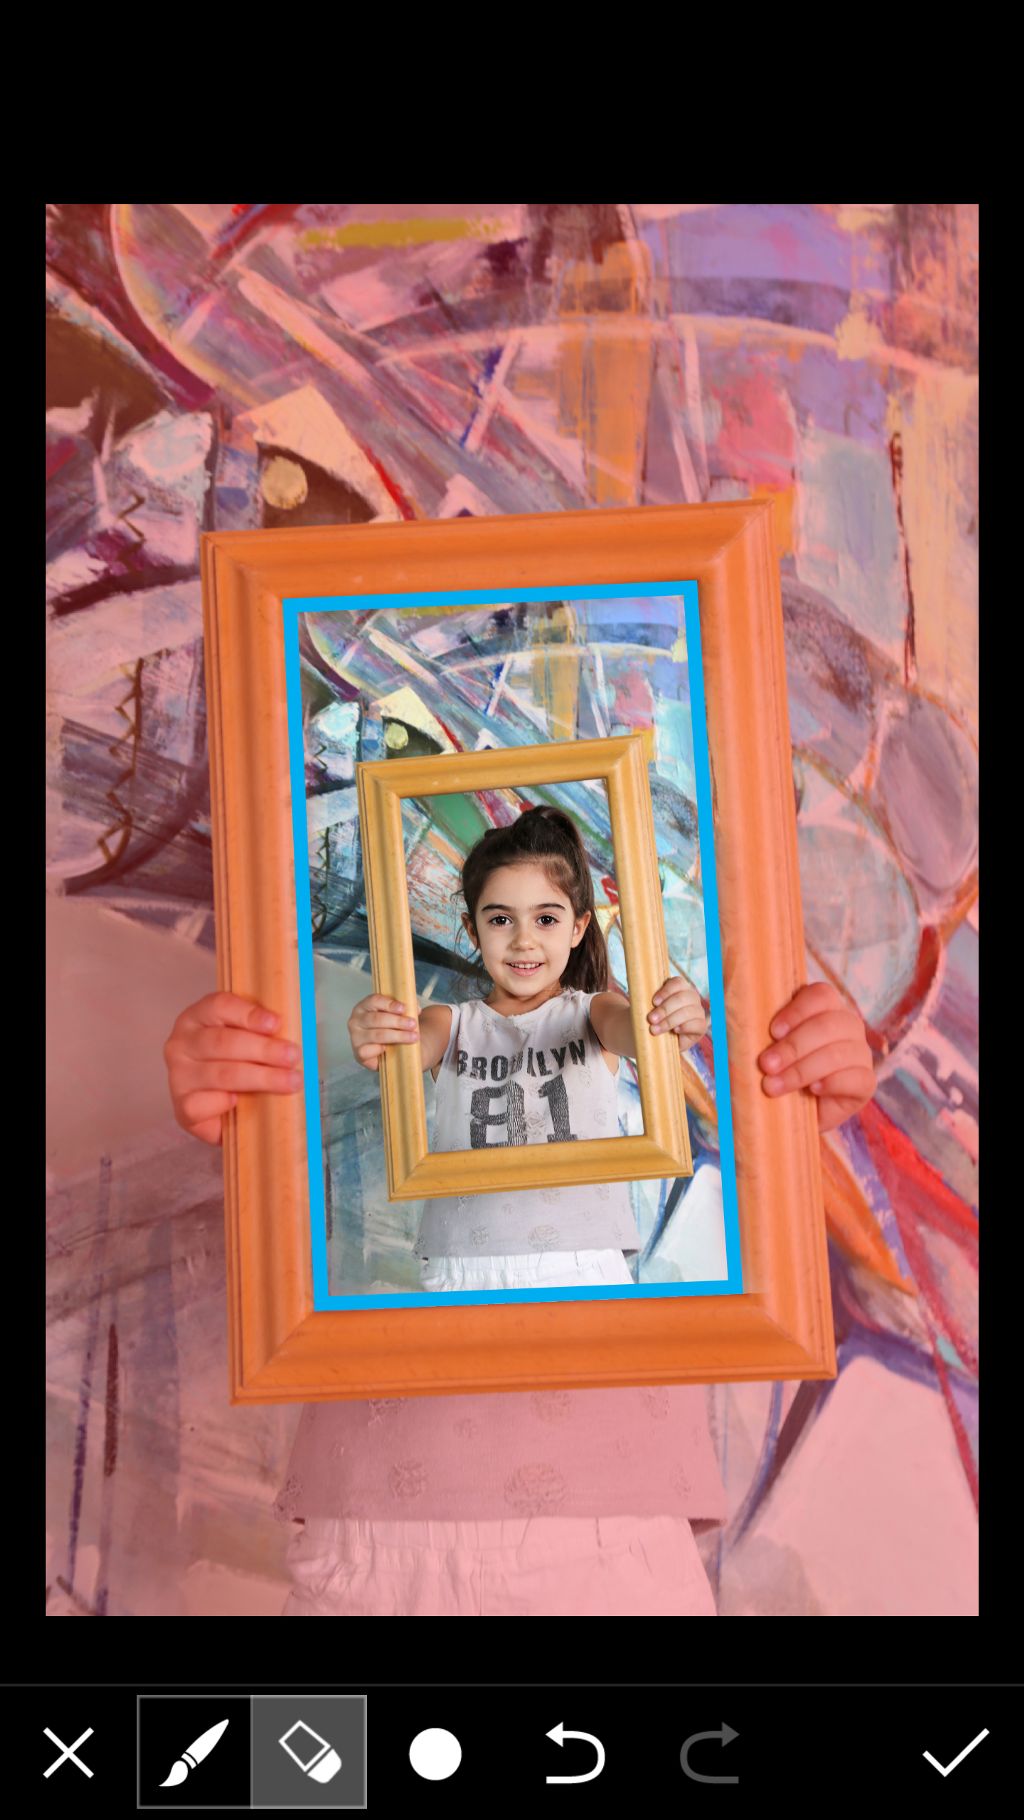
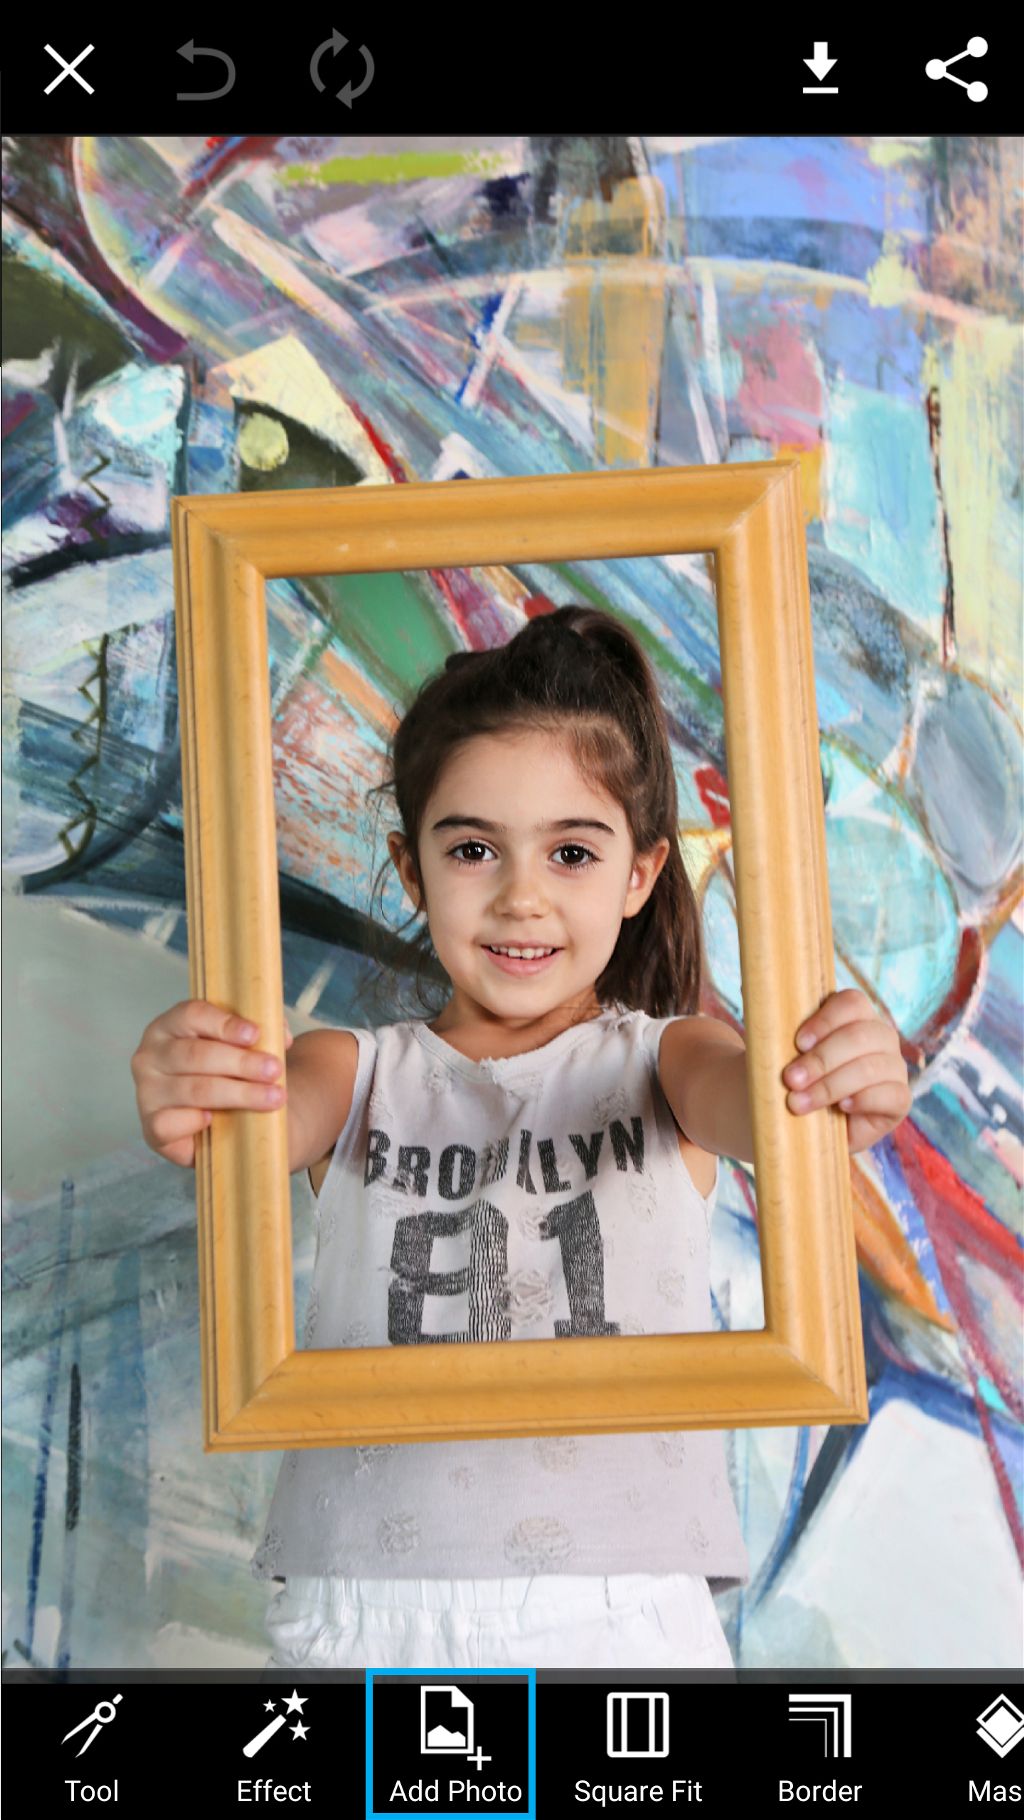
Step 3: Confirm
When you’re done, tap on the check mark to confirm. Tap on it a second time to confirm the added photo.
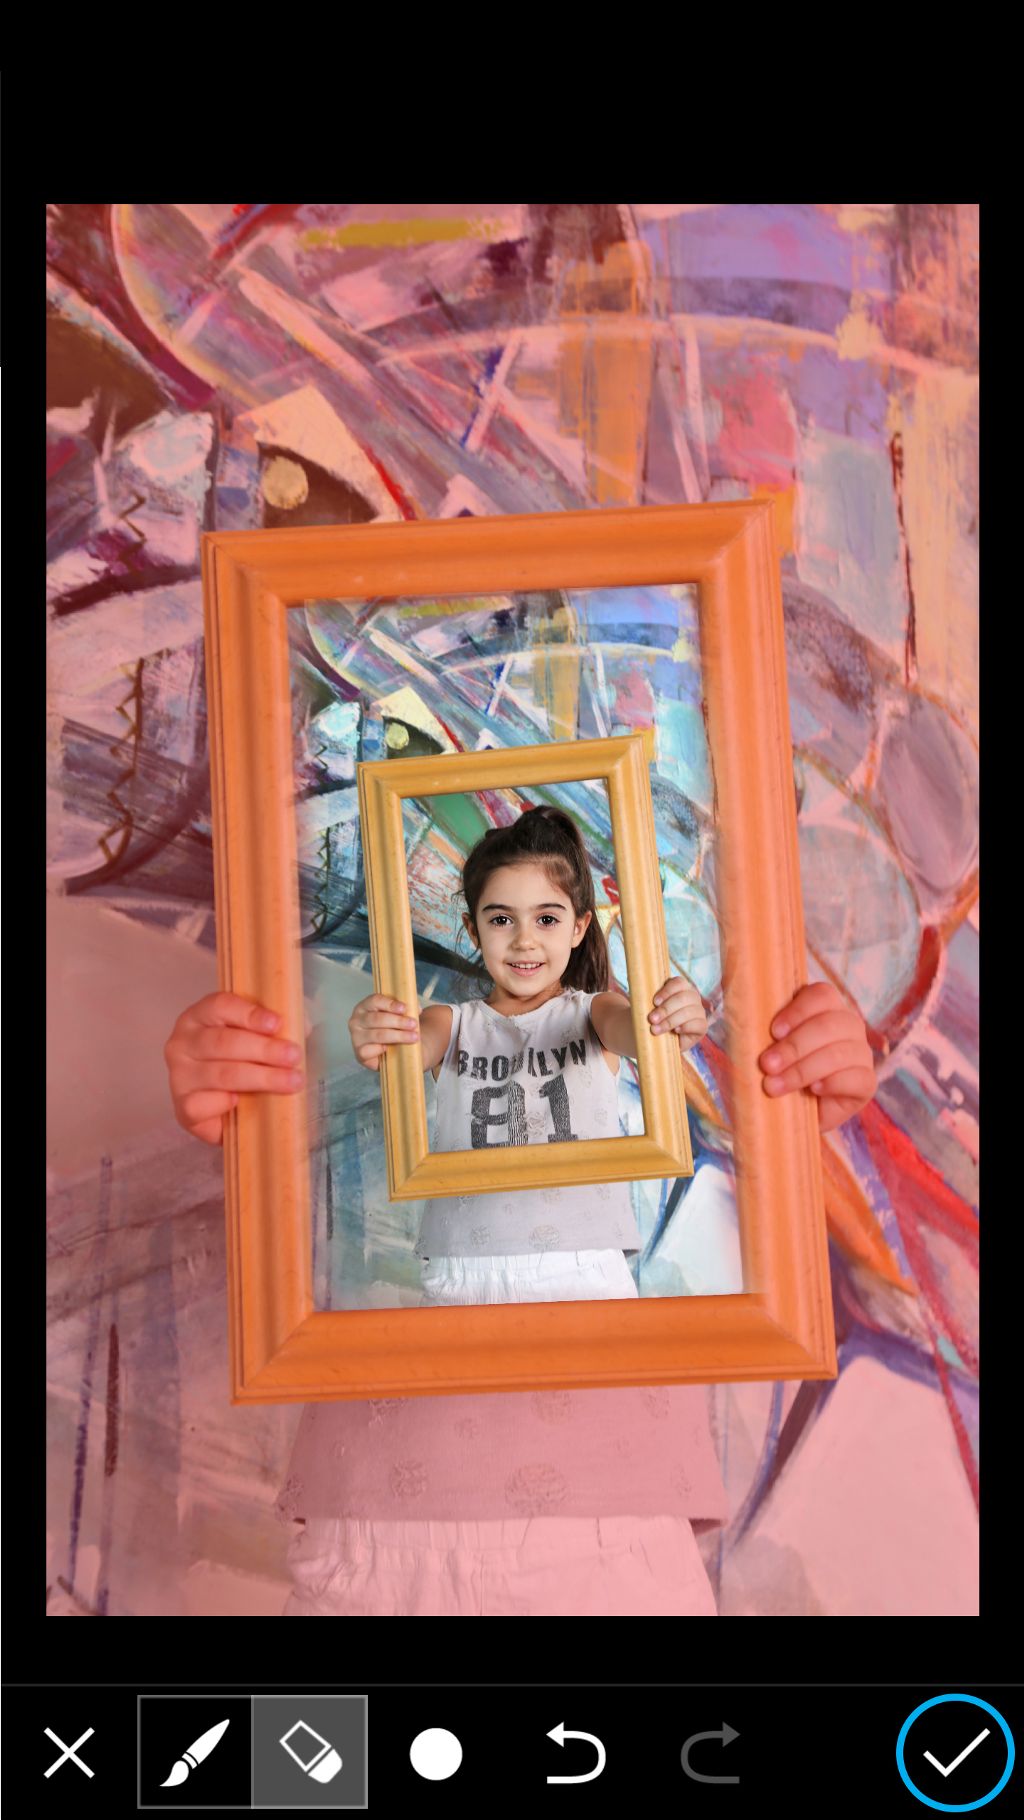
Step 4: Add Photo
Tap on Add Photo again. Select the same image.
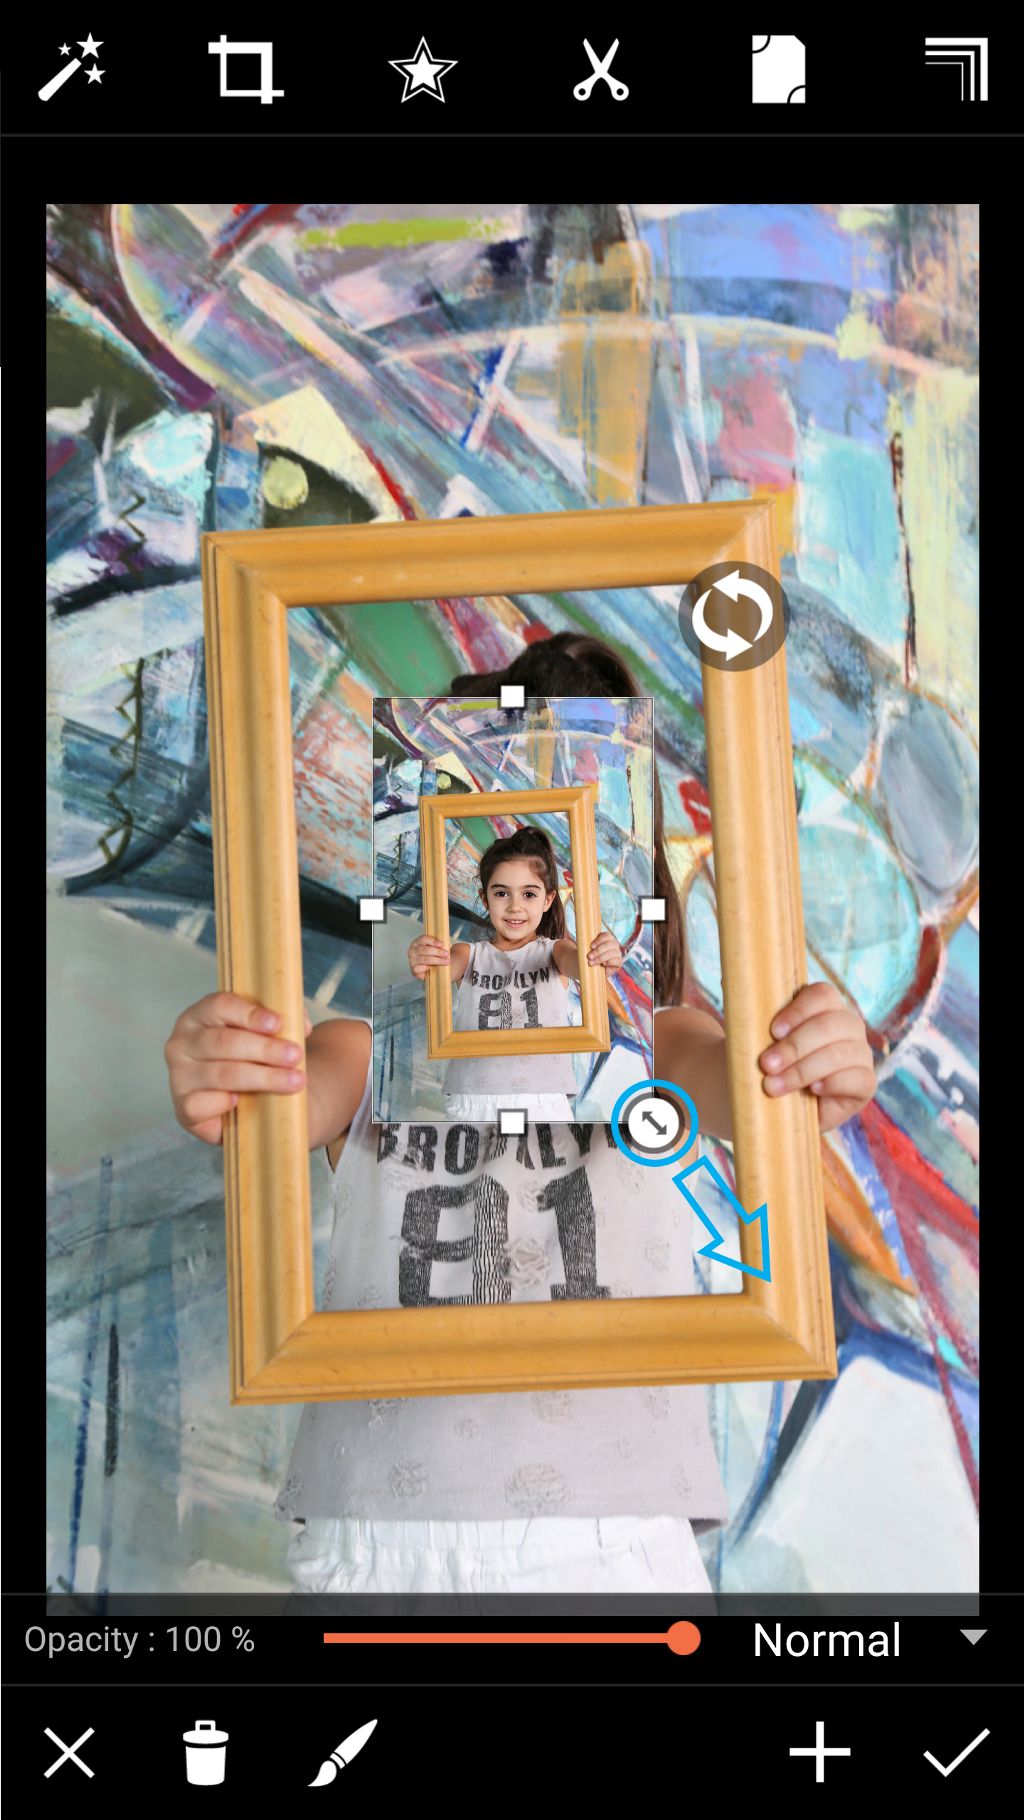
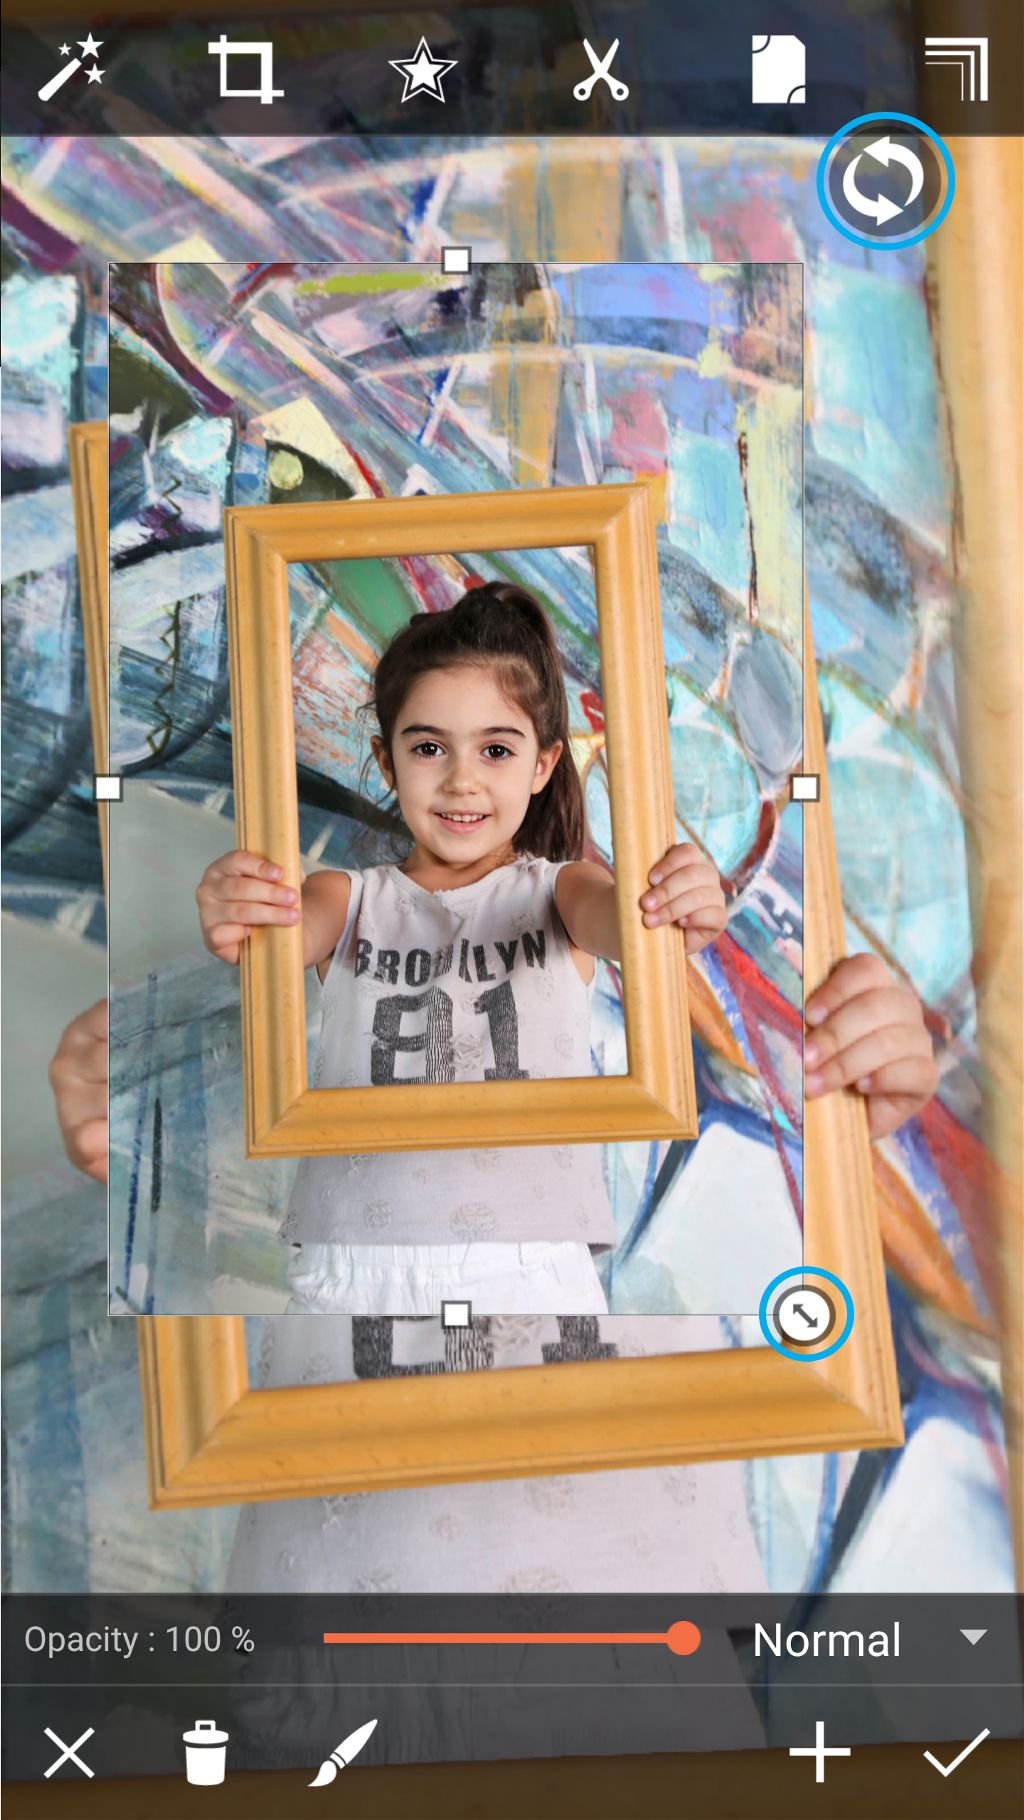
Step 5: Place Added Image
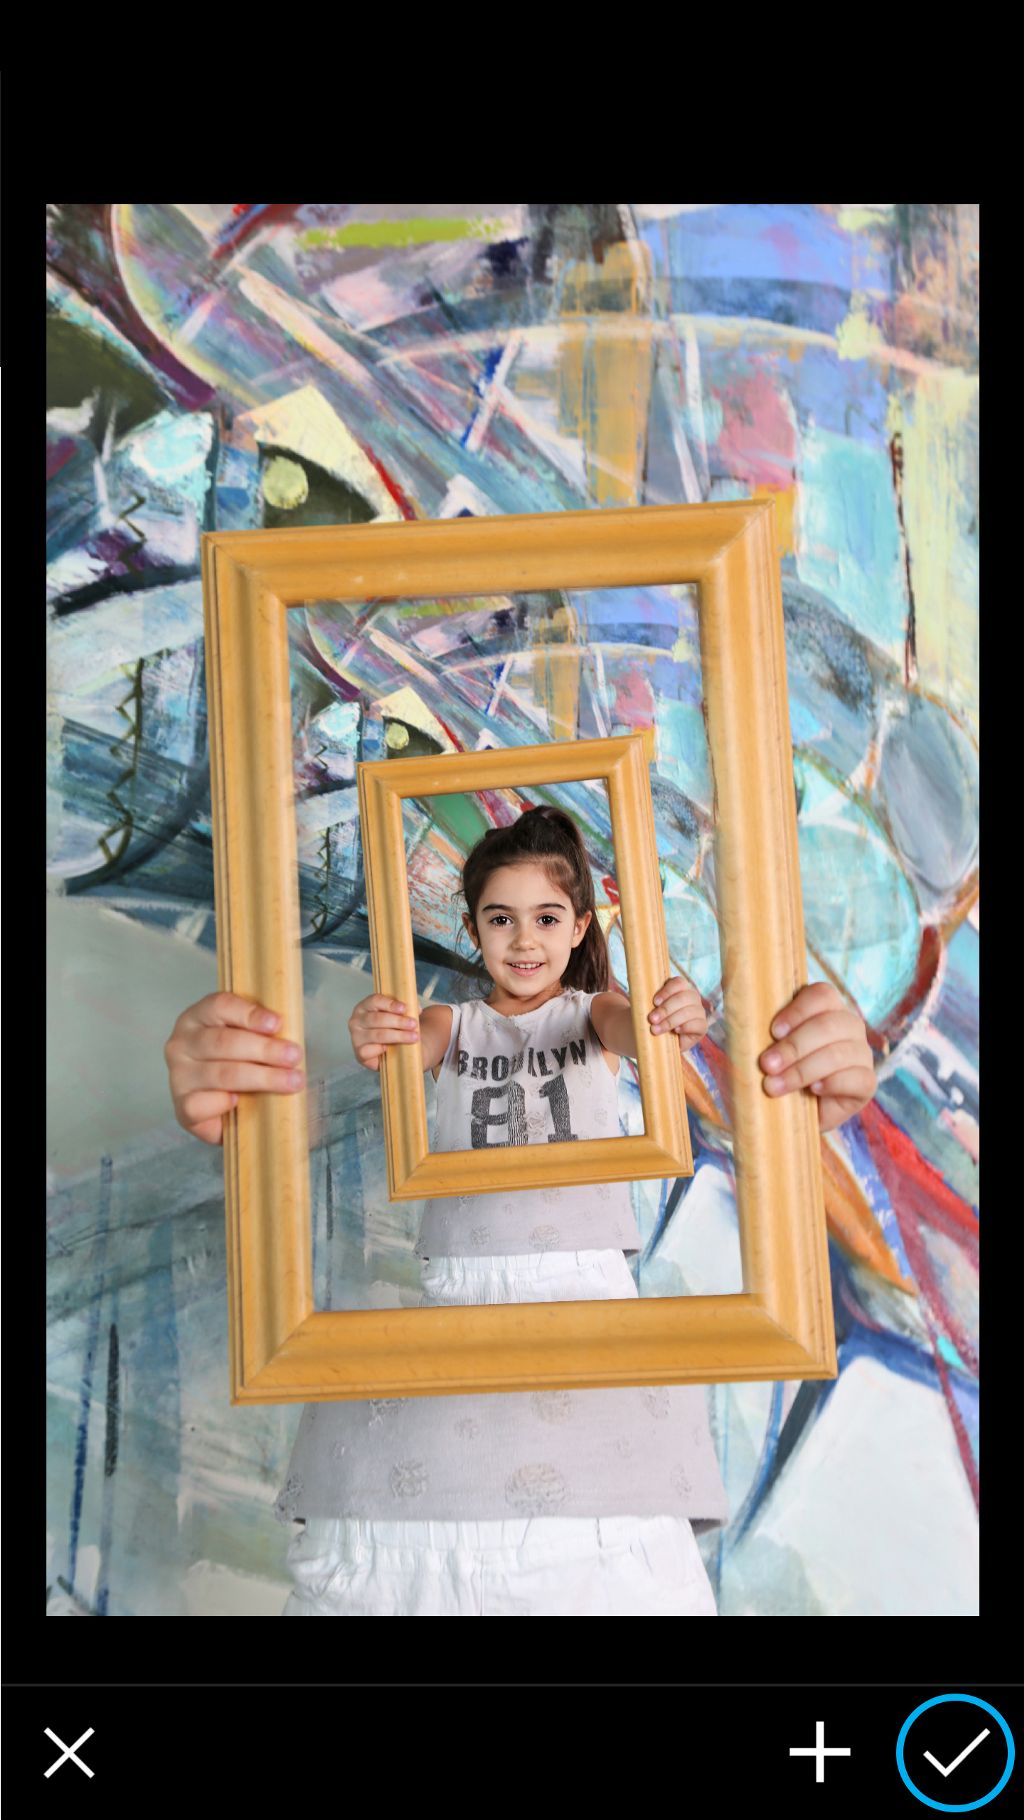
Pinch to zoom in on your image. Adjust the size and location of your added image so that it fits within the frame.
Step 6: Erase Added Image
Tap on the paintbrush icon. Drag your finger along the edges of the added image to erase unwanted parts.

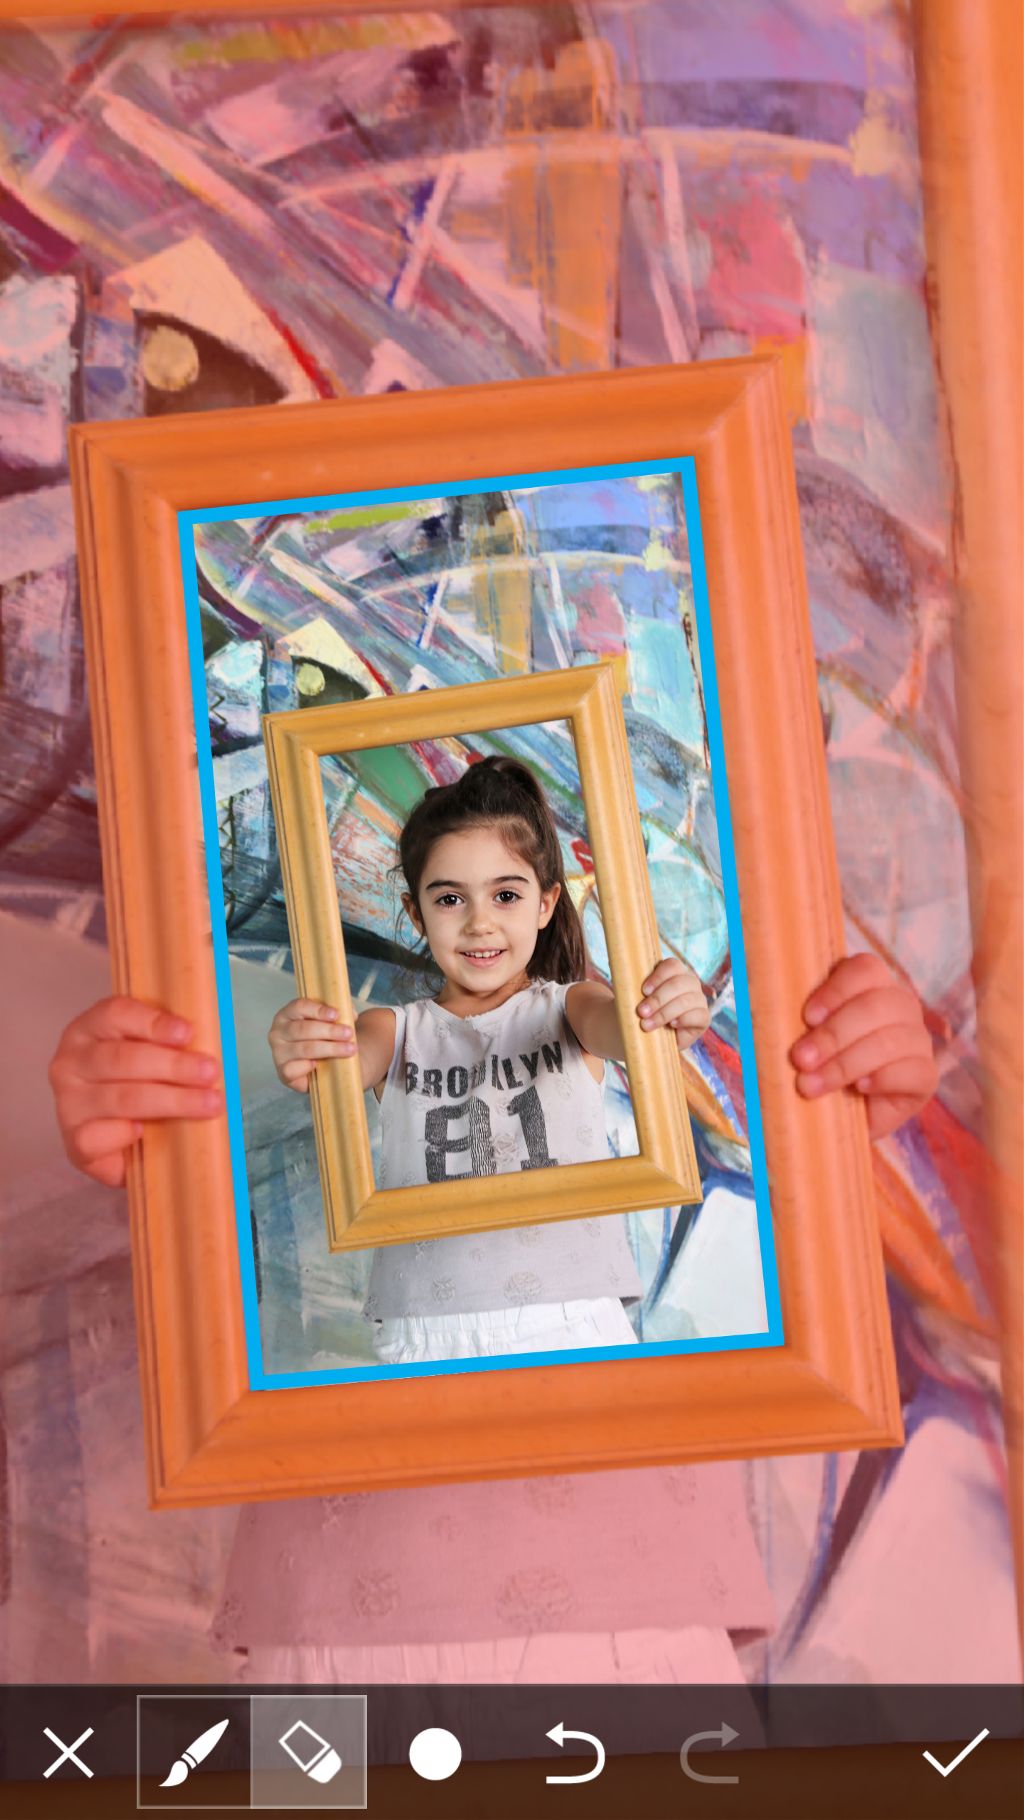
Tap on the check mark when you’re done removing unwanted parts of the added image. Tap on the check mark a second time to confirm the added image. When you’re done, save your image and share it with the hashtag #PictureInPicture!