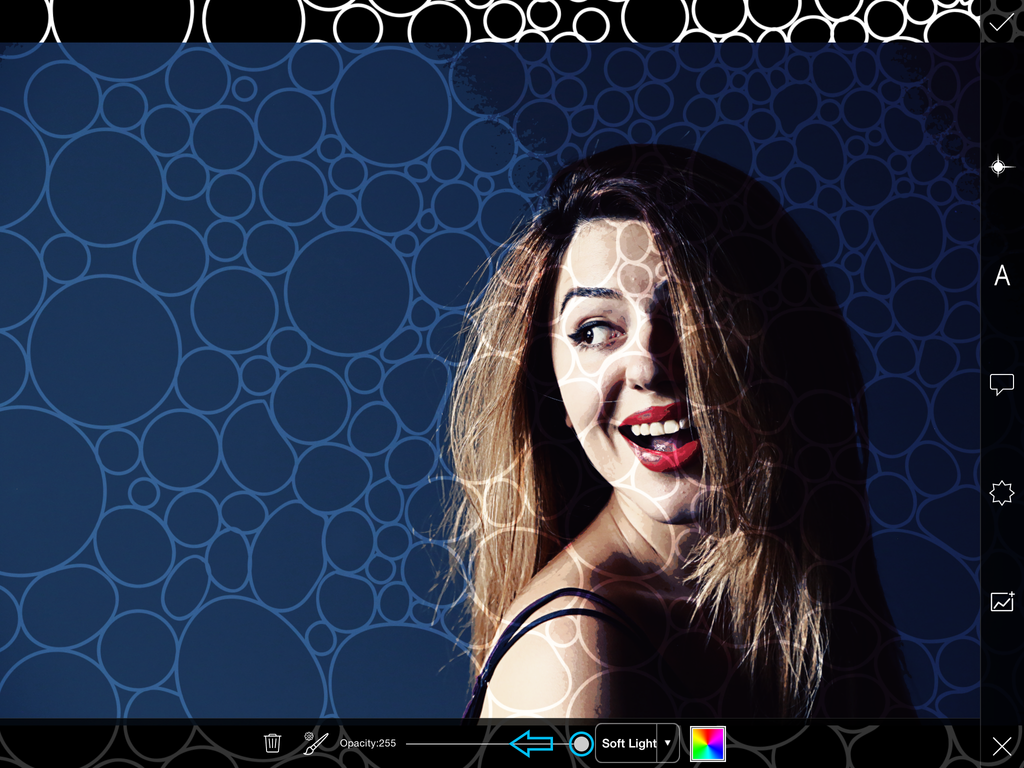
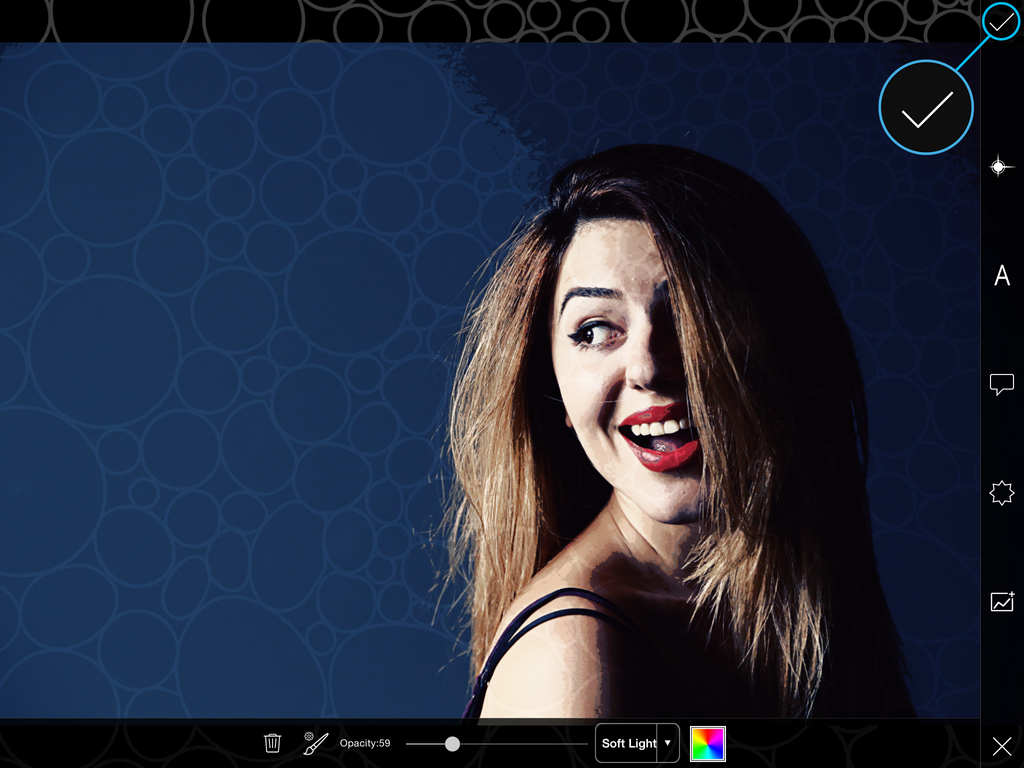
In this step-by-step tutorial, we’ll show you how to use PicsArt to turn a simple portrait into a pop art masterpiece. Follow along to learn how to do it, and then experiment with your own images!
Step 1: Open Effects Menu
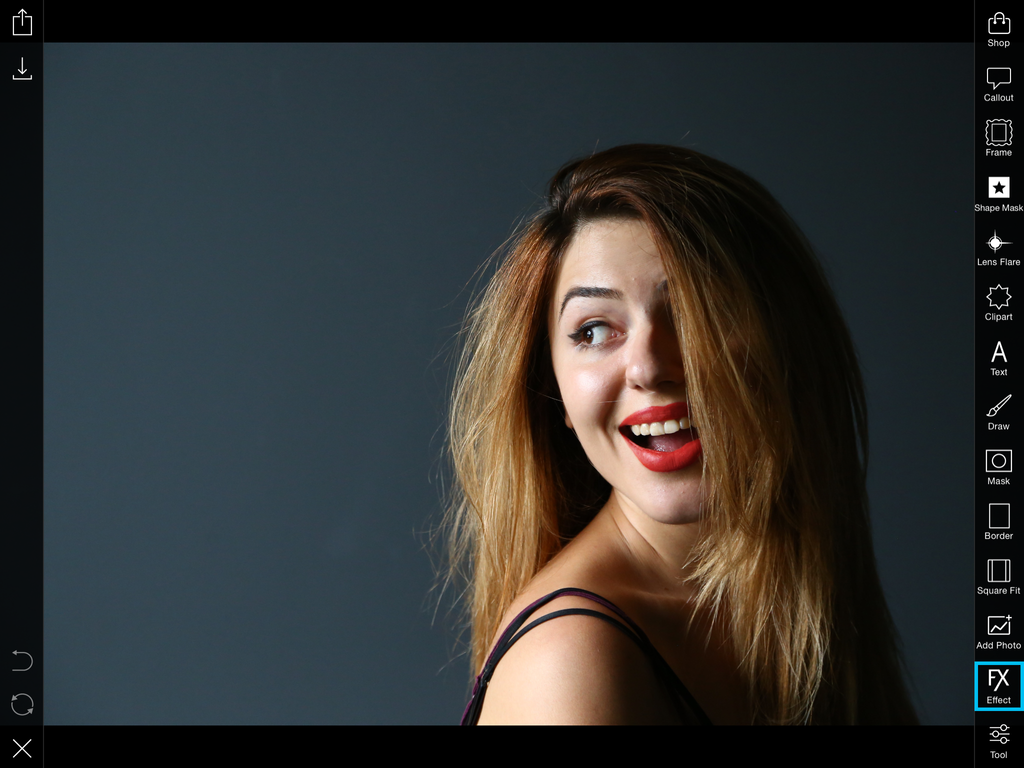
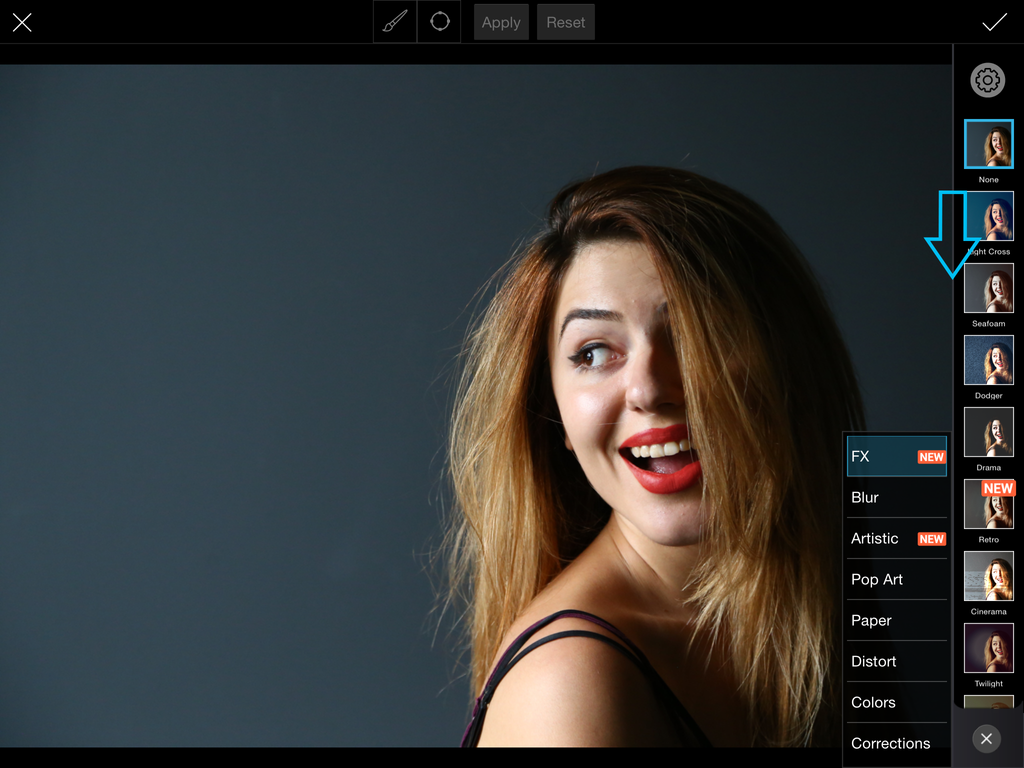
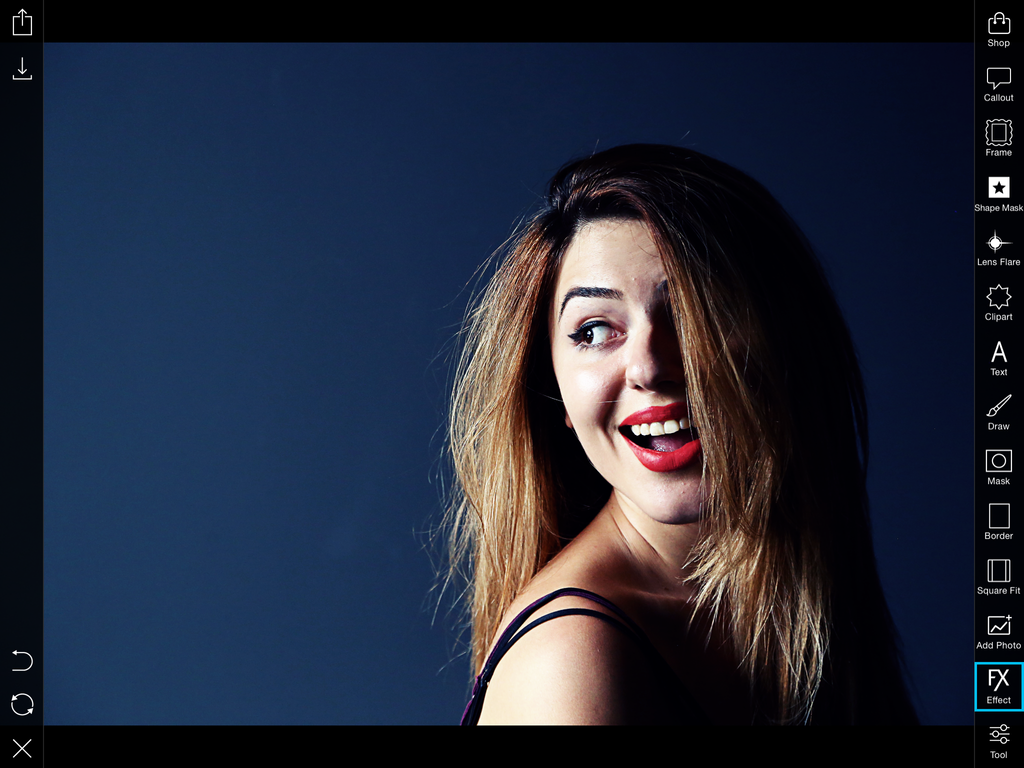
Open your image in the Editor. Tap on Effect and scroll through the FX section.
Step 2: Apply Effect
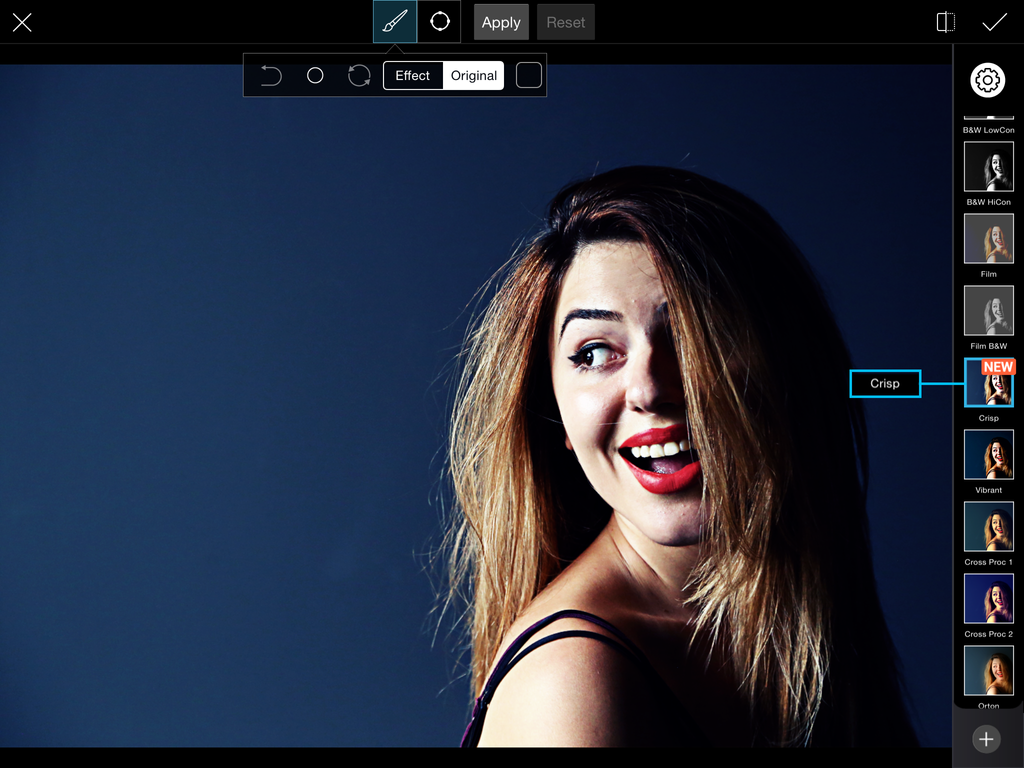
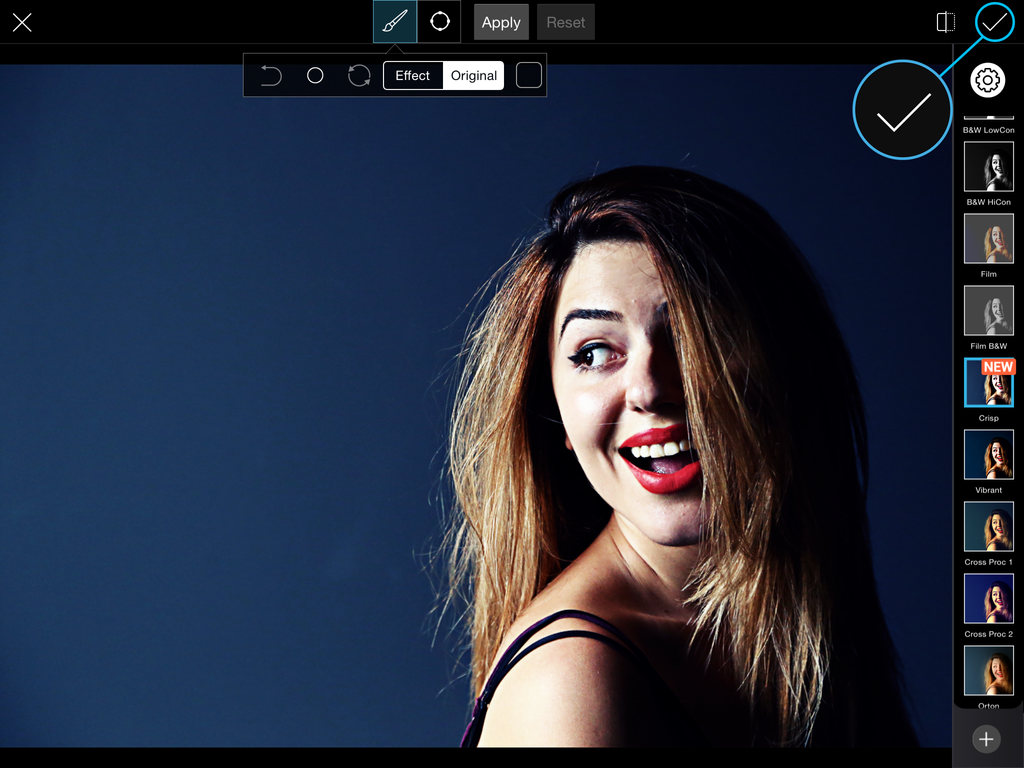
Select the Crisp Effect and tap the check mark to confirm.
Step 3: Open Effects Menu
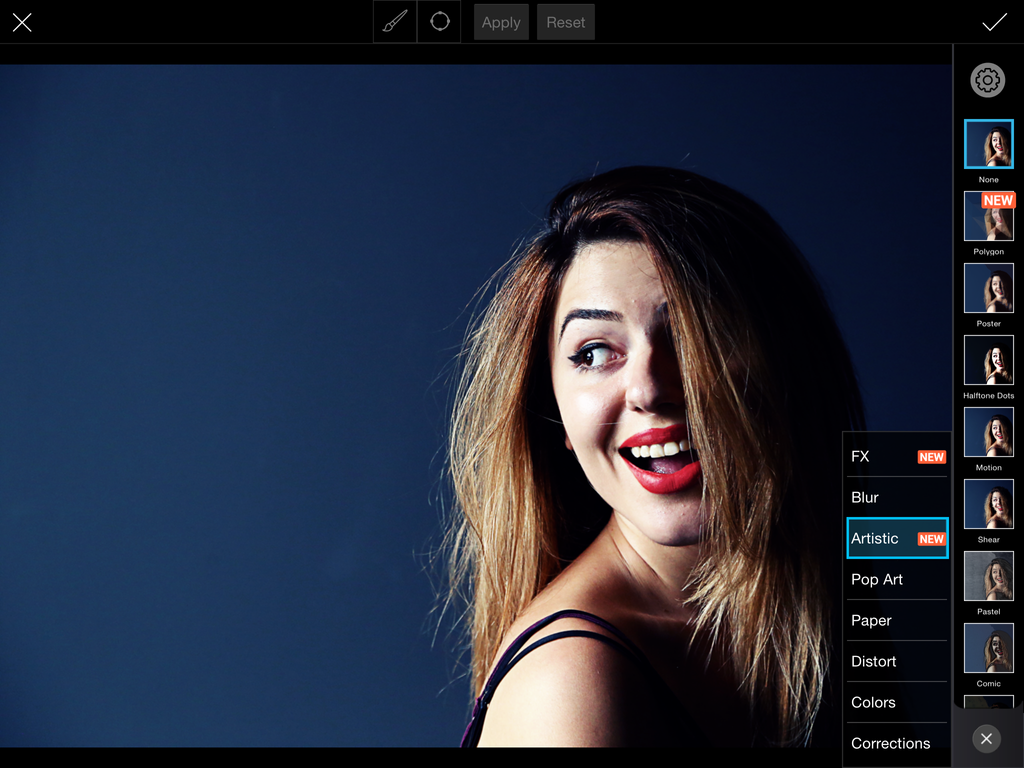
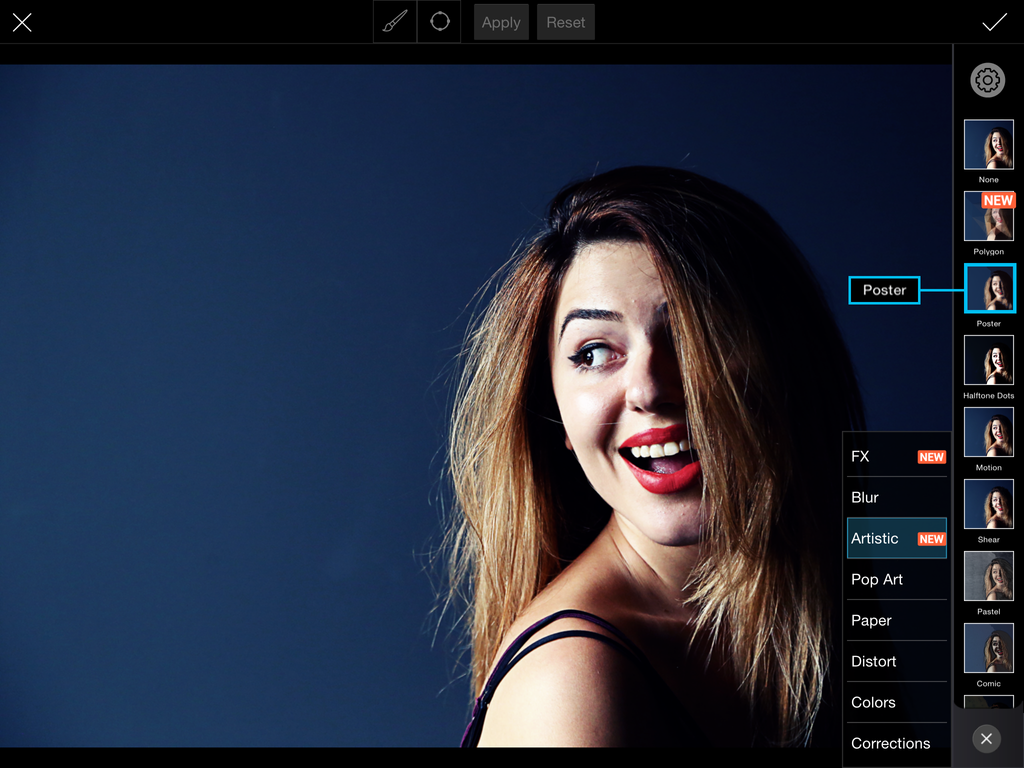
Tap on Effect again and select the Artistic section.
Step 4: Select Poster Effect
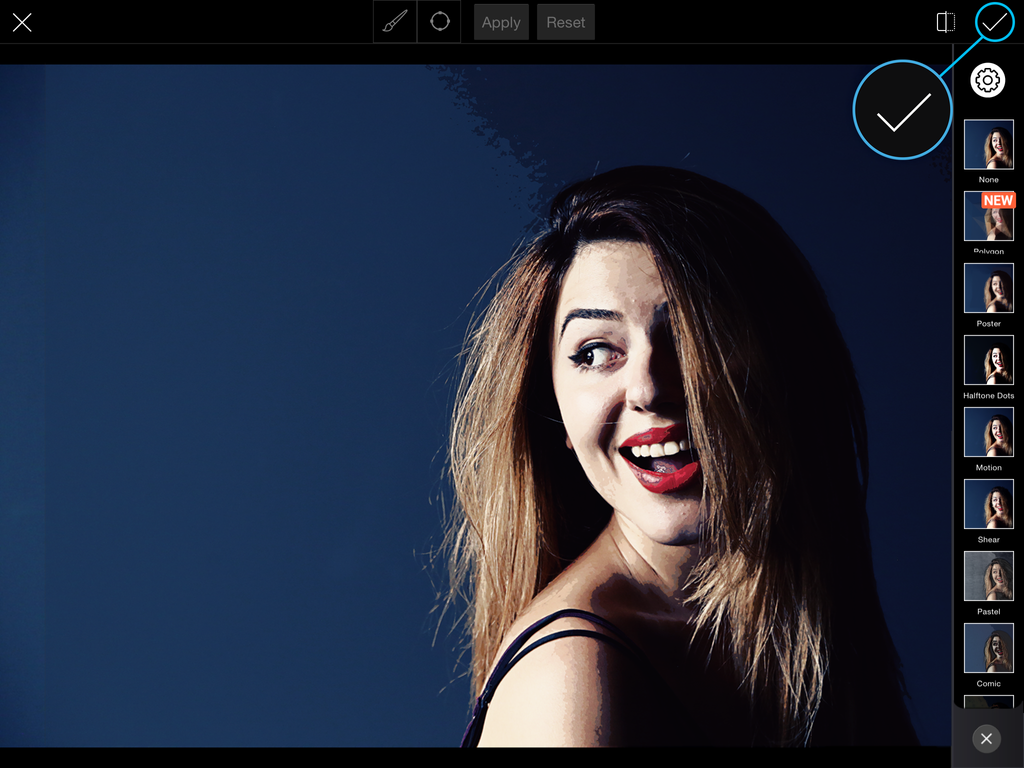
Select the Poster Effect. Tap on the check mark to confirm.
Step 5: Open Clipart
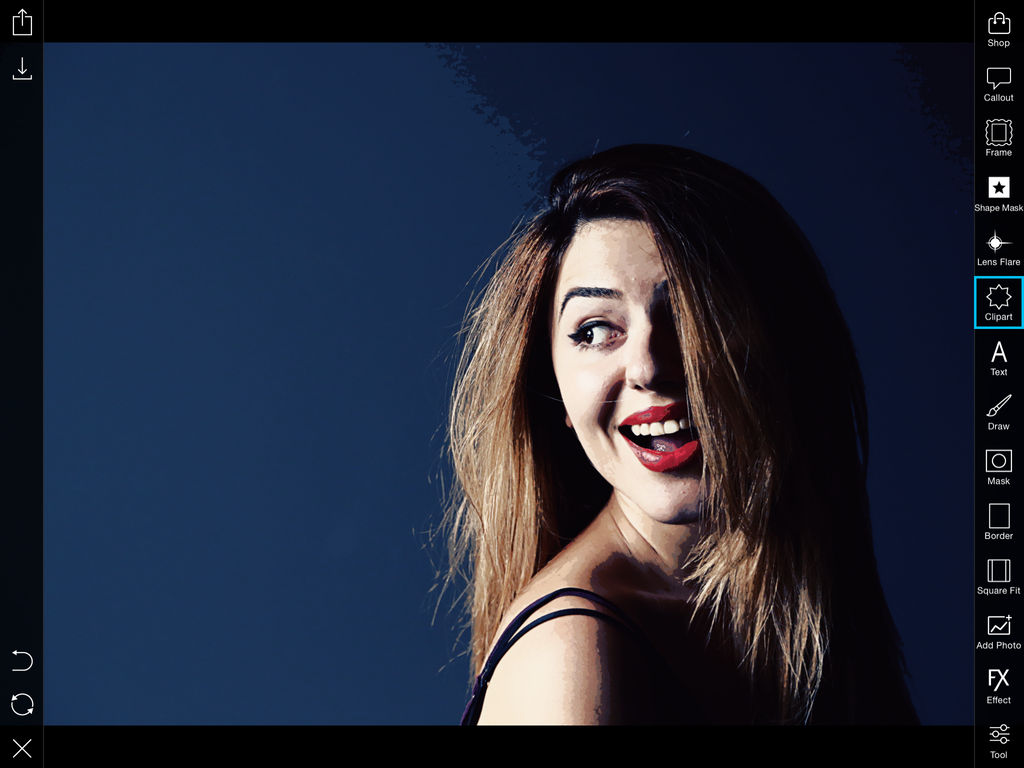
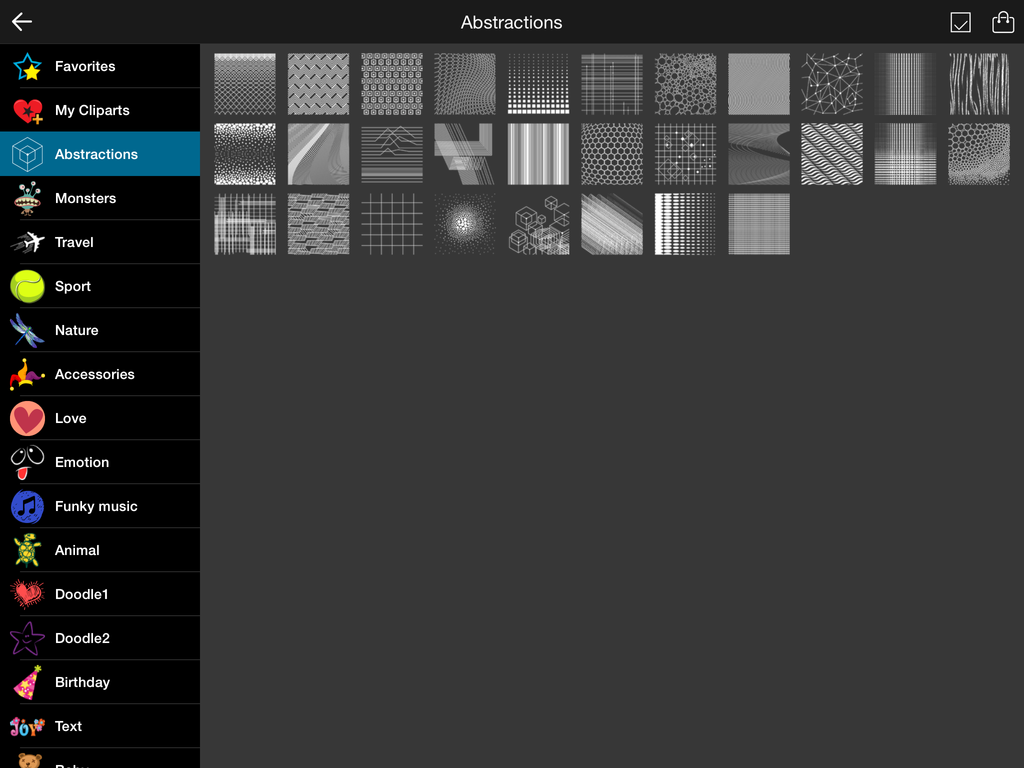
Tap on Clipart, select the Abstractions package, and choose the overlay you would like to apply.
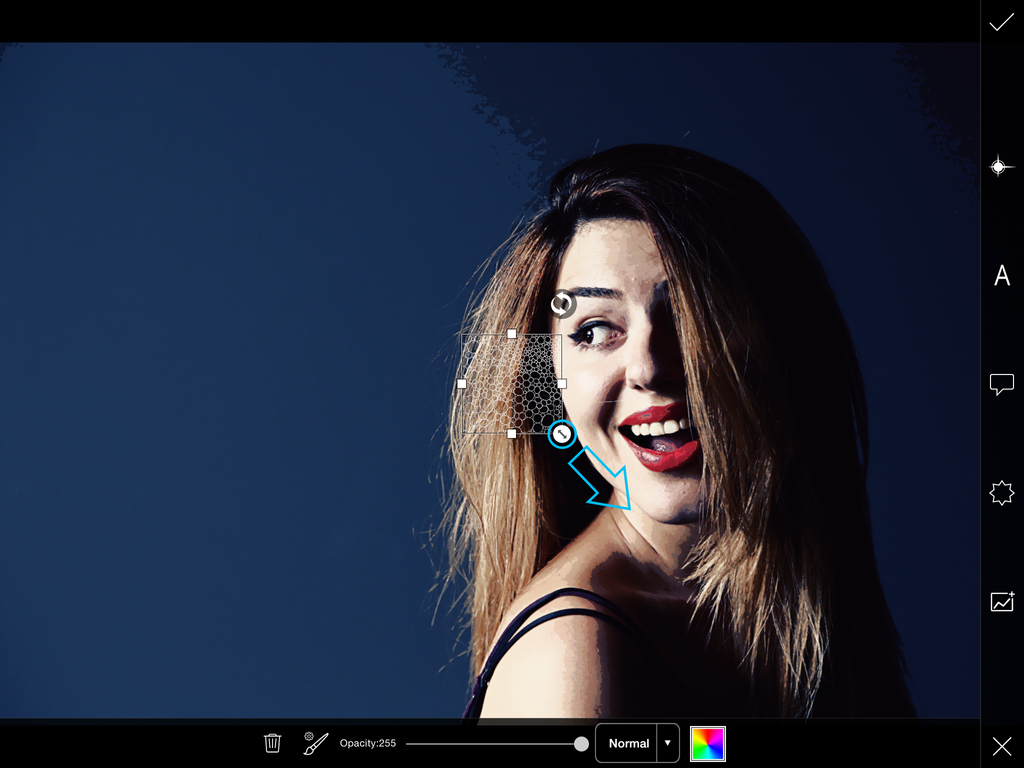
Step 6: Enlarge Clipart Image
Use the arrow icon in the bottom right corner to adjust the size of your clipart image.
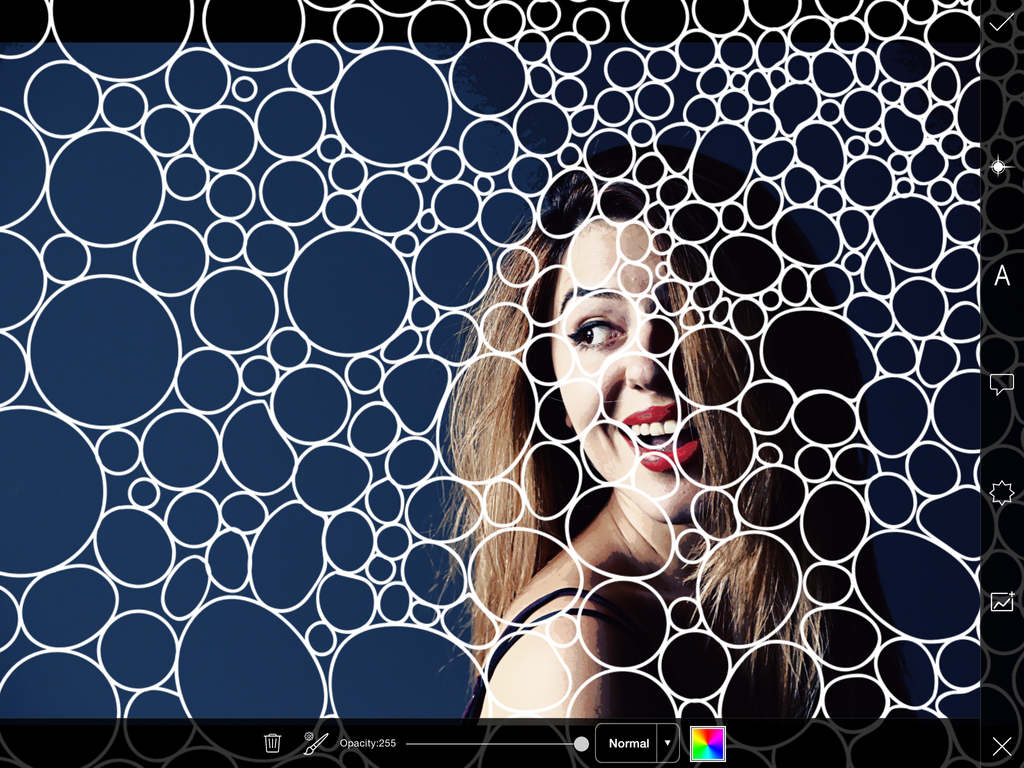
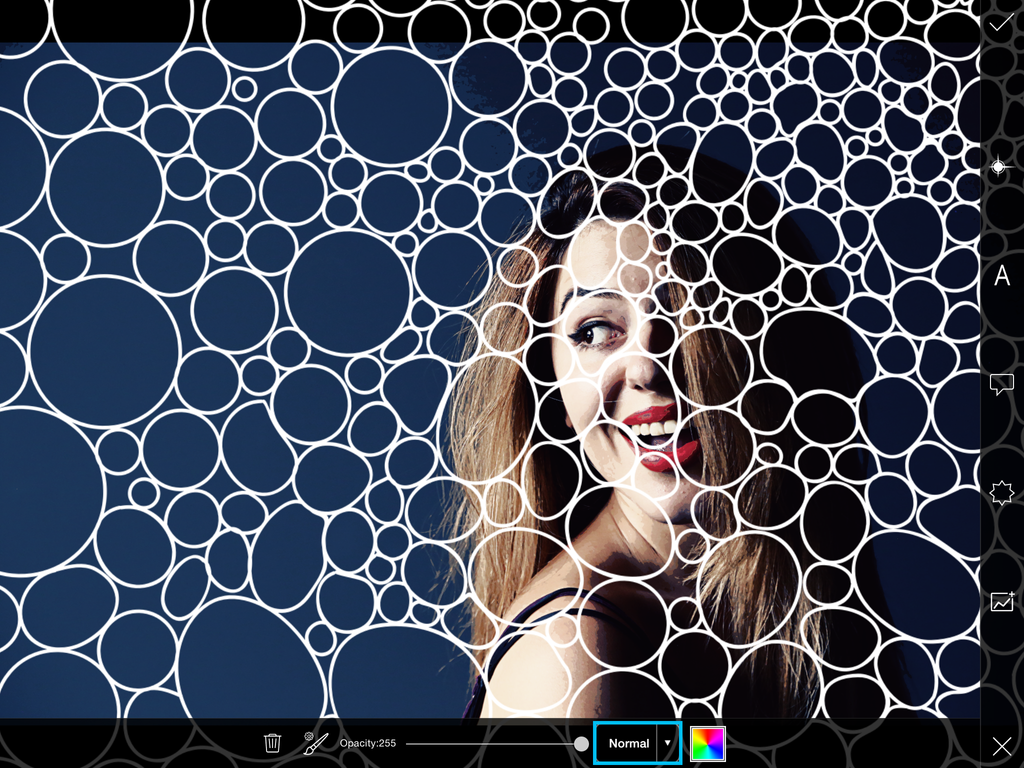
Step 7: Adjust Blending Mode
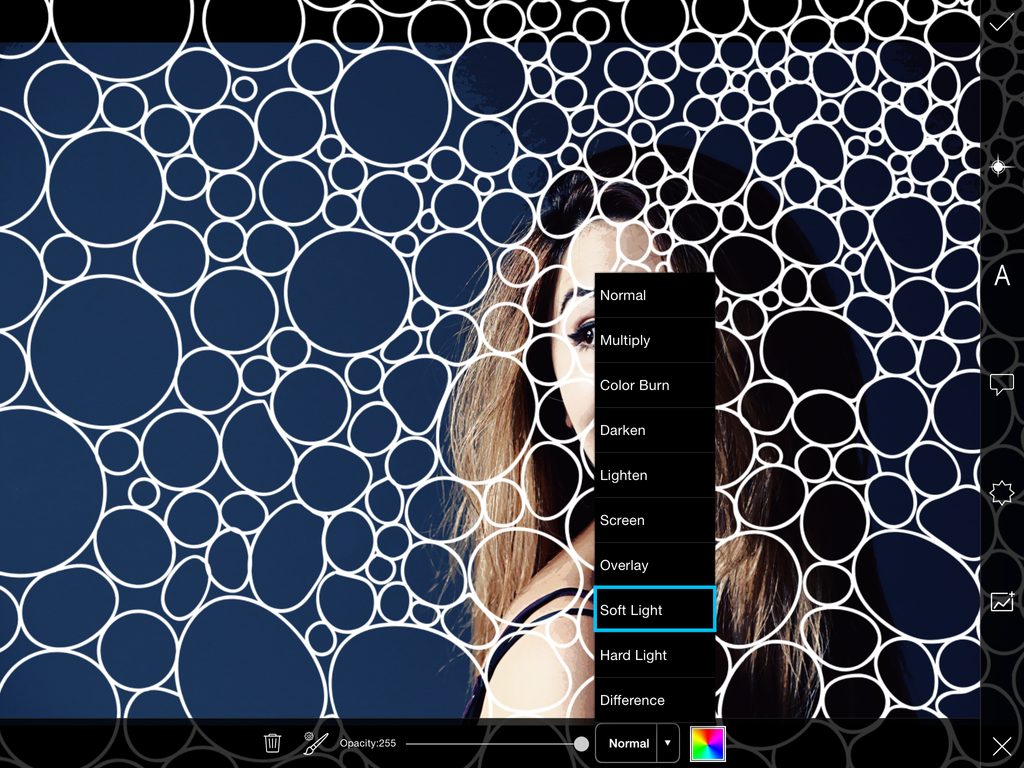
Tap on the Normal text to view your blending mode options. Select your blending mode.
Step 8: Reduce Opacity & Confirm
Reduce the opacity of the clipart image to about 60. Tap on the check mark to confirm. Save your work and share it with the hashtag #PopArt!
