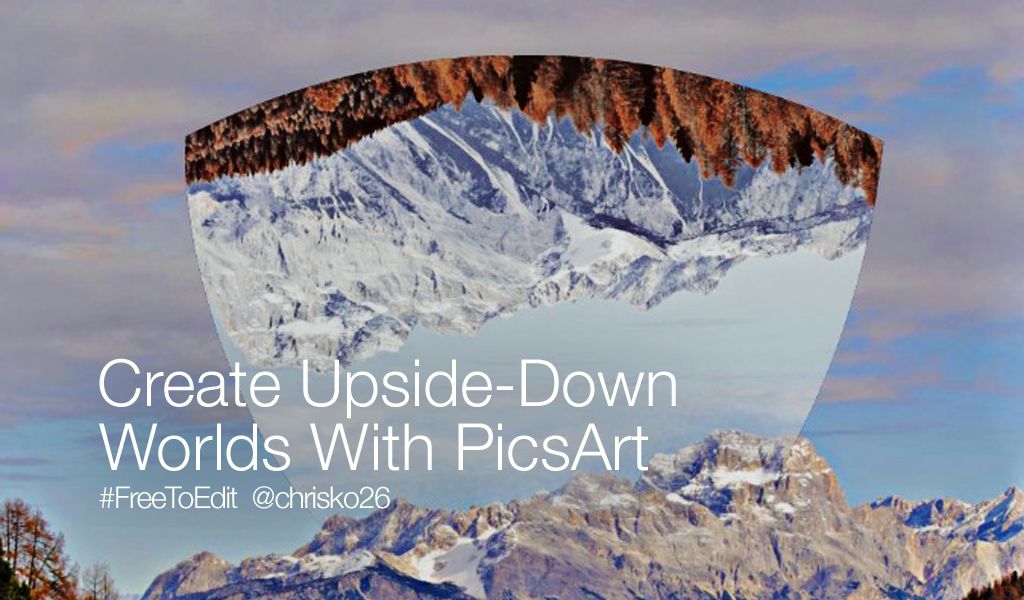
In this tutorial, we’ll show you how to use the photo editor to create a surreal upside-down image, inspired by Victoria Siemer (@witchoria). Try it out for yourself, and share your edits with the hashtag #UpsideDown!
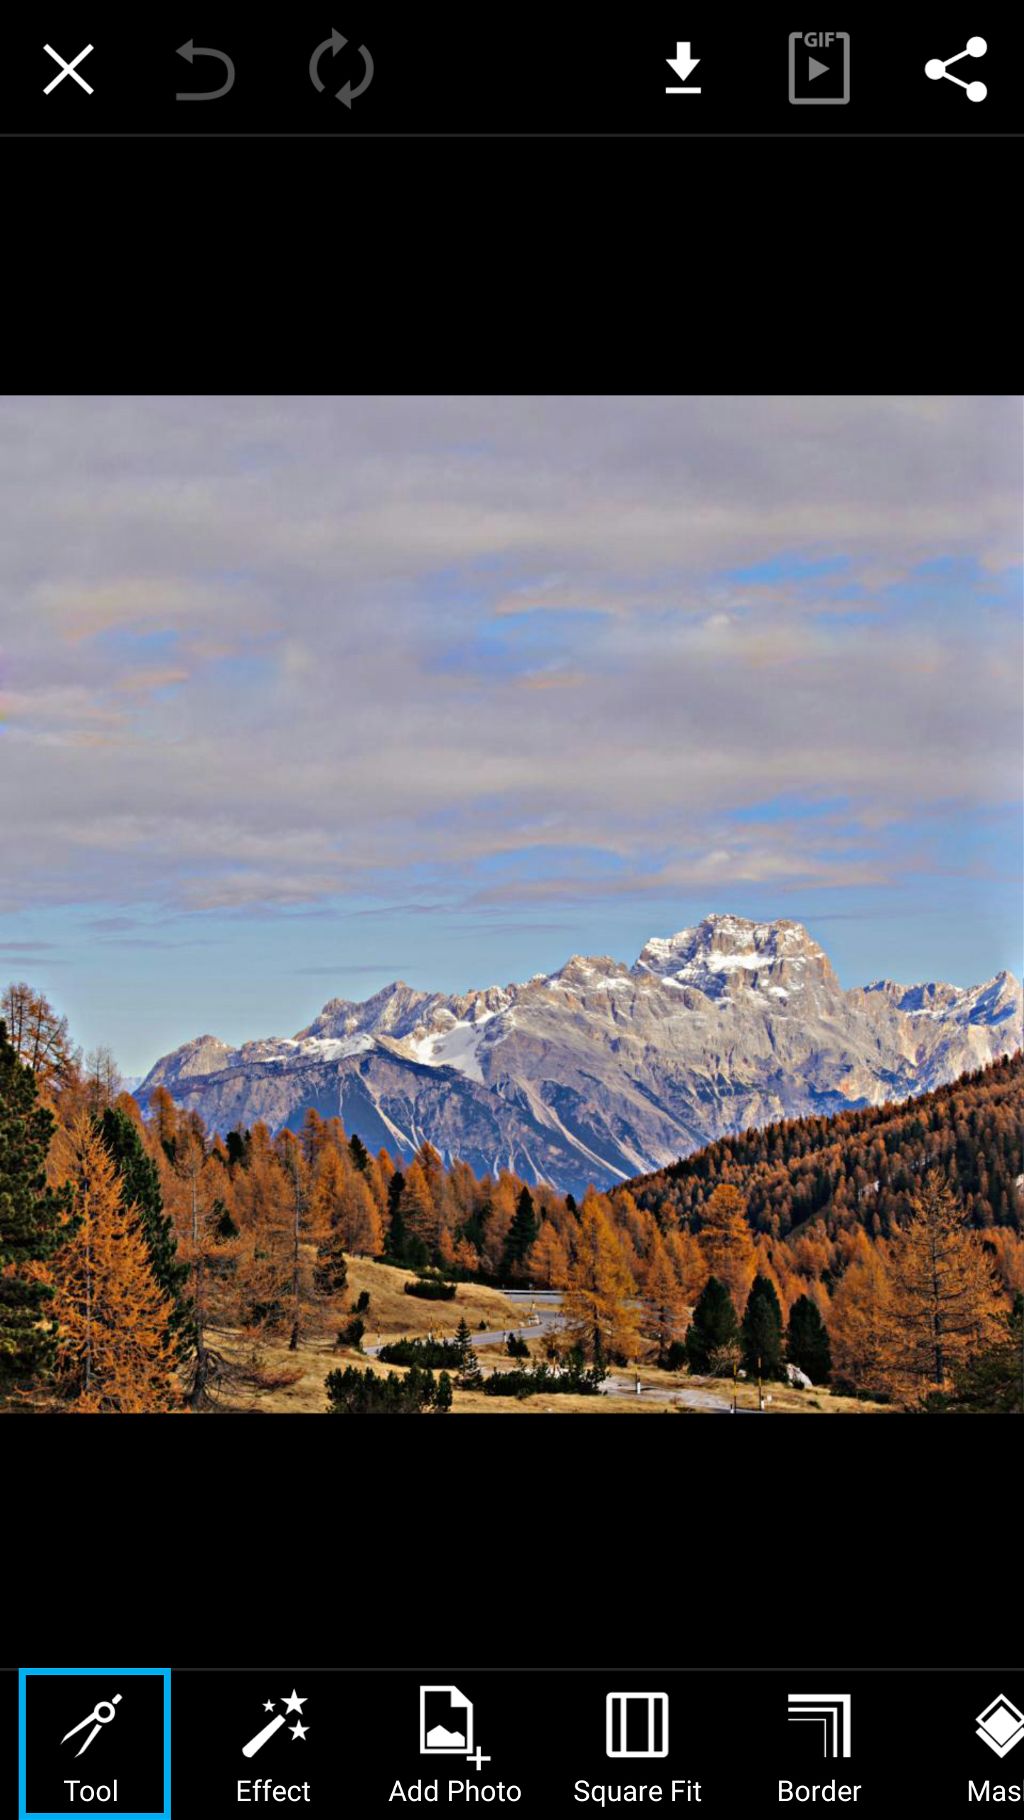
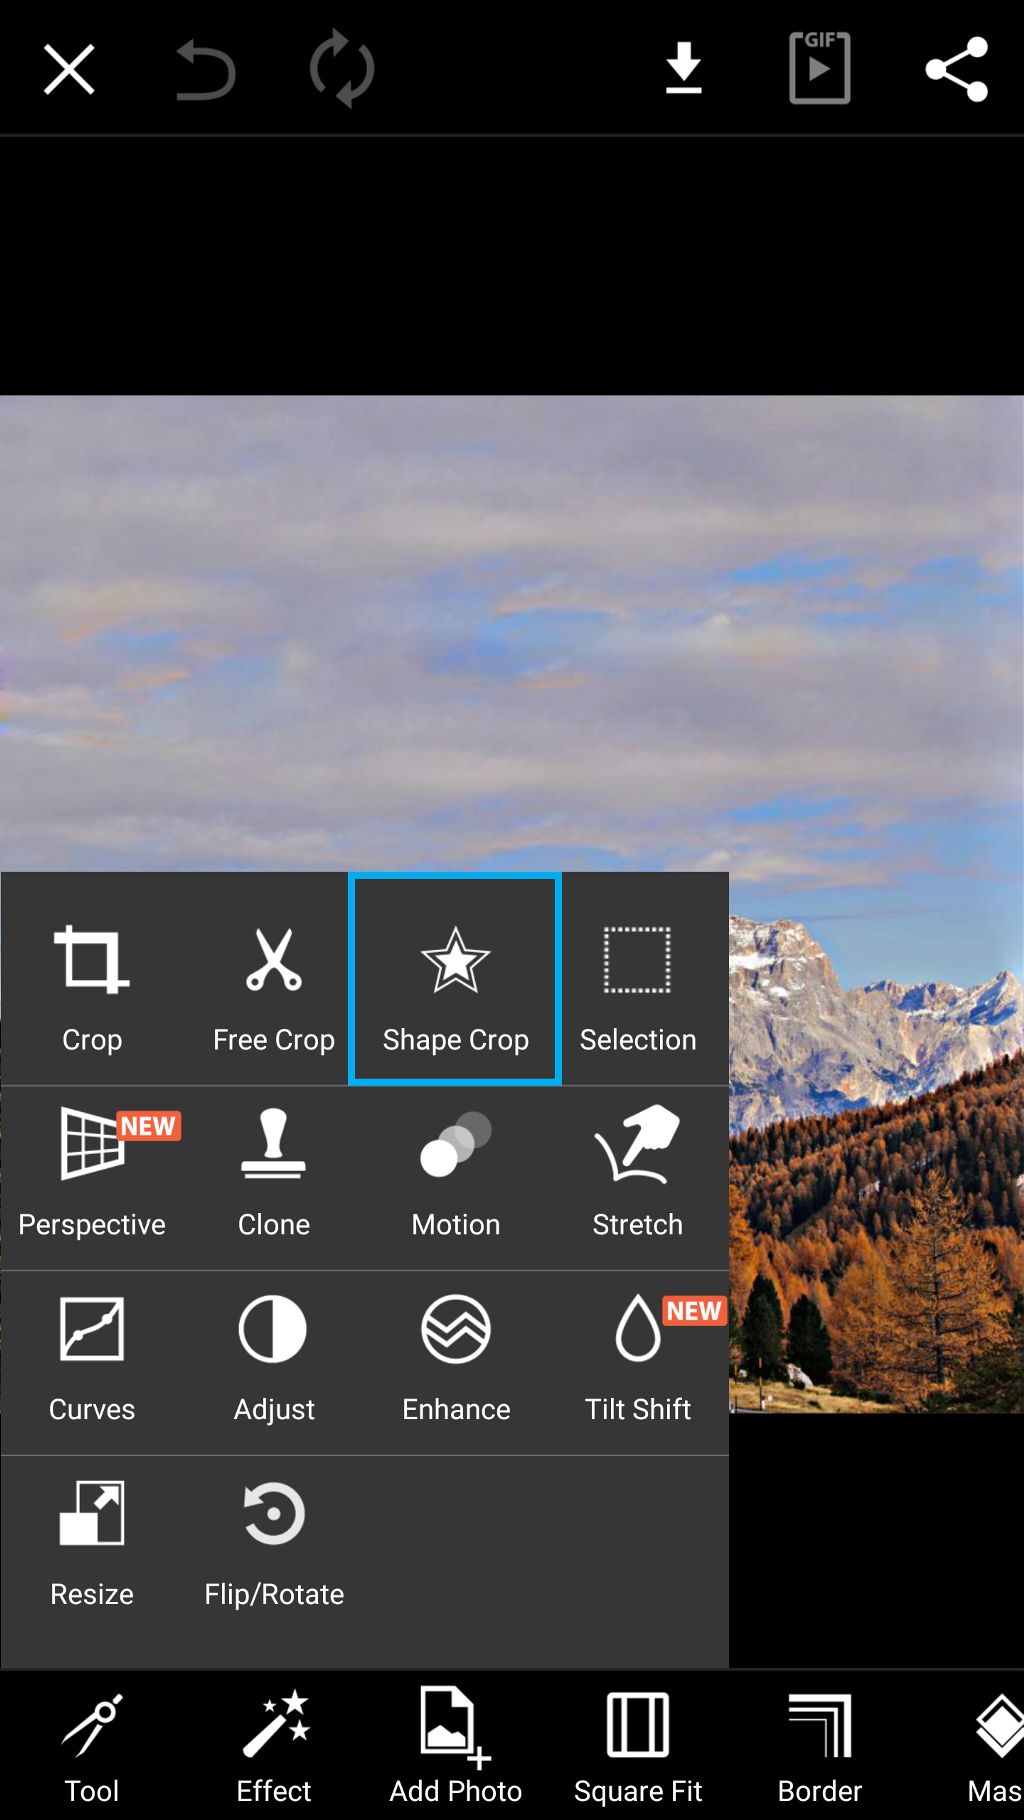
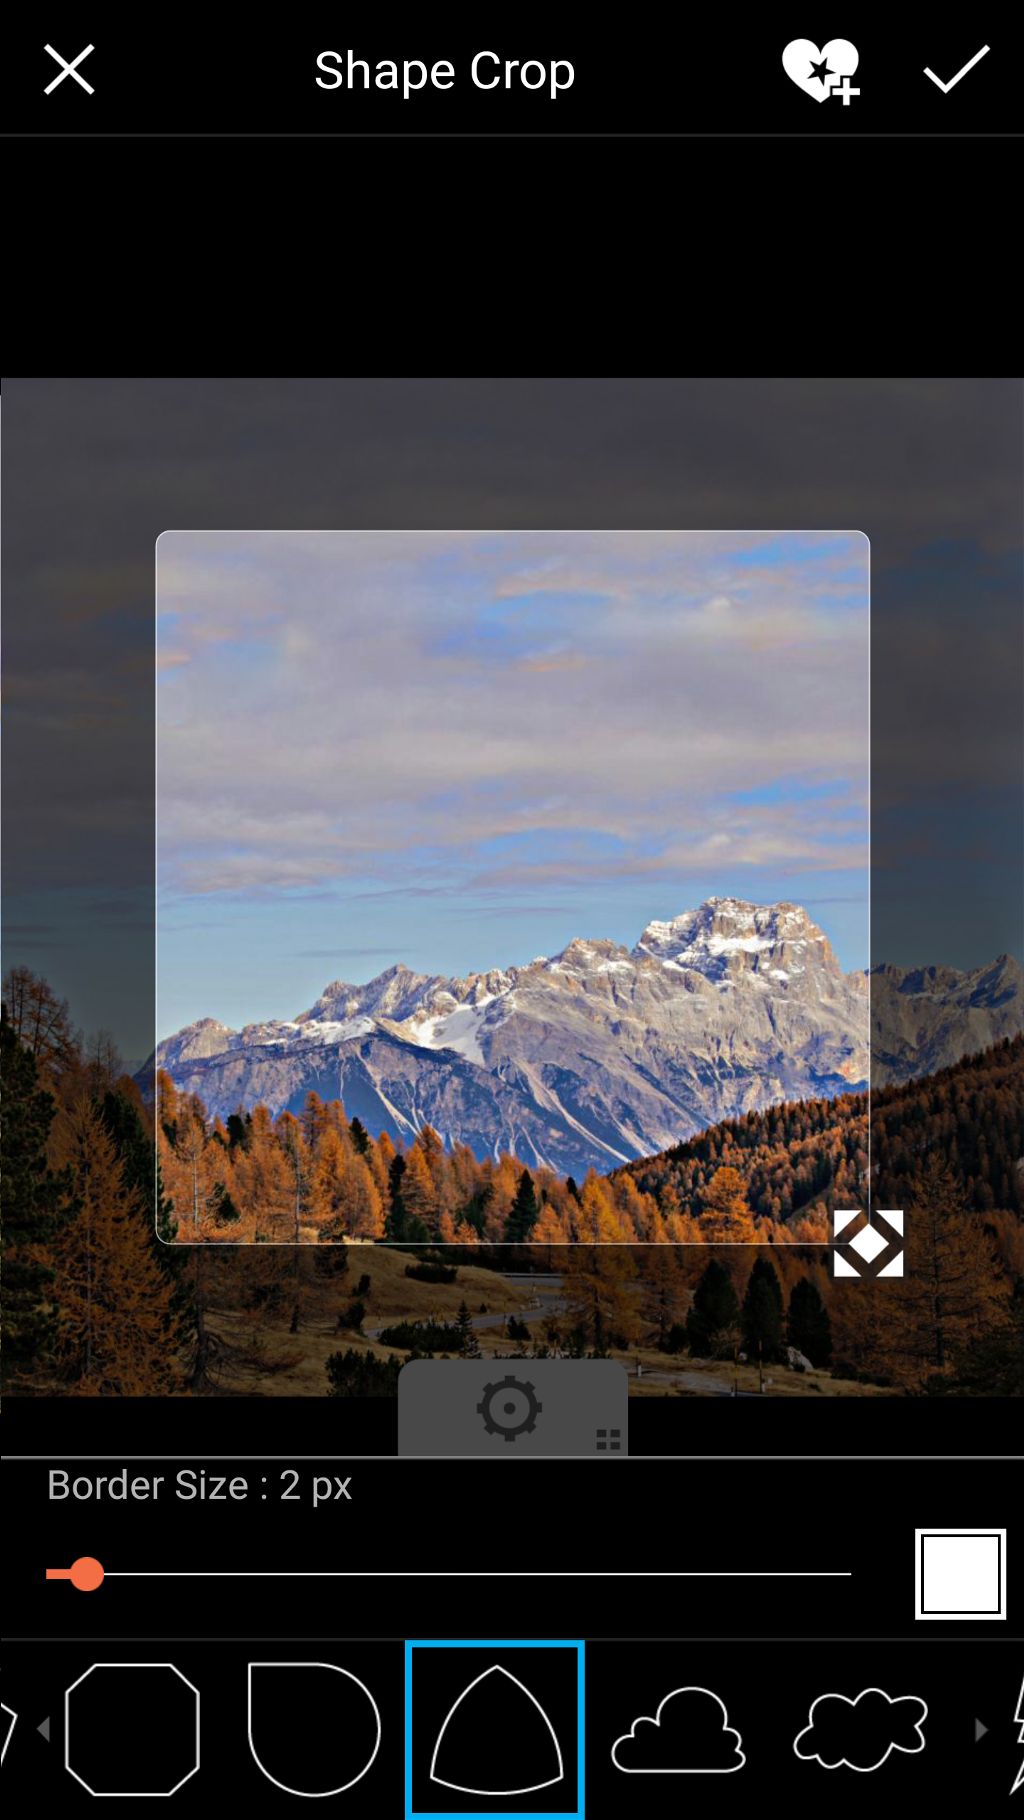
Step 1: Open Shape Crop Tool
Open your image in the photo editor. Tap on Tool and select the Shape Crop Tool.
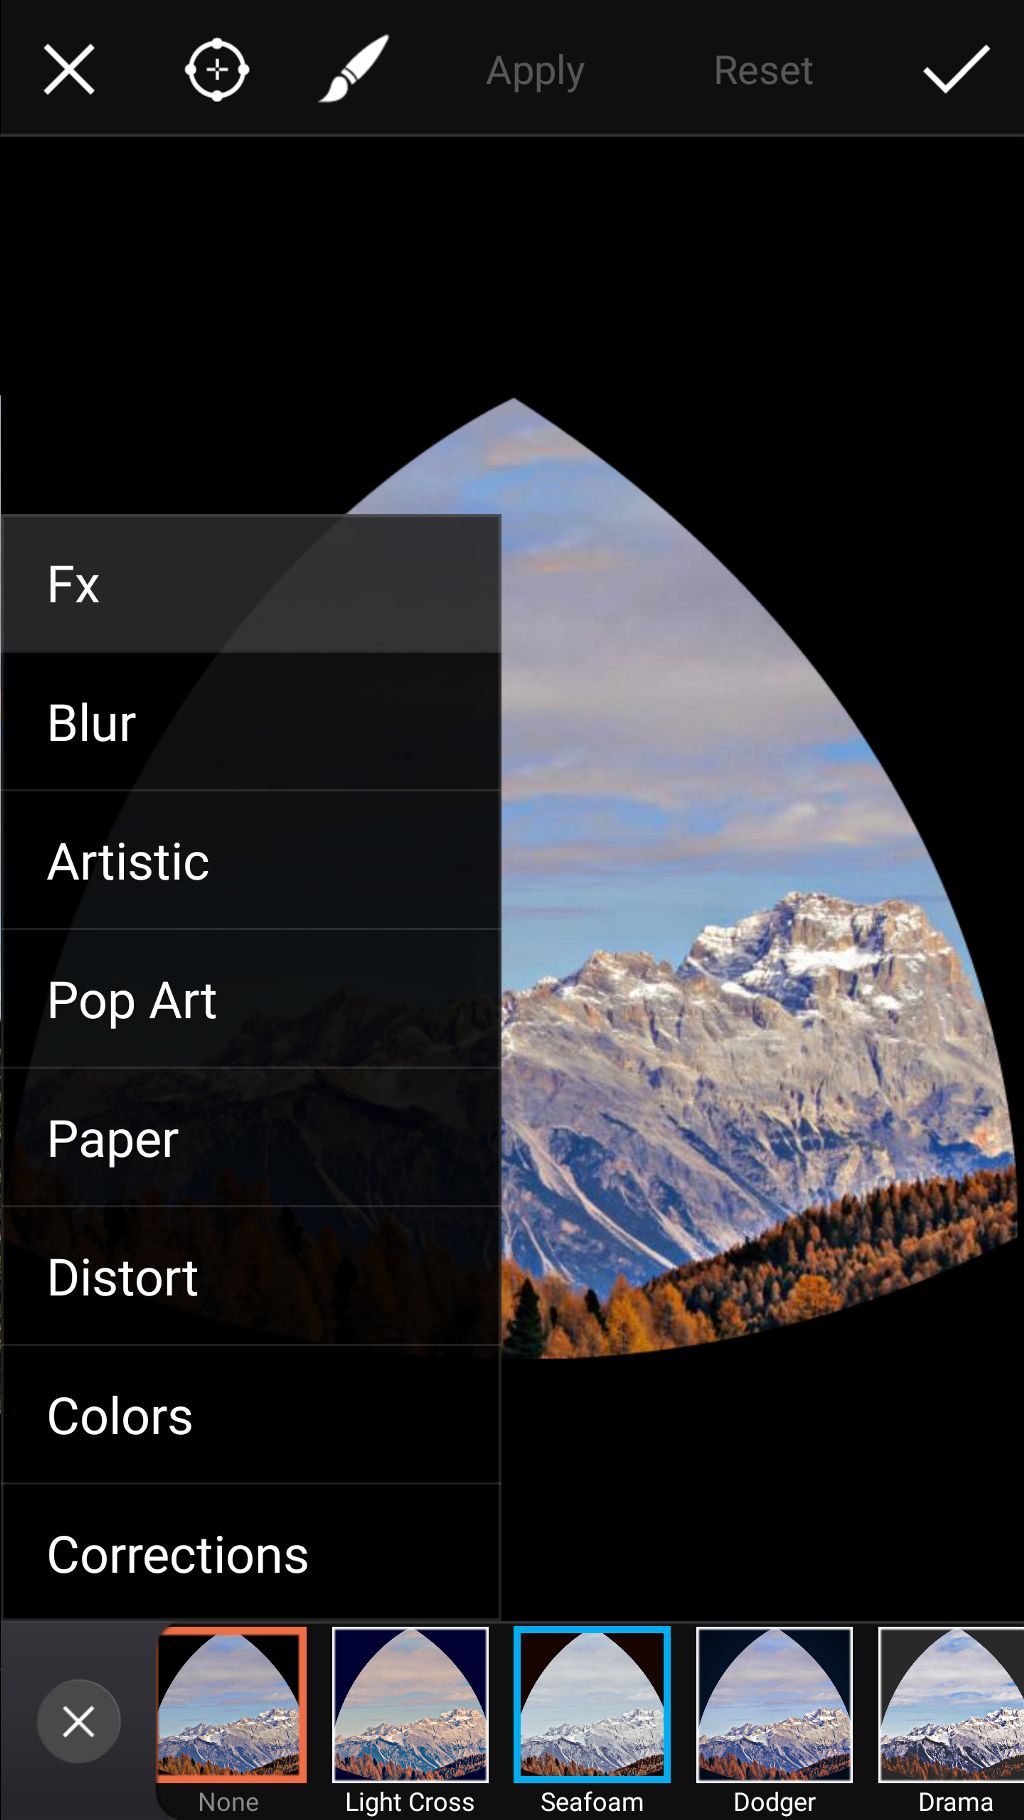
Step 2: Select Shape
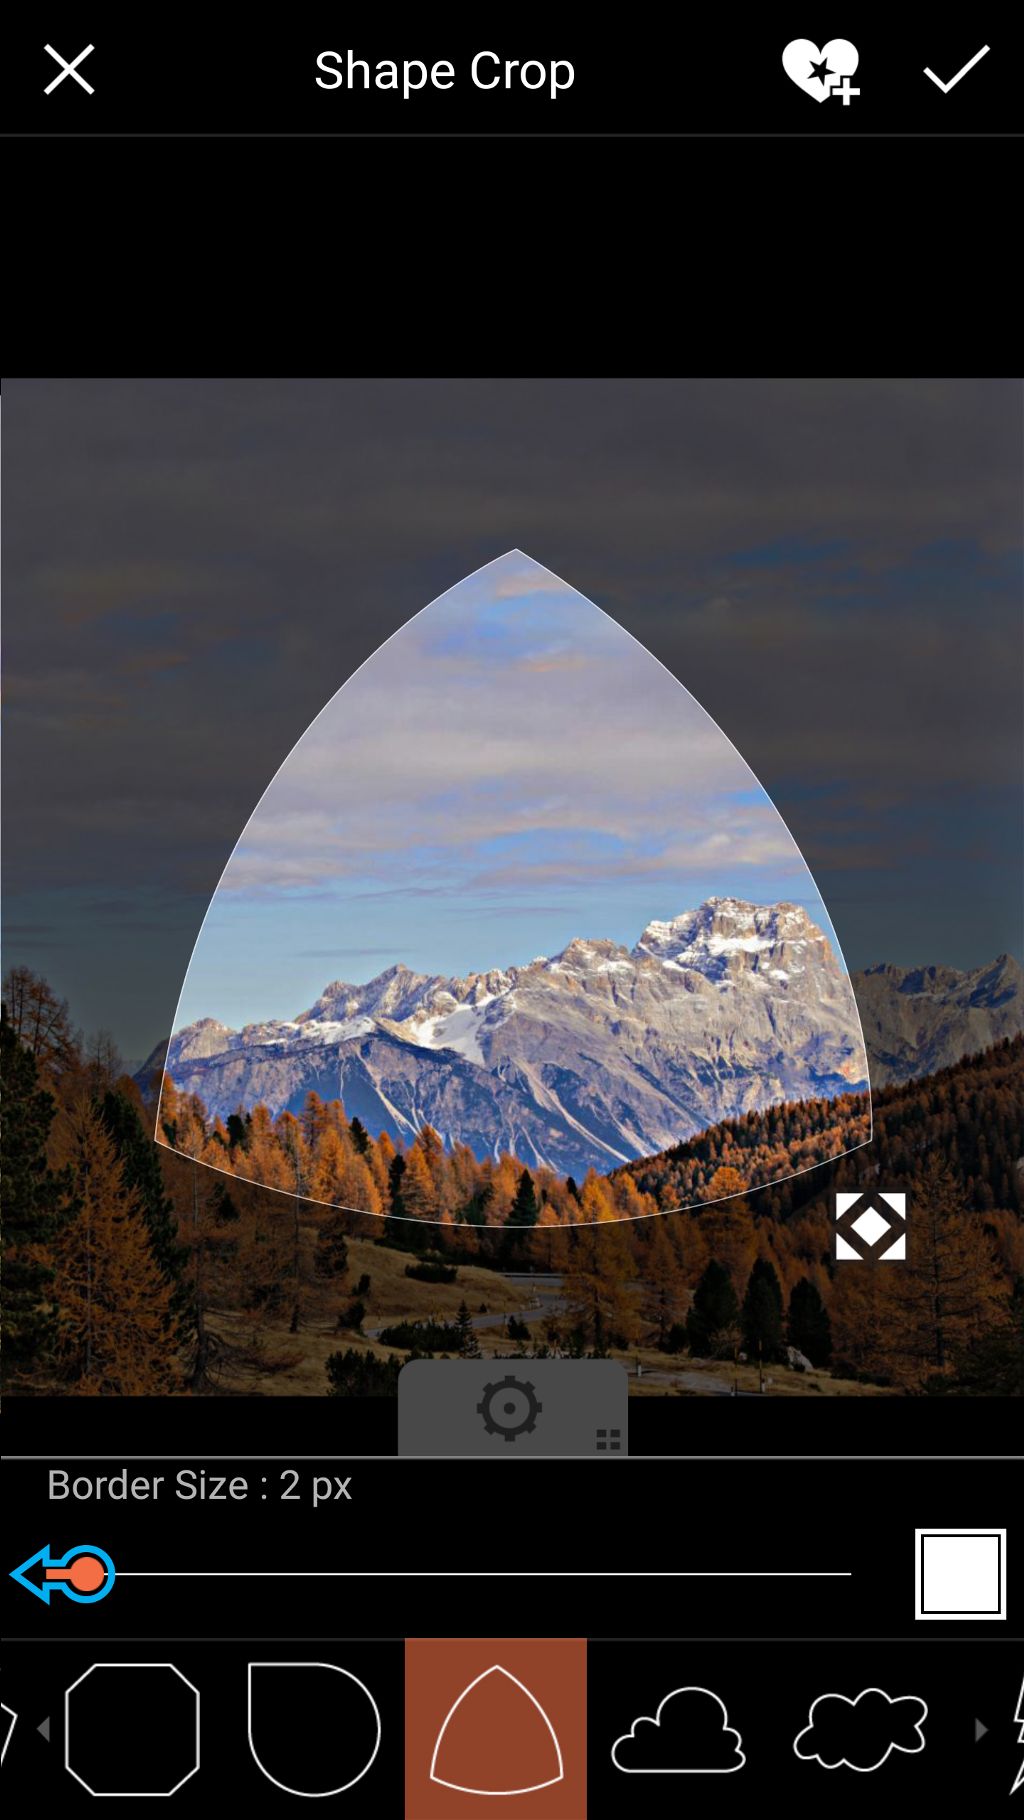
Select the your shape from the menu. Use the slider to adjust the border size.
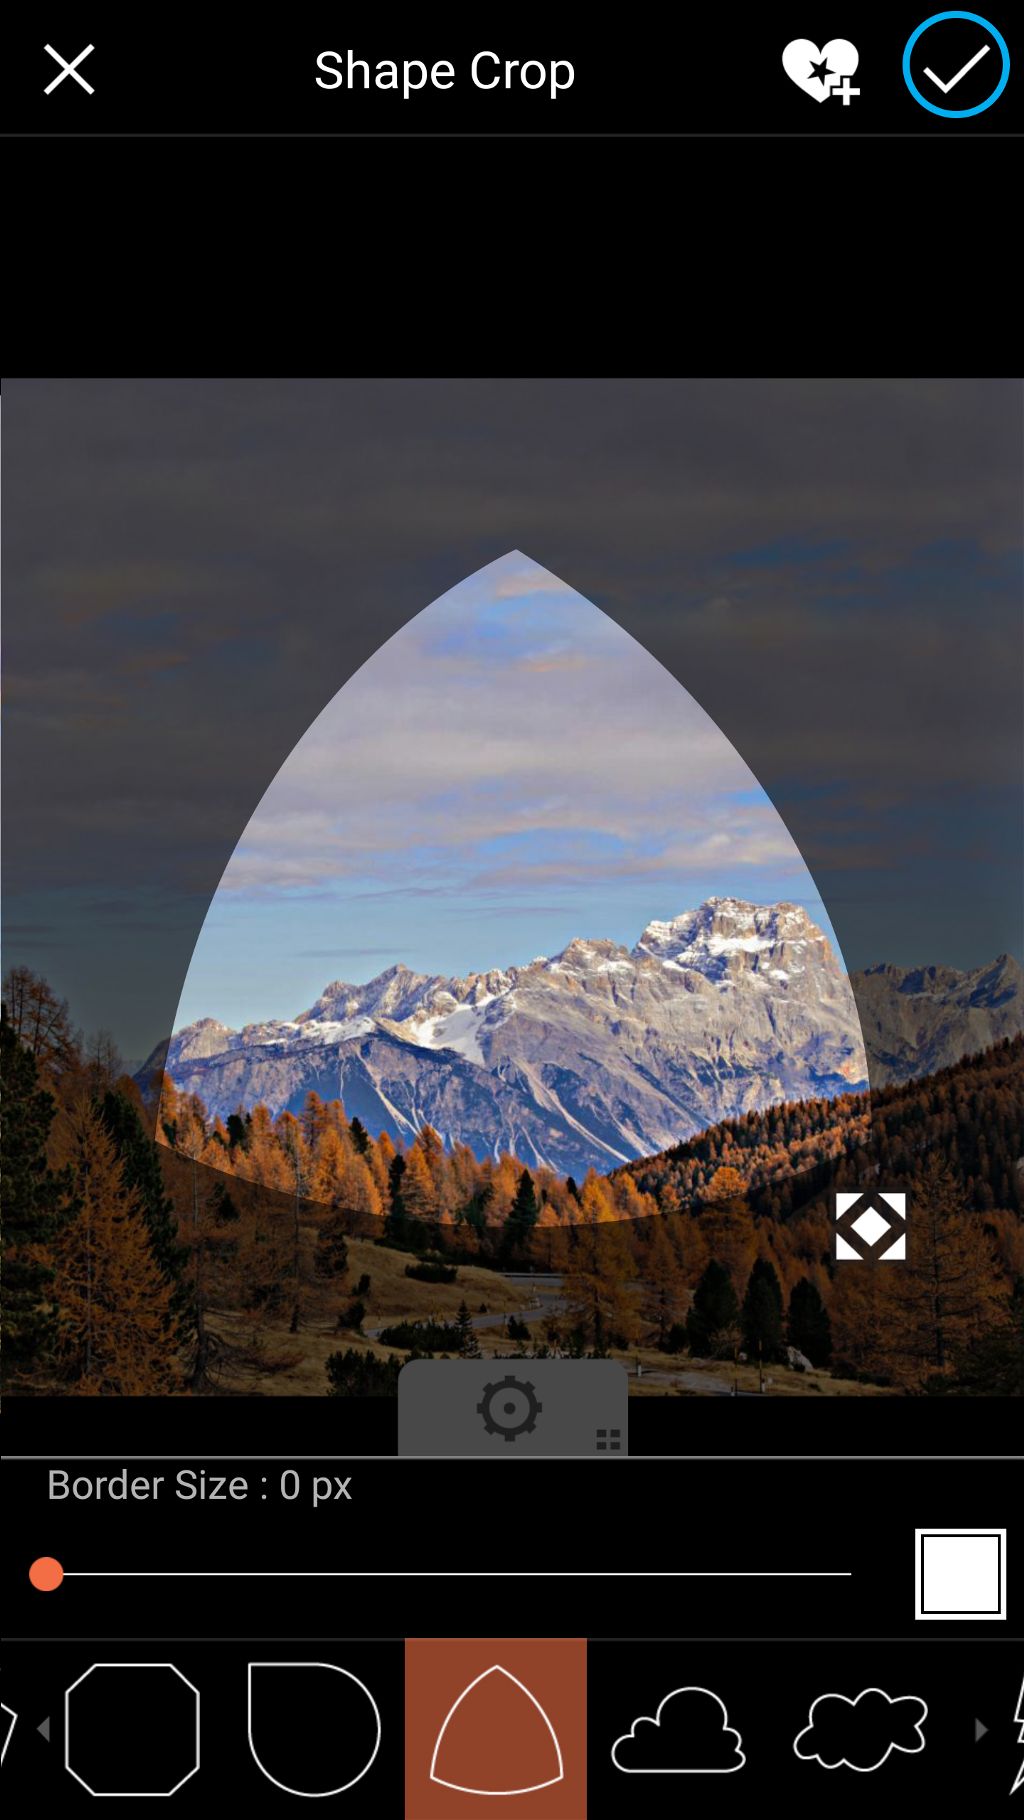
Step 3: Open Effects Menu
Tap on the check mark to confirm. Tap on Effect to open the photo effects menu.
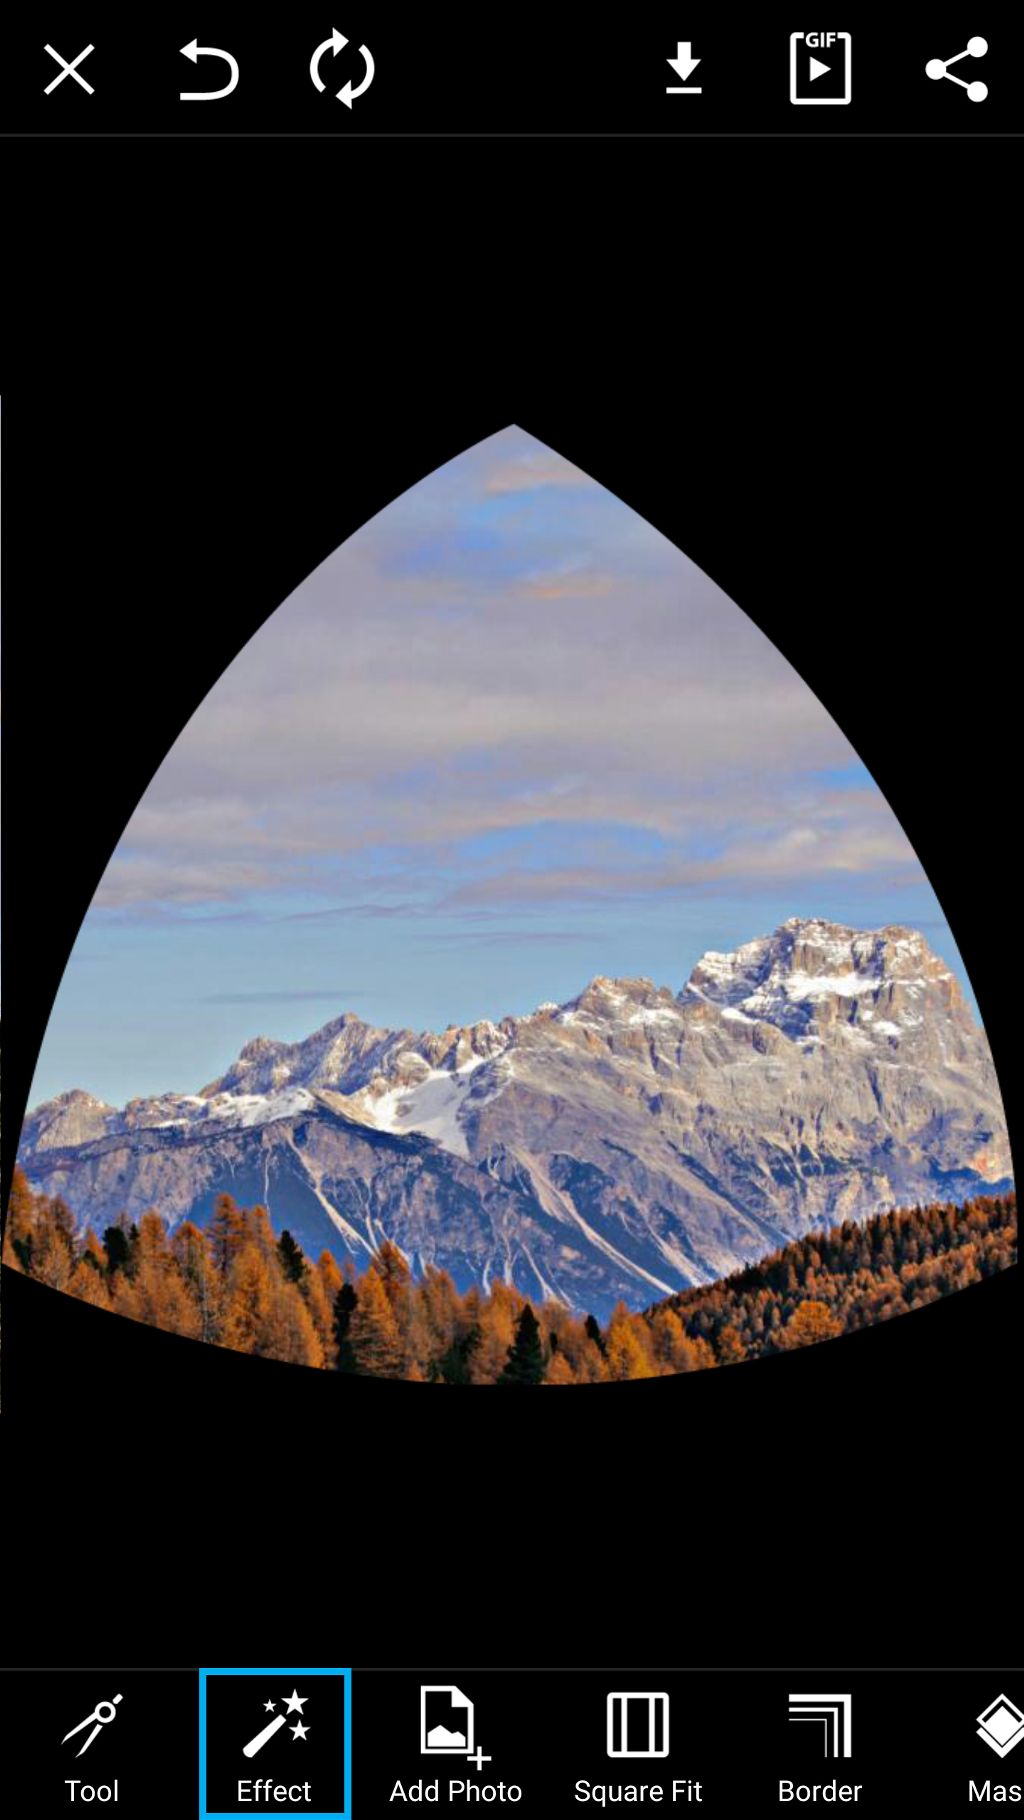
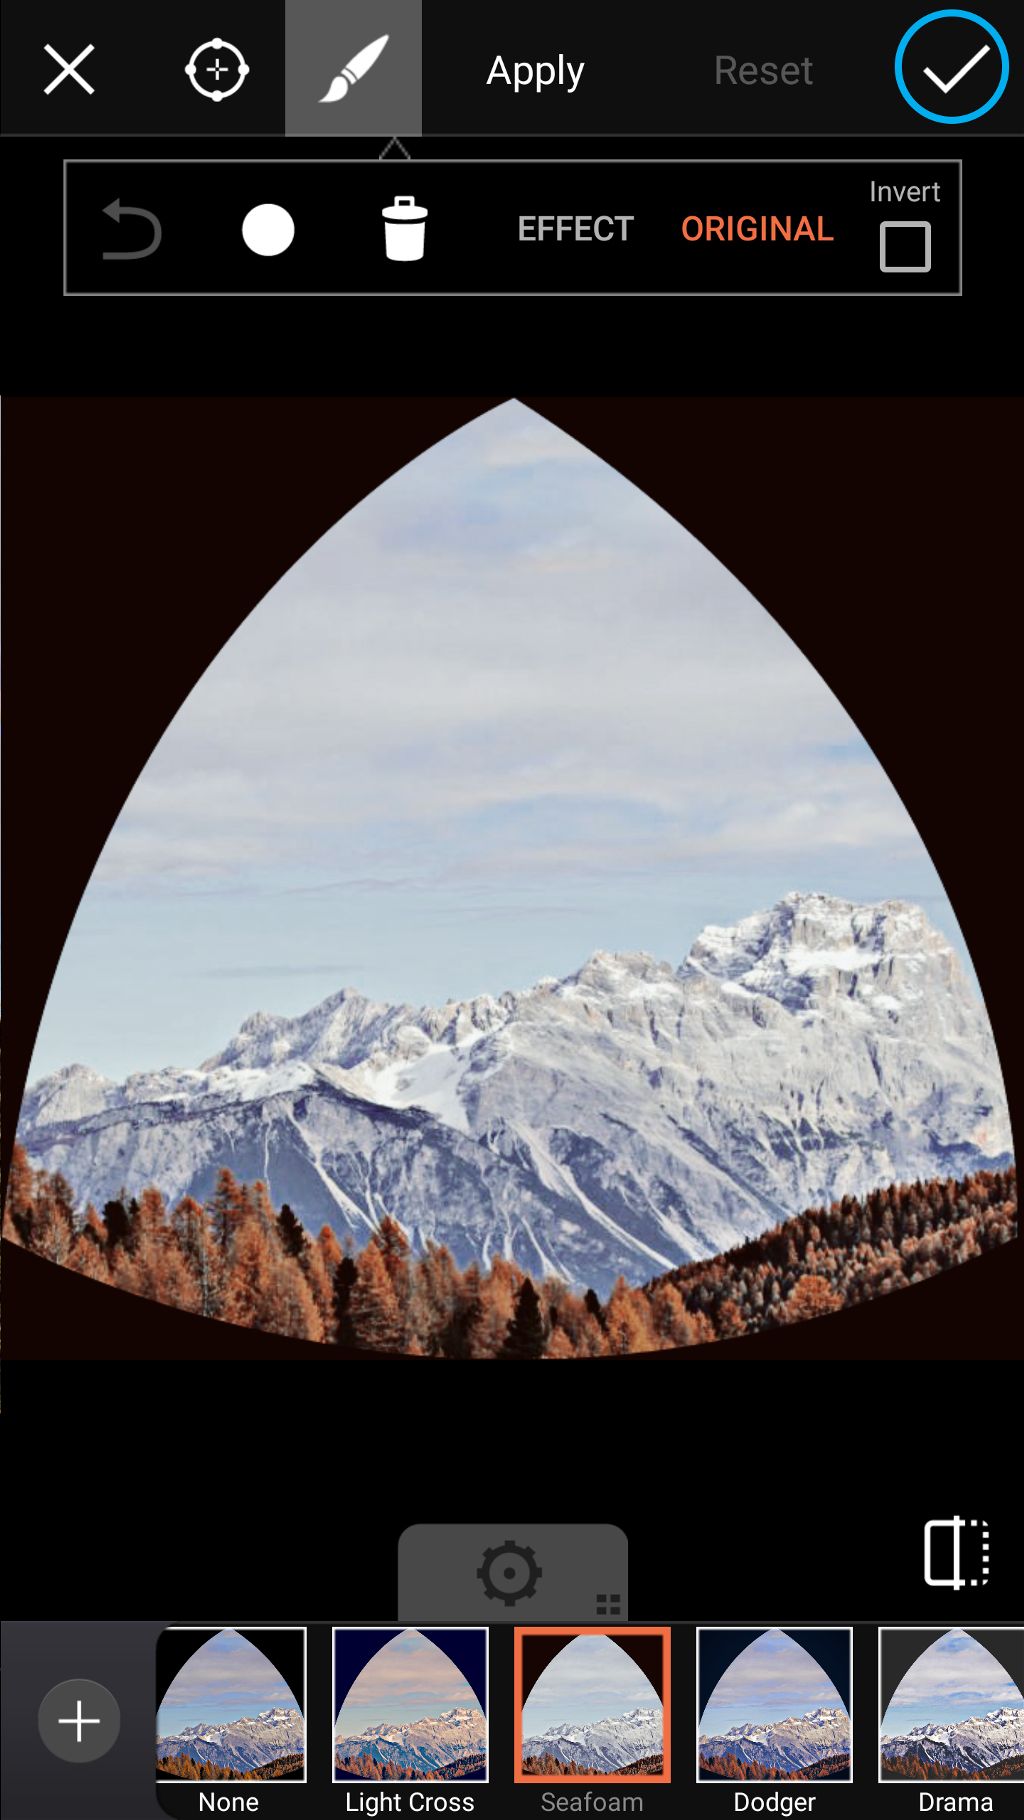
Step 4: Apply Photo Effect
Select the Seafoam Effect and tap on the check mark to confirm.
Step 5: Open Draw
Tap on Draw to open your image in the drawing suite. Tap on the Add icon.


Step 6: Add Photo
Tap on Photo and select your original photo.
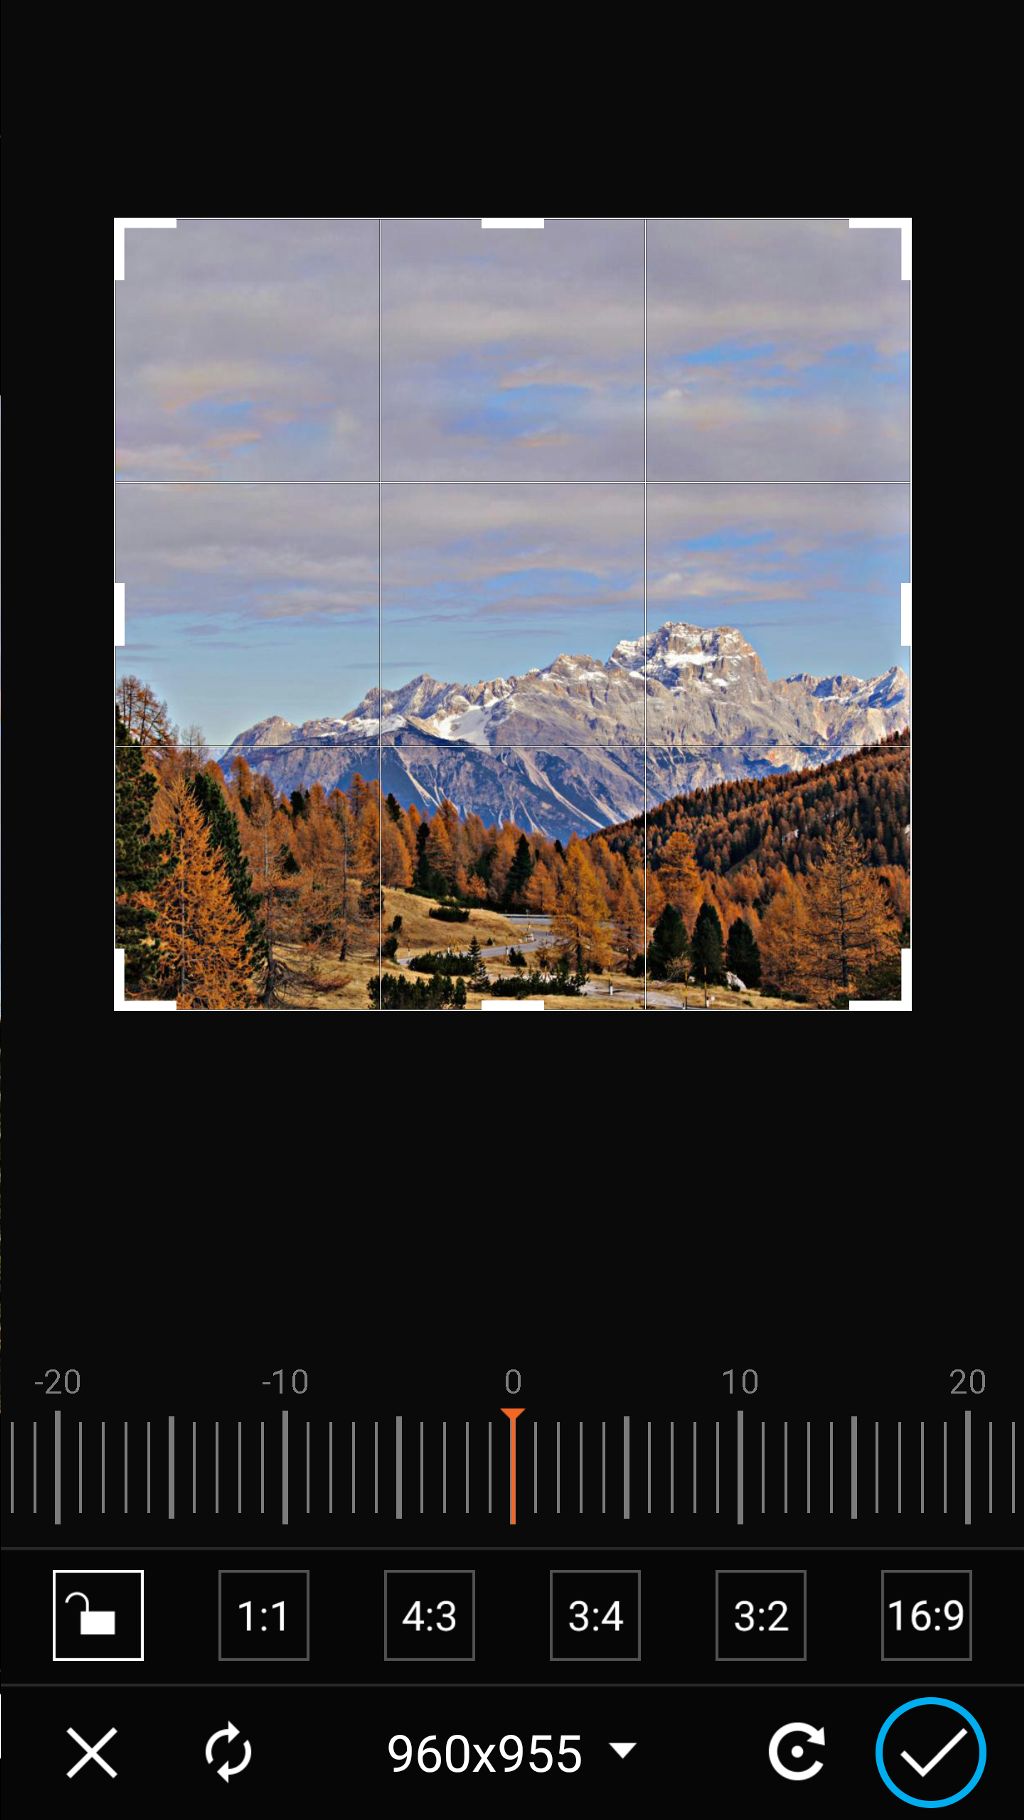
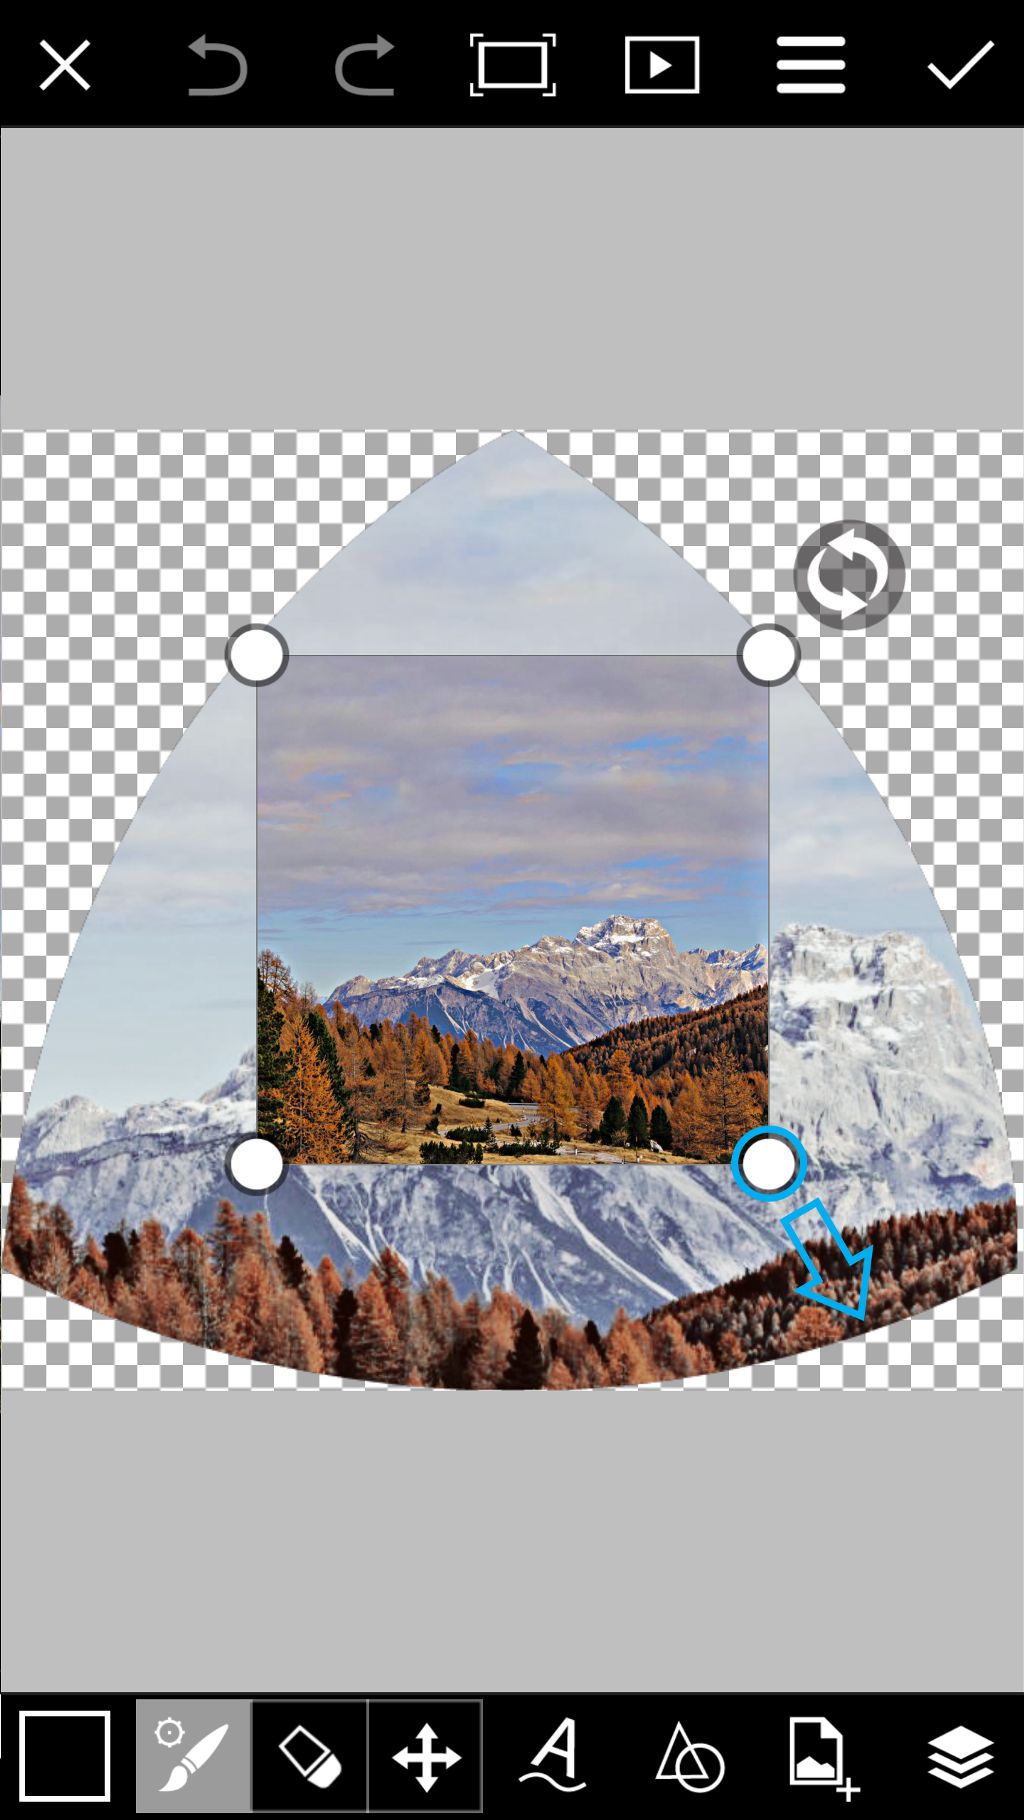
Step 7: Place Photo
When your image opens in the Crop Tool, tap on the check mark to confirm. Drag the corners of the image to adjust the size.
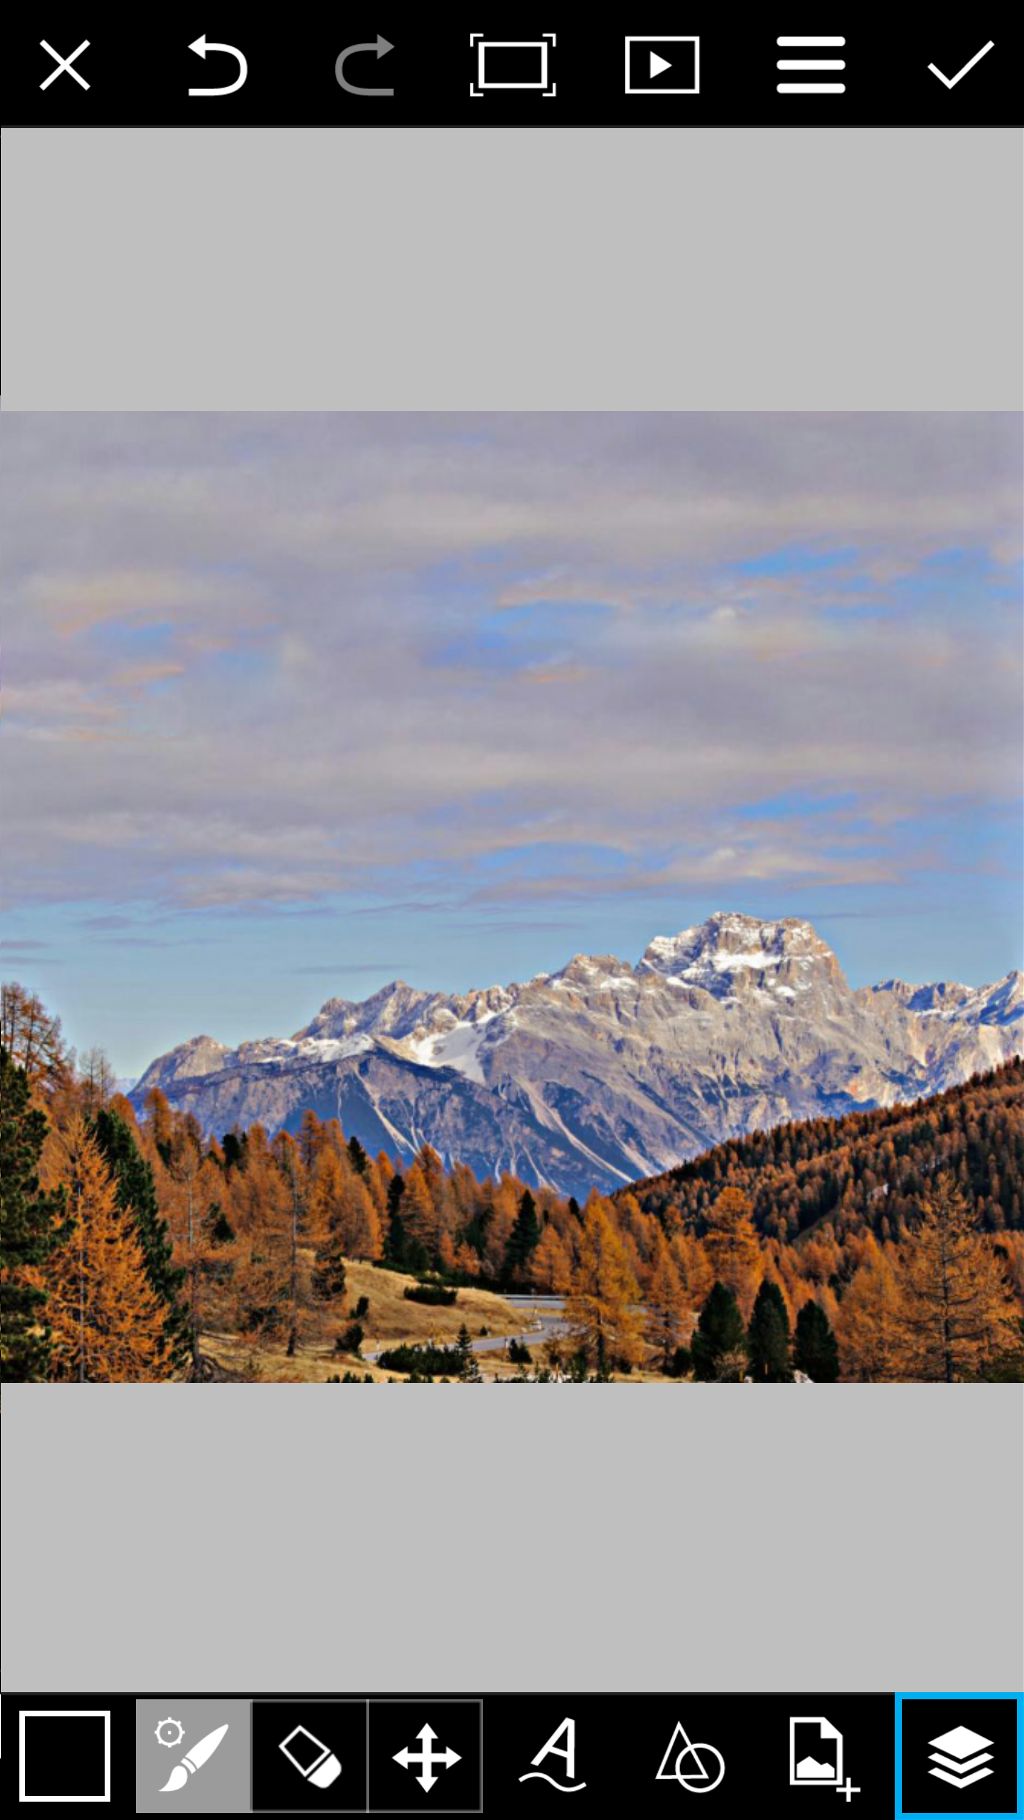
Step 8: Drag Layer to Bottom
Tap on the layer icon to view your layers. Drag the top layer to the bottom.
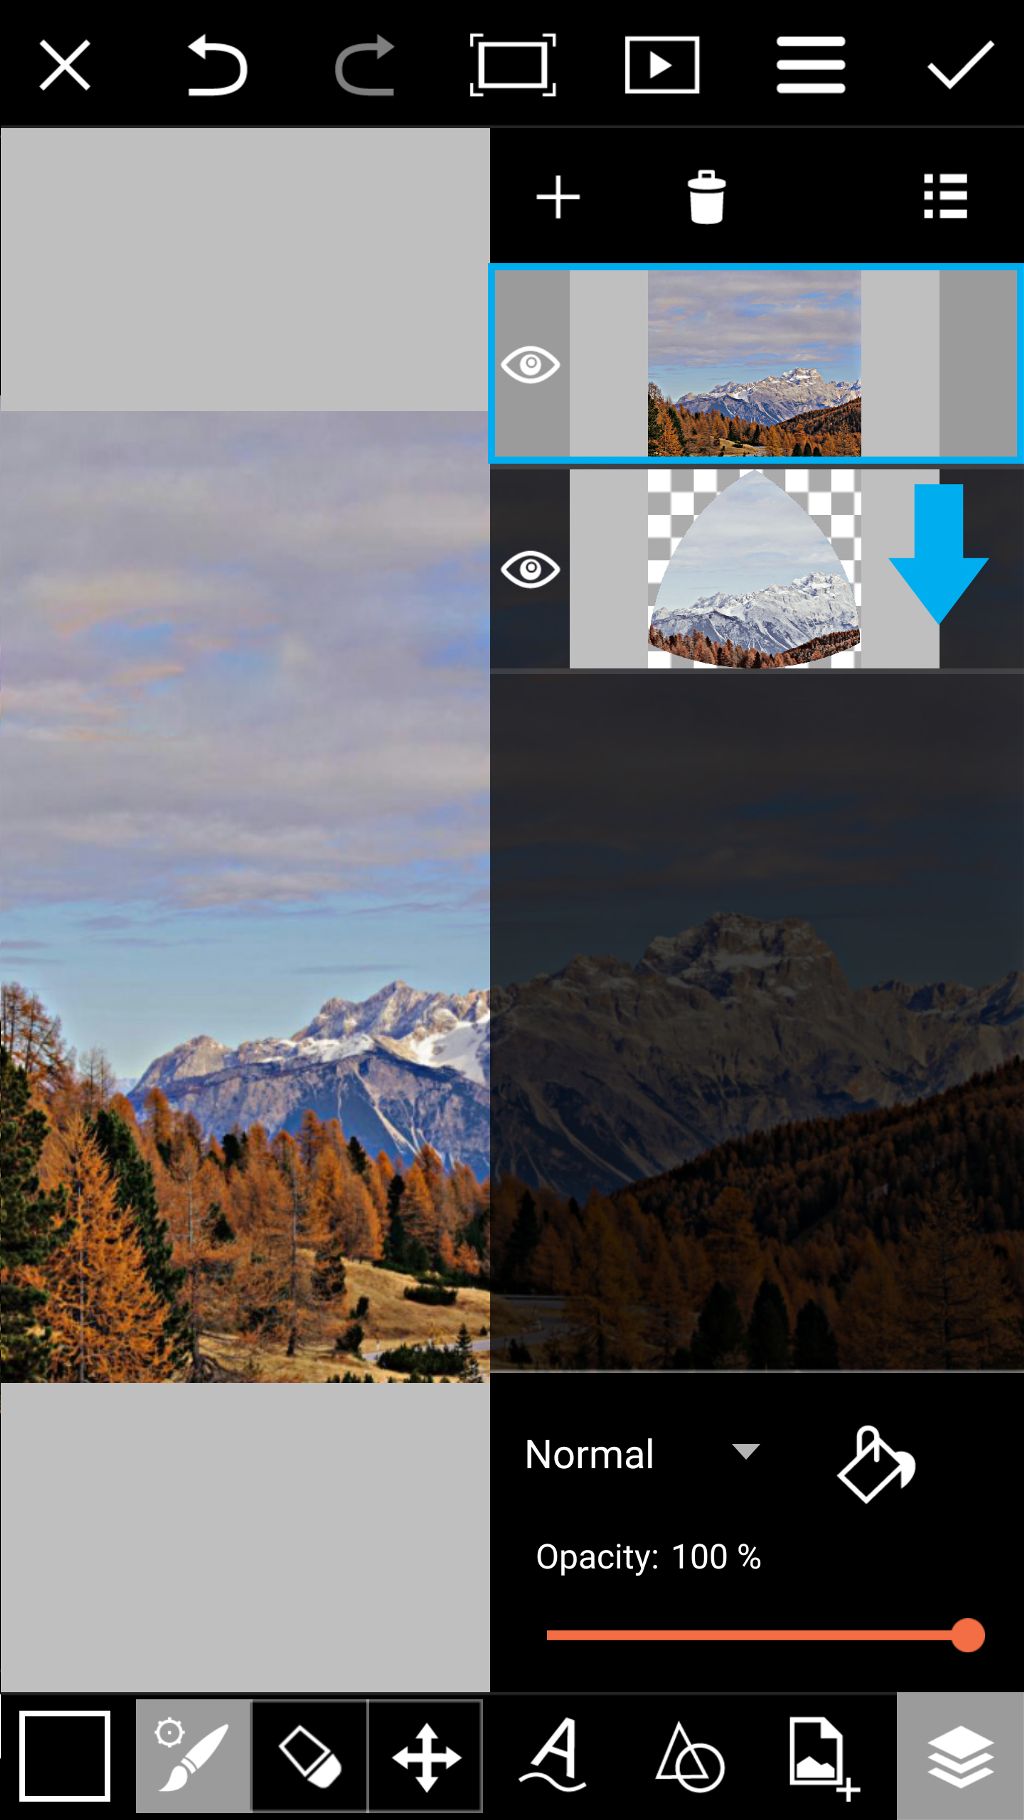
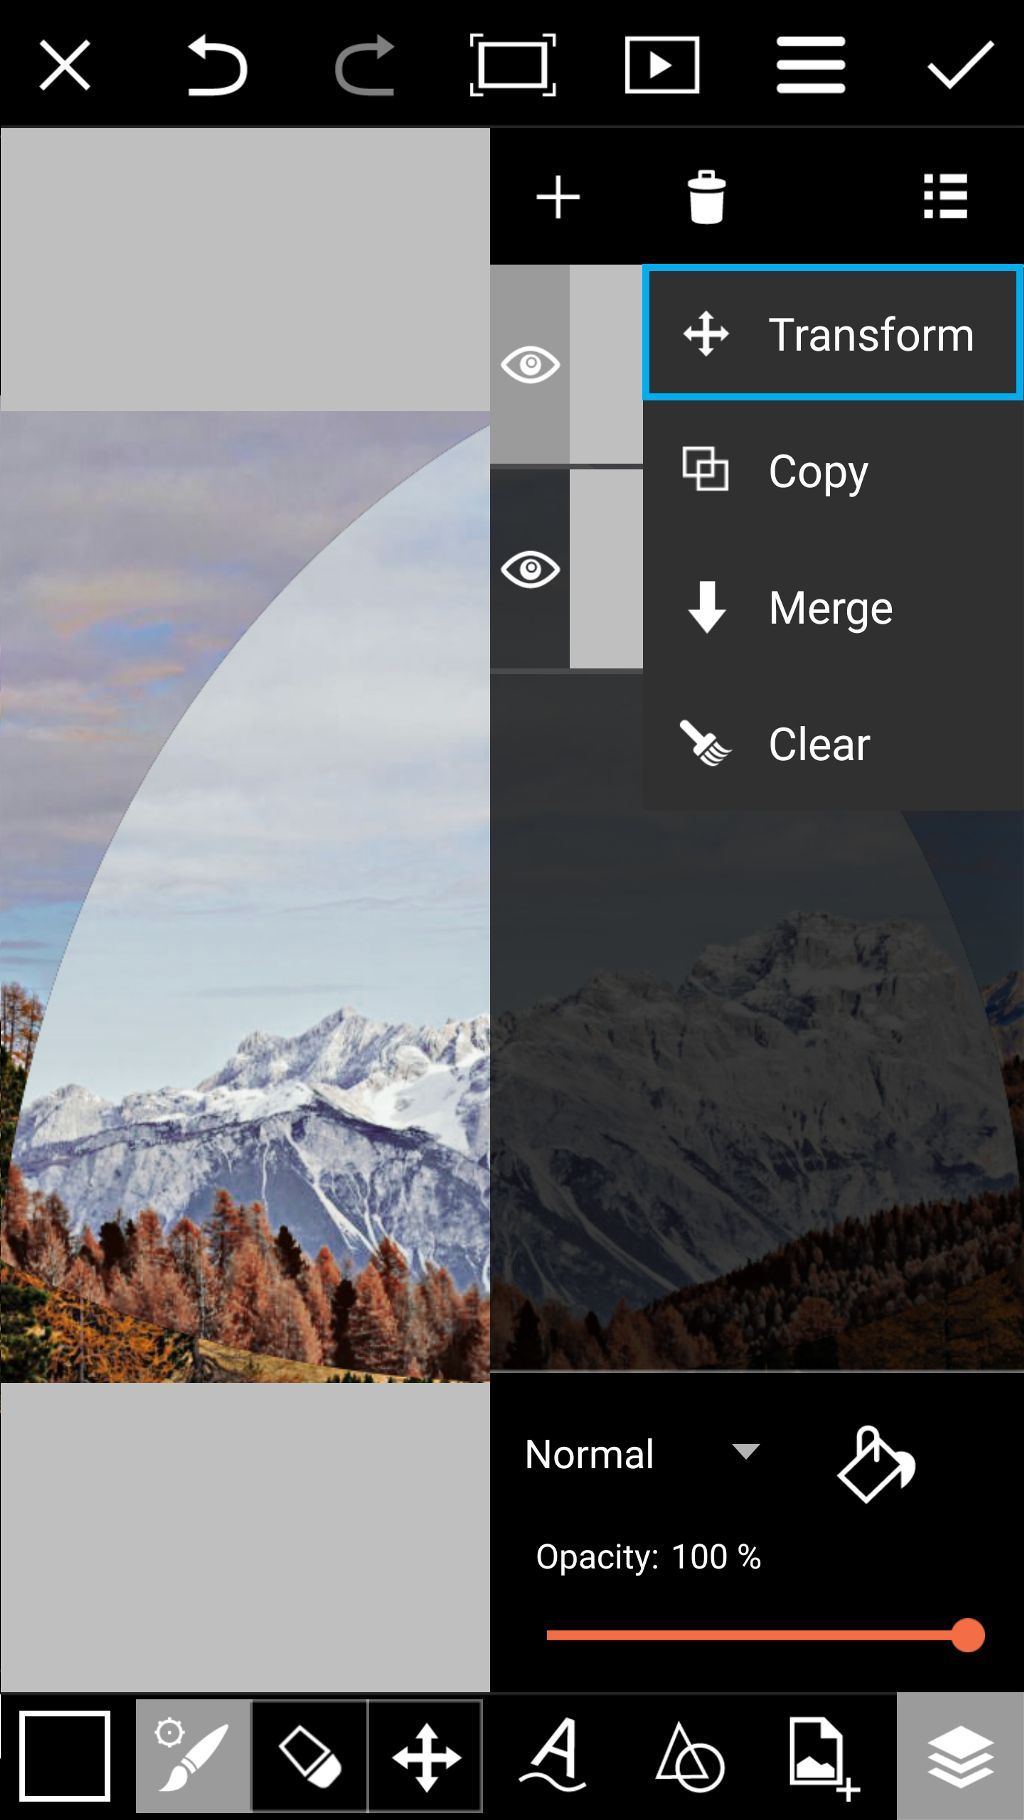
Step 9: Select Top Layer
Tap on the top layer to select it. Tap on the layer options icon.
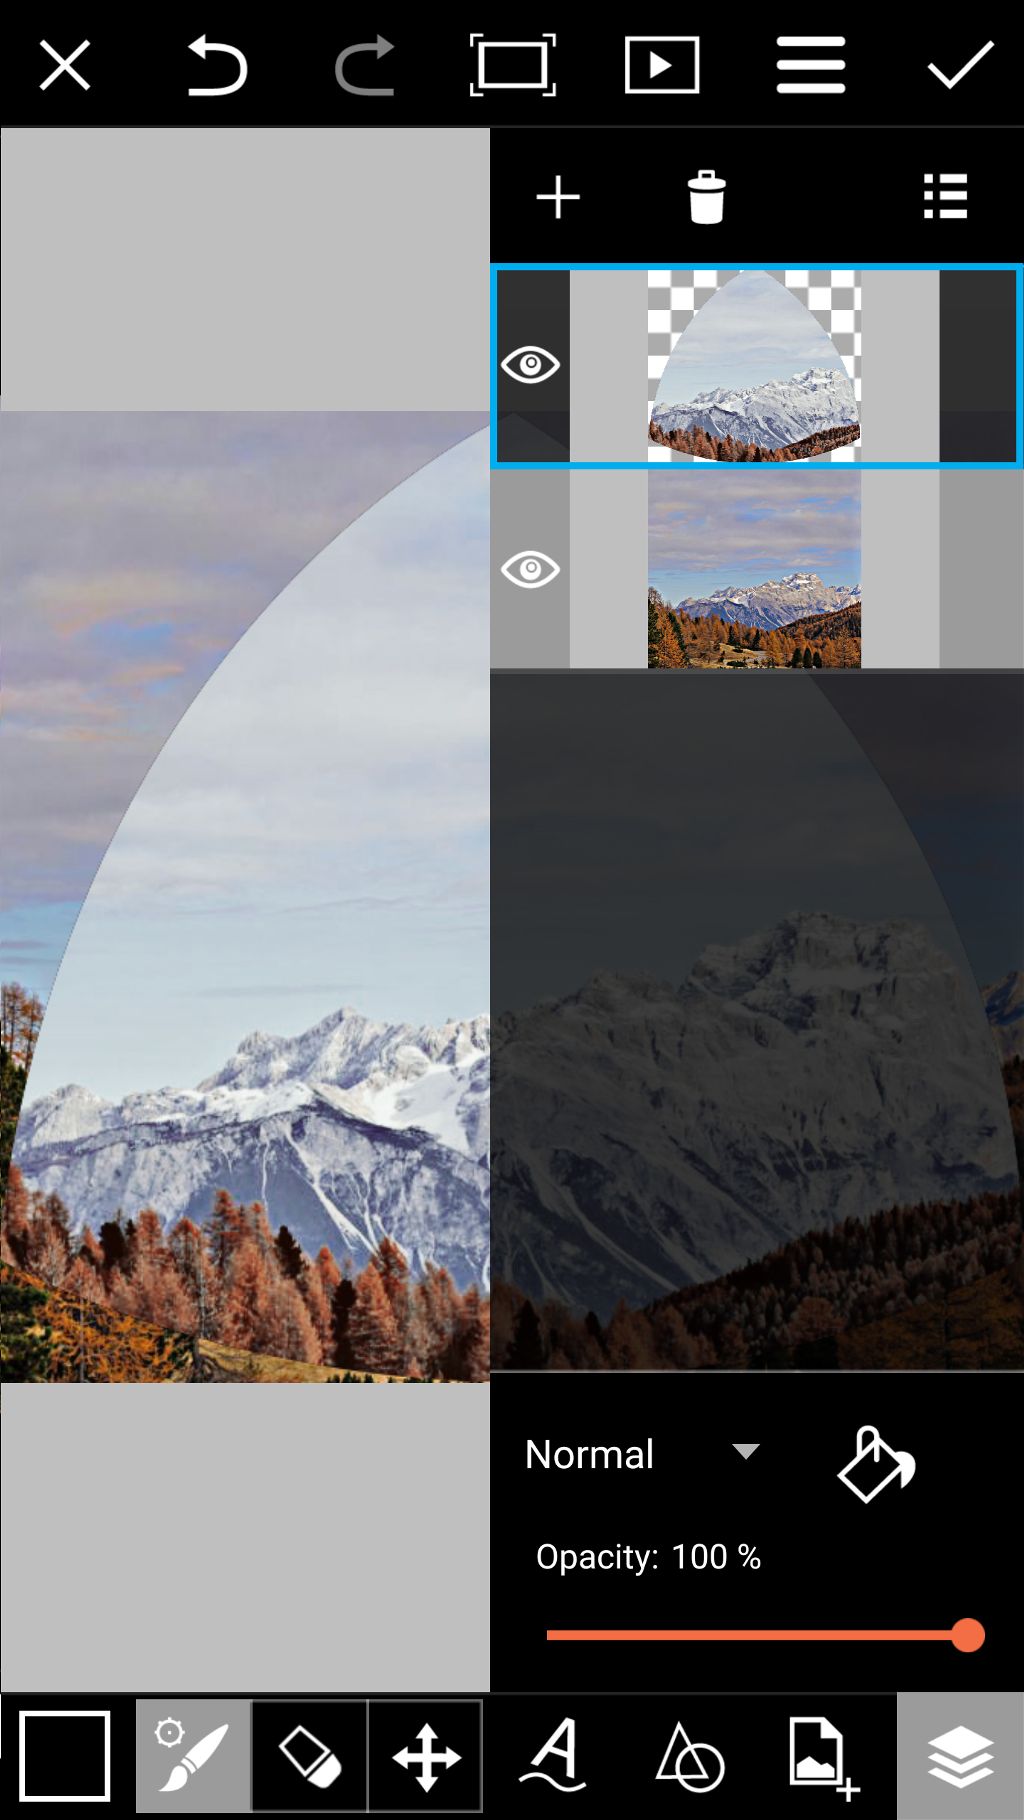
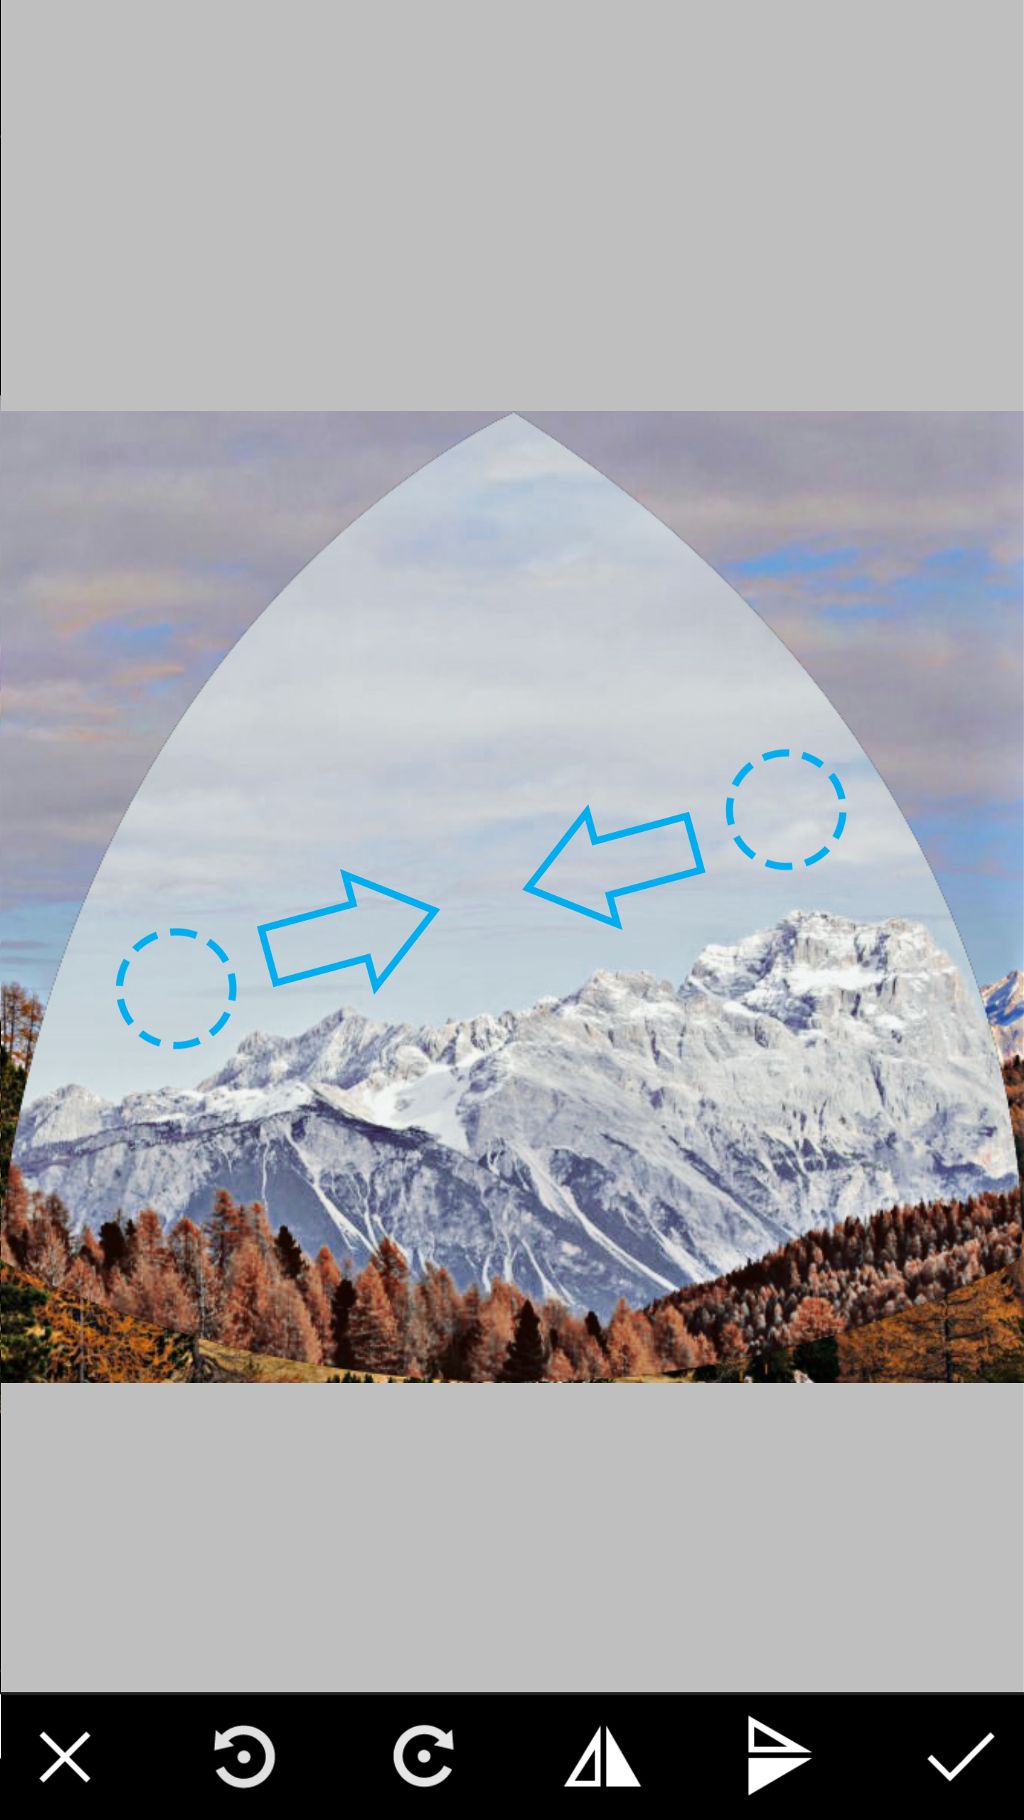
Step 10: Transform Layer
Select Transform. Pinch to adjust the size of the added image. Use a two-finger rotation to flip it upside-down.
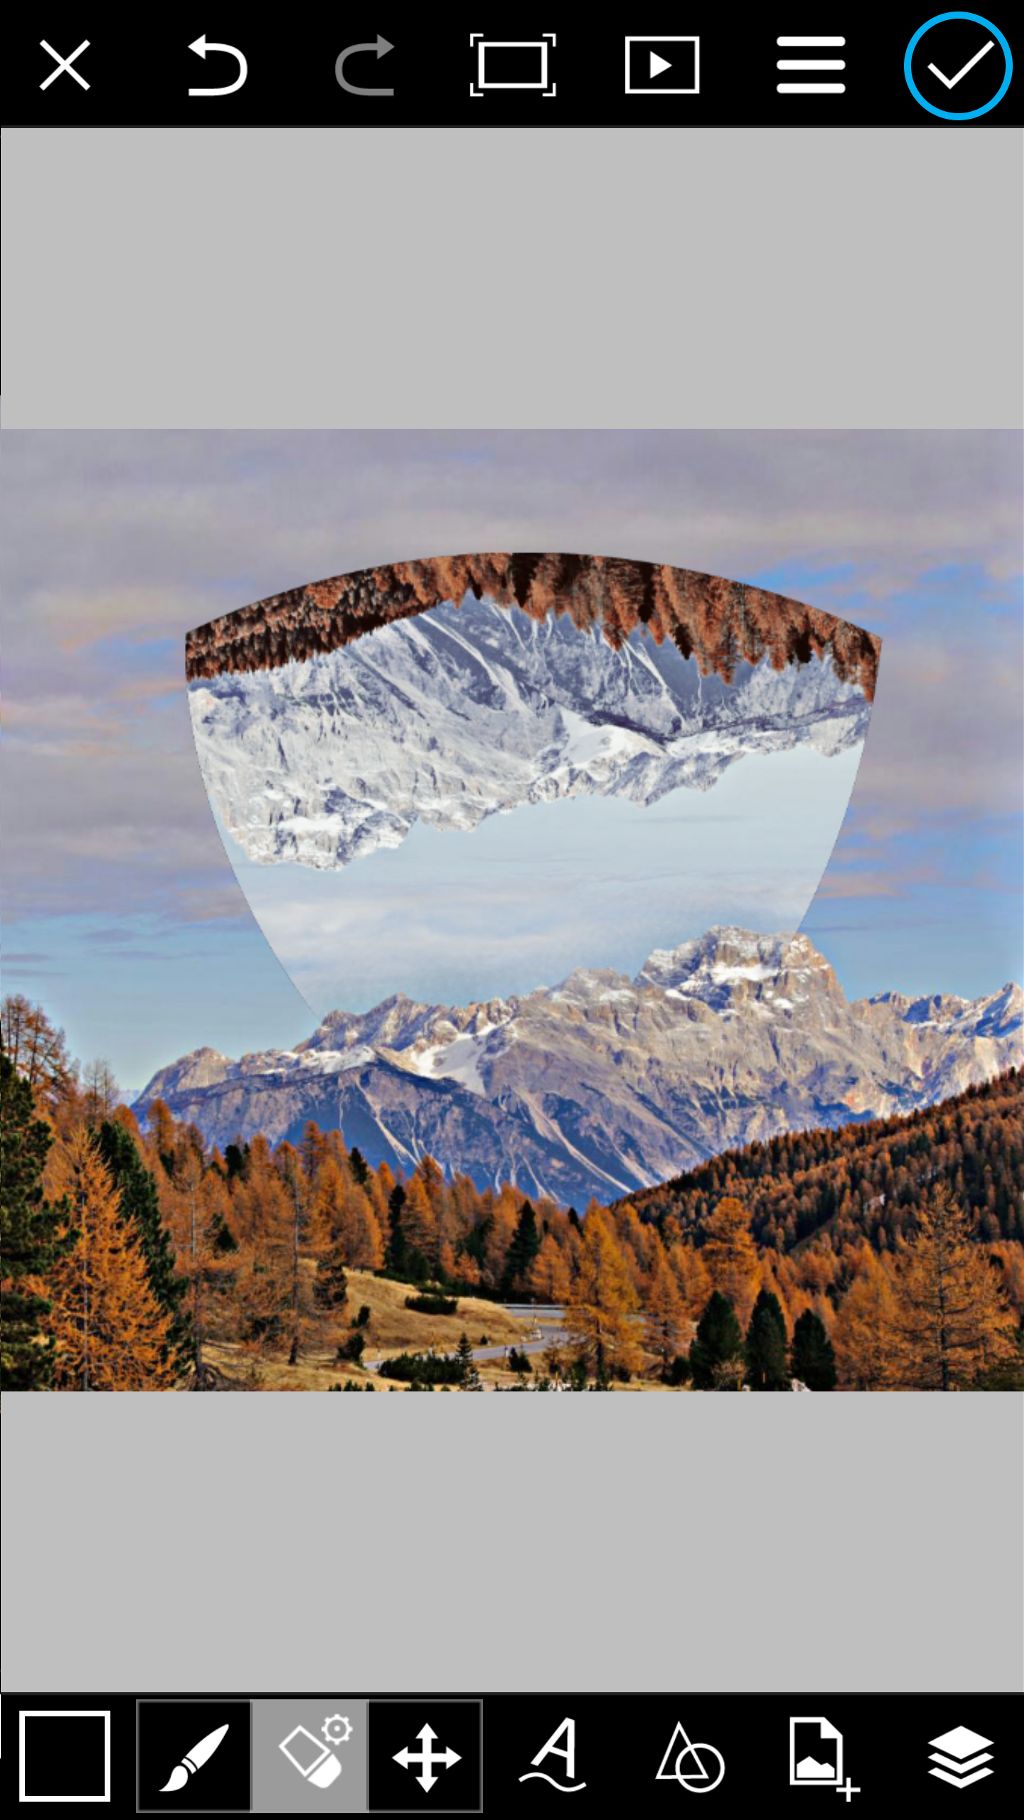
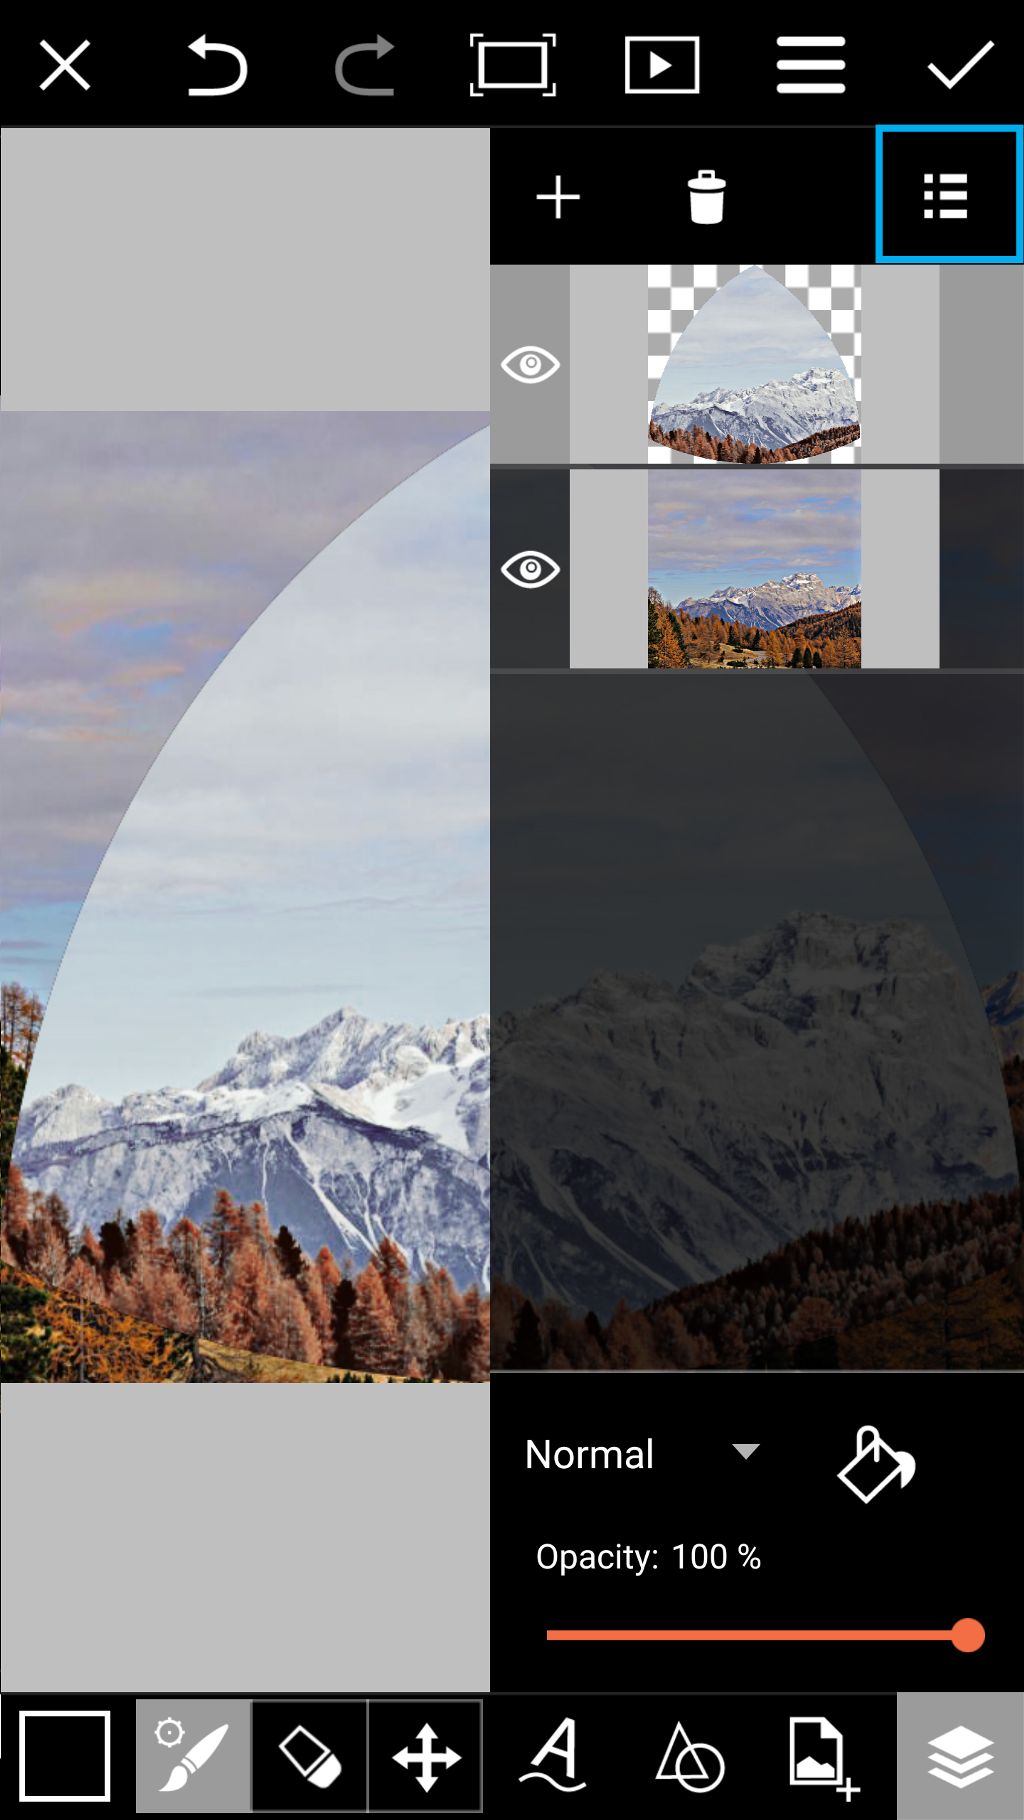
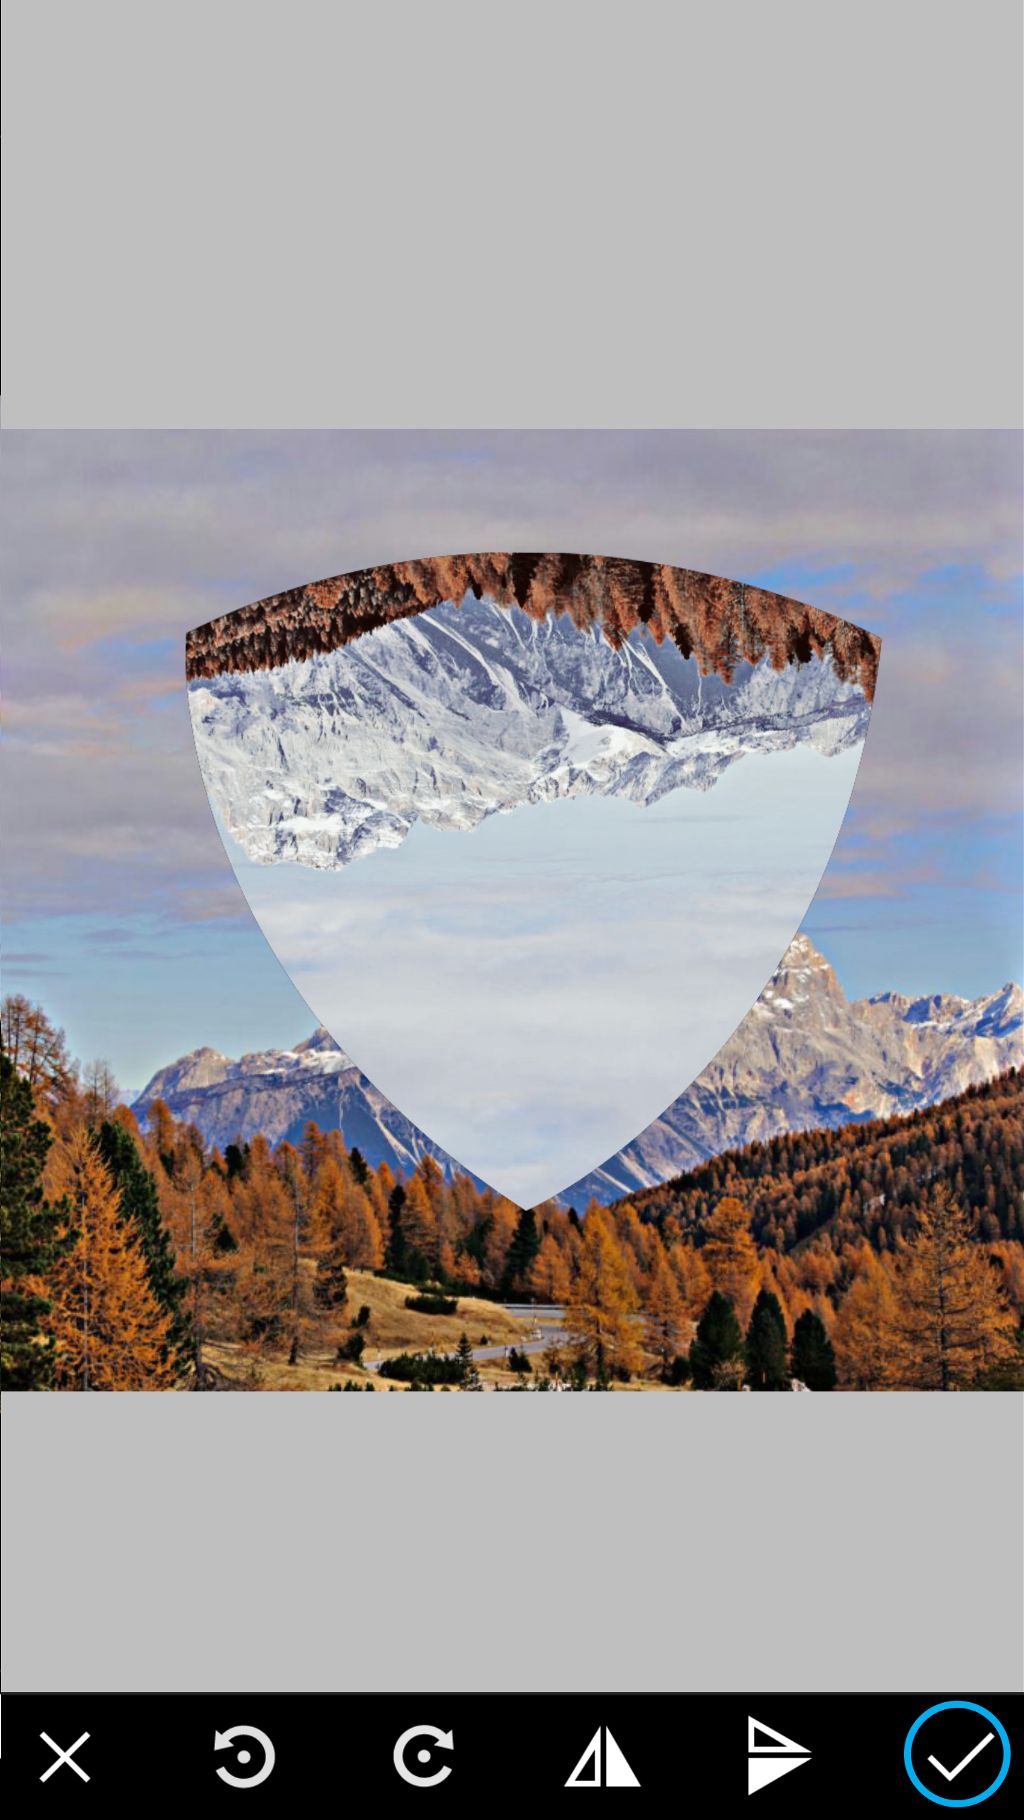
Step 11: Open Eraser Tool
Tap on the check mark to confirm. Tap on the eraser icon to open the Eraser Tool.
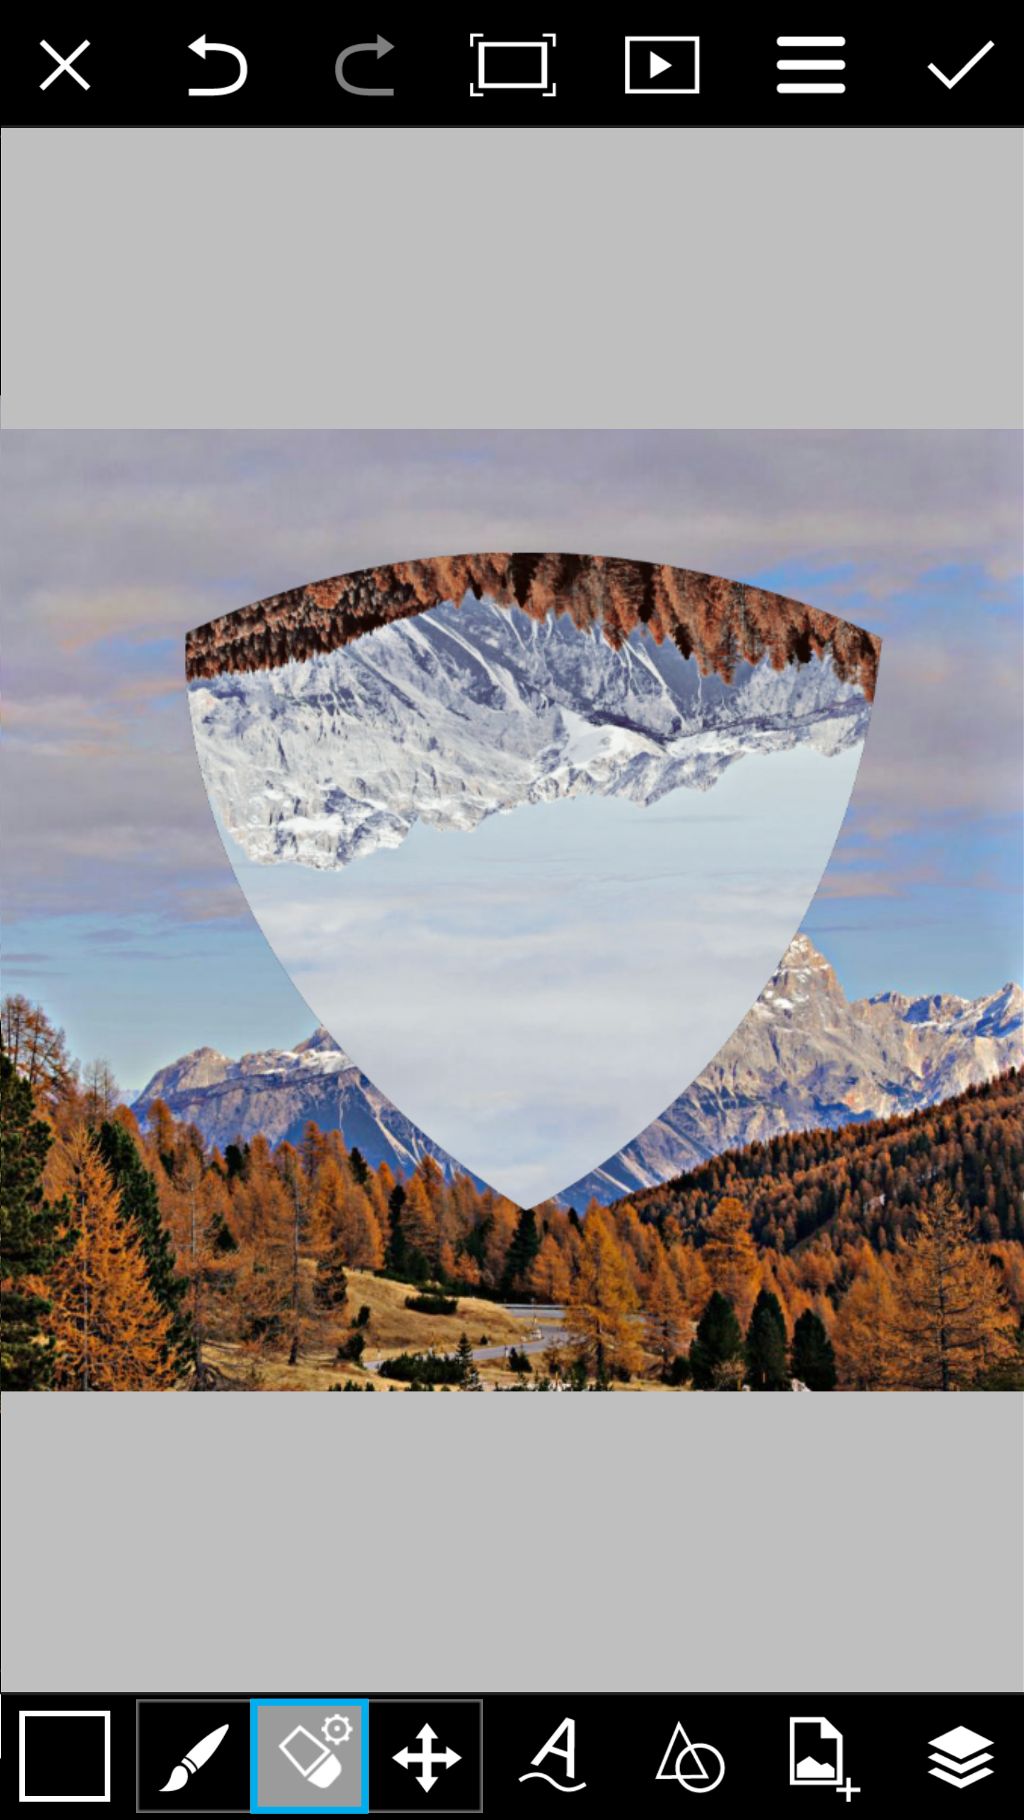
Step 12: Erase & Confirm
Use your finger to erase the bottom part of your added image. Tap on the check mark to open your image in the photo editor. Save your work and share it with the hashtag #UpsideDown!