This week, users are competing in a Camera Drawing Challenge, but before submission officially begins, we have prepared a quick drawing tutorial. PicsArtists will be exclusively using PicsArt drawing tools to see who can draw the best camera, so this tutorial can serve as a valuable resource to you as you learn your way around the app. Furthermore, you can use this step-by-step tutorial as both a guide and a source of inspiration, as you contemplate your approach and prepare to draw your very own entry for submission to this week’s contest. Good luck!
Step 1: Open the Drawing Tool
Select “Draw” from the main screen and then select “Draw blank” to start a new drawing from scratch. You have the option of choosing the precise width, height, and orientation of your drawing before entering your work space.
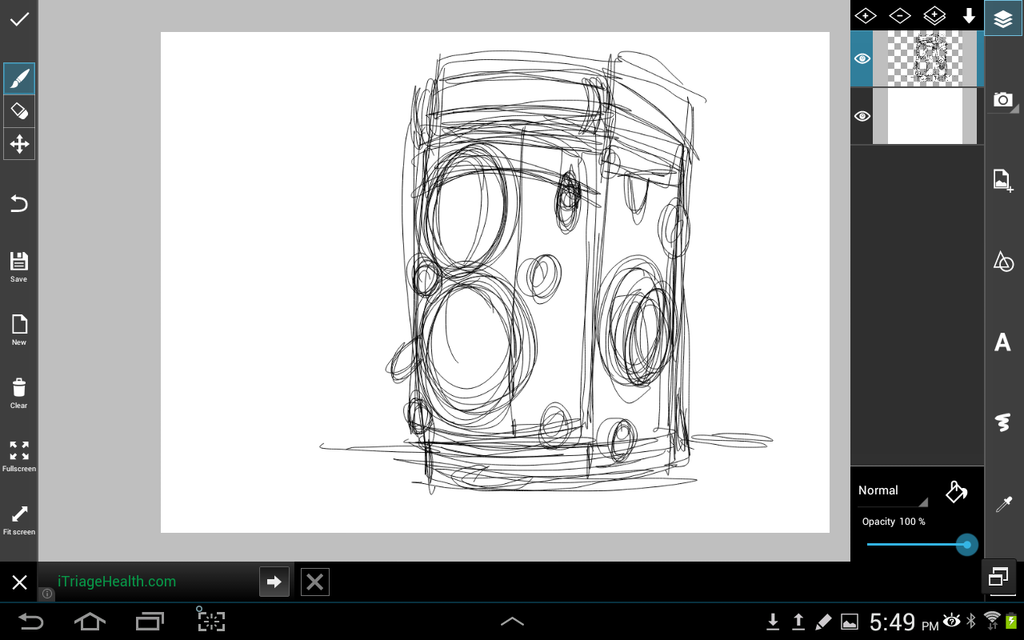
Step 2: Draw the Basic Shape
Draw a very rough outline of your camera, figuring out the general shape and positioning the smaller components.
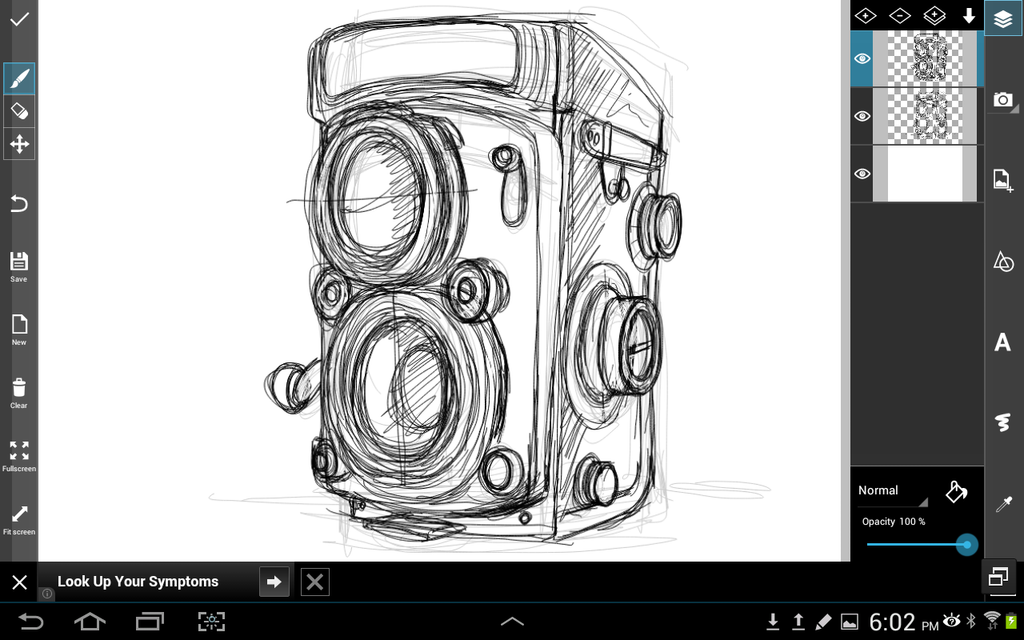
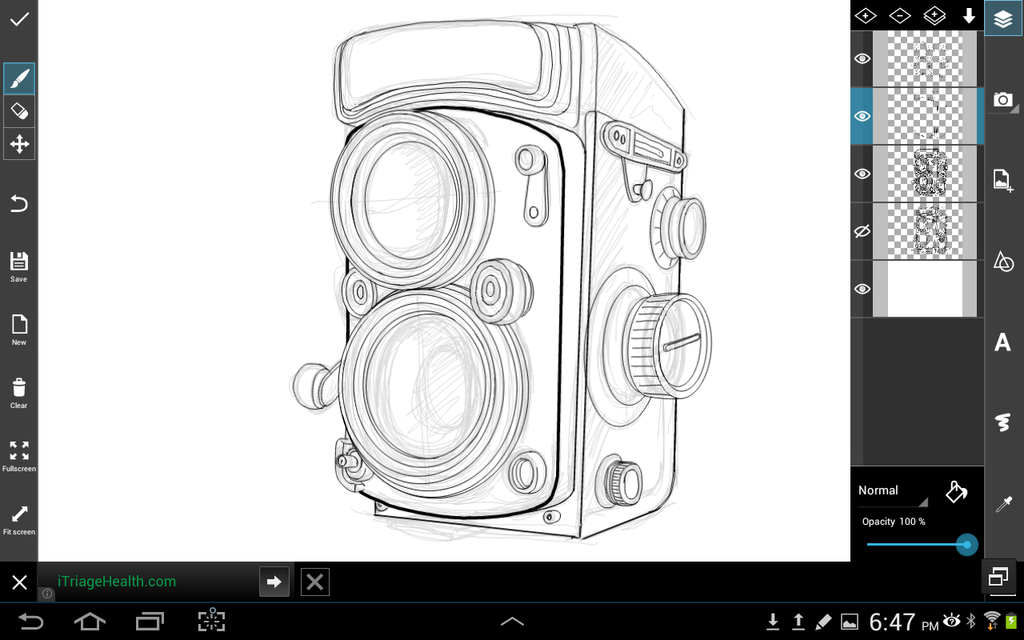
Step 3: Draw a More Detailed Outline
Reduce the opacity and create a new layer. Trace a more precise outline, fleshing out your camera in more advanced detail.
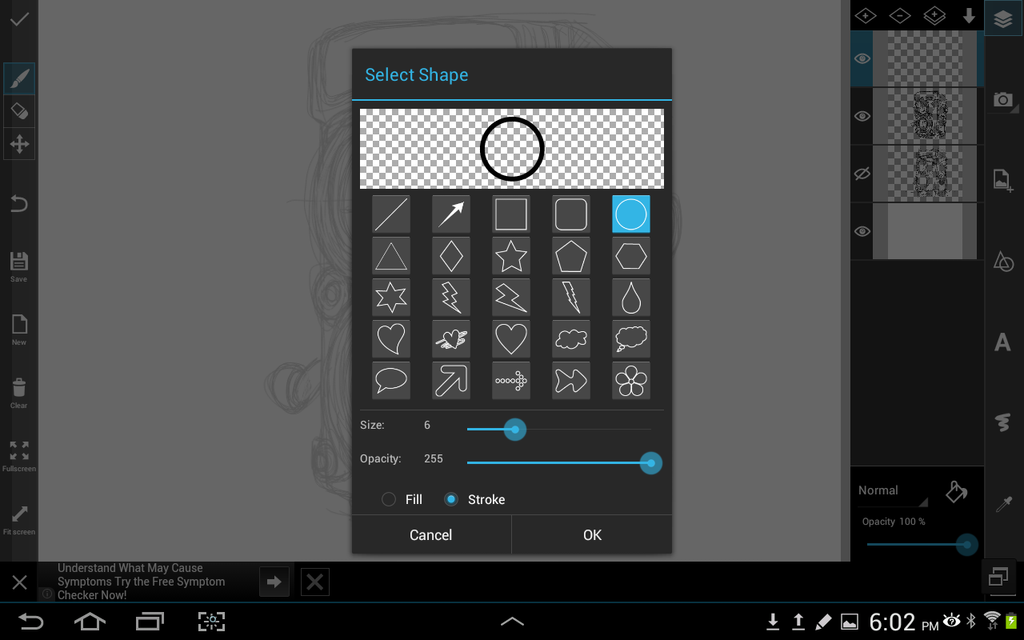
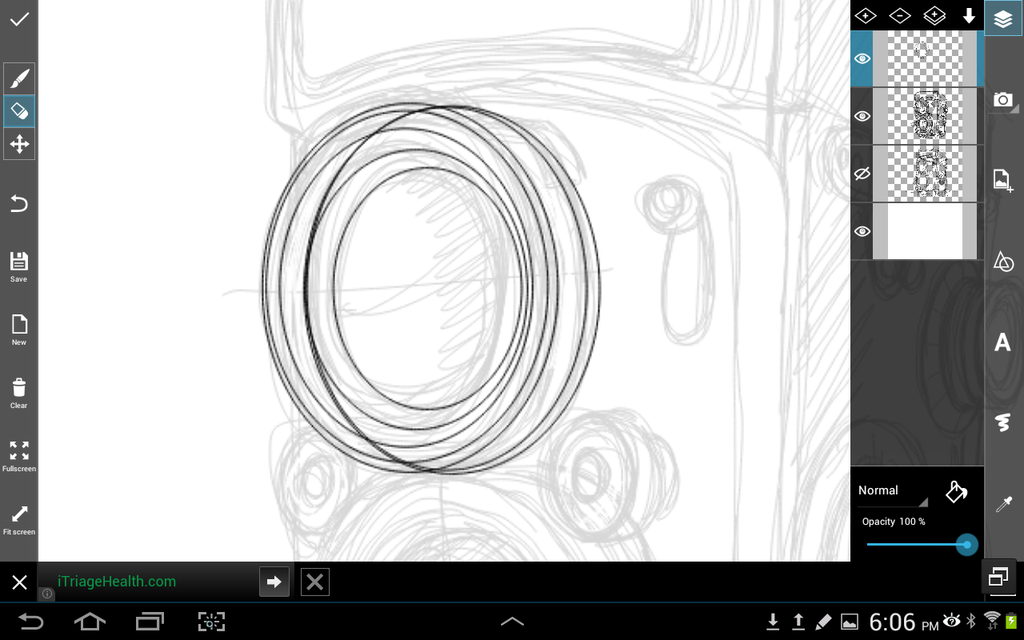
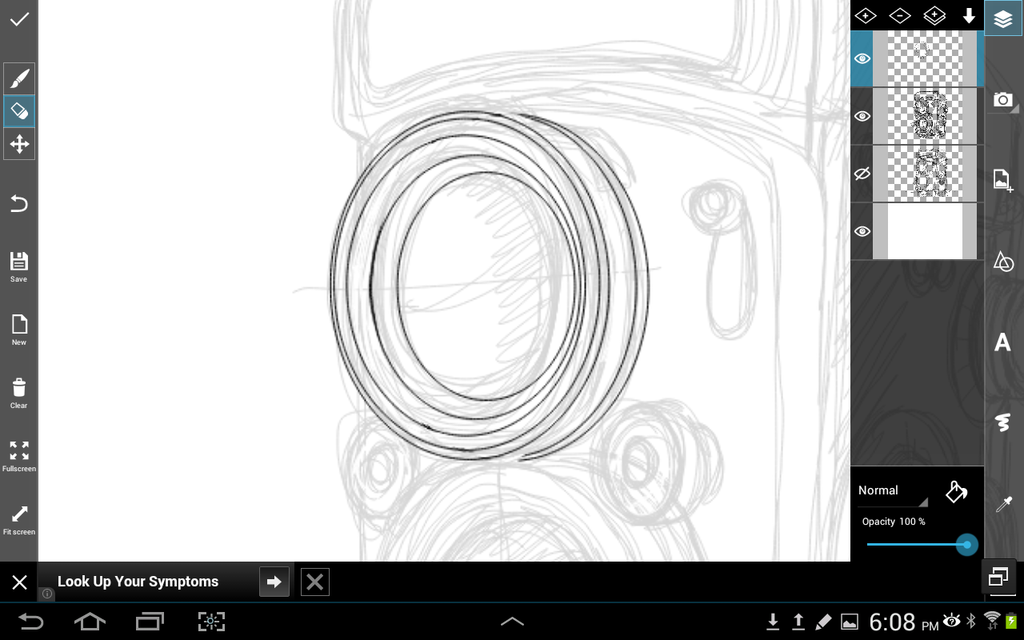
Step 4: Drawing The Lens
Reduce the opacity and create a new layer. A camera’s lens is an intricate multi-layered cylinder, so use geometric shapes to make your life easier. Select the shapes icon and use circles to draw the various layers of the lens. When you’re done, use an eraser to remove the lines of the circle that would not appear to the naked eye.
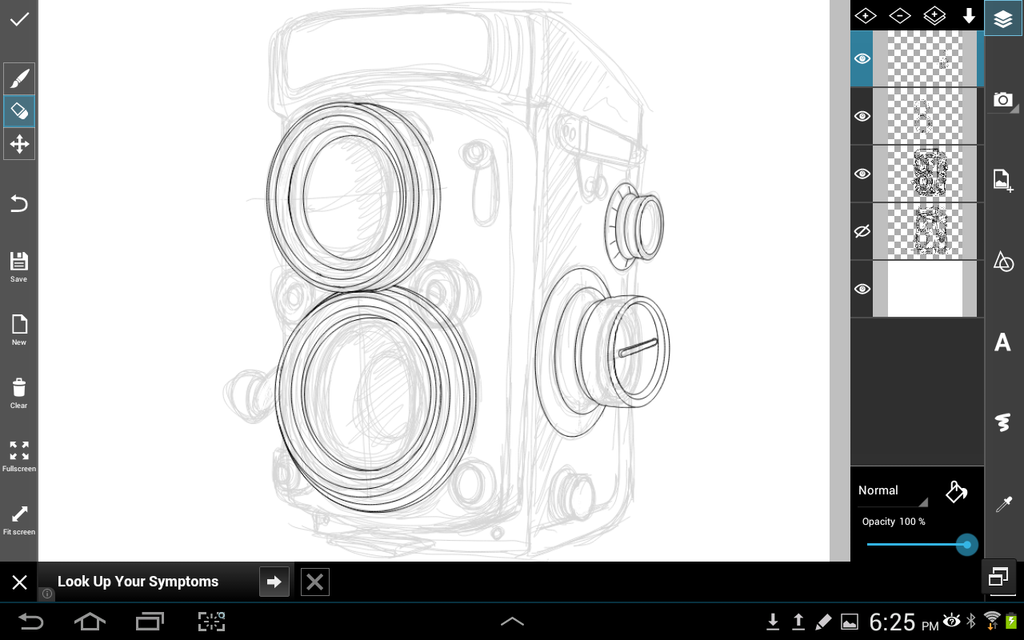
Step 5: Draw the Remaining Components
Cameras are covered with small geometric components, so use various shapes and solid lines to define clear outlines of each components as in step 4.
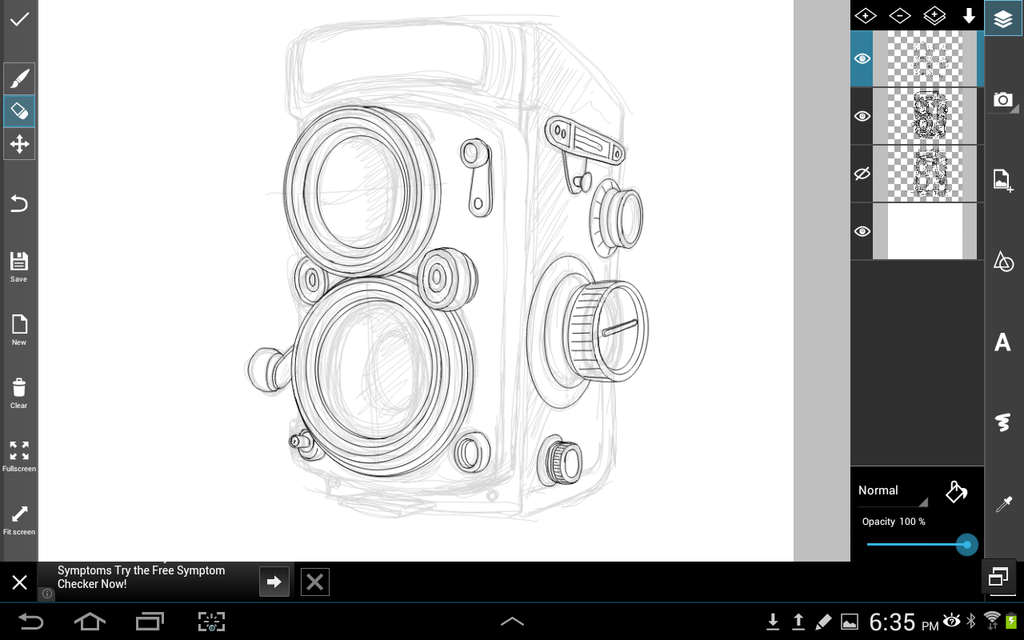
Step 6: Finalize Your Outline
Finalize your outline by making sure that any rough edge is traced over with a clean and smooth outline. When you’re done, erase all previous outlines.
Step 7: How to Color the Drawing
Color your drawing by using various brushes and colors in separate layers. Start with the base colors, then color in basic lighting and shadow in higher layers.
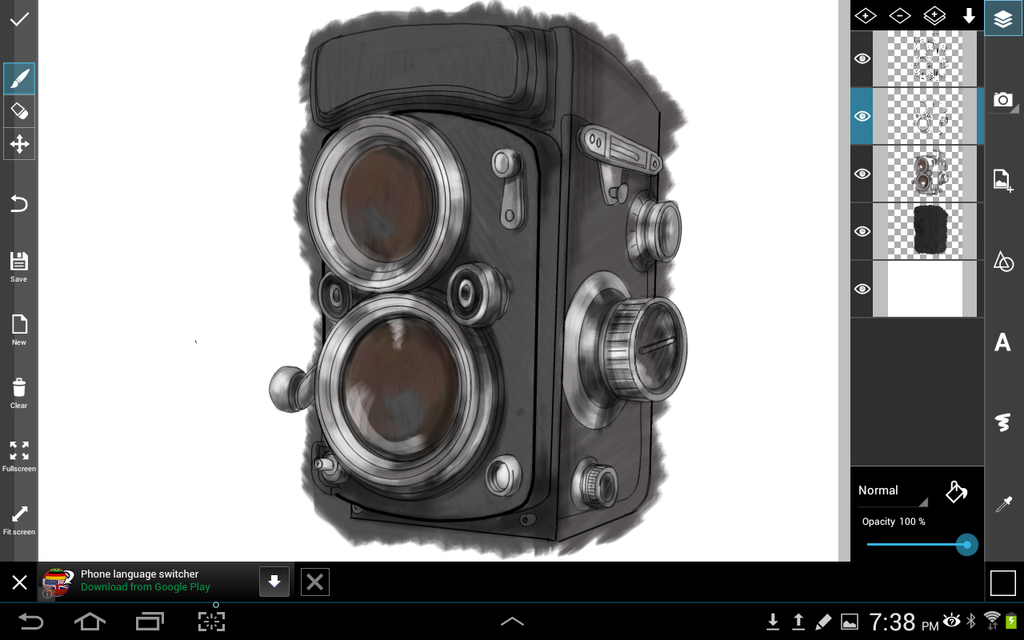
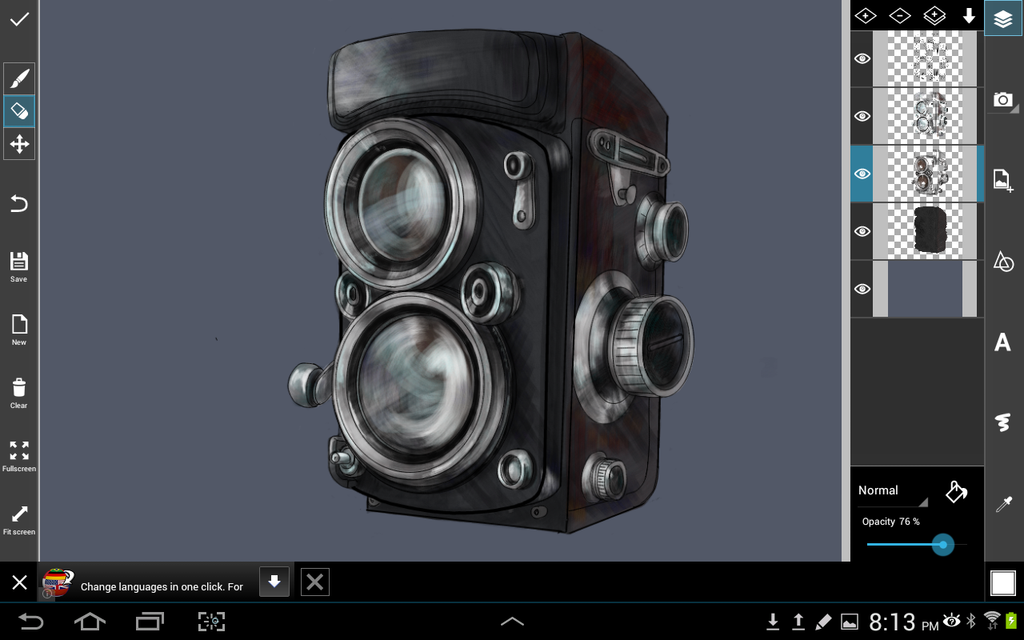
Step 8: Detailed Lighting and Color
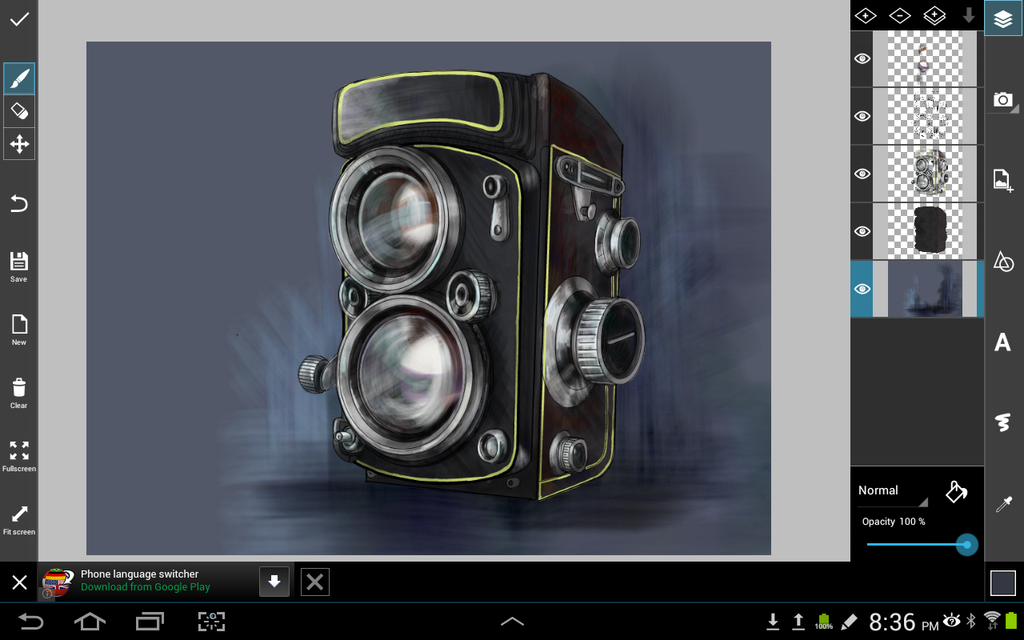
Erase any colors that may be outside of the lines, and in higher layers, use brushes of darker and lighter tones to flesh out the lighting. Spray-brushes and translucent brushes are especially useful for adding shading without overpowering your base colors. Add a colored layer to act as your background.
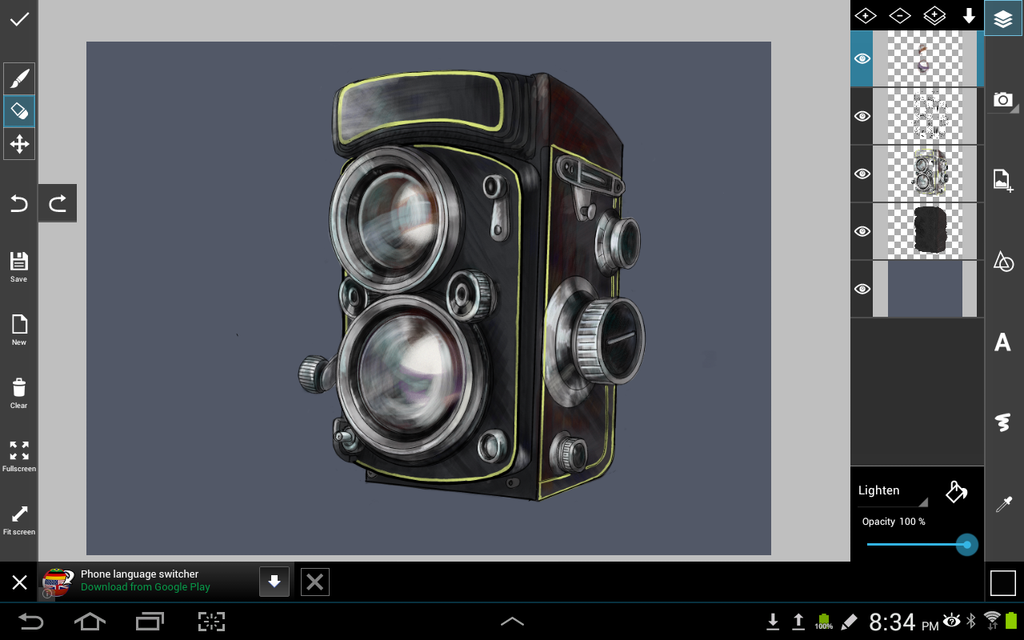
Step 9: Finish Your Background
Use sweeping translucent brush strokes to add a colorful ambience to your background. Congratulations! Your camera is now ready to enter the field of competition.