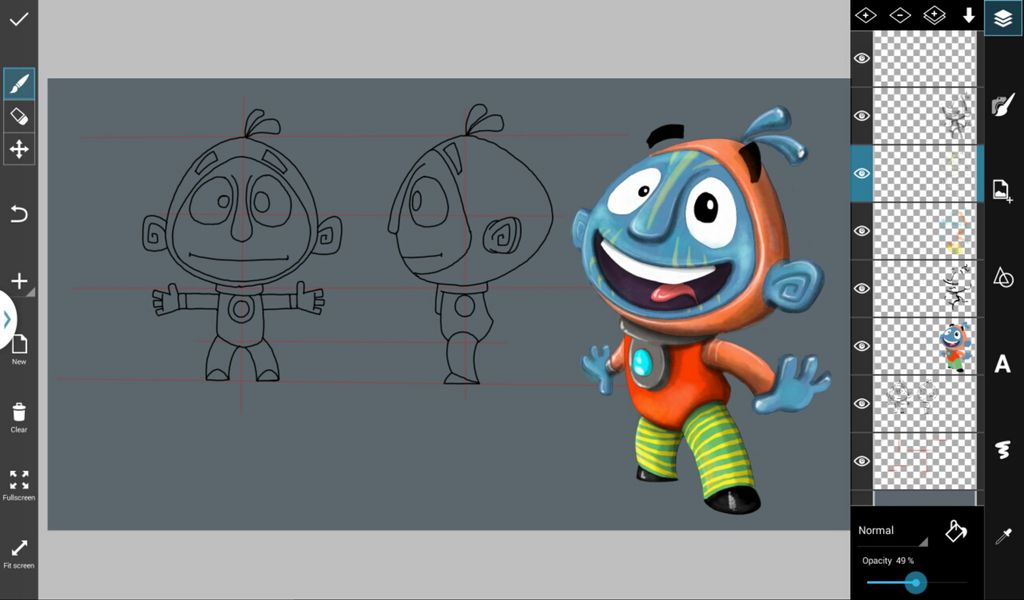
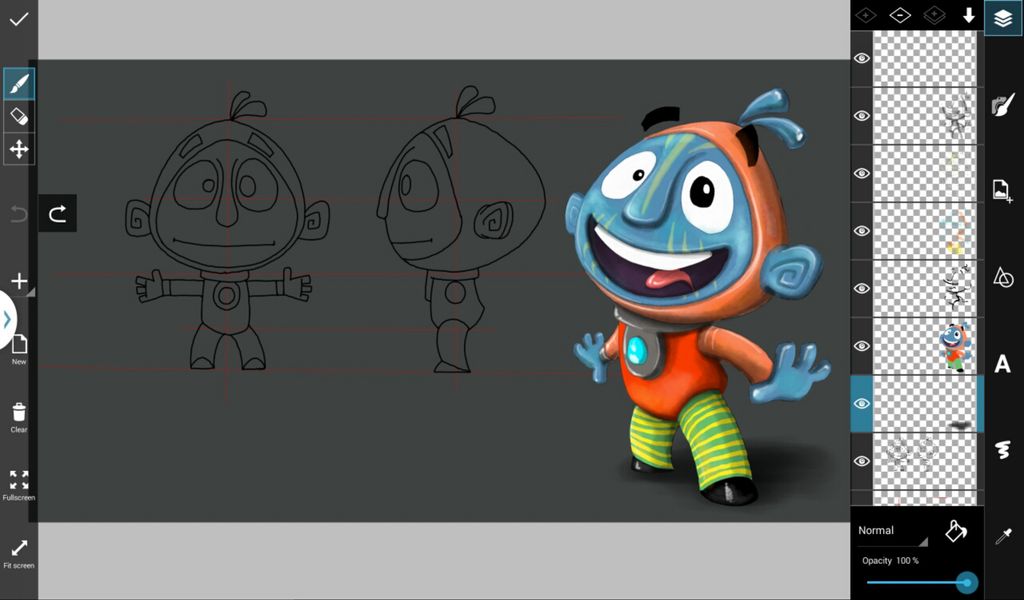
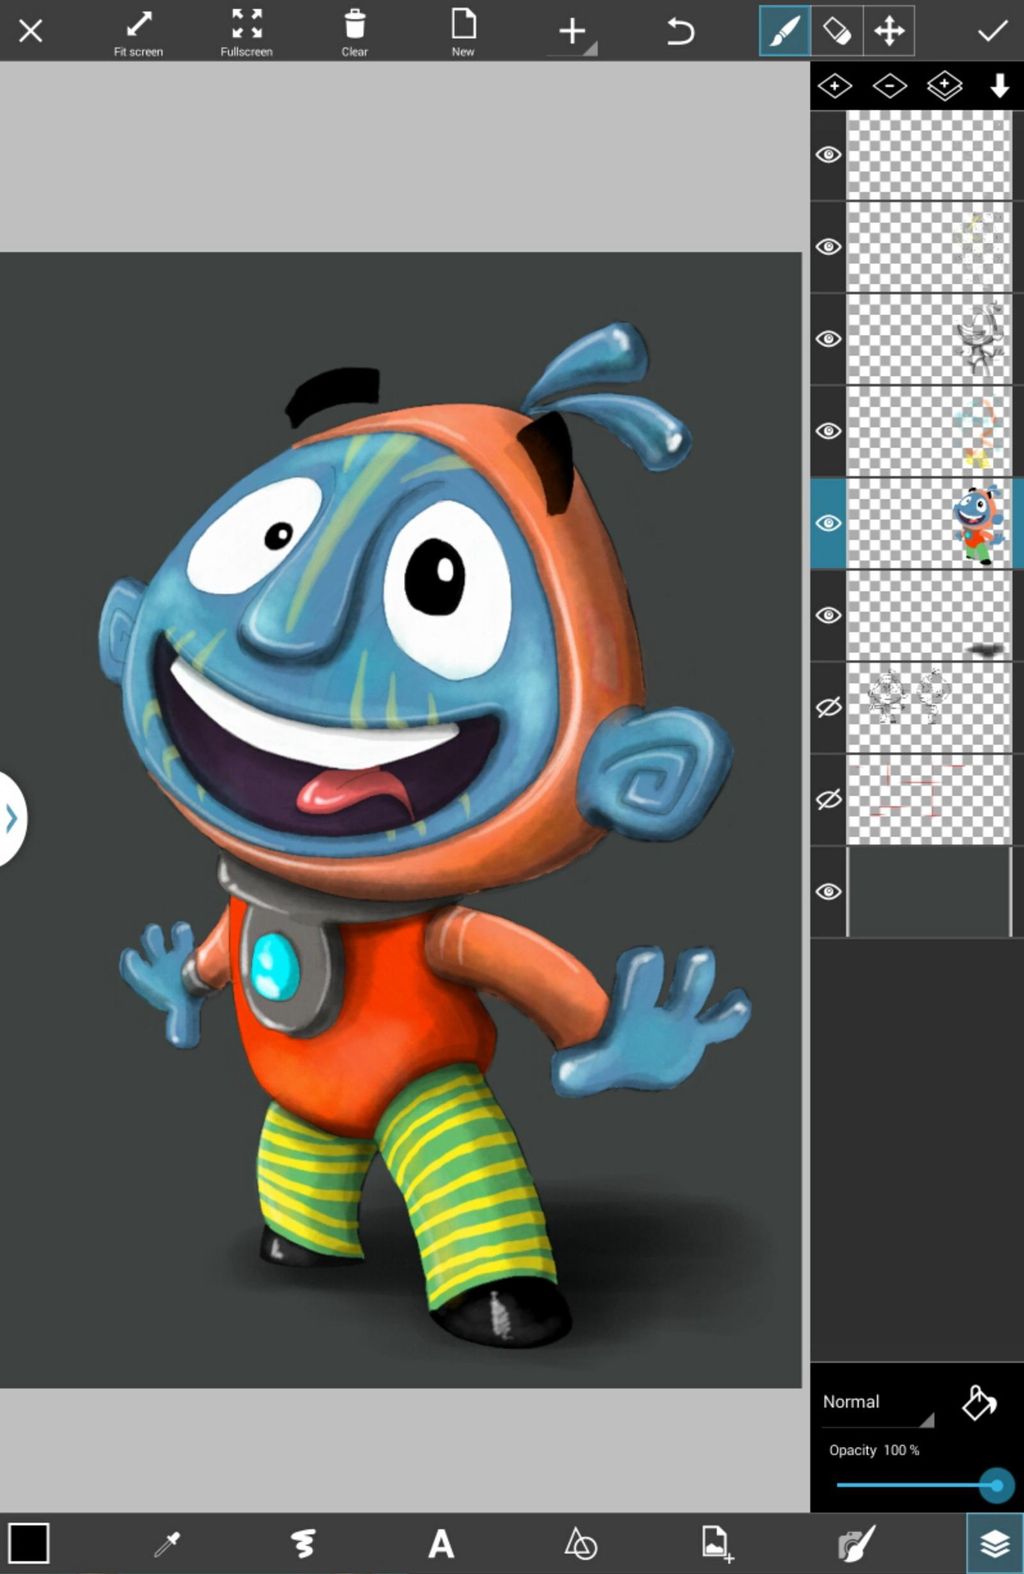
This week, we are holding a Cartoon Character Drawing Challenge, so today we are preparing a step by step Drawing Tutorial to guide you through the process. This tutorial will show you how the pros draw cartoon characters, drawing their characters from 3 different perspectives. It will also help acquaint you with the nuances of PicsArt Drawing Tools to give you a helping hand as you tackle your own cartoon character. Read this tutorial to master the art of character drawing in just 7 easy steps!
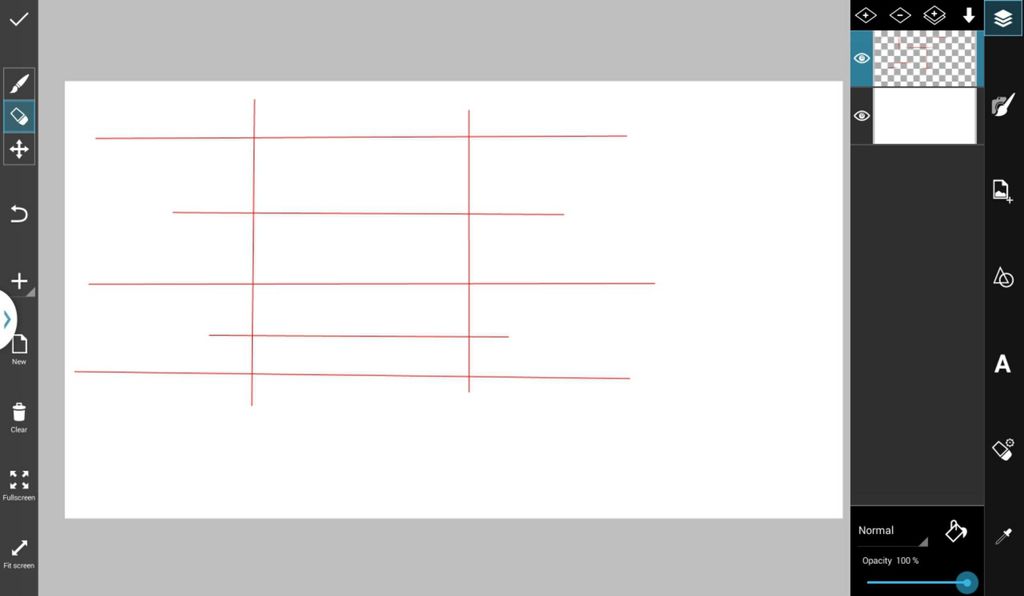
Step 1: Prep Your Workspace
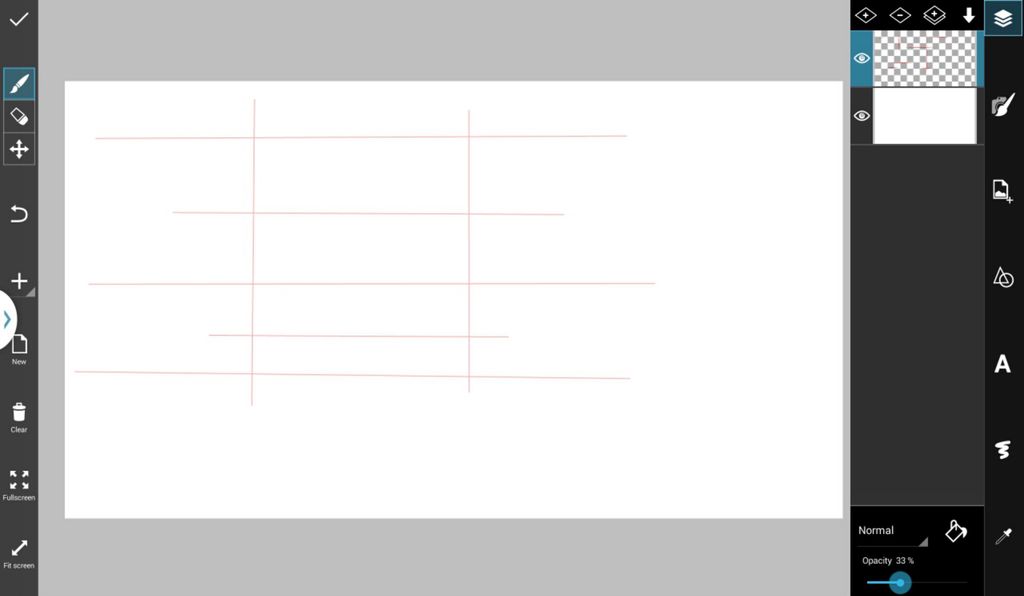
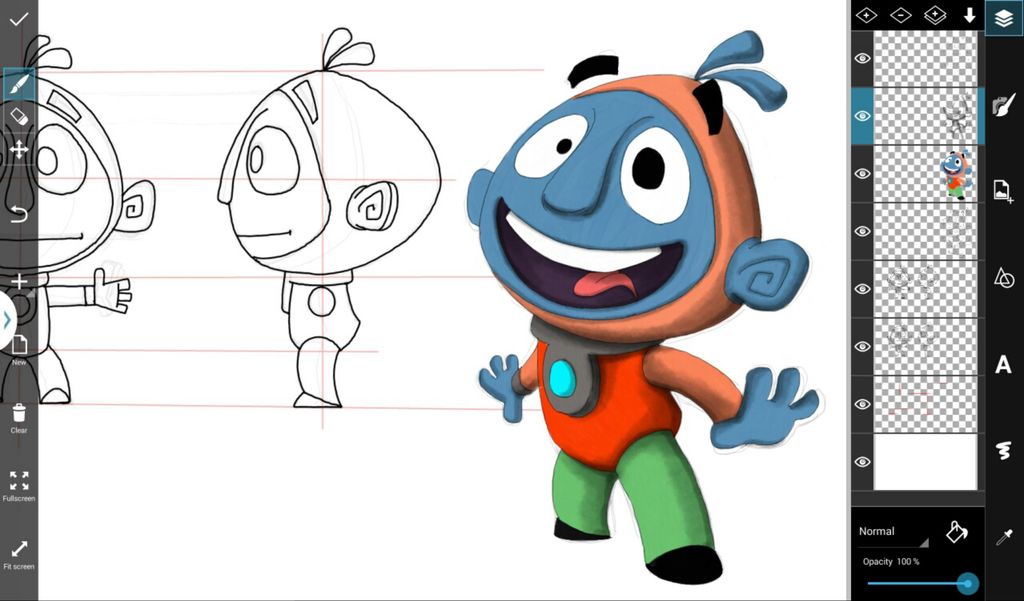
Create a red grid like the one below. This will serve as a guide for keeping your characters proportions correct from different perspectives. Reduce the opacity.
Step 2: Rough Outline
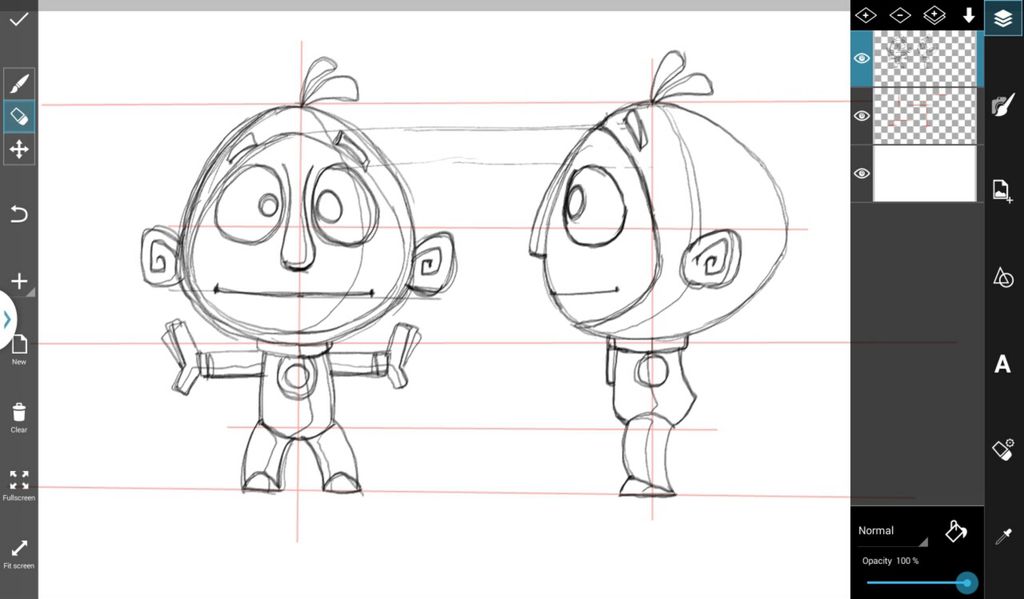
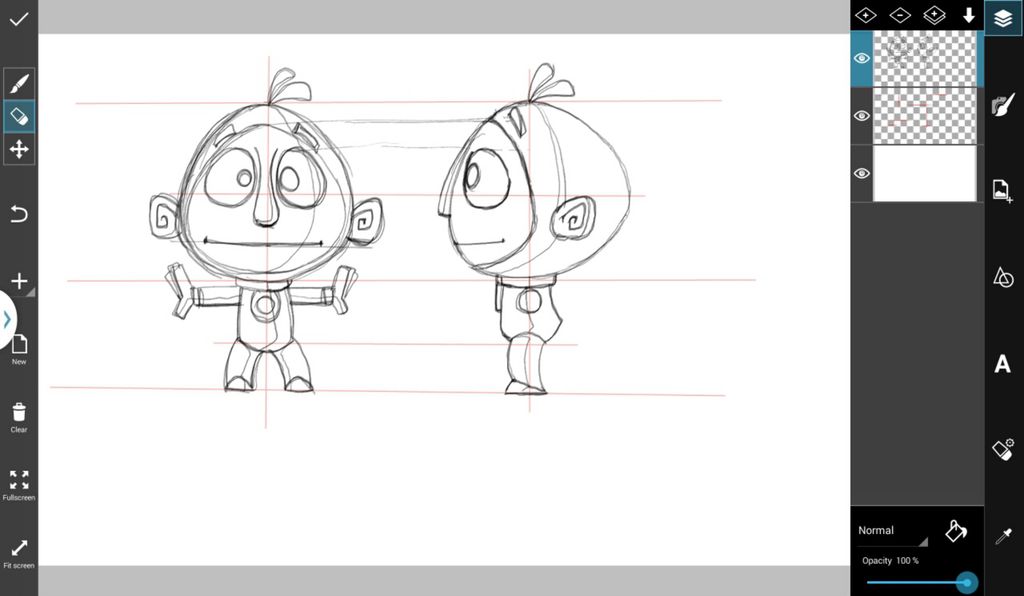
Outline you cartoon character in a new layer, using the two vertical lines to draw your character facing forward, and then from a sideways view. The cross sections of the horizontal lines are reference points for things like eye-level, chin, etc.
Step 3: Final Outline
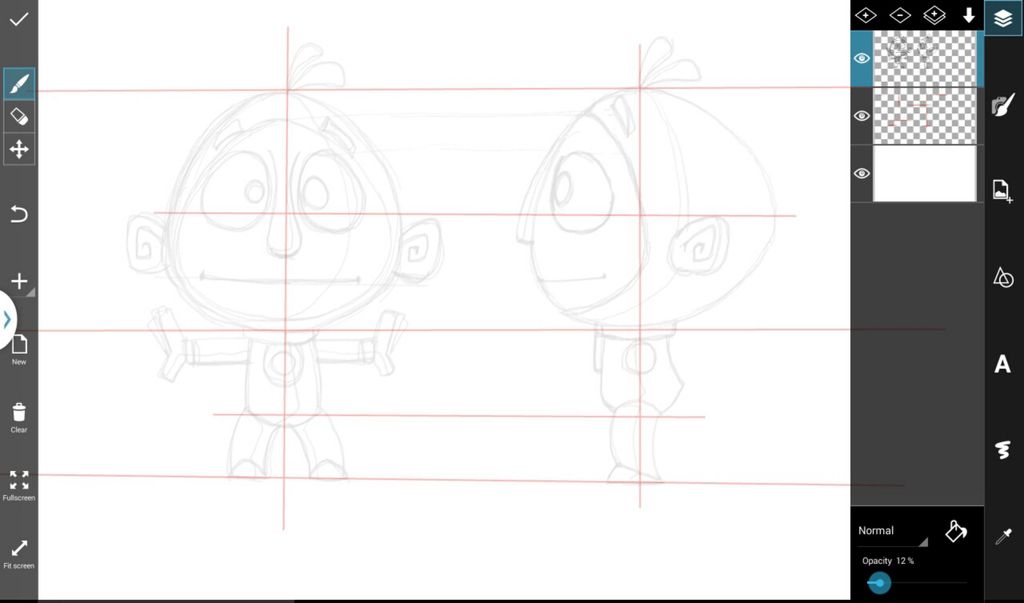
Reduce the opacity and in a new layer, trace a more precise version of your character.
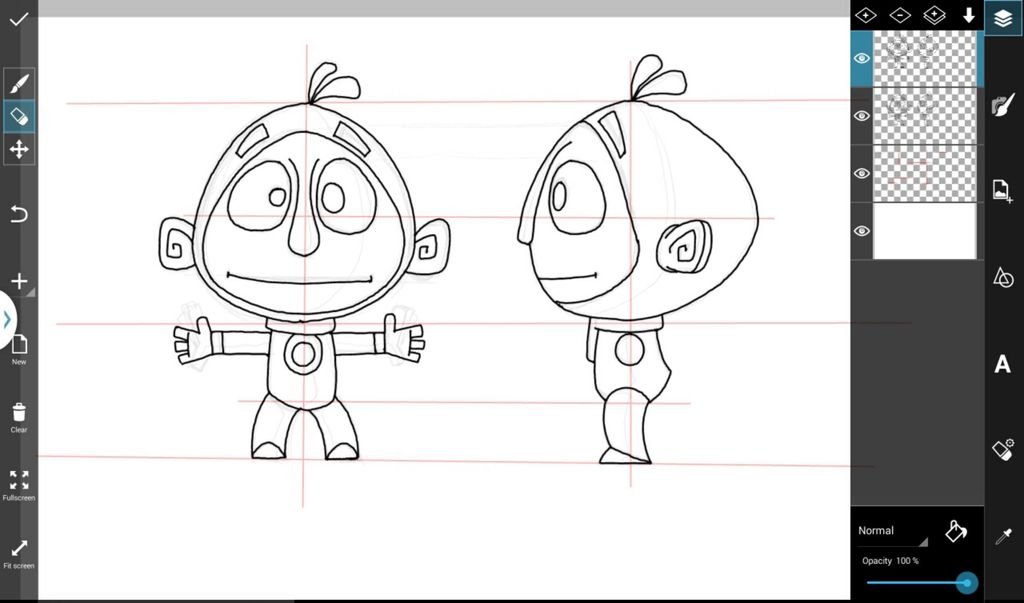
Step 4: Action Pose
Create a new layer, and off center to the bottom-left, draw your character turned halfway to the side, but this time give him/her an animated expression. Reduce the opacity and trace this outline more precisely to sharpen it up.
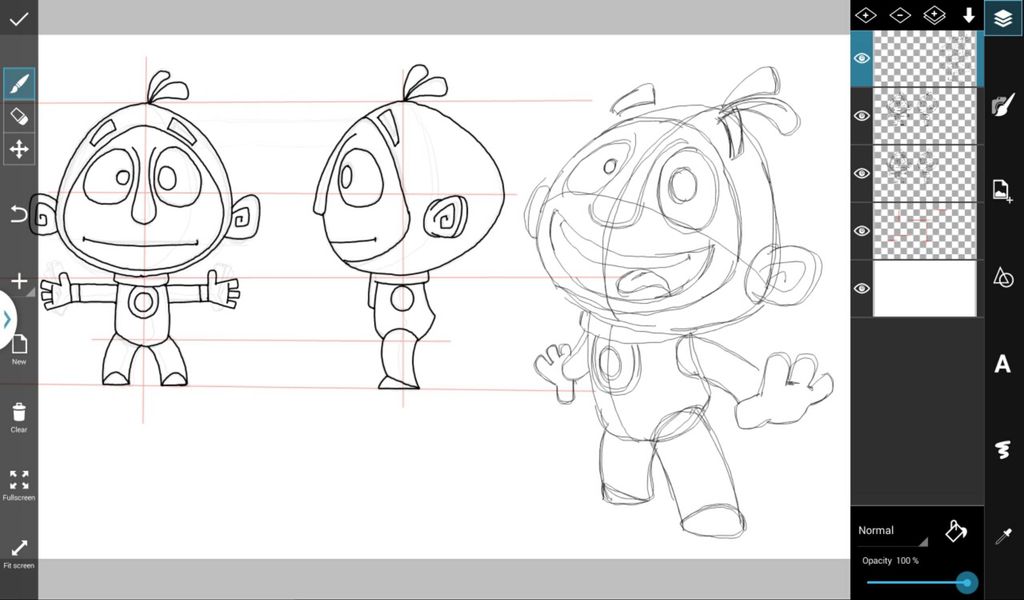
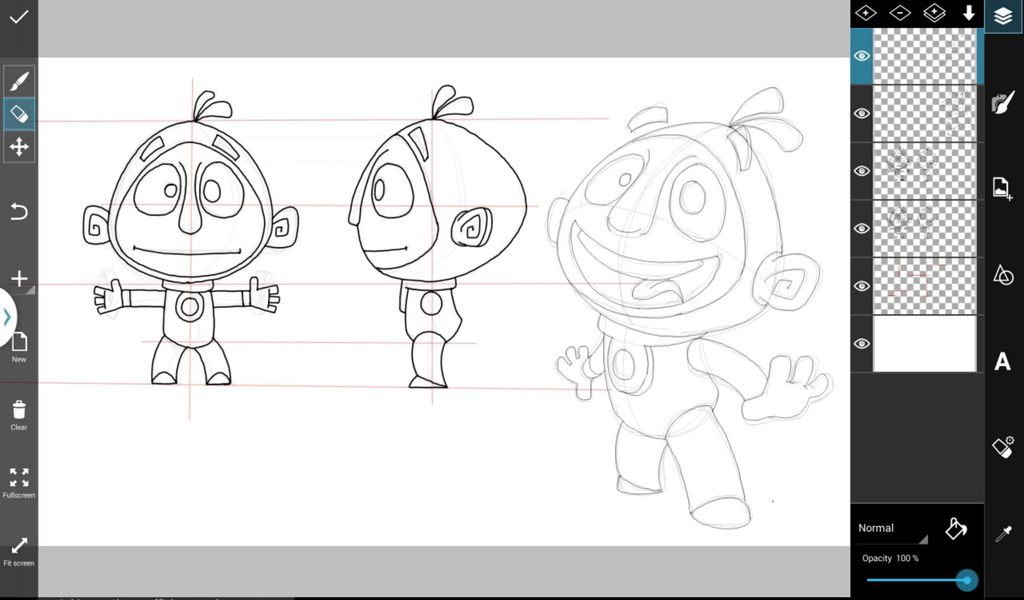
Step 5: How to Color
Use PicsAr’s color icon and various brushes to color in the most recent animated outline of your cartoon character. Add shading in a higher layer by using a dark grey brush with reduced opacity.
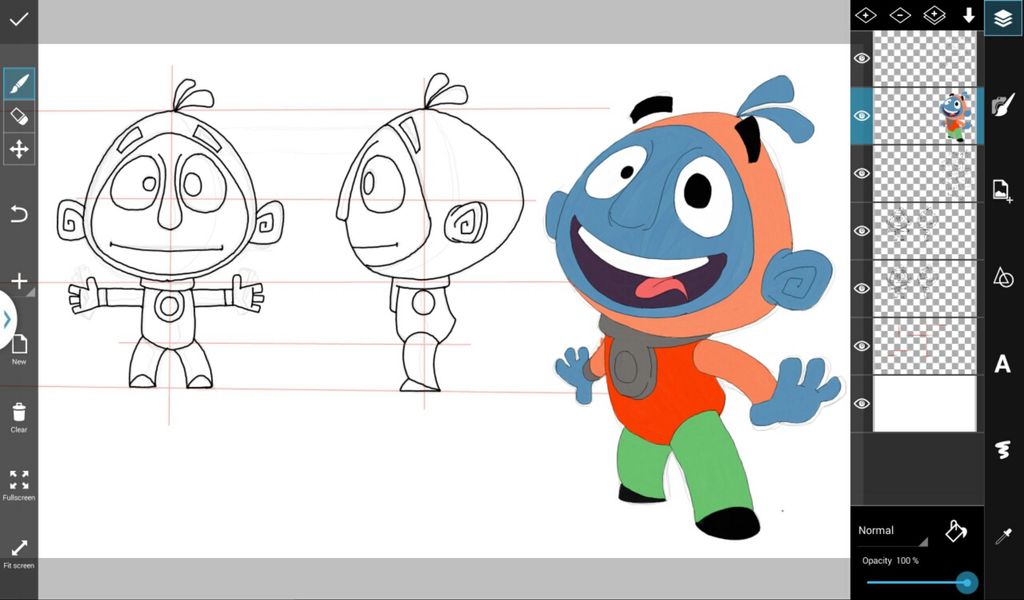
Step 6: Add Lighting and Background
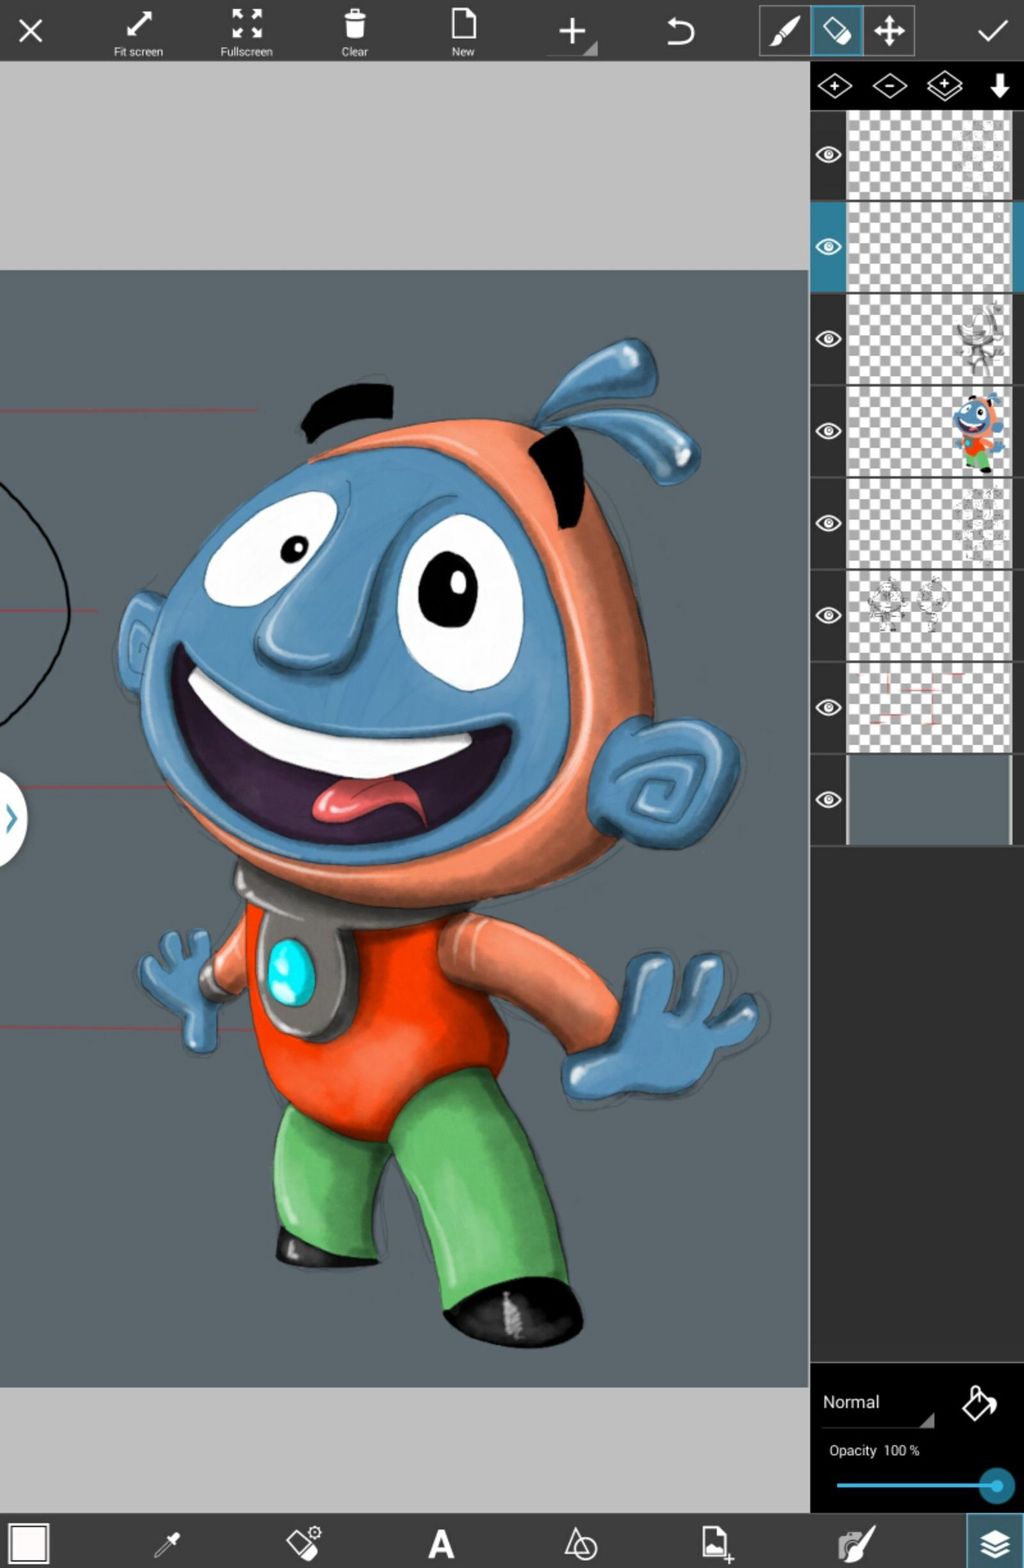
Use a white thin spray brush to add accents of light to areas of your drawing closest to your light source. Add a new layer at the bottom and color it grey for a simple background.
Step 7: Finishing Touches
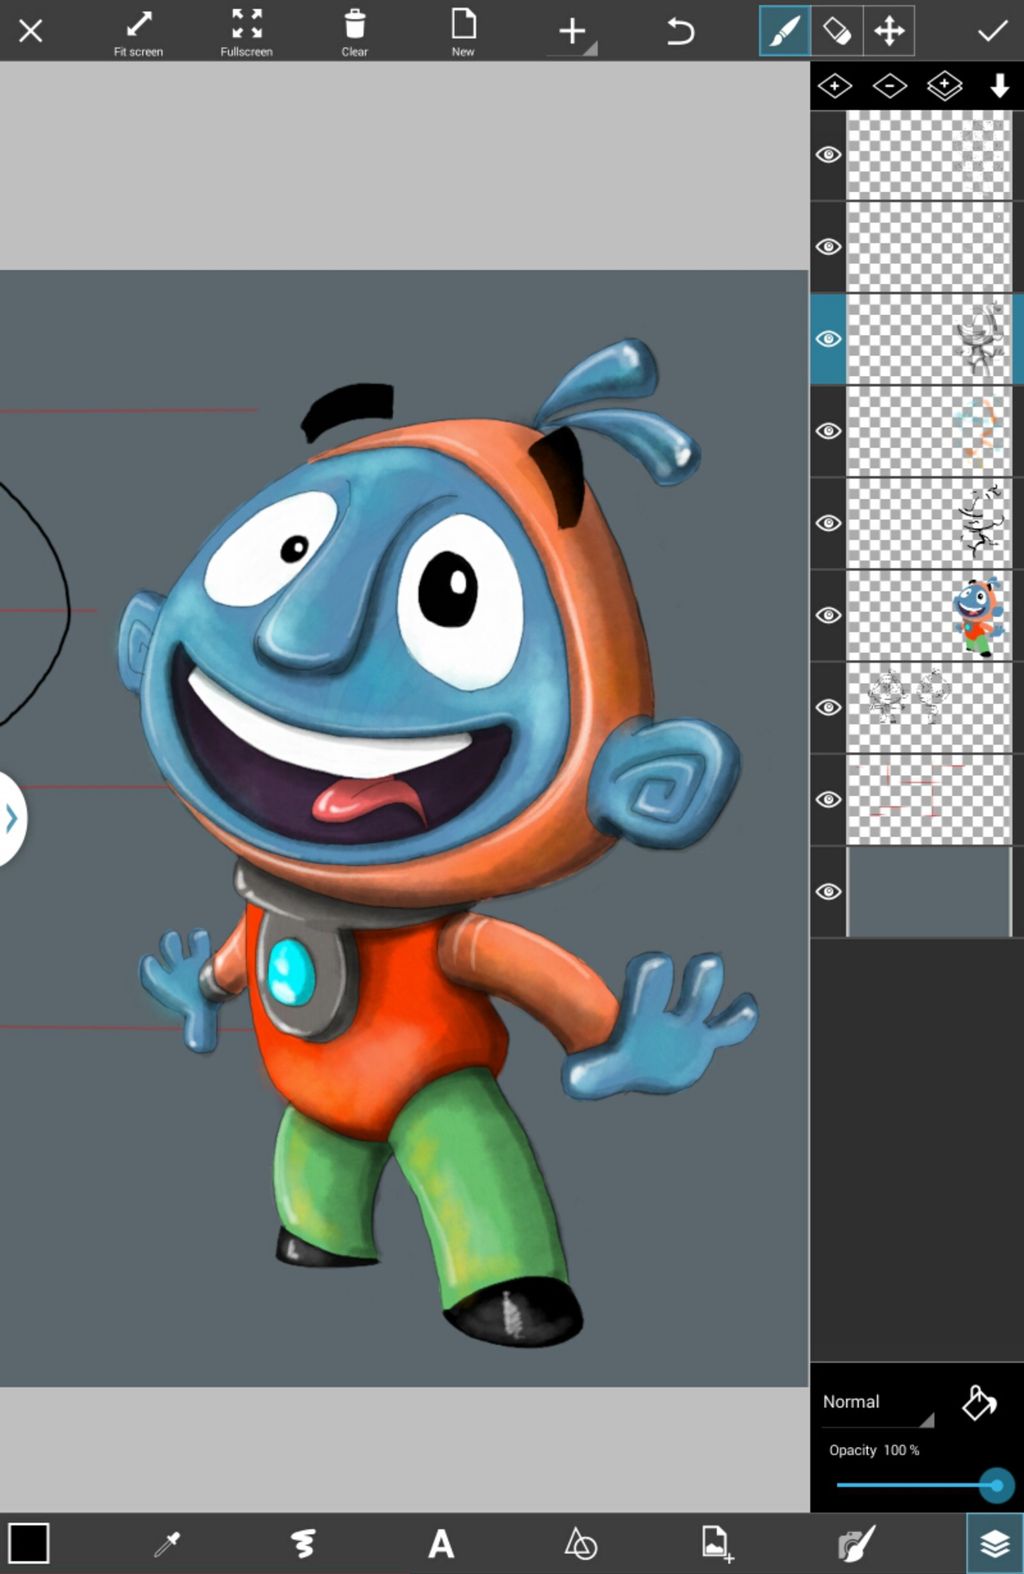
Add extra details and colors to give your photo a polish. Add a shadow in your background to finish your drawing.
