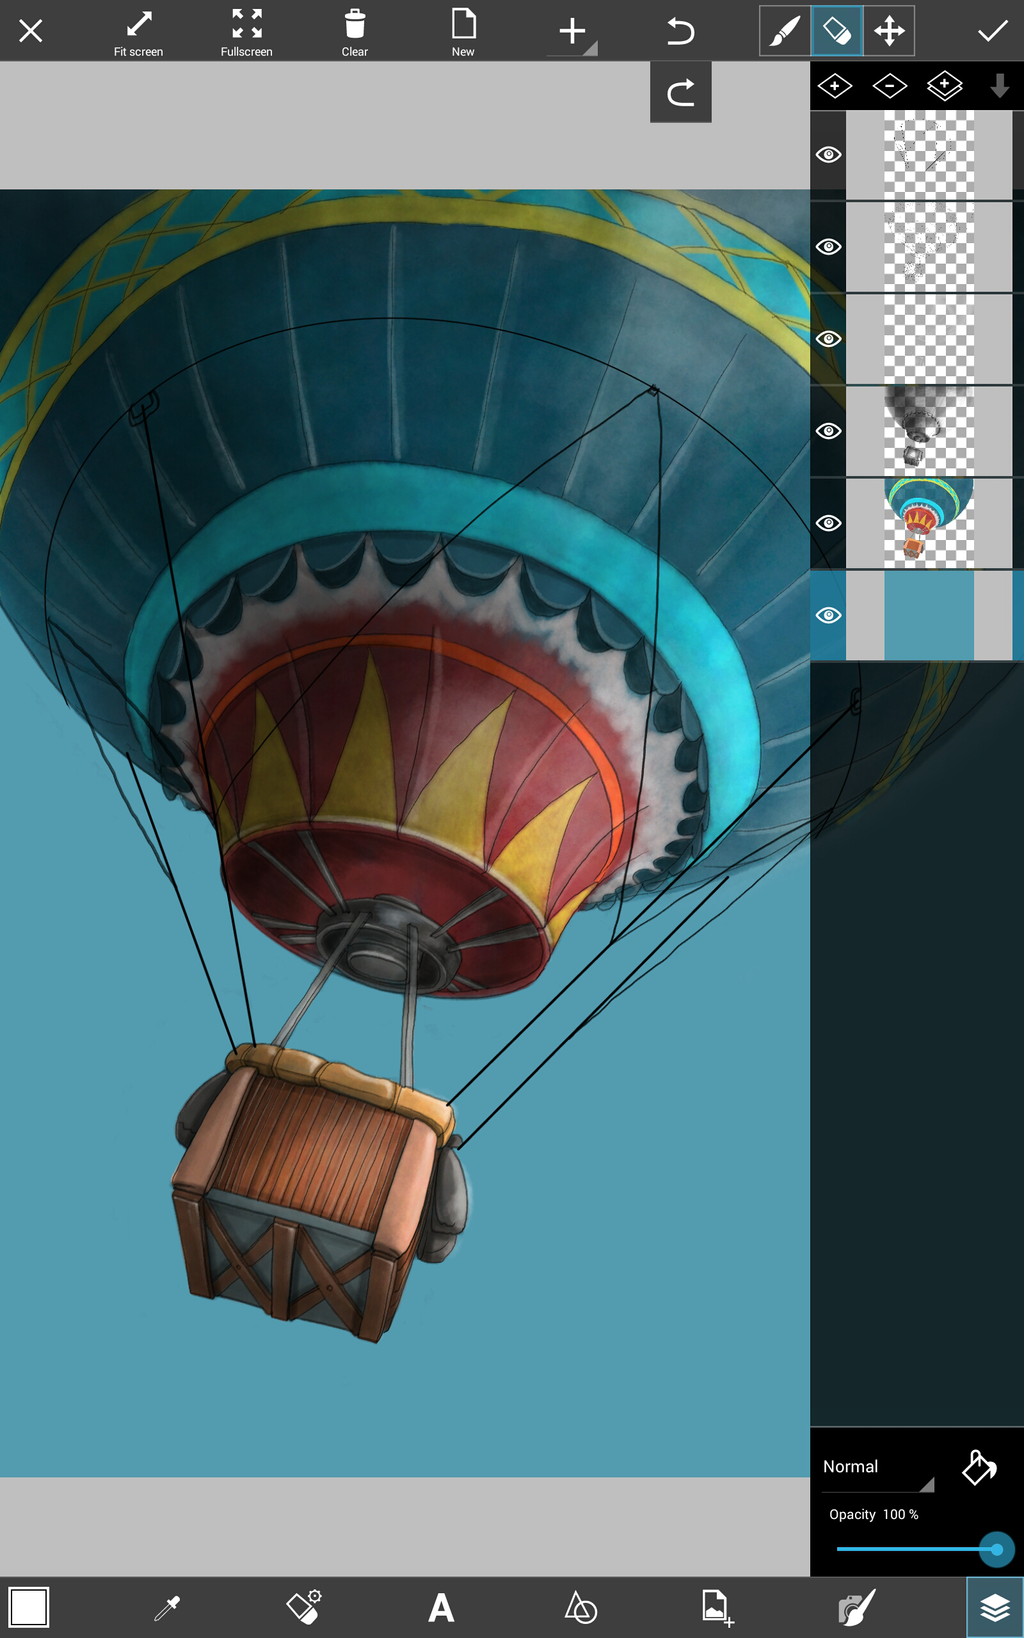
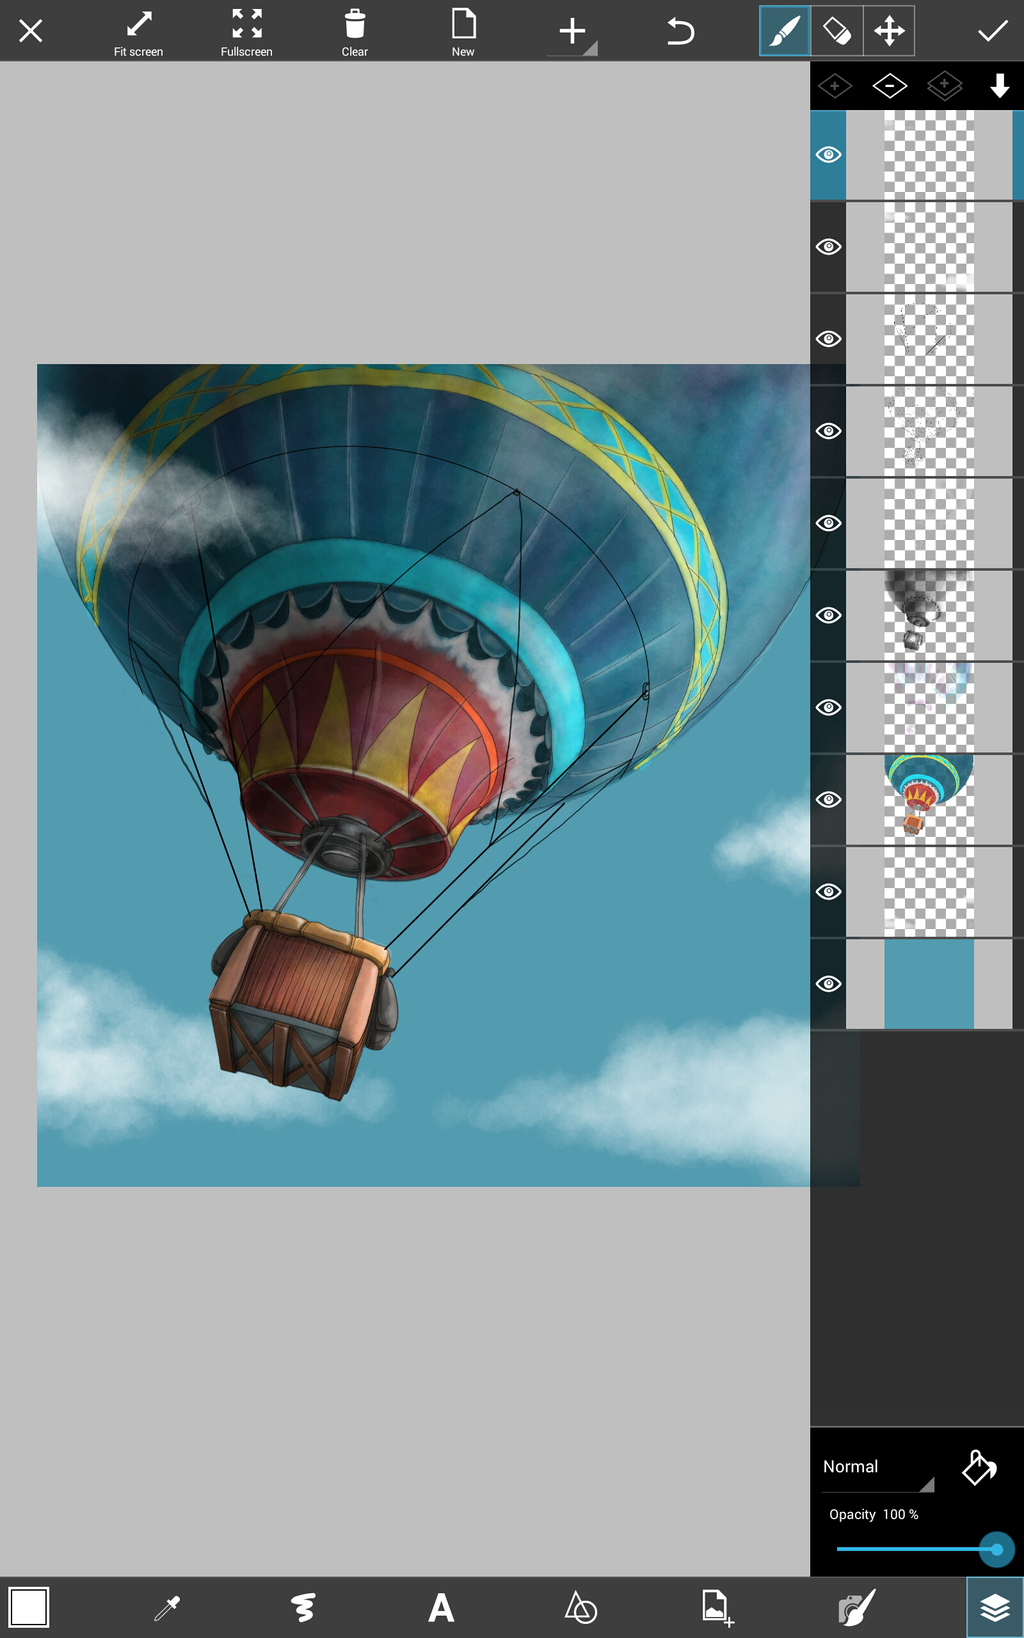
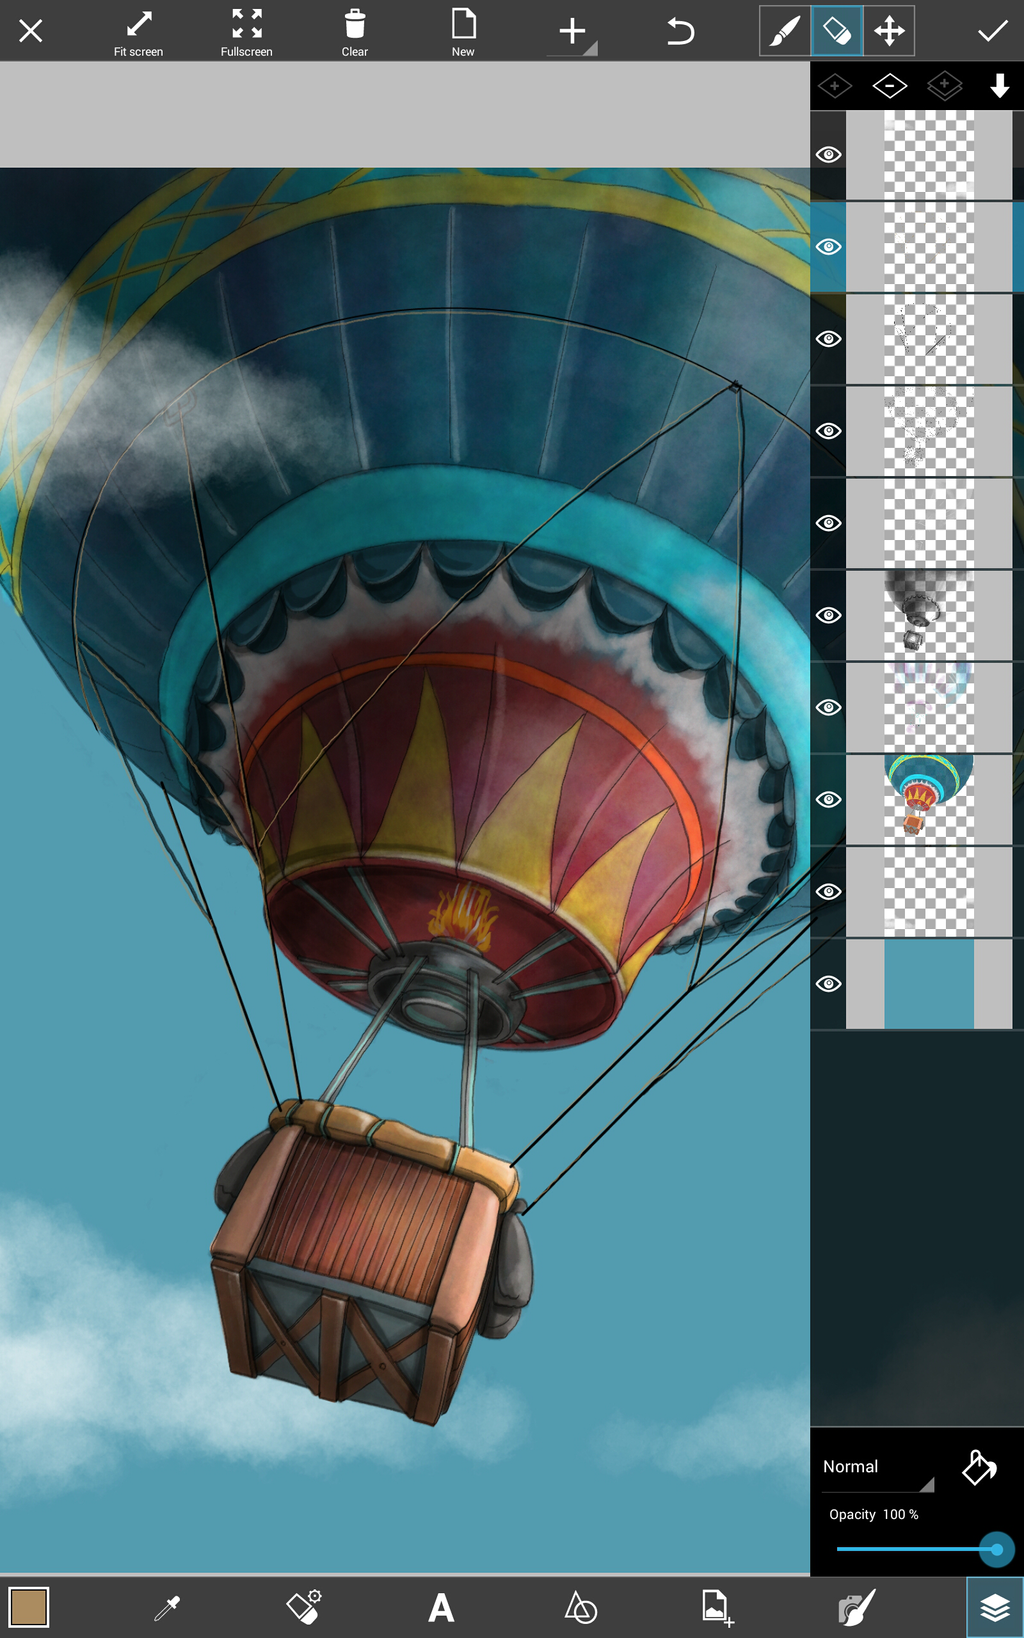
This week, our Drawing Challenge is asking artists to use PicsArt Drawing Tools to create hot air balloons. We know that everyone is up to the challenge, but we are posting this drawing tutorial all the same to show you some tips and tricks to tackling a project like this. This drawing tutorial will guide you through the process step by step and offer you some ideas and inspiration to use in your drawing for this week’s contest. Draw a hot air balloon like a pro and fly past the competition!
Step 1: Open the PicsArt Drawing Tool
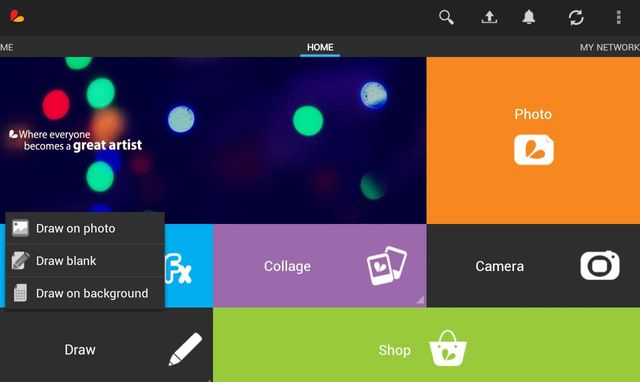
Select “Draw” from the main screen and then select “Draw blank” to start a new drawing from scratch. You have the option of choosing the precise width, height, and orientation of your drawing before entering your work space.
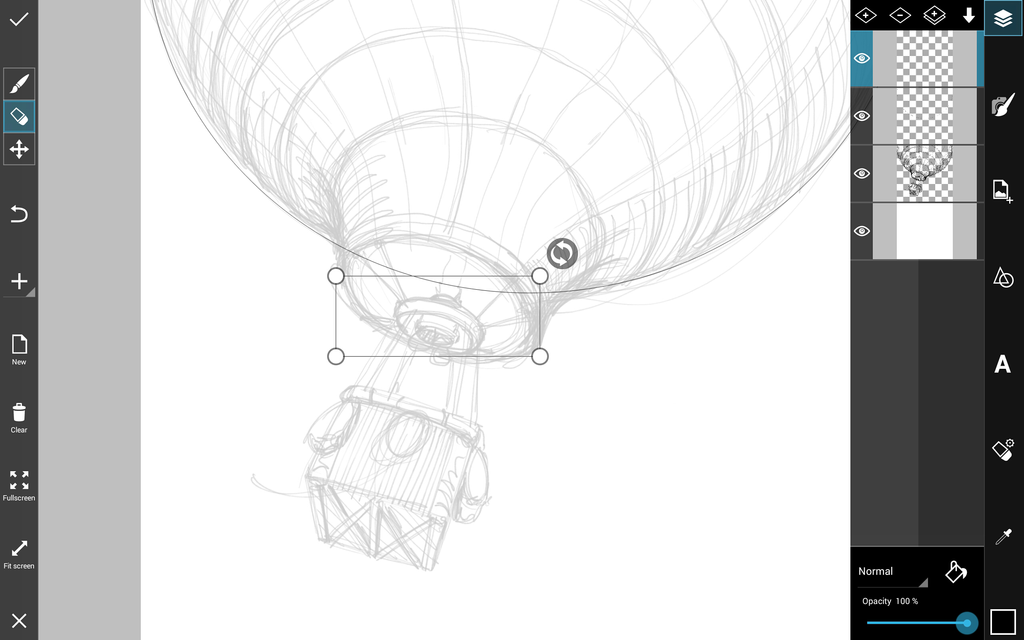
Step 1: Rough Outline
Sketch a rough outline of your hot air balloon with a thin black brush.

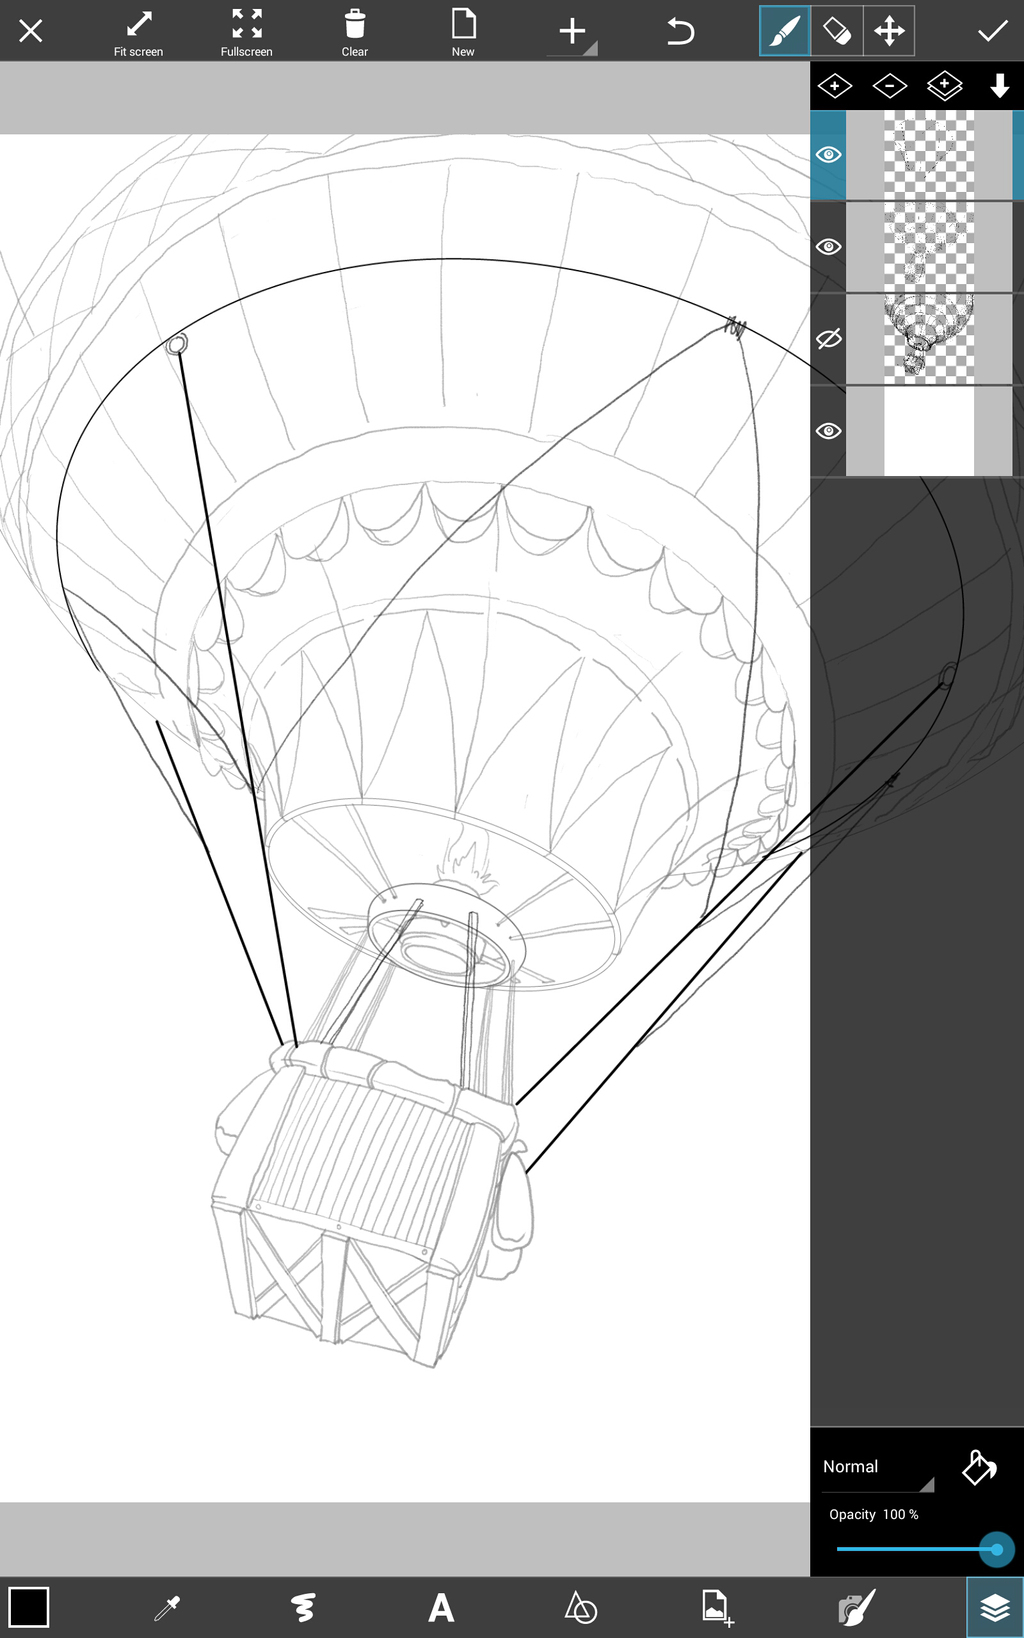
Step 2: Final Outline
Reduce the opacity, and in a higher layer trace a precise and clean final outline. Use straight lines and geometric circles for extra precision. Delete your original outline.
Step 3: Add Shading
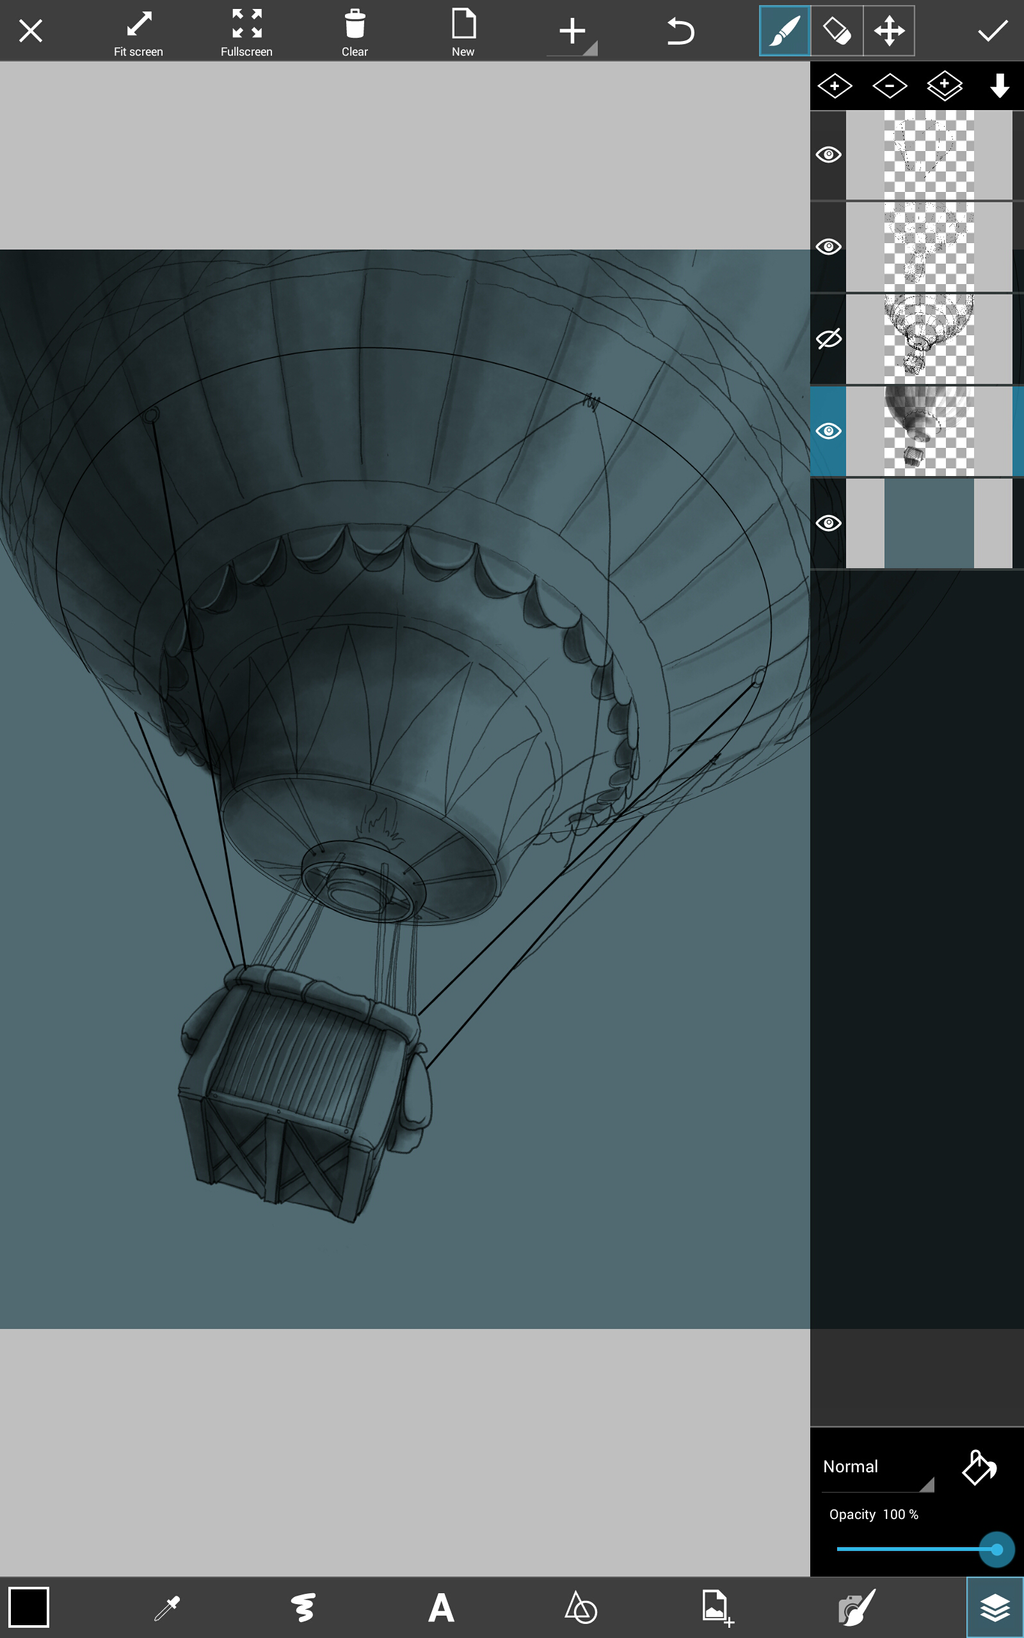
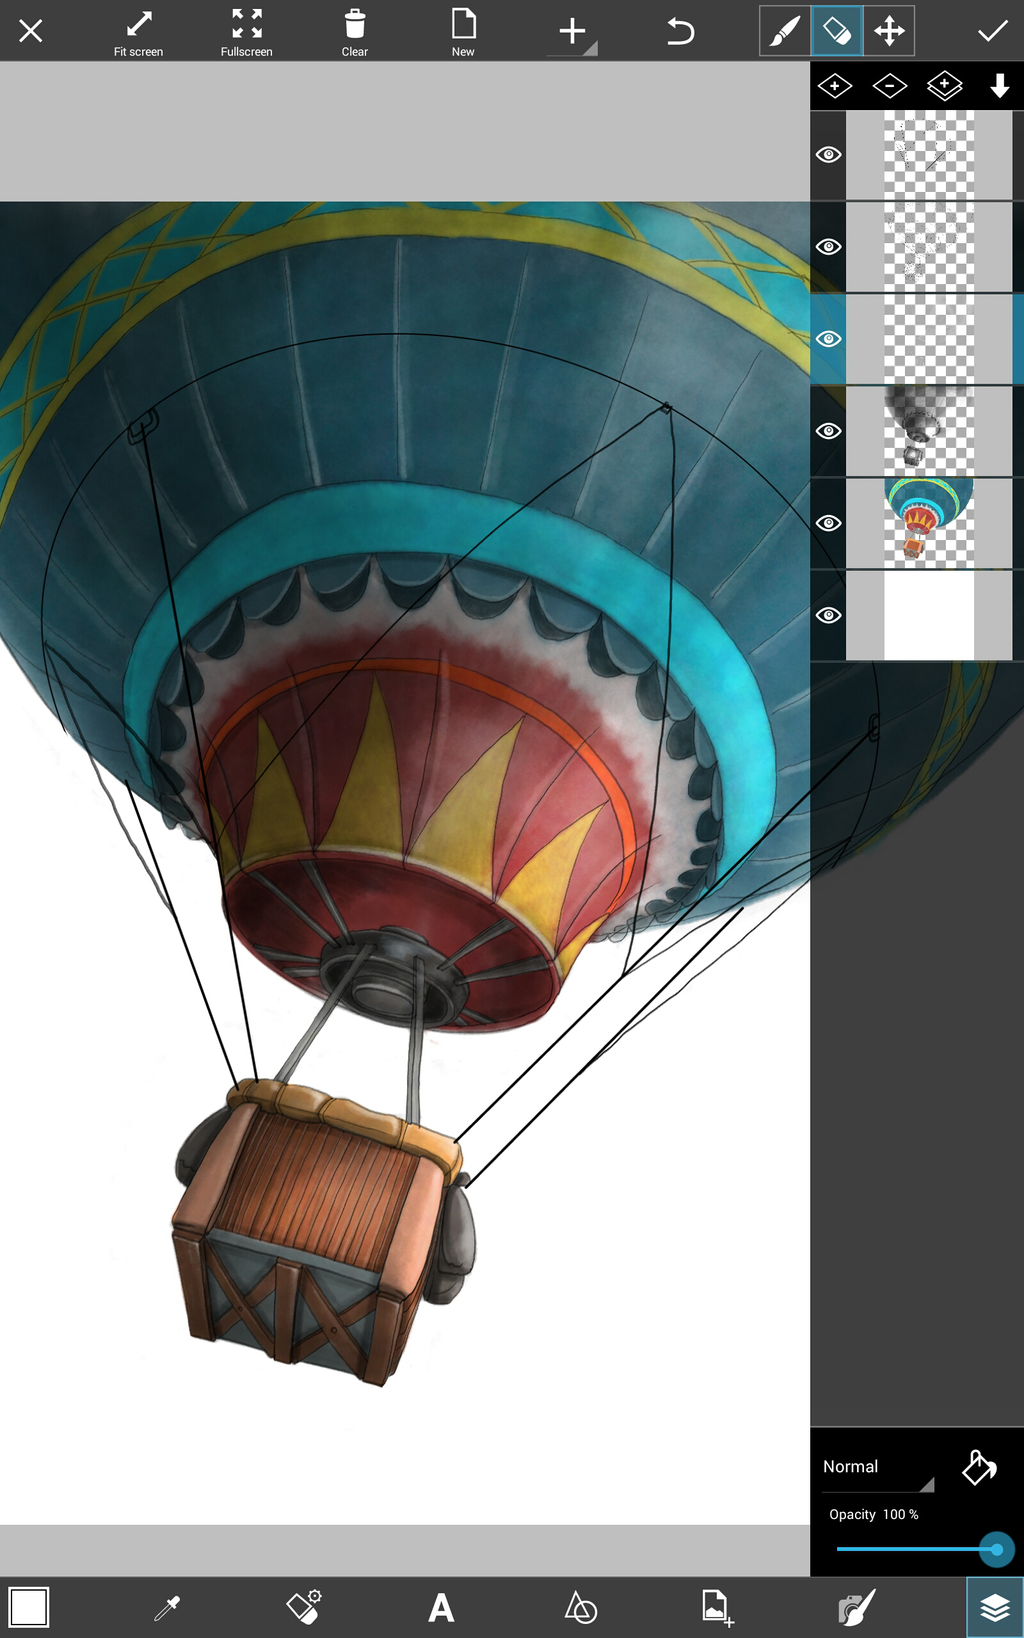
Add a new layer and use a translucent spray brush to add shading to your balloon. Only shade one side of your balloon, the side that is furthest from the sun.
Step 4: Add Color
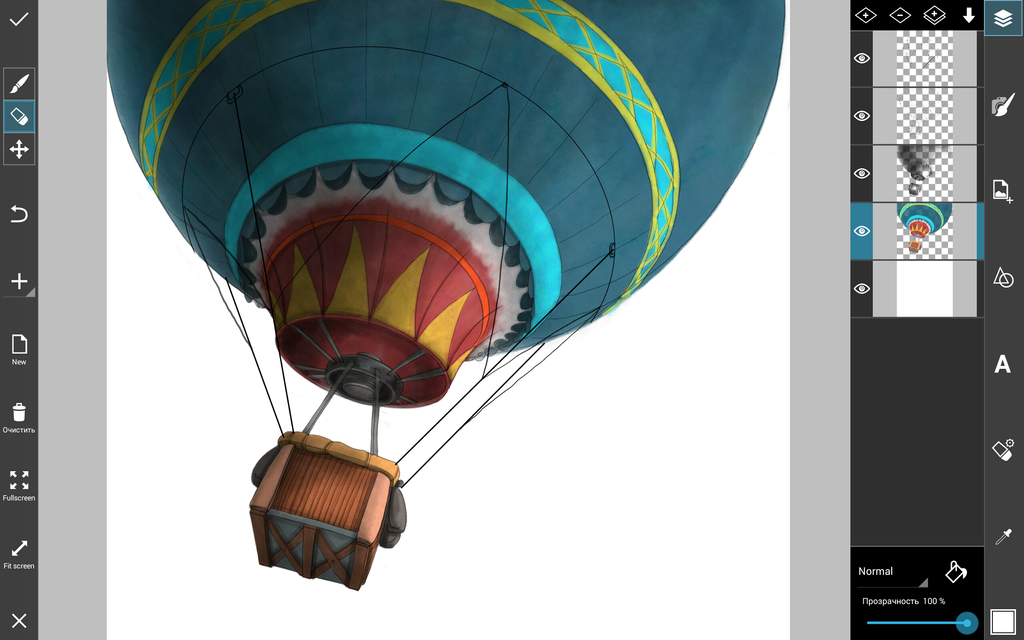
In a new layer below your outline, add basic color to your drawing. Make sure to use exciting and festive colors.
Step 5: Add Lighting
Use a bright white translucent spray brush to add lighting in a new layer. Add lighting to the area opposite your shadows, closest to the sun.
Step 6: Create a Sky
Add a layer of light blue to the background of your drawing. Create clouds with a white spray brush in layers on top of and below your balloon outline and colors to create the illusion that your balloon is literally soaring through the clouds!
