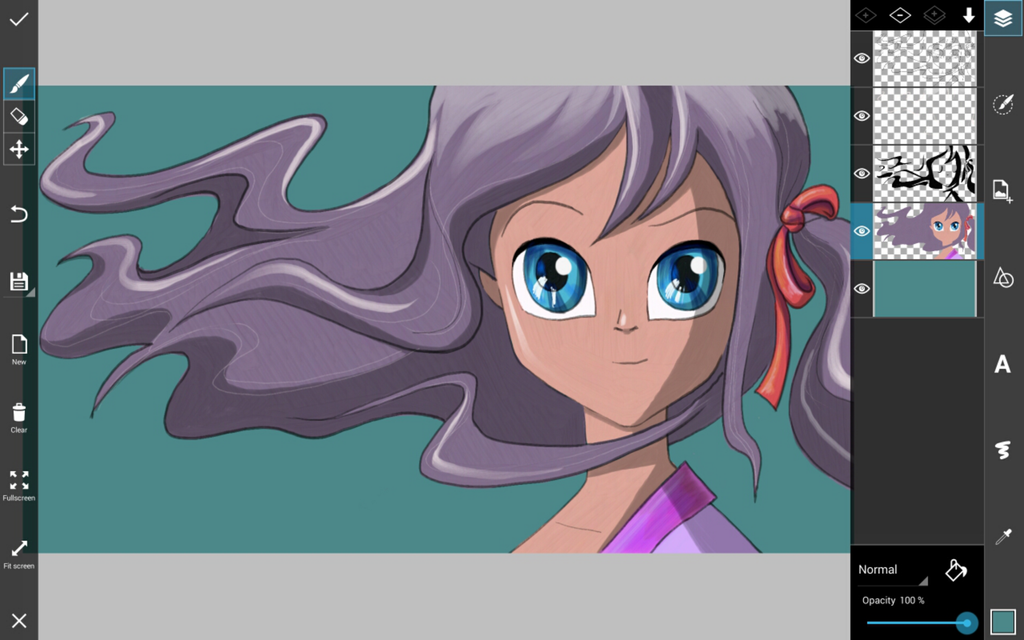
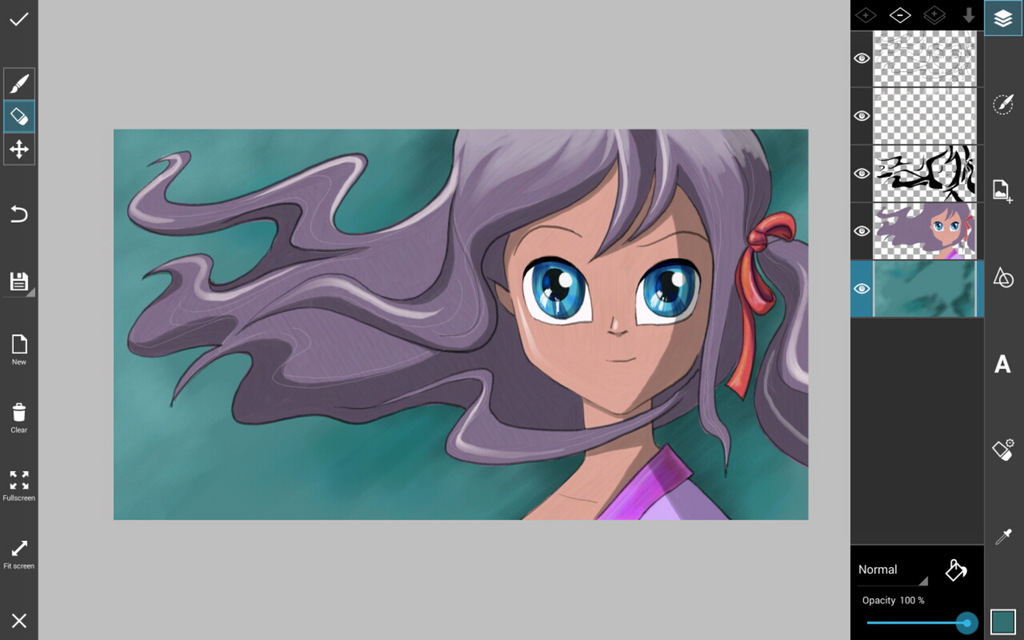
For this week’s Drawing Challenge, we have asked artists to use PicsArt Drawing Tools to take on the Japanese artform of Anime, and here we have prepared a tutorial to help get you started! Anime has a unique style that has garnered it global popularity and even fanaticism, but here we’ll show you how to make your very own anime without breaking a sweat. See how PicsArt Drawing Tools make drawing fun and easy, and use this step by step tutorial to get yourself into form for this week’s Drawing Challenge!
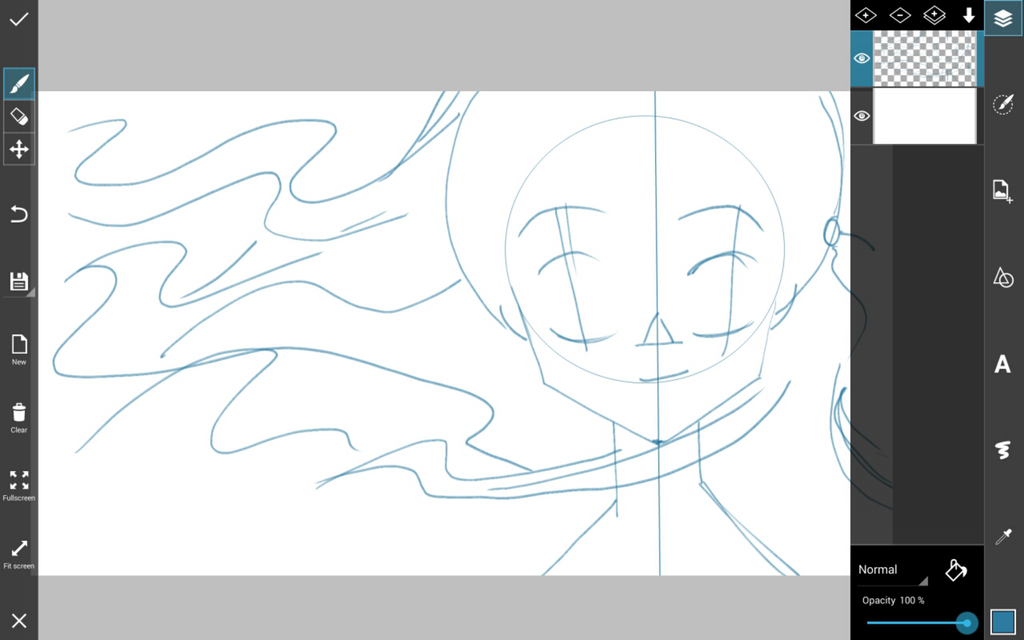
Step 1: Draw the Basic Outline
Draw a basic outline of your anime character using simple strokes in a light blue color so that you will be able to distinguish it from other outlines later on.
Step 2: Refine your Outline
Add a new layer and use your previous layer as a guide to draw a more precise outline. Delete your blue outline when finished.
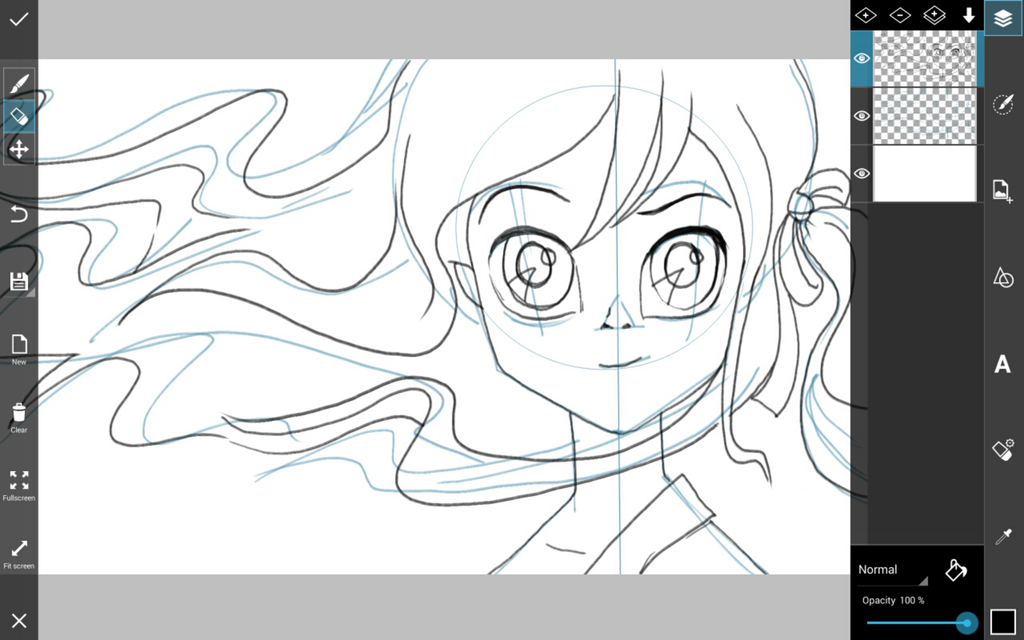
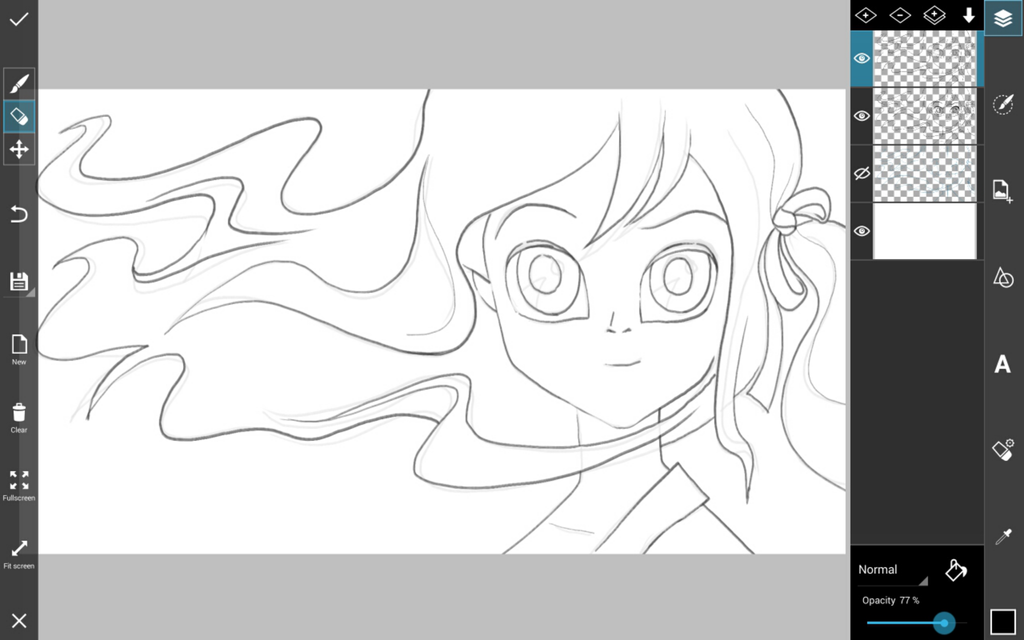
Step 3: Final Outline
Reduce the opacity, and add a new layer for your final outline. Trace a final outline using clean and deliberate strokes. Make sure you get all of your details exactly right and correct previous mistakes. Delete or hide previous outline when done.
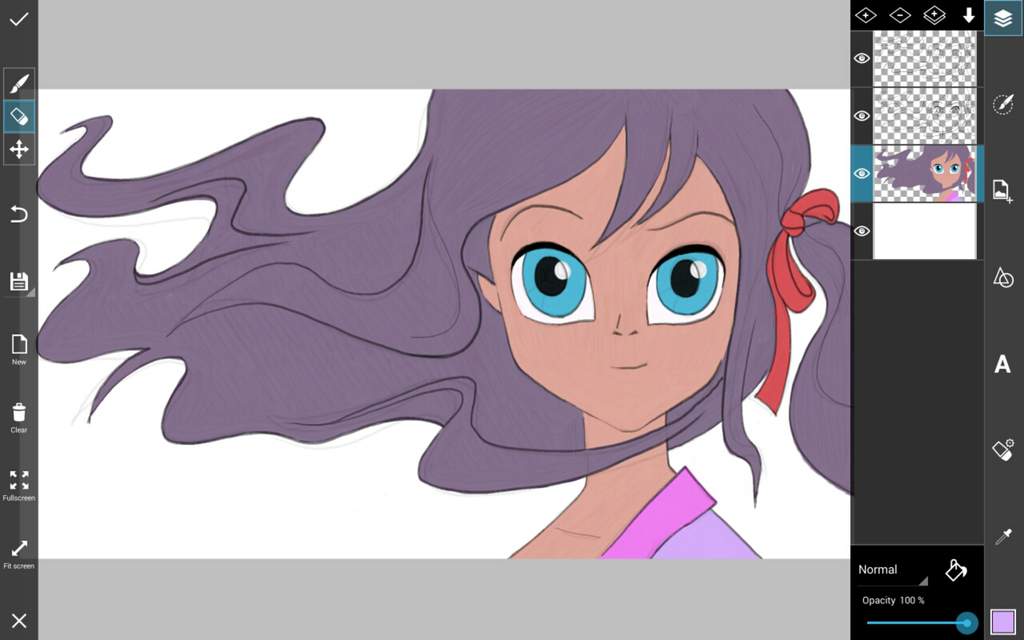
Step 4: How to Add Color to your Drawing
Use thick colorful brushes to add the basic first layer of colors to your drawing.
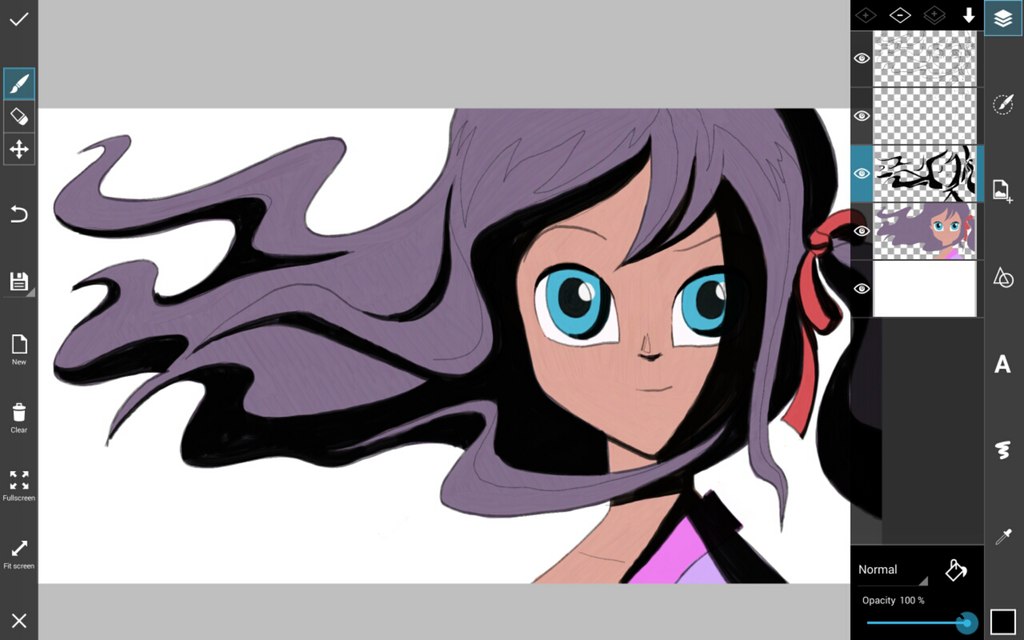
Step 5: Add Shading
Add a new layer and outline the areas of your drawing you wanted to shade. Color this outline in dark black when you are ready.
Step 6: Background Color
Reduce the opacity of your shade layer for a more subtle shade. Use brighter tones of color to add lighting and reflection into your drawing. Finish your drawing by using a translucent brush to add shading and texture to your background. This creates ambiance and gives your anime character that final touch of realism it needs to compete in this week’s challenge!
