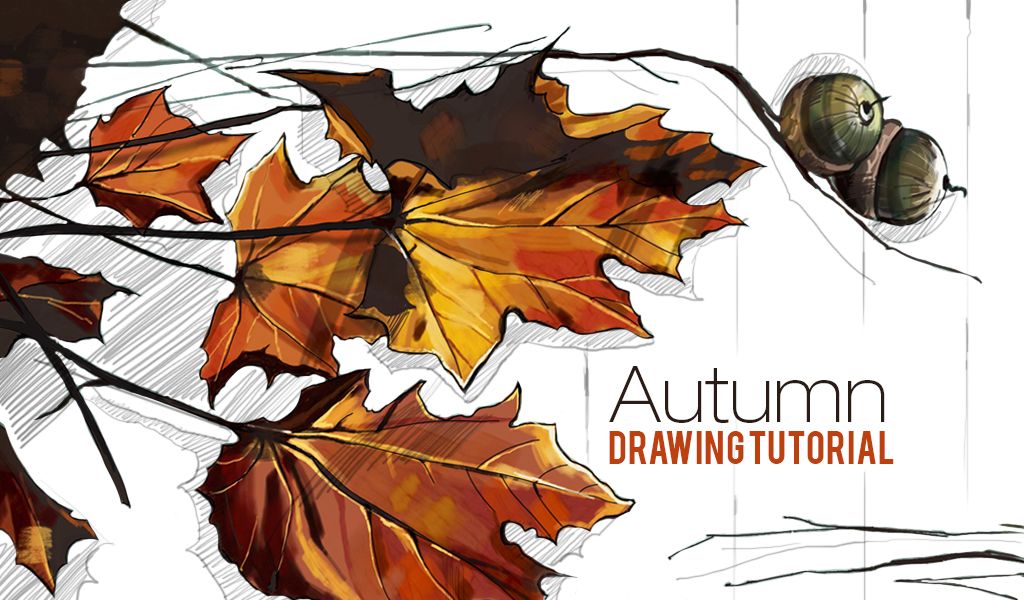
In this step-by-step tutorial, we’ll show you how to draw an autumn scene using PicsArt’s drawing tools. Read on to learn more!
Step 1: Create Sketch
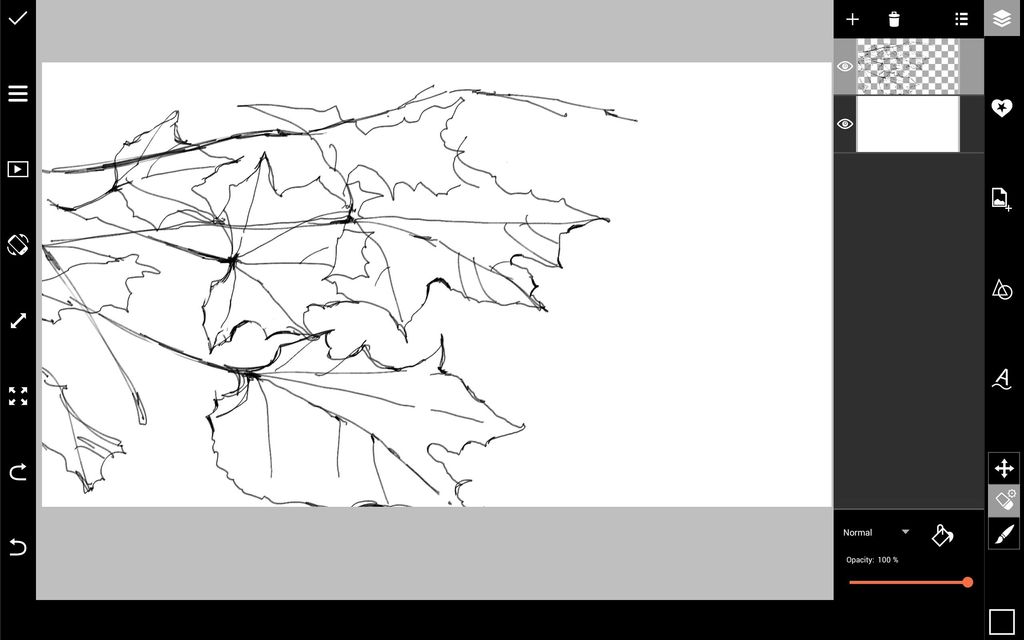
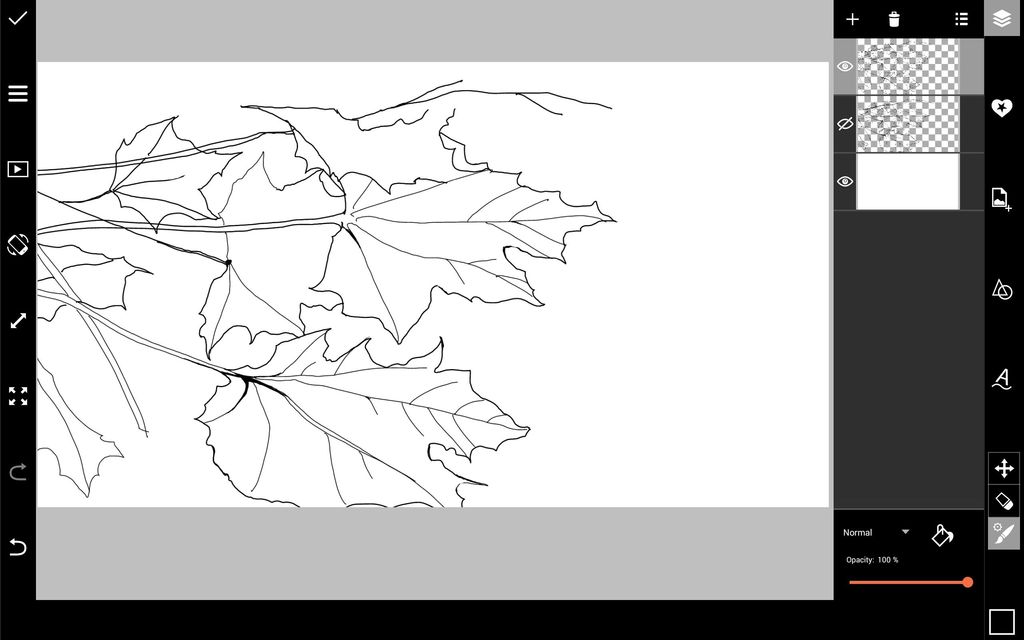
Sketch your scene. Reduce the opacity of your sketch, create a new layer, and draw a refined outline. Hide your original sketch.
Step 2: Start Adding Color
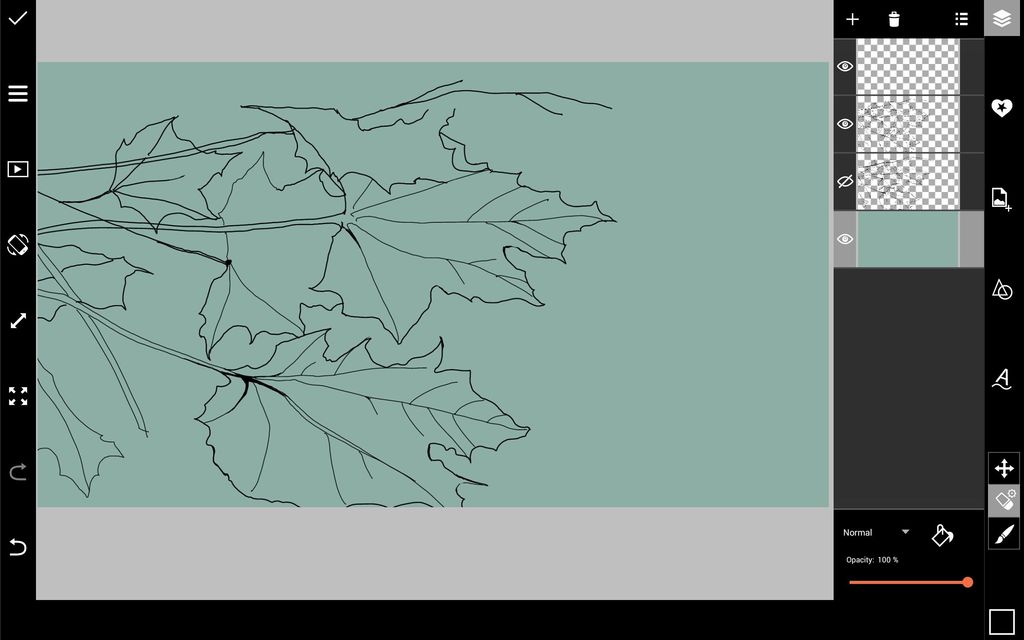
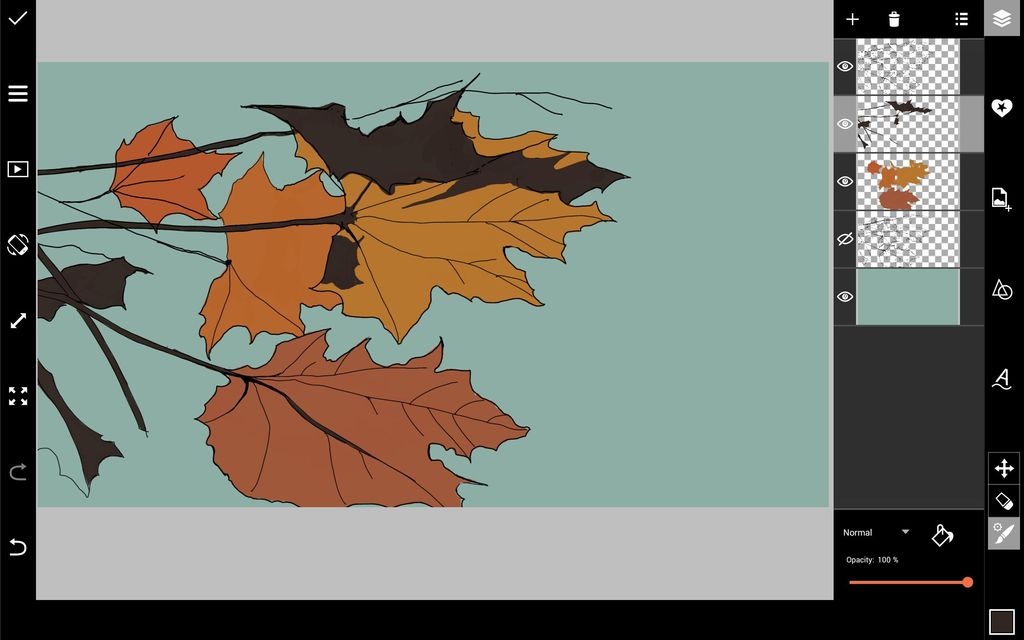
Fill your background layer with a solid color. Creating layers as you go, start coloring in your leaves.
Step 3: Add Texture Details
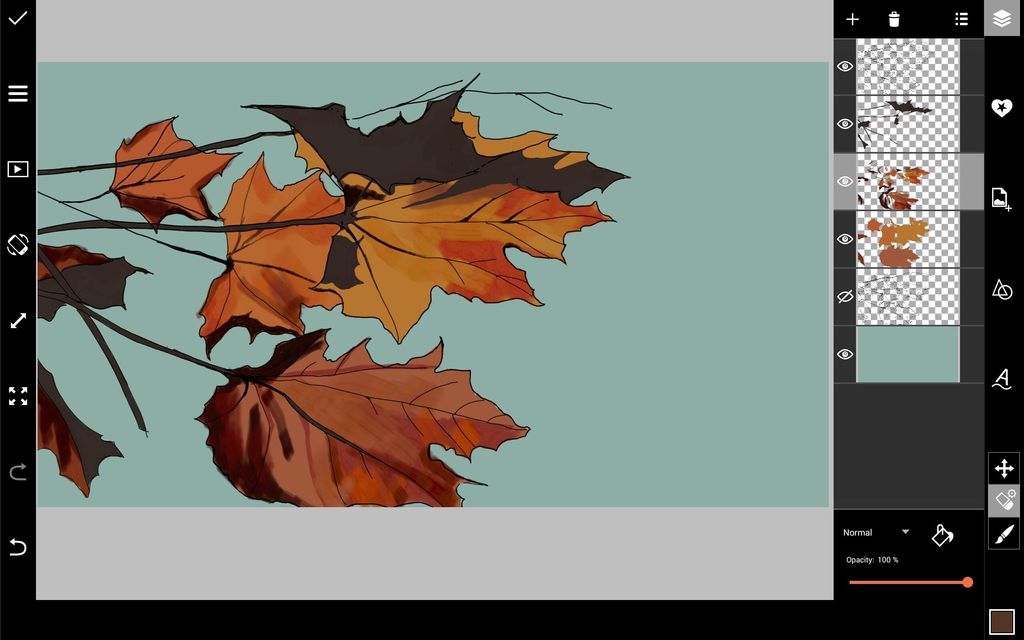
Add texture to your leaves with a semi-transparent brush in a variety of shades of red, orange, and yellow. Use a white or light yellow brush to add light accents.
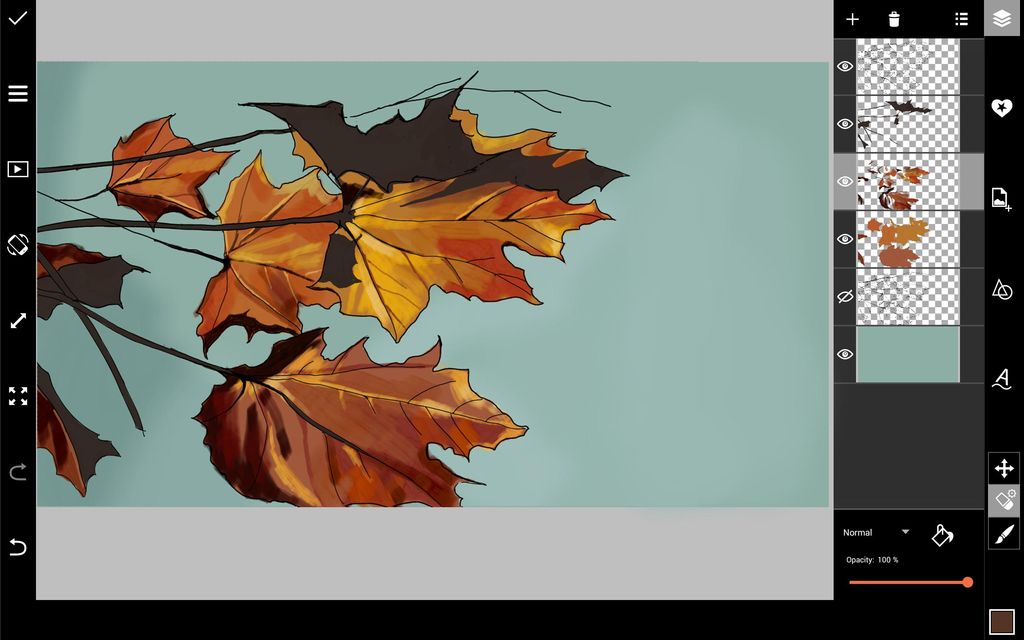
Step 4: Darken Background & Add Shadows
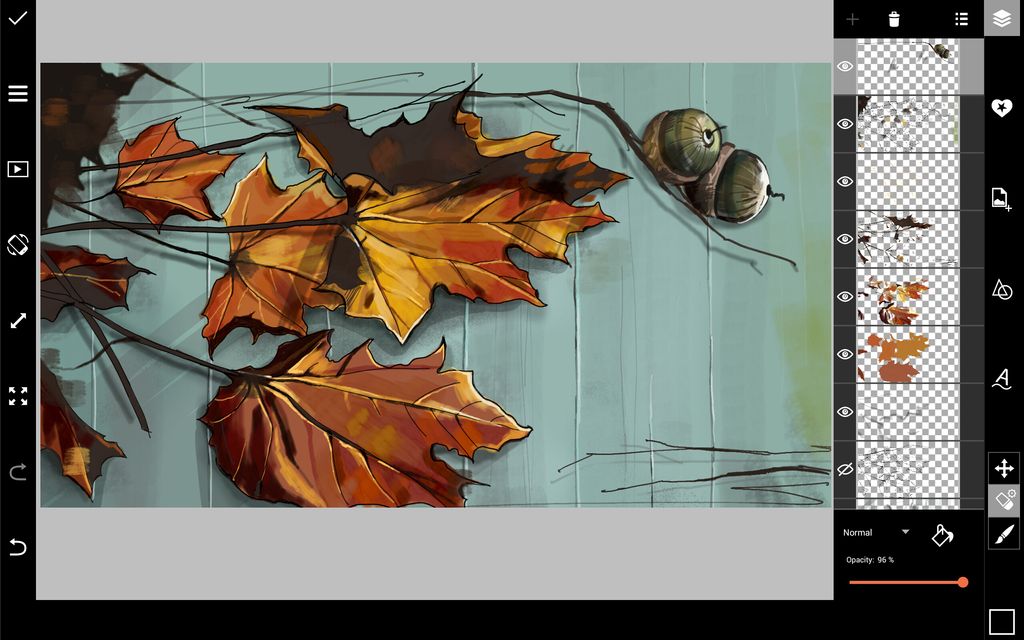
Create a new layer and bring it just above your background layer. Using a large, soft brush with a reduced opacity, darken the background everywhere except right around your leaves. This will help to bring the focus of your drawing away from the background and toward the leaves. Using a soft, semi-transparent black brush, add shadows to the leaves. Draw in a few additional branches.
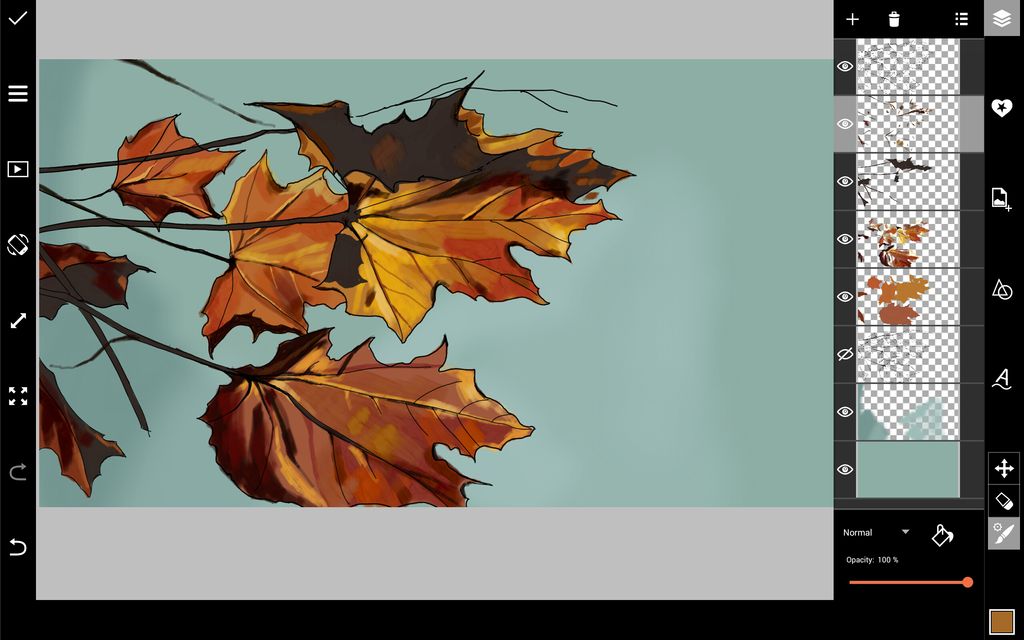
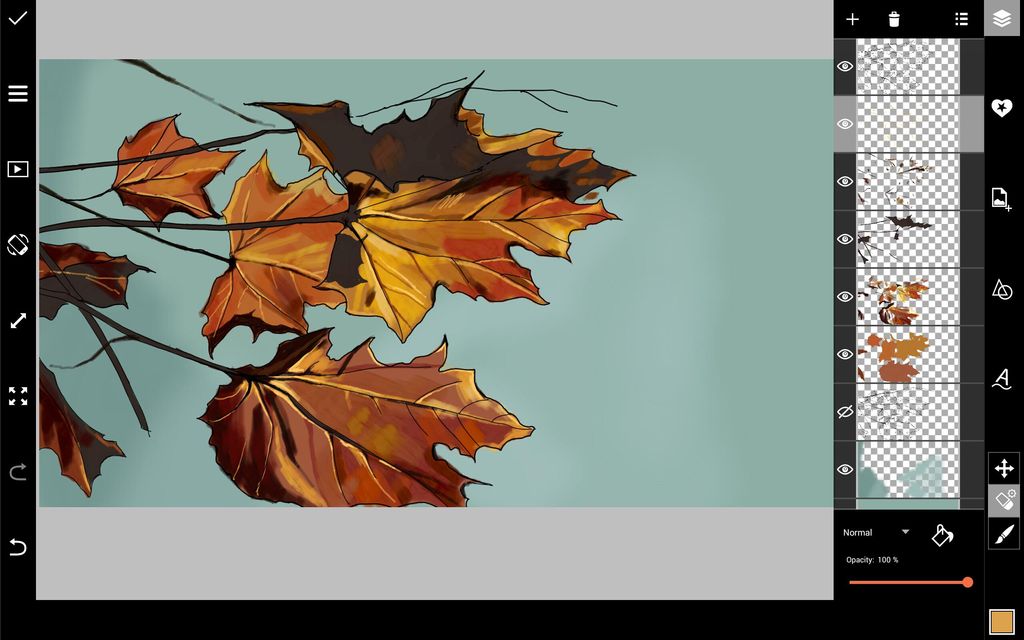
Step 5: Start Adding Background Details
Draw stripes on your background to make it look like wooden panels, using a black brush for shadows and a white brush for light. Create a new layer and drag it below the layers containing the leaves drawings. Use a soft, semi-transparent black brush to add shadows below your leaves.
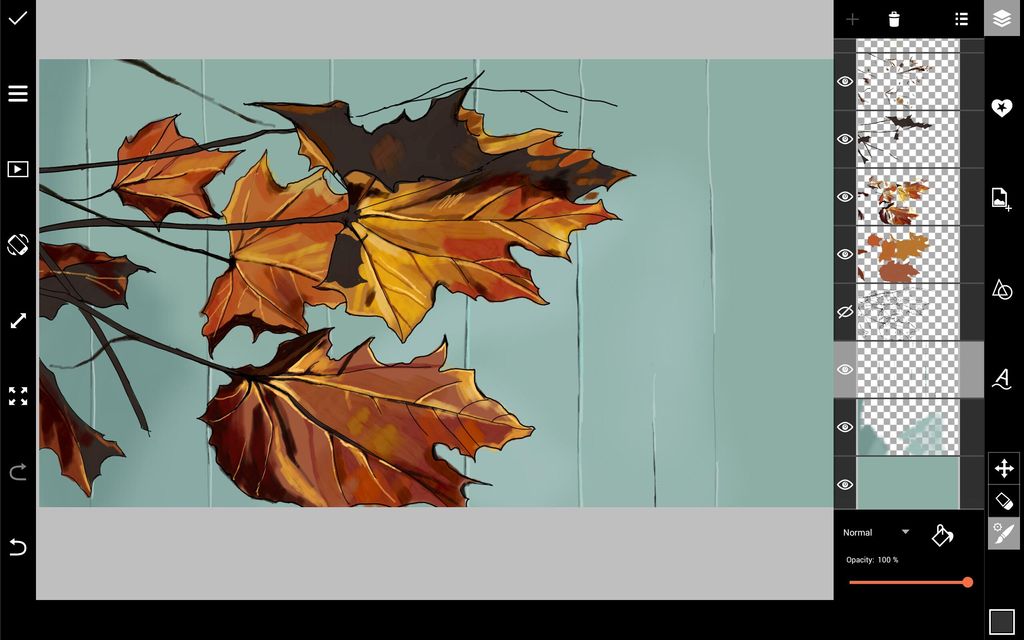
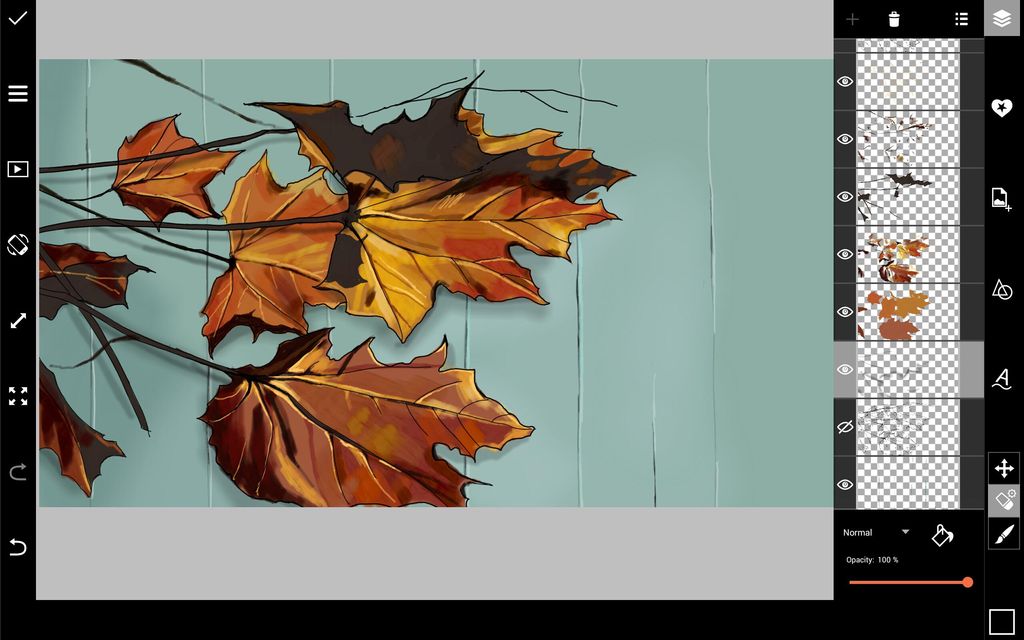
Step 6: Finish Background Details
Draw in a few branches to balance out your composition. Using a variety of different textured brushes, add shadows to your background and to the leaves. Draw in a few dark leaves in the corner to frame your image.
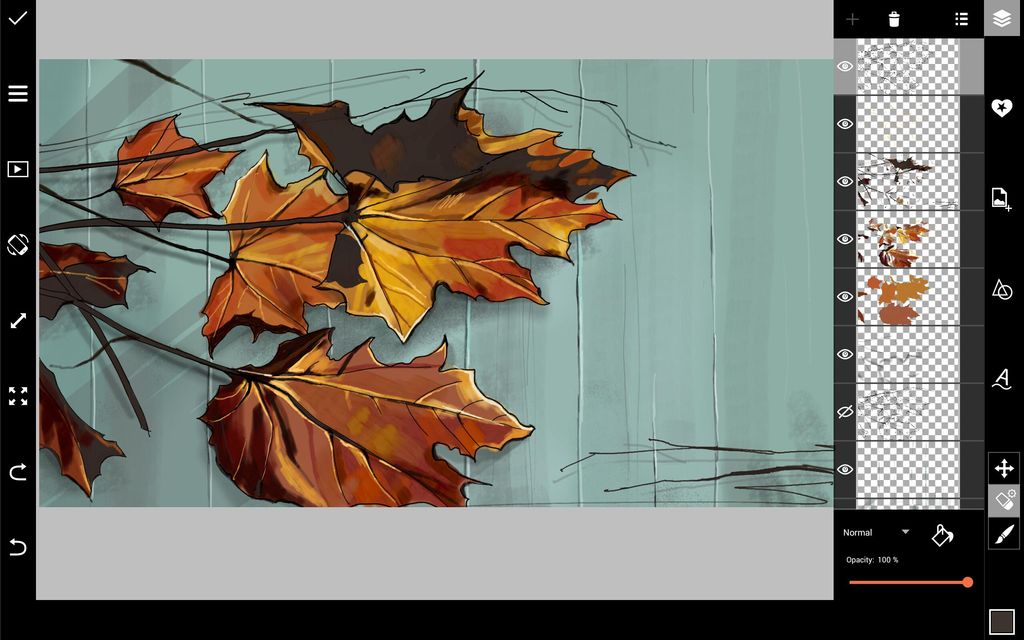
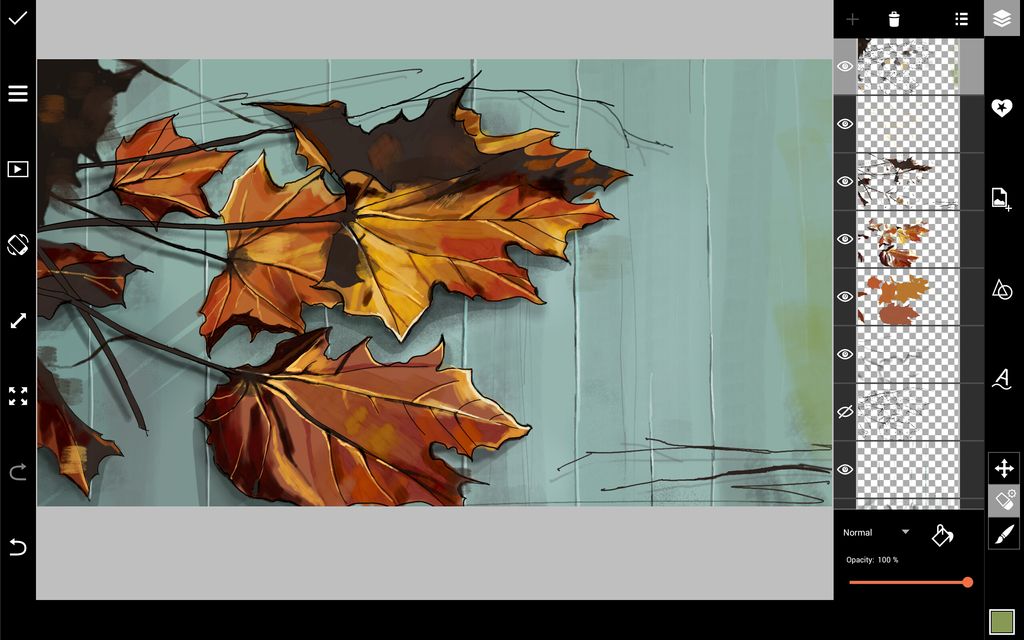
Step 7: Add Final Details
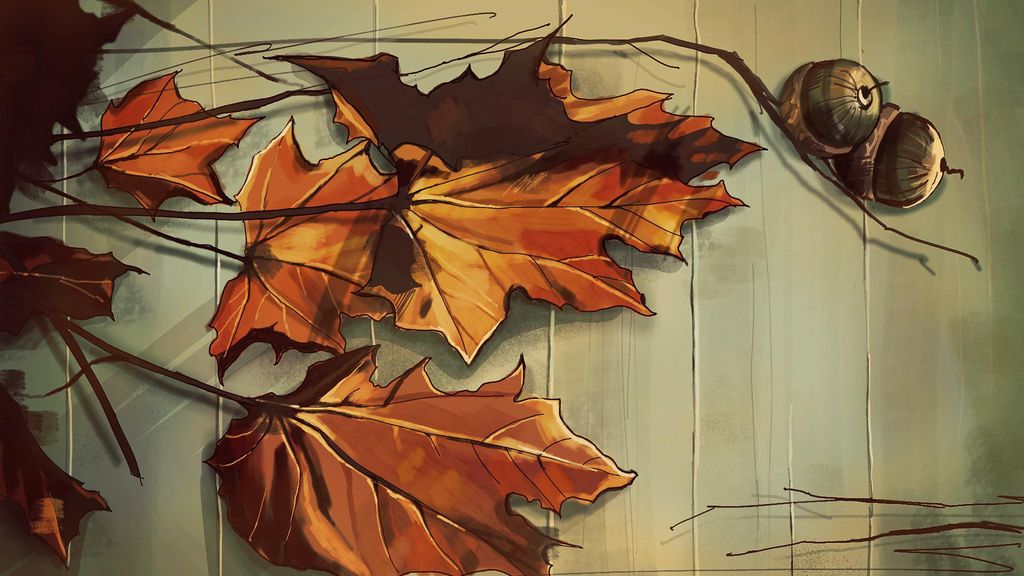
Add the final details to your drawing—we chose to add a branch with acorns and a few more shadows. When you’re done, load your drawing into the photo editor, apply a photo effect—we chose the Twilight Effect—and save your creation!
