This week’s Drawing Challenge has asked users to draw a cityscape using PicsArt’s Drawing Tools, so this tutorial will show you how to draw a glittering metropolis for the occasion.
Raising a city is not like other drawing subjects. This challenge calls for some special tricks that, once you learn, will produce some startling results. Just grab your hard hat and follow the steps below!
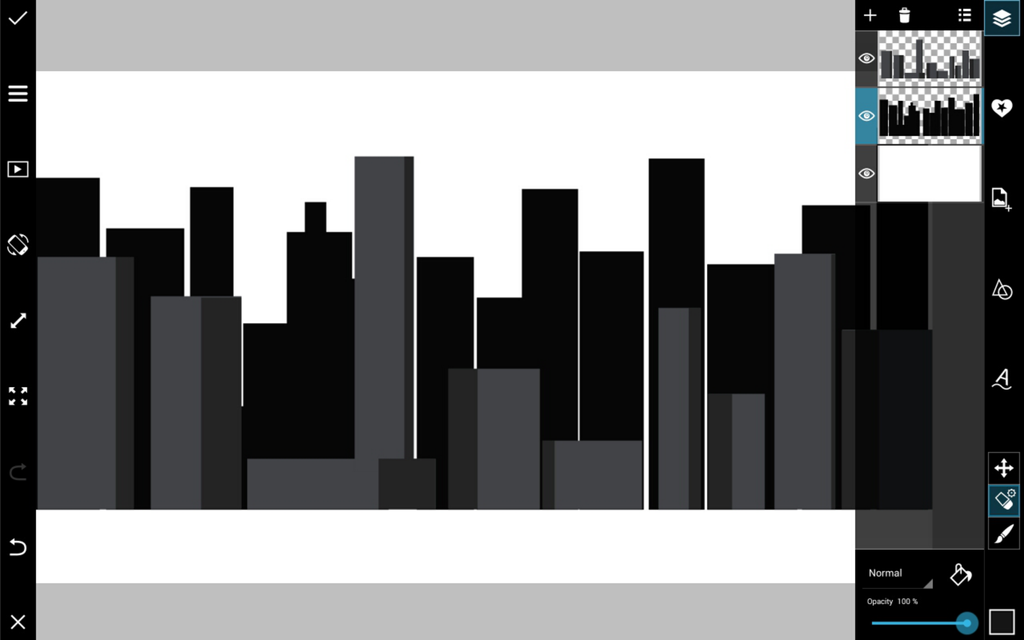
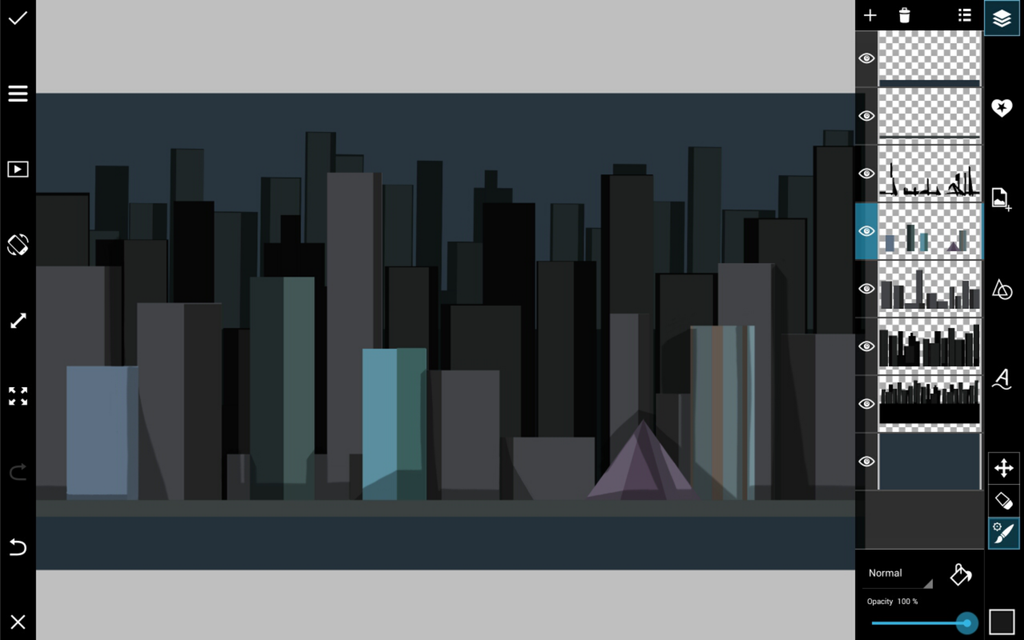
Step 1: First Two Rows
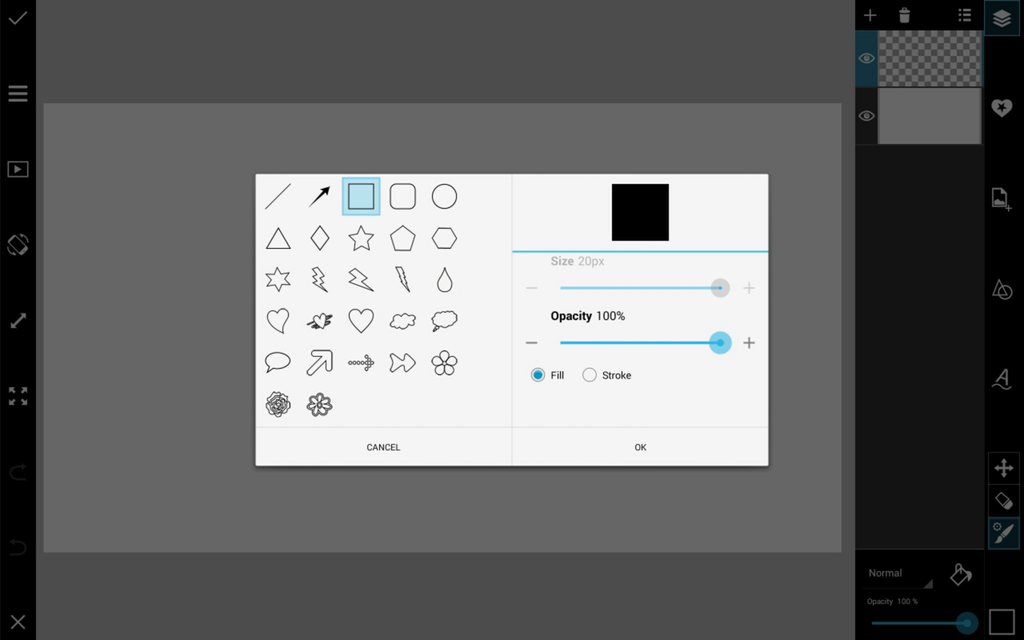
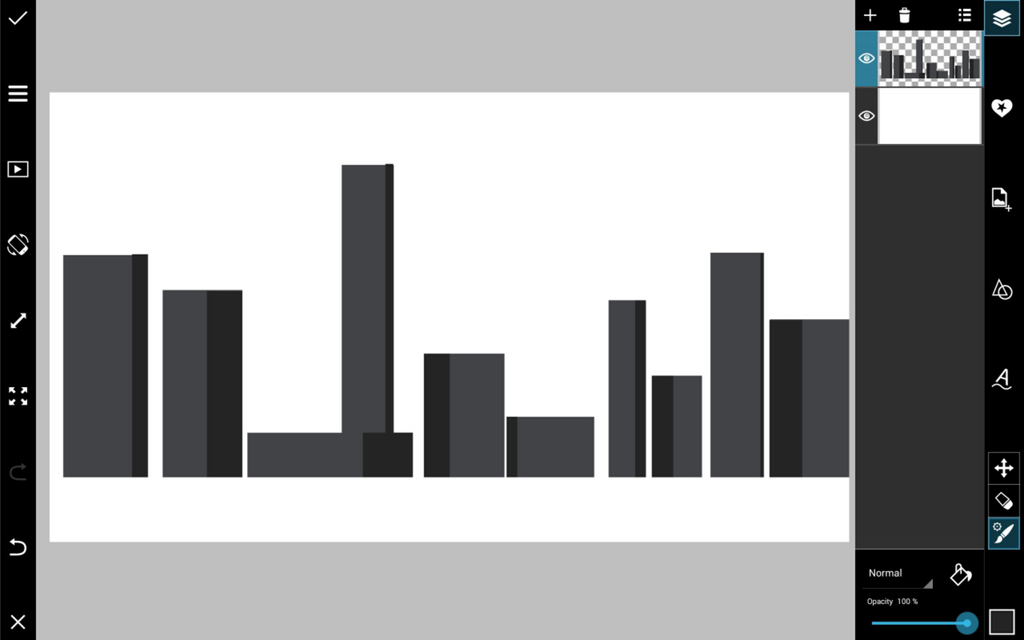
Select the Shape icon and select the rectangular shape on the “Fill” setting. Select a medium dark color and create your first row of buildings. Use a slightly darker color to darken the sides of the buildings. Add a layer below, and use black to create your second row of buildings.
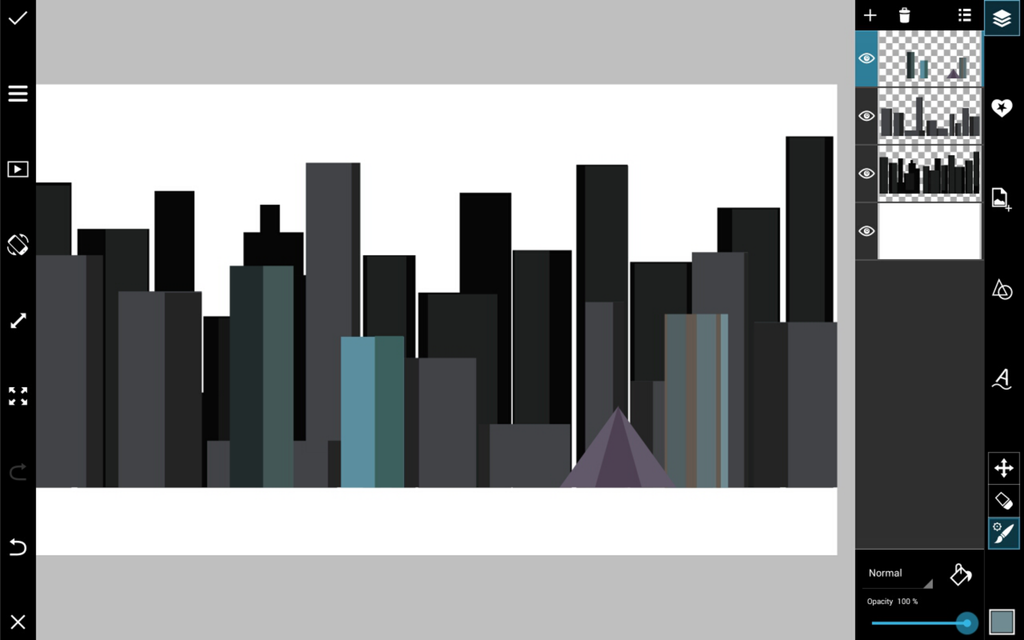
Step 2: Foreground & Background
Add layers in the foreground and use a variety of colors and shapes to create your front row of buildings and a street or river. Choose another dark color for your final row of buildings at the bottom, and on the very bottom layer, fill in a sky.
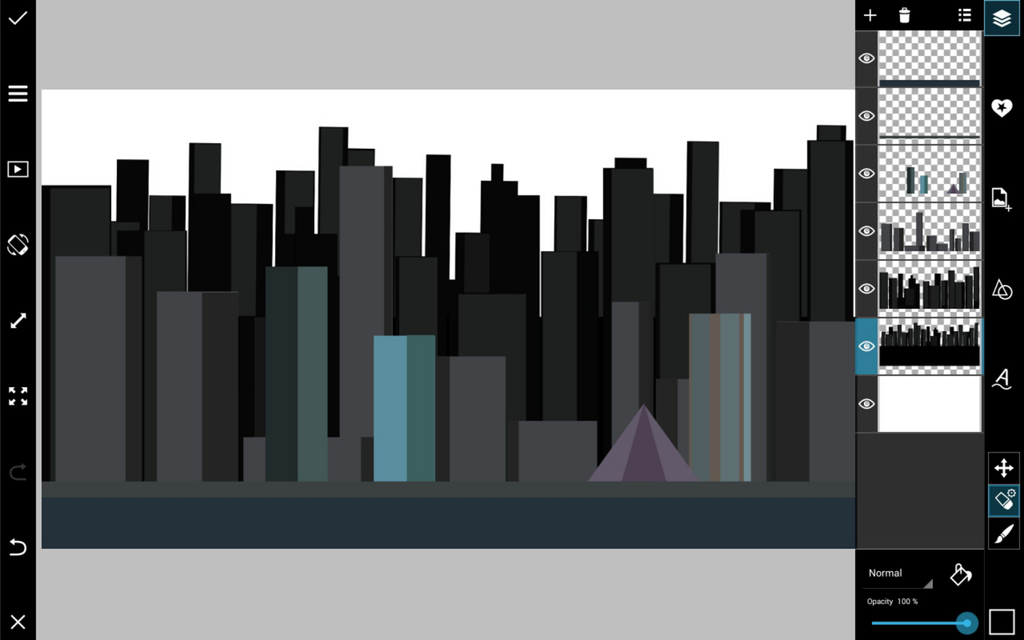
Step 3: Shade
Add a layer on top of your buildings and use black brushes and shapes to draw shadows being cast on top of and behind buildings. Reduce the opacity to make them translucent like shadows.

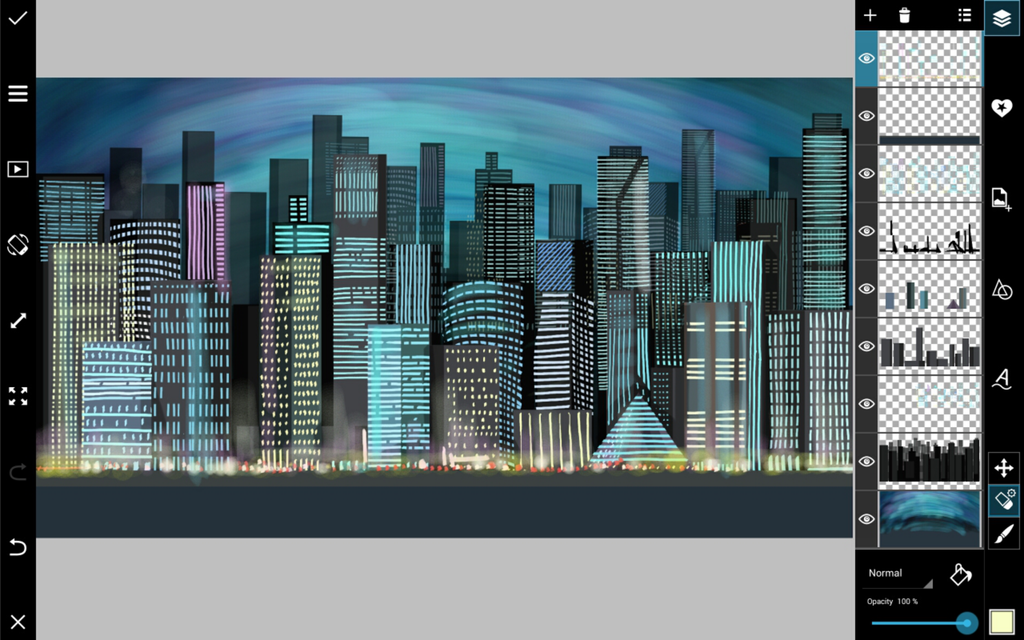
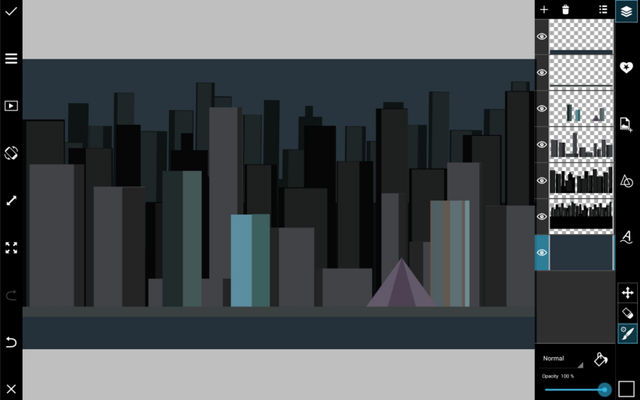
Step 4: Lights
Select bright and pale colors to dot your buildings with specks of lights. Experiment with different brush shapes to vary your light patterns. Create streaks of varied tones in your sky to give it texture, and reduce the opacity of your back row of buildings for a cool effect.
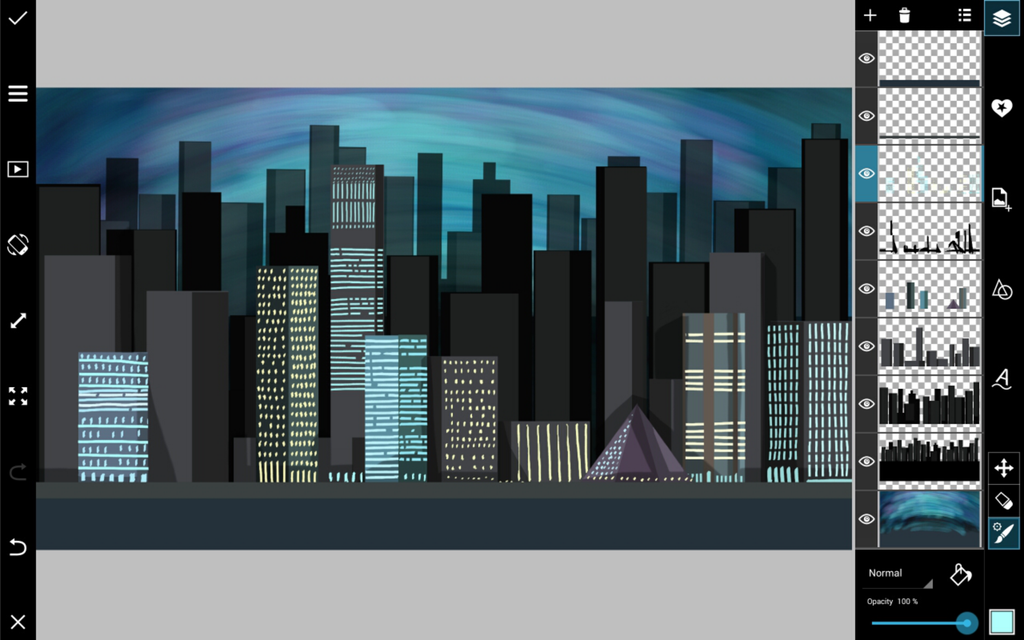

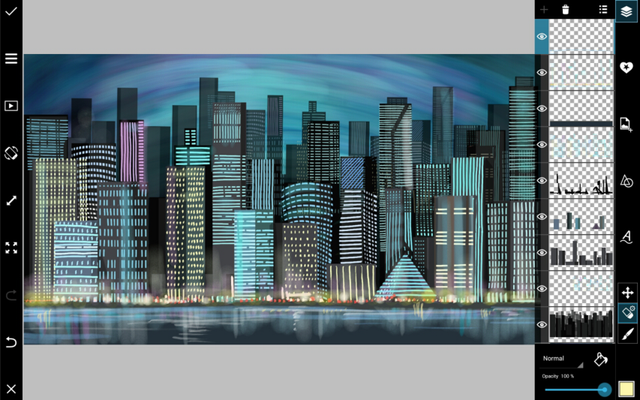
Step 5: Final Details
Add the final details that will bring your drawing to life. Create specks of colored lights with large, nearly transparent halos for traffic. If you have a river, reflect your city and add waves.