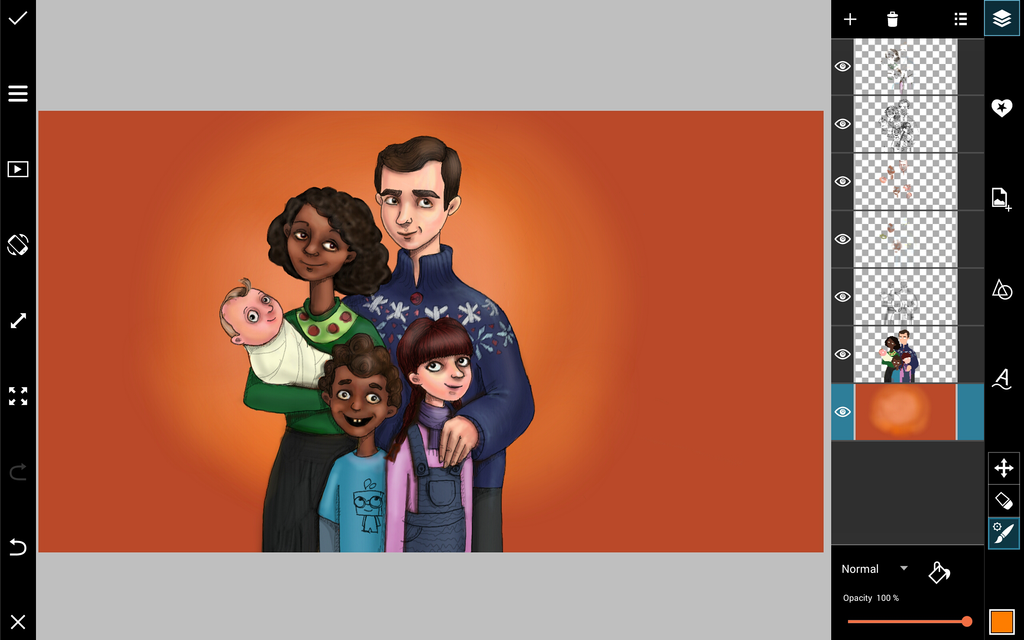
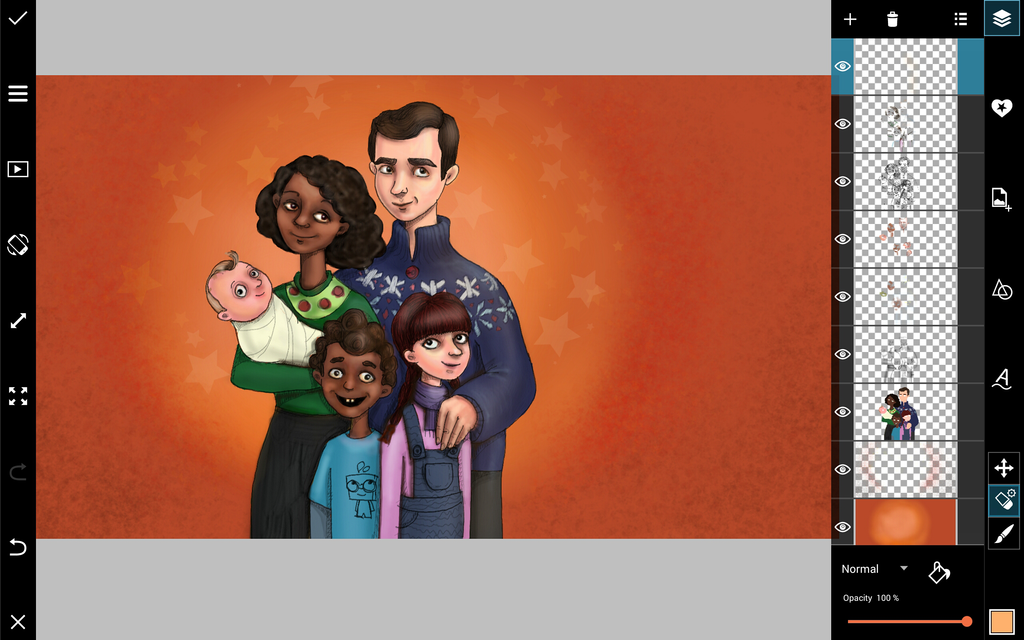
This week we set in motion a Family Portrait Drawing Challenge, since many of us are celebrating Christmas and spending time with our closest loved ones. To help you out, today we are sharing a step-by-step tutorial on how to draw the perfect family portrait using the PicsArt app.
PicsArt’s drawing tools are loaded with all kinds of special features that can make even the most daunting of drawing assignments easy. Use this tutorial to learn a few tips and tricks to make sure your family portrait comes out looking worthy of the wonderful people between its frames.
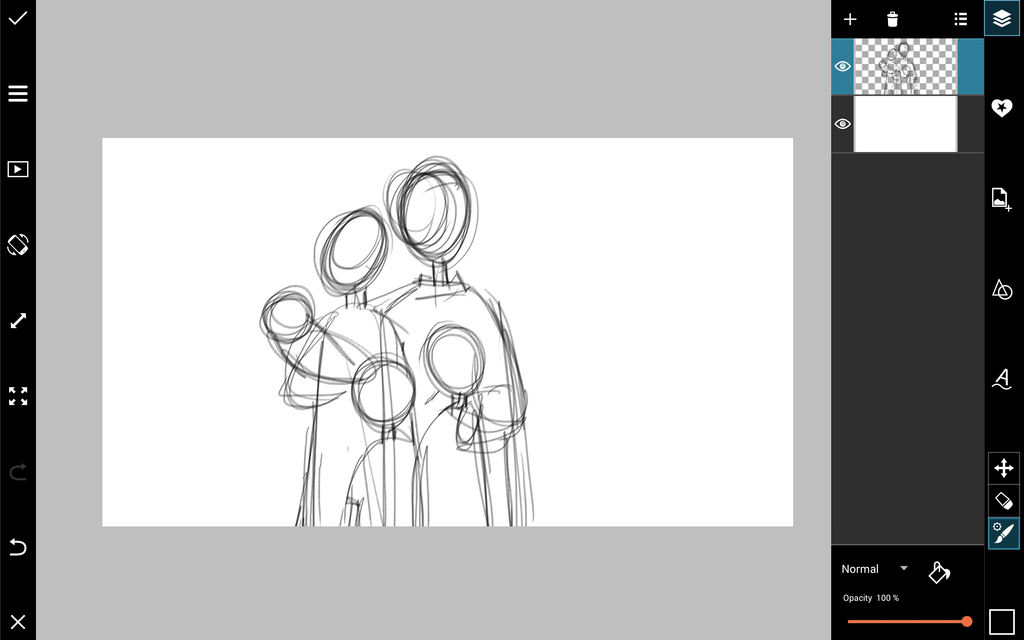
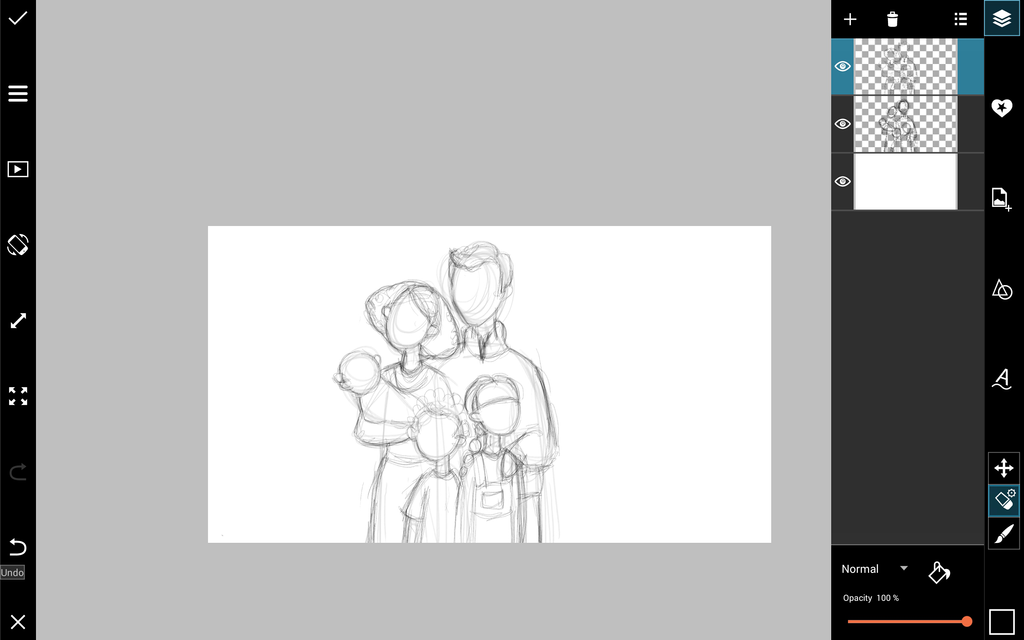
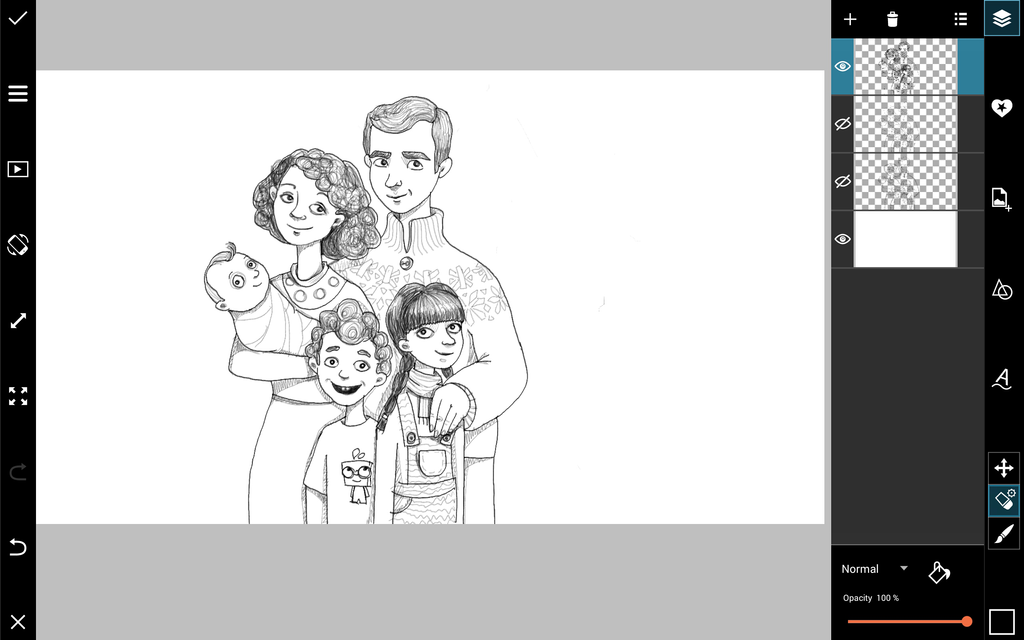
Step 1: Draw an Outline
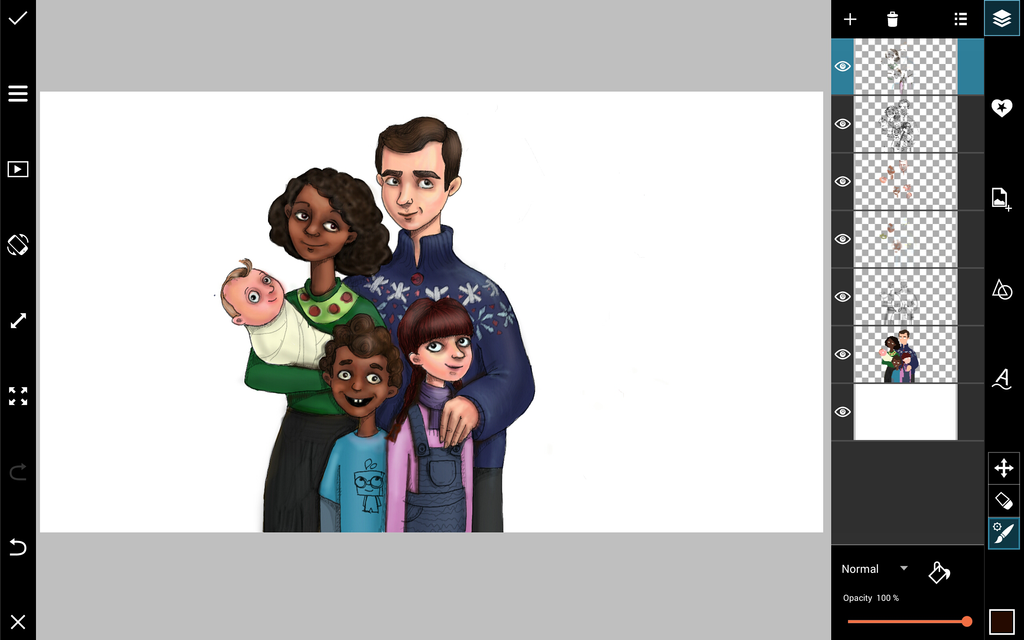
Draw a basic outline of your family, deciding where everyone is to be placed and how you want them positioned. Reduce the layer’s opacity, add a new layer, and trace a more precise outline. Repeat this process until your outline is perfect.
Step 2: Add Color
Change your brush type by selecting the brush icon, and select the color box to change your color. Add new layers below your outline for your colors, and color in your drawing.

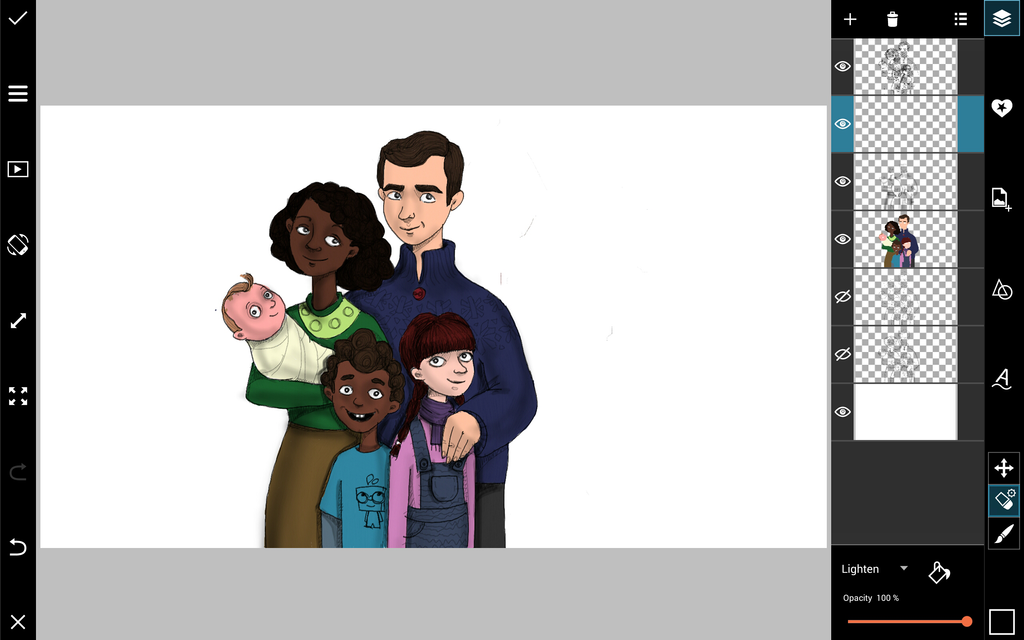
Step 3: Add Lighting and Shading
Add a layer on top and black out all of the areas where you want shade, then reduce the opacity to fade it into your drawing and soften your shadows. Use the same technique for lighting, but with a light brush.
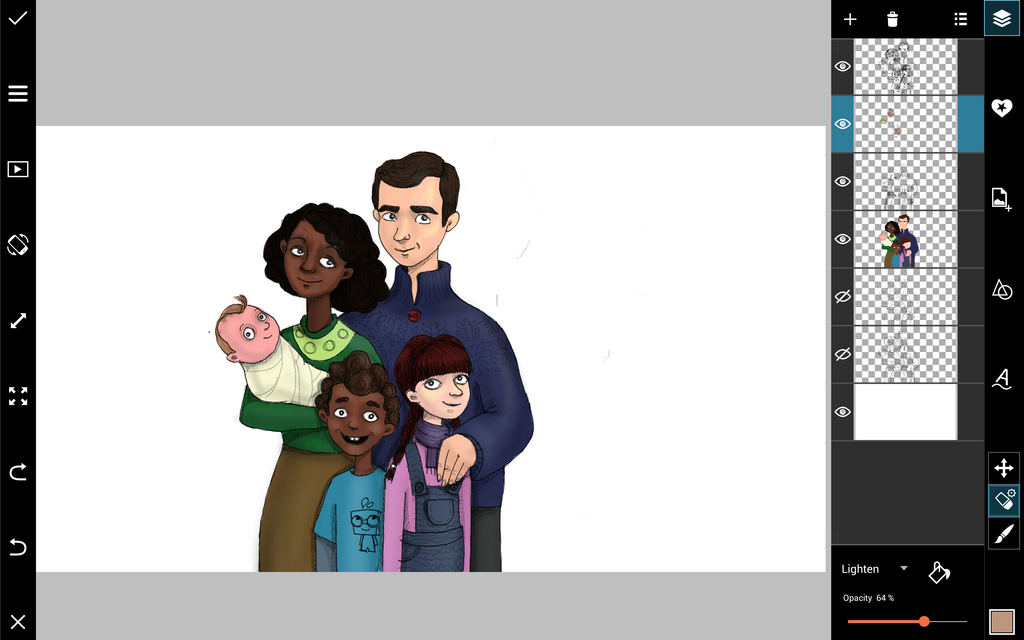
Step 4: Add Details
Create new layers on top, and add extra shading or further details to your portrait to make it really pop.
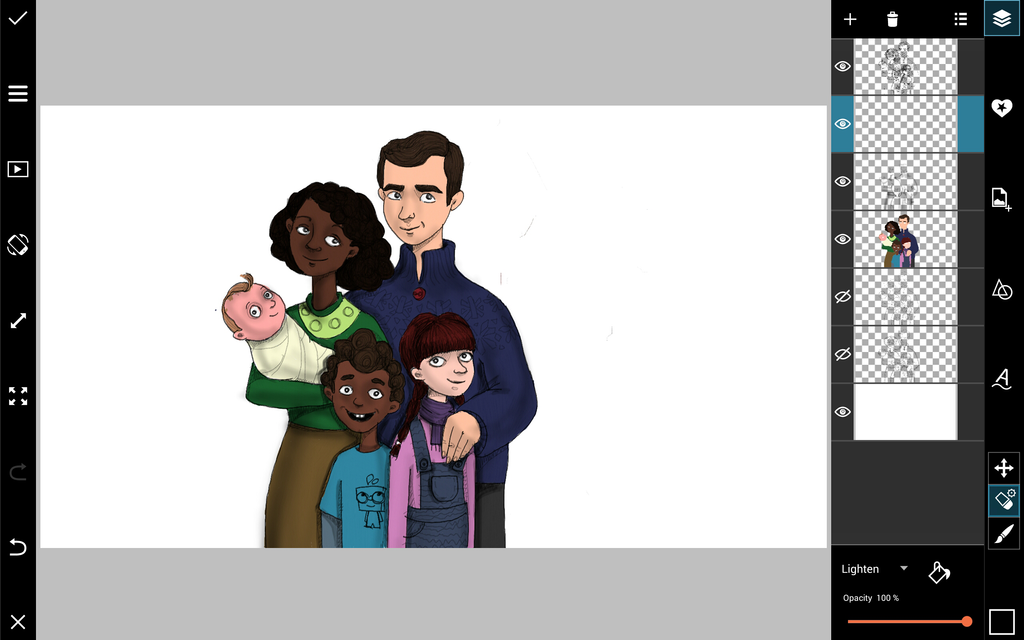
Step 5: Final Touches
Add a final background to the very bottom layer. Fill it with a background color, and use a spray brush to create a spotlight.
