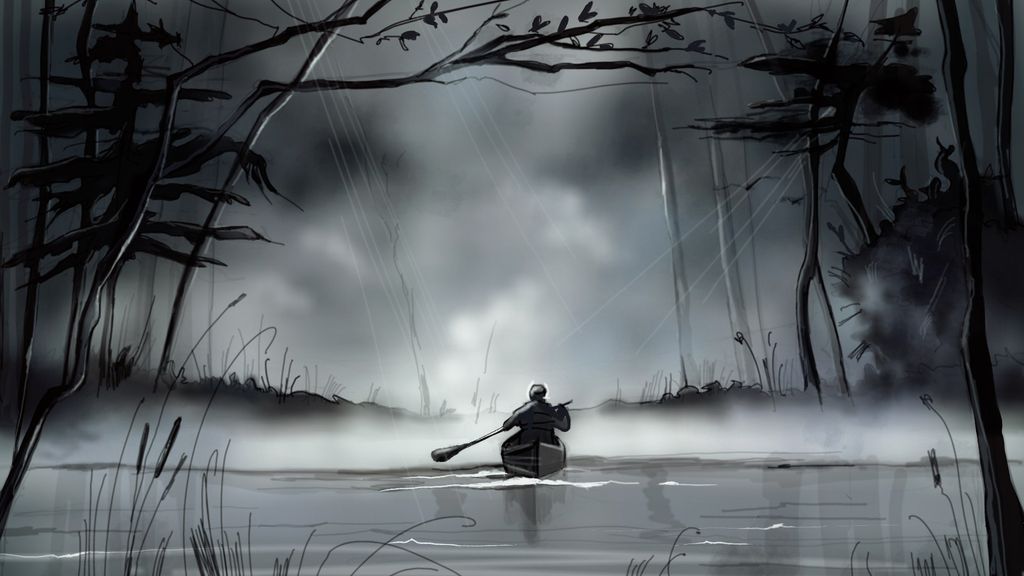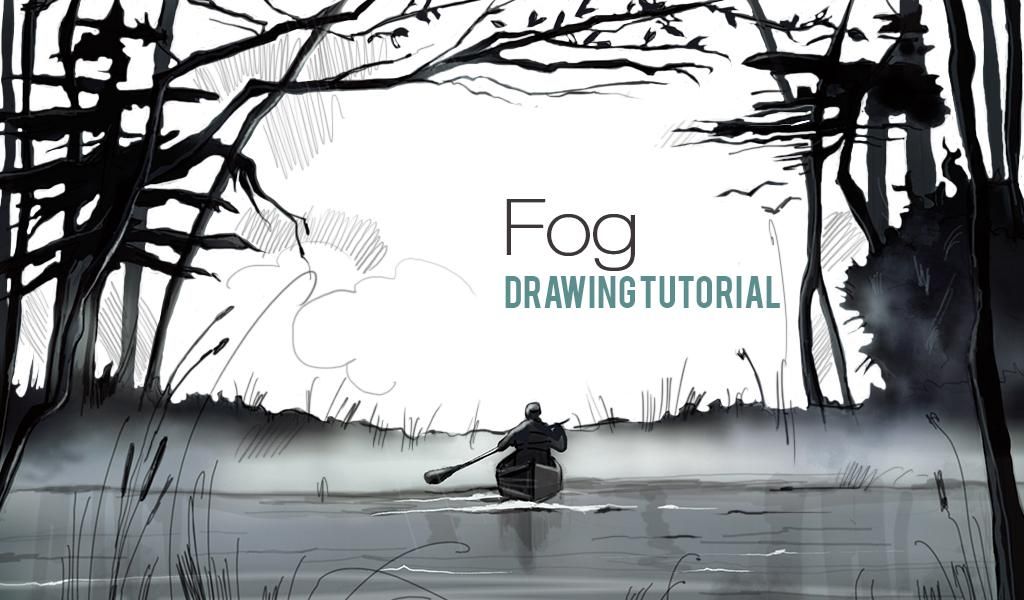
In this step-by-step tutorial, we’ll guide you through the process of using PicsArt’s drawing tools to create your own drawing of a foggy scene. Follow along to pick up the techniques, and then give it a try yourself!
Step 1: Sketch Outline
On a blank layer, sketch your drawing. Create a new layer, lower the opacity of your sketch, and trace a clean outline.
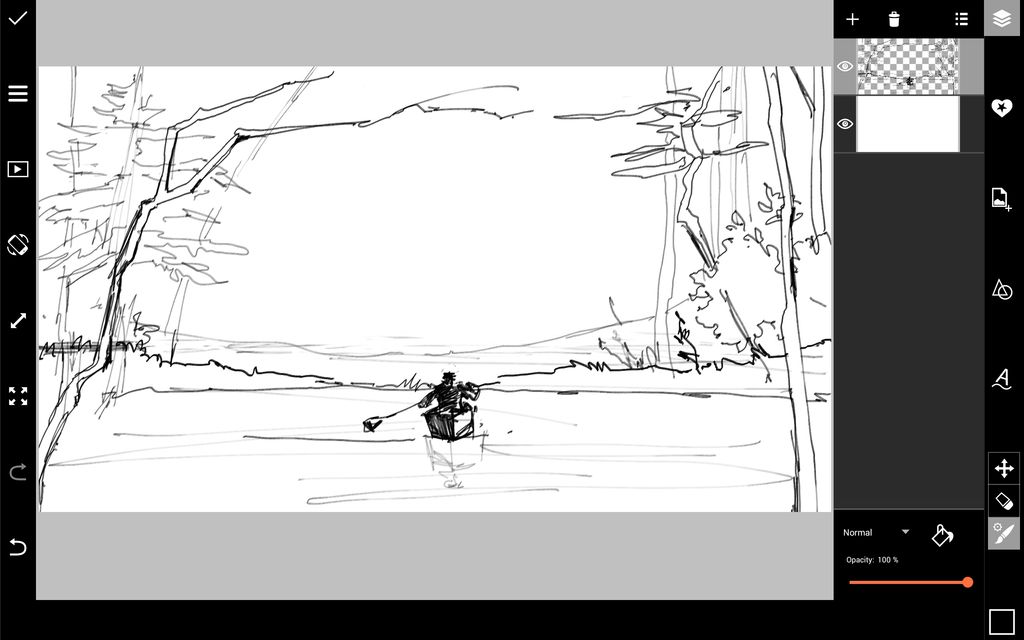
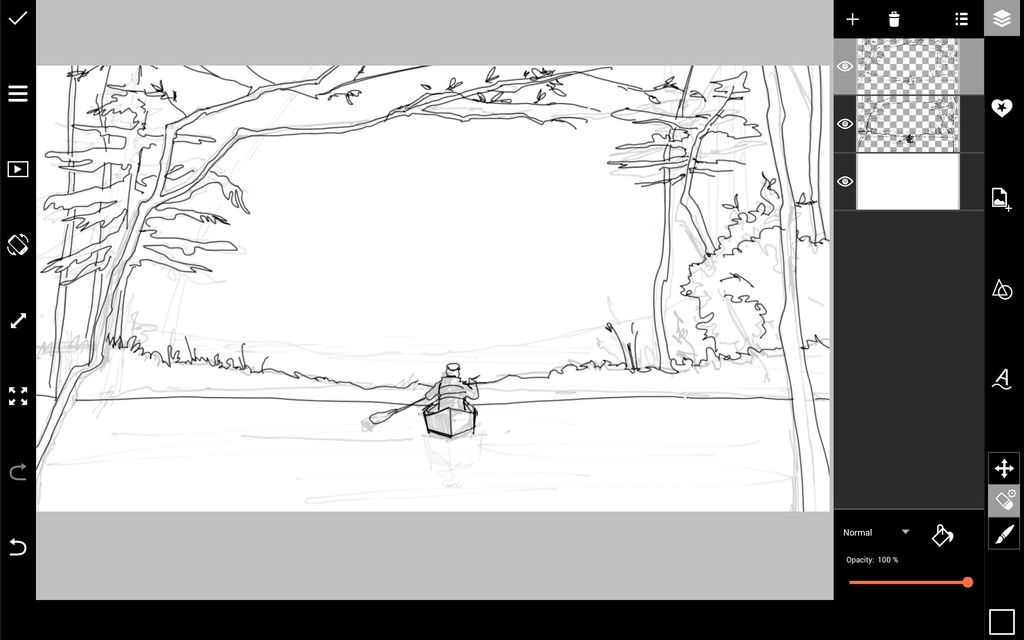
Step 2: Add Shadows
In additional layers, start adding shadows to your drawing using different shades of dark grey and black. Use darker colors in your foreground and lighter colors in the background to give your drawing depth.
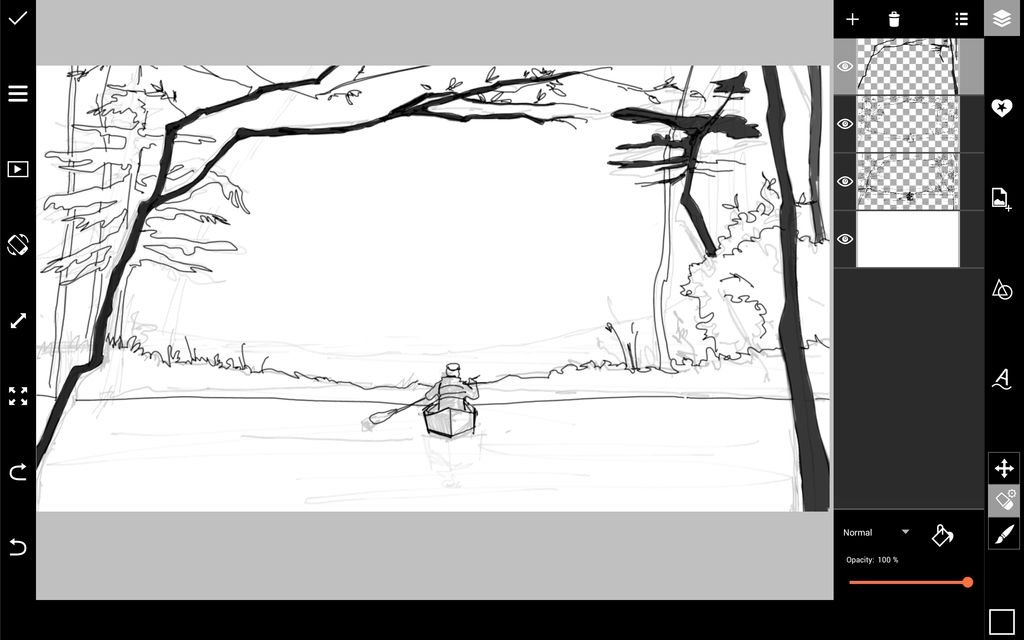
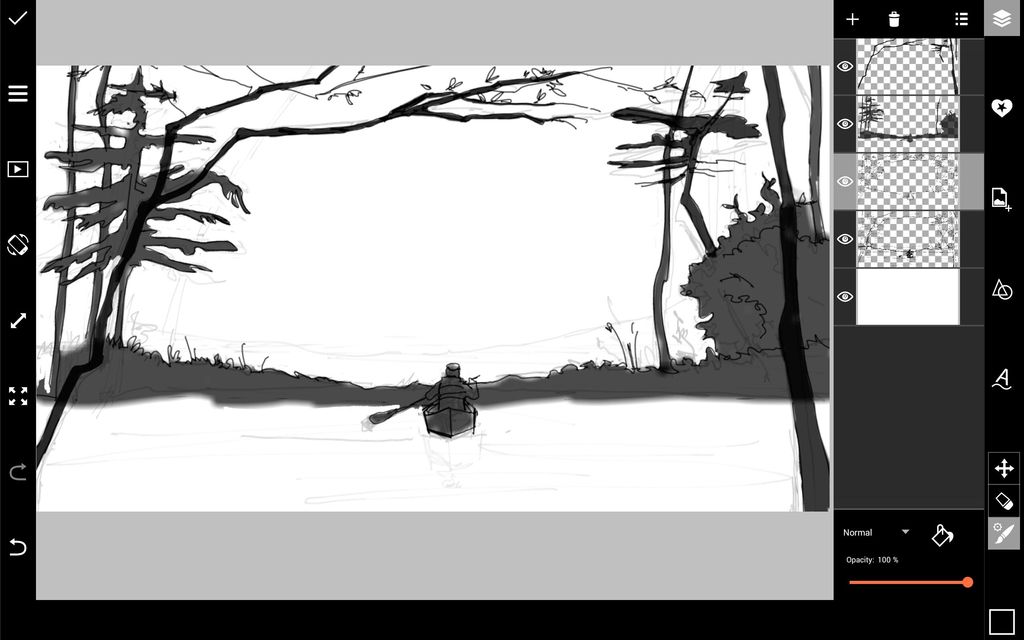
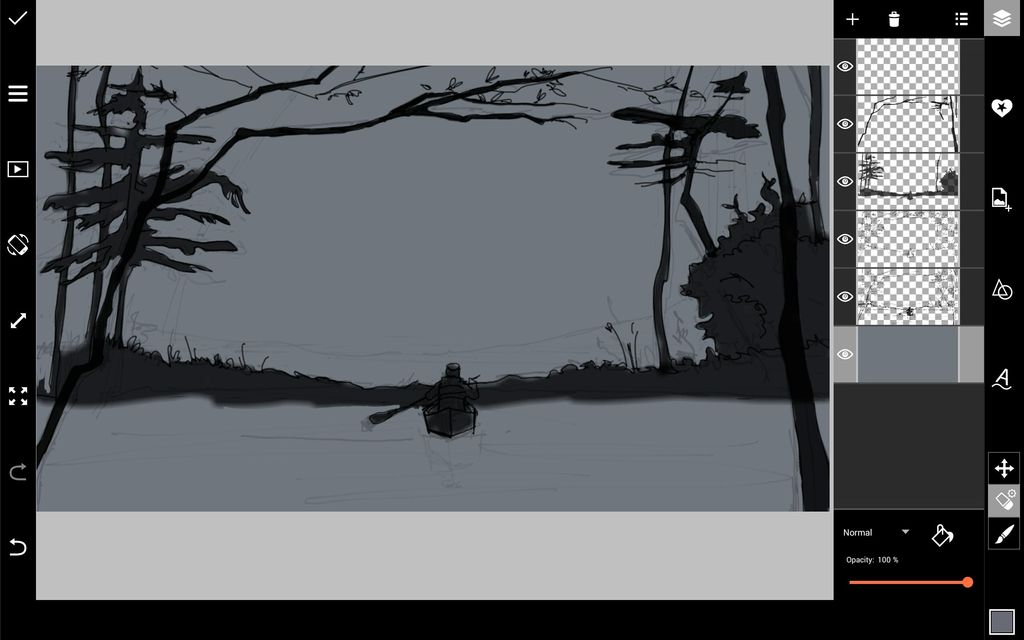
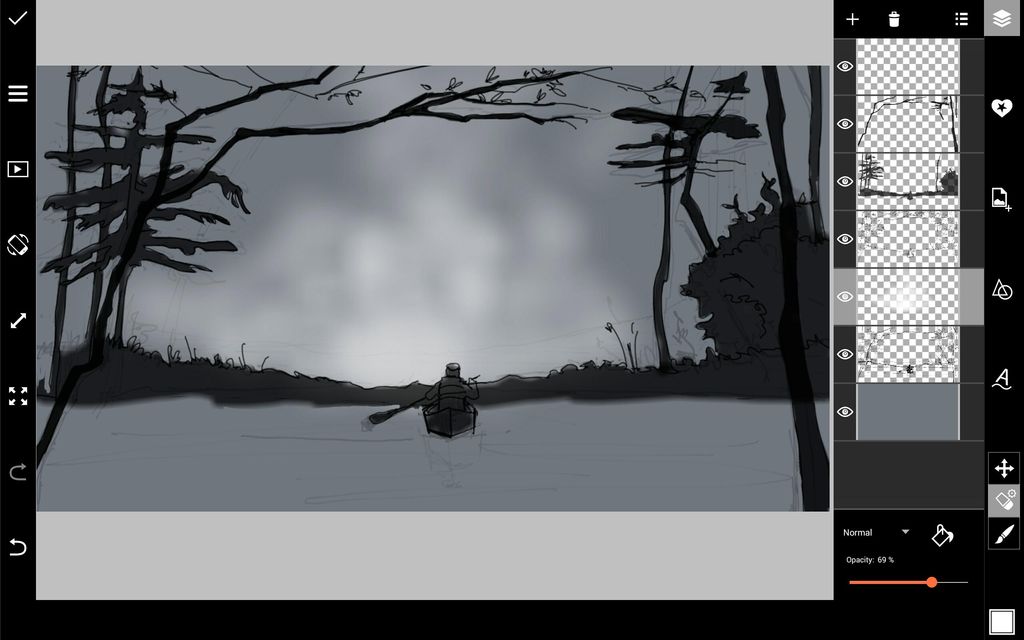
Step 3: Fill Background Layer & Start Adding Fog
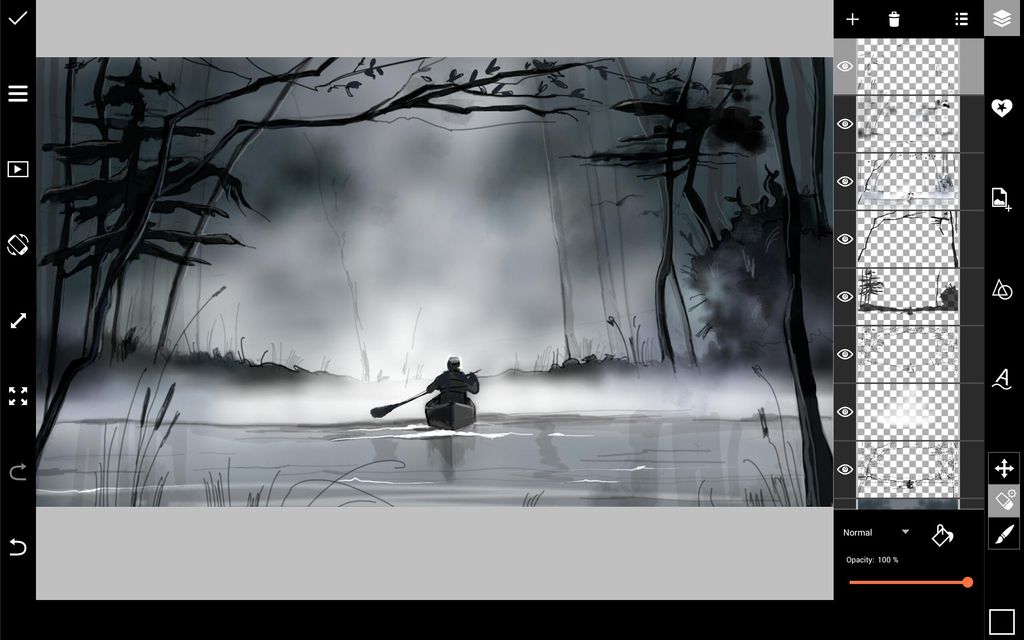
Select your background layer, tap on the paint bucket icon, and select a dark grey color. Create a new layer and use a soft, semi-transparent white brush to start adding fog to your background.
Step 4: Continue Adding Fog
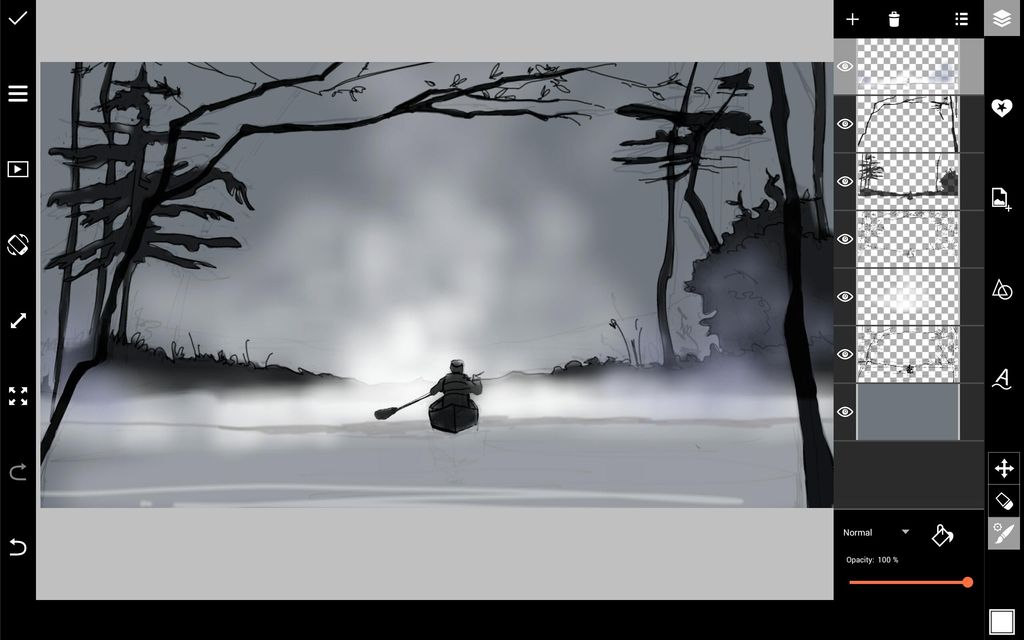
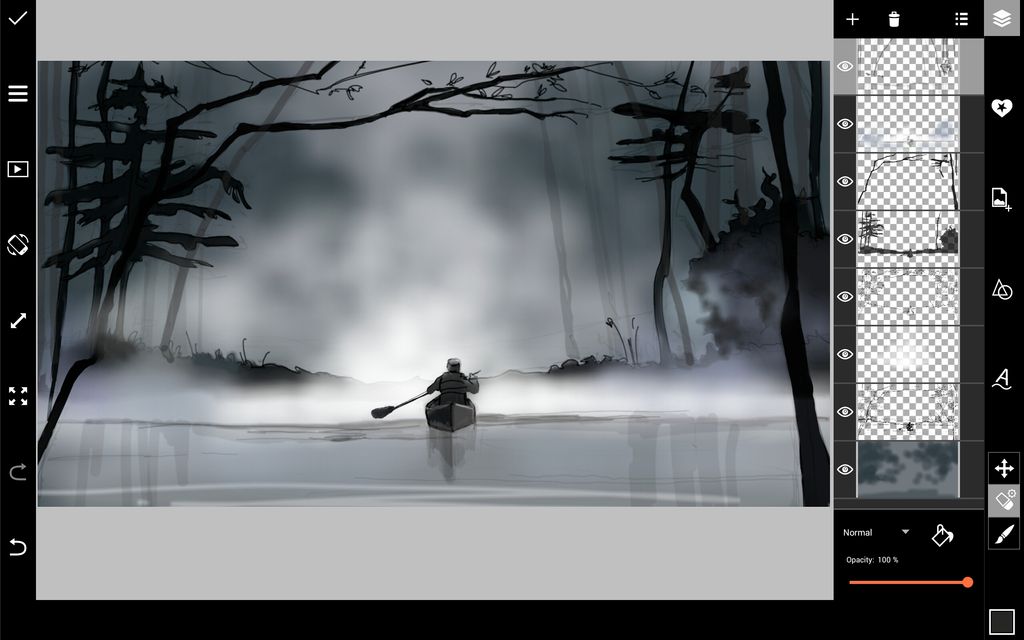
Continue drawing fog along the horizon. With a light grey brush, paint over the water using horizontal strokes. Add a bit of pale purple mist using a soft, semi-transparent brush. Select the background layer and use a soft grey brush to add shadows in the sky and at the bottom of the canvas. By darkening the edges of your drawing, you’ll draw attention to the center of the canvas.
Step 5: Add Reflections & Details
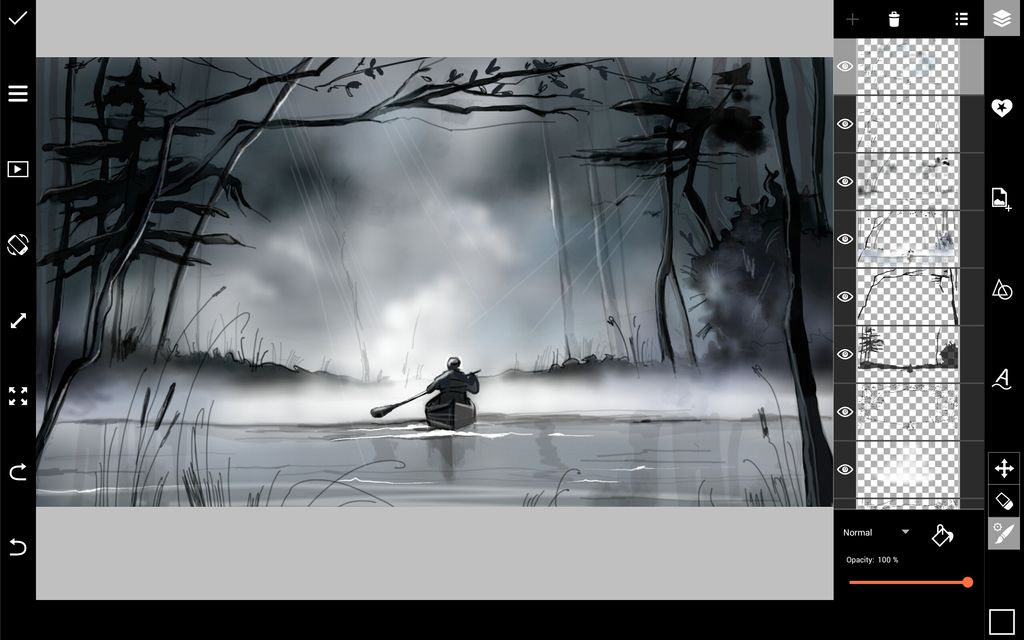
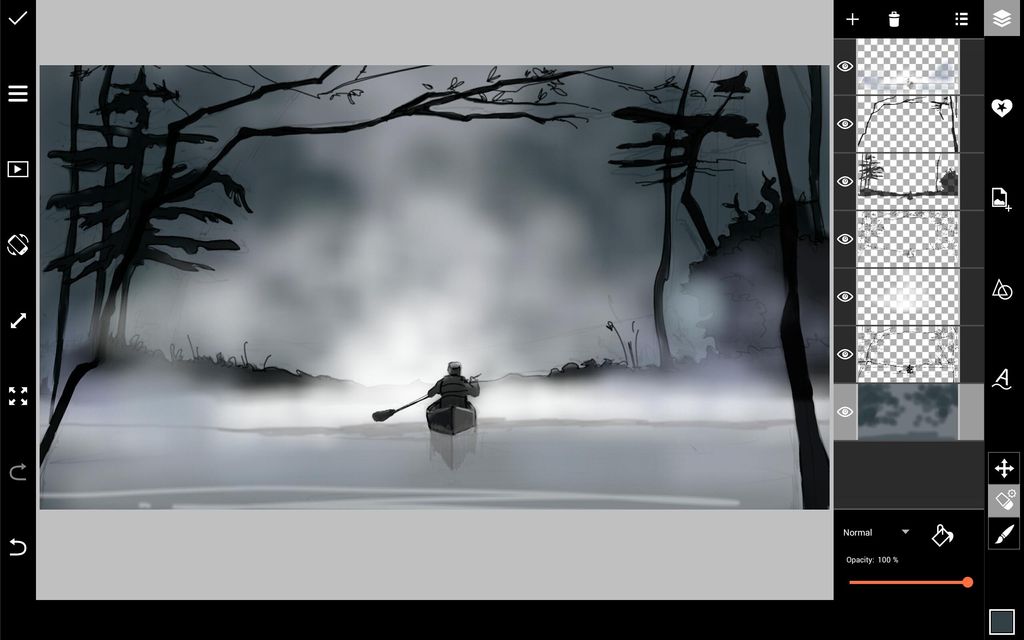
Use a black brush with a reduced opacity to draw reflections of the trees in the water. In a different layer, draw a few trees in the background. The lighter color will make them appear farther in the background, giving your drawing depth. Use a white brush to add light to the water and the trees.
Step 6: Add Final Details
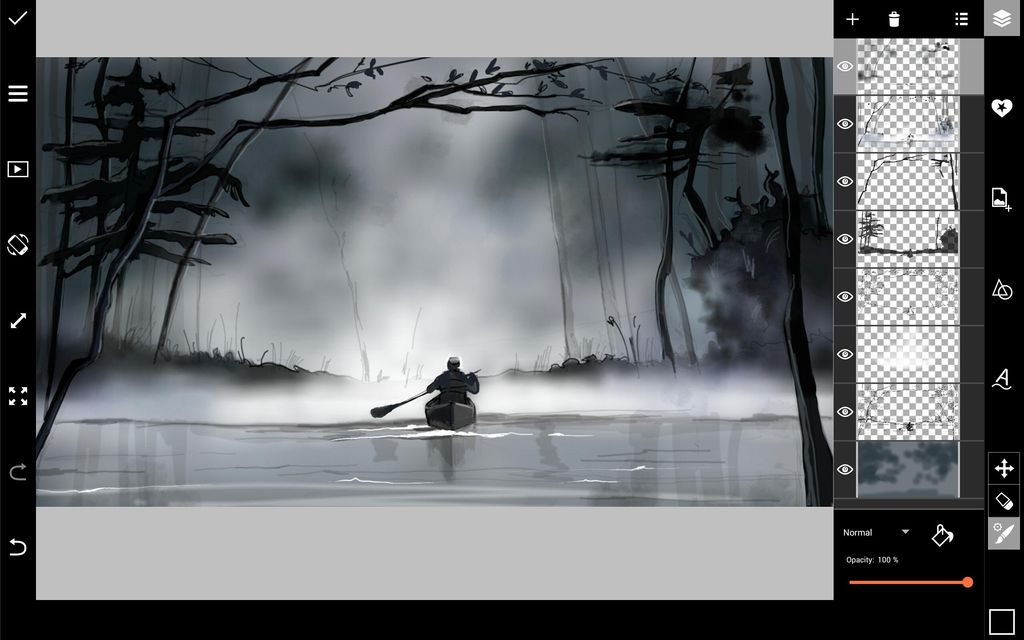
Use a thin black brush to add a few blades of grass to your foreground. Draw in a bit more fog, and use a semi-transparent white brush to add a few rays of light. Add the final lighting accents on the trees and figure. When you’re done, open your drawing in the photo editor, apply a photo effect, and share your work!
