
This week, our Drawing Challenge asks users to take on the centaur with PicsArt. This tutorial is here to help prepare you for the coming showdown of mythical animals.
The centaur is a half horse, half human creature that was introduced by the ancient Greeks, but with PicsArt Drawing Tools, you can bring this legend to life with only a few clever drawing tricks.
This tutorial breaks down drawing a centaur step-by-step using PicsArt Drawing Tools. You’ll not only learn a bit about how to use the PicsArt app, but you’ll also learn some fail-safe drawing techniques. You’ll be surprising yourself in no time with amazing artwork and the impressive votes you can bring in during this week’s contest.
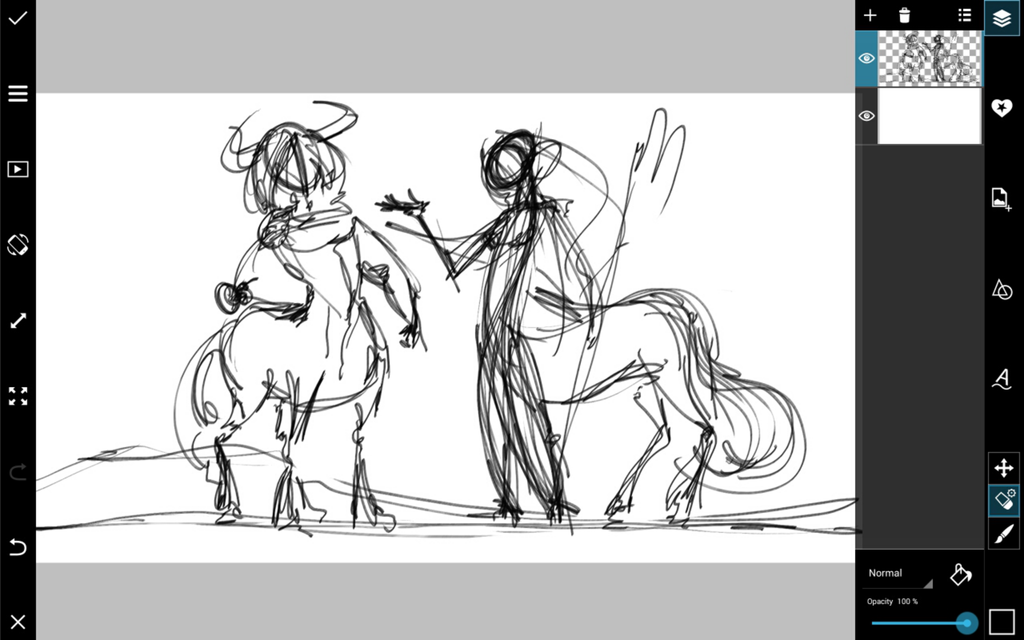
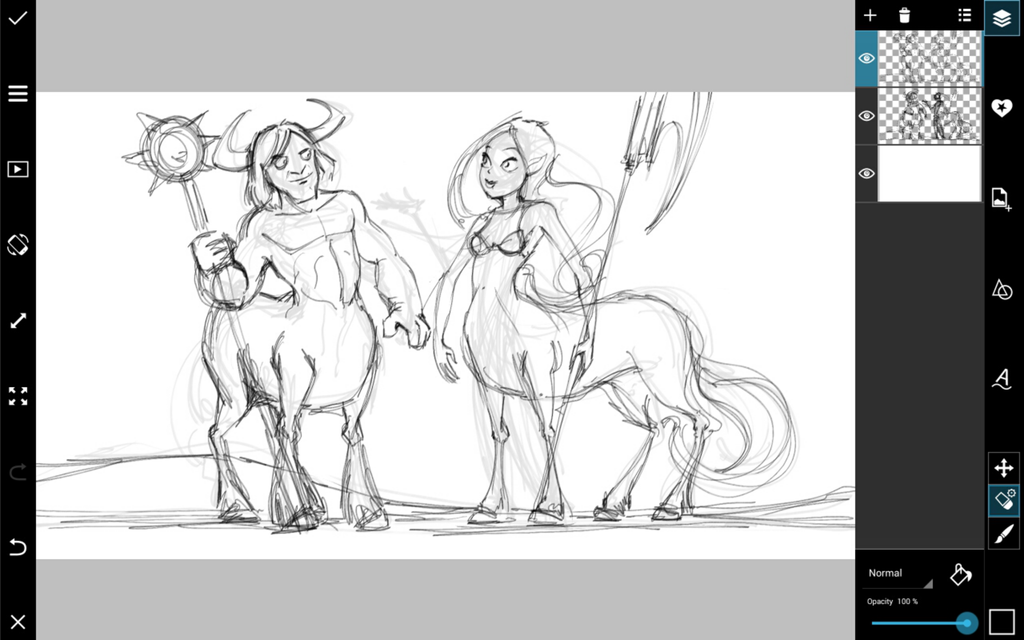
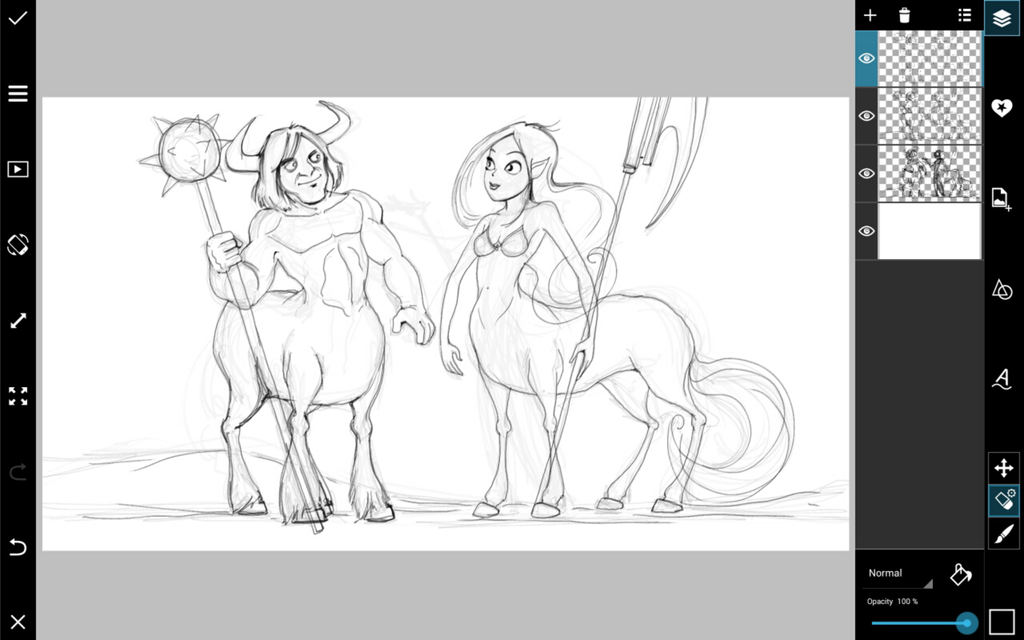
Step 1: Draw an Outline
Draw a very rough outline of your centaur, just to nail down the basic shape of a horse’s body and a human torso. Reduce the Opacity, add a layer and trace a more refined outline. Repeat until you’ve got a final outline, then delete the previous versions.
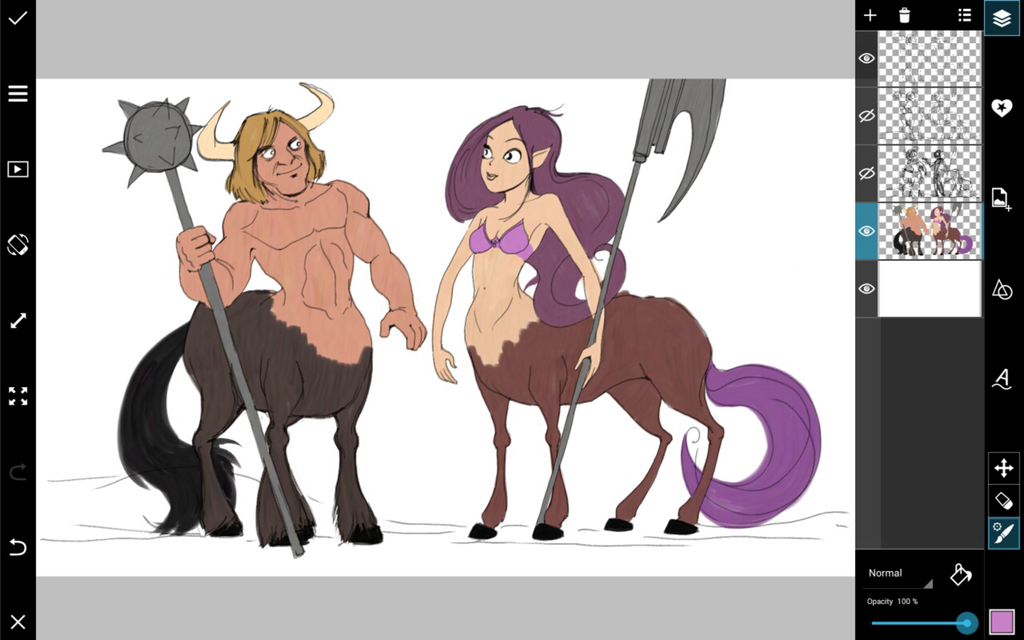
Step 2: Add Colors
Add the basic color to your outline. Start by adding a new layer for your centaur’s color, then add layers to color in your background.
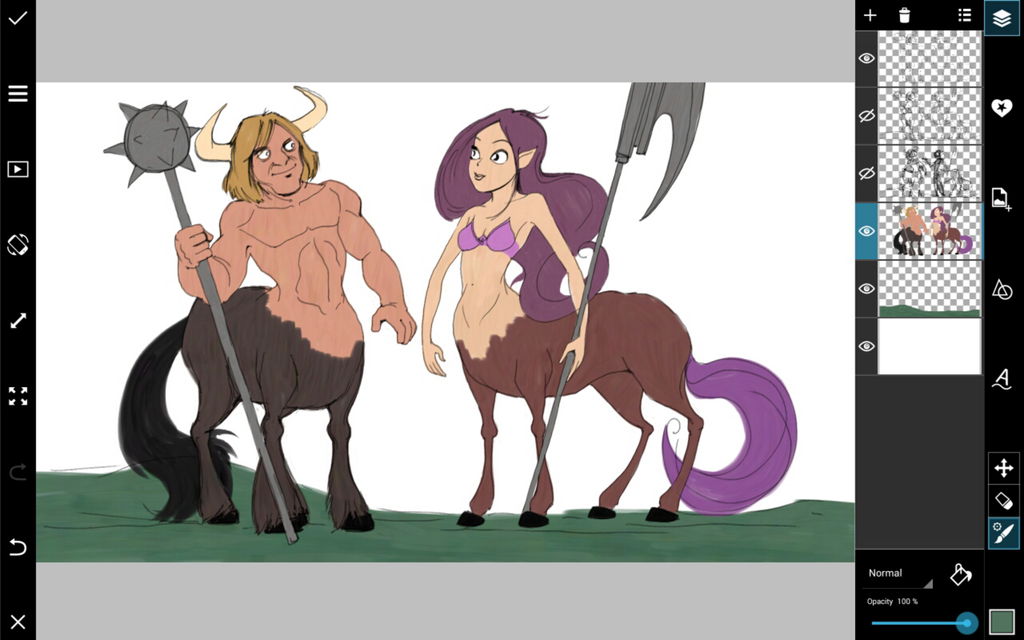
Step 3: Add Shading
Customize your brush by pressing the brush icon, and reducing its opacity. Shade your centaur body on the places farthest from your light source. Use black or other dark tones.
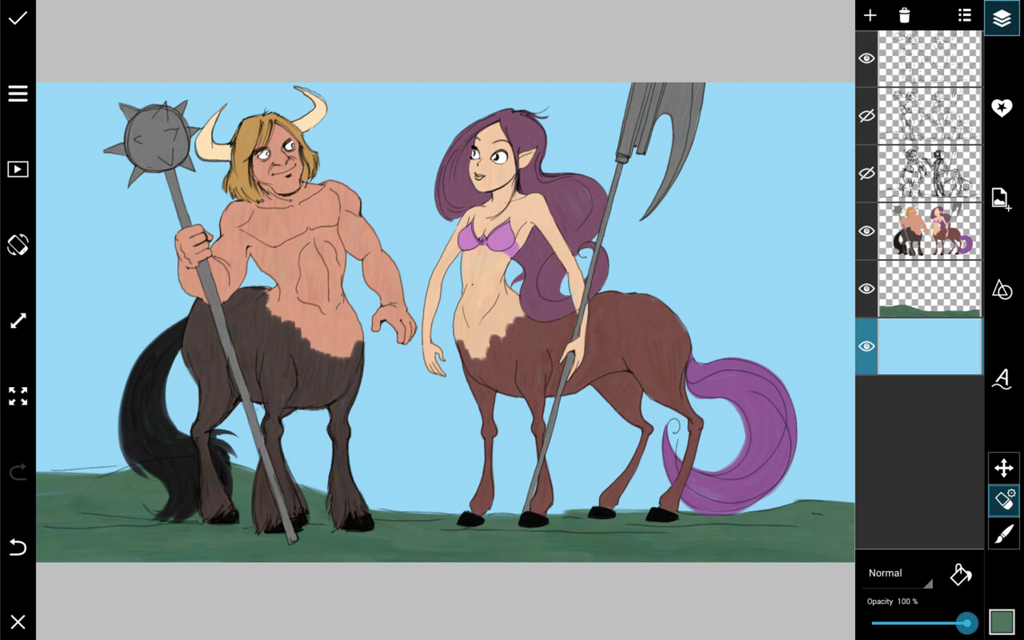
Step 4: Lighting
Use the same translucent brush technique to paint on lighting, using a white color instead and this time, paint the brightest areas closest to your lightsource. You can also add a second layer of darker shading or colors to give your drawing more depth.
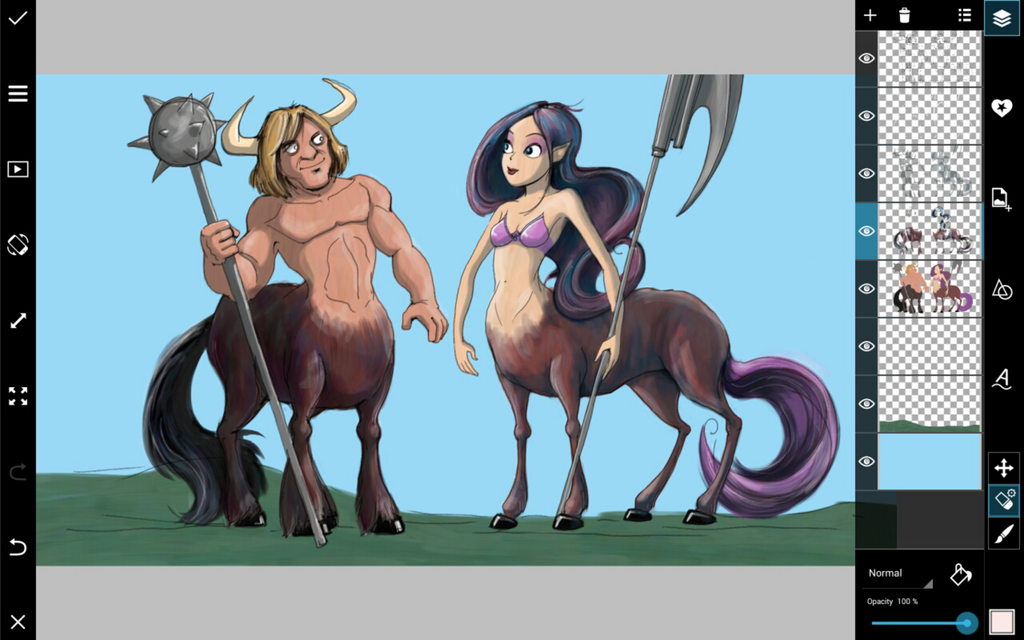
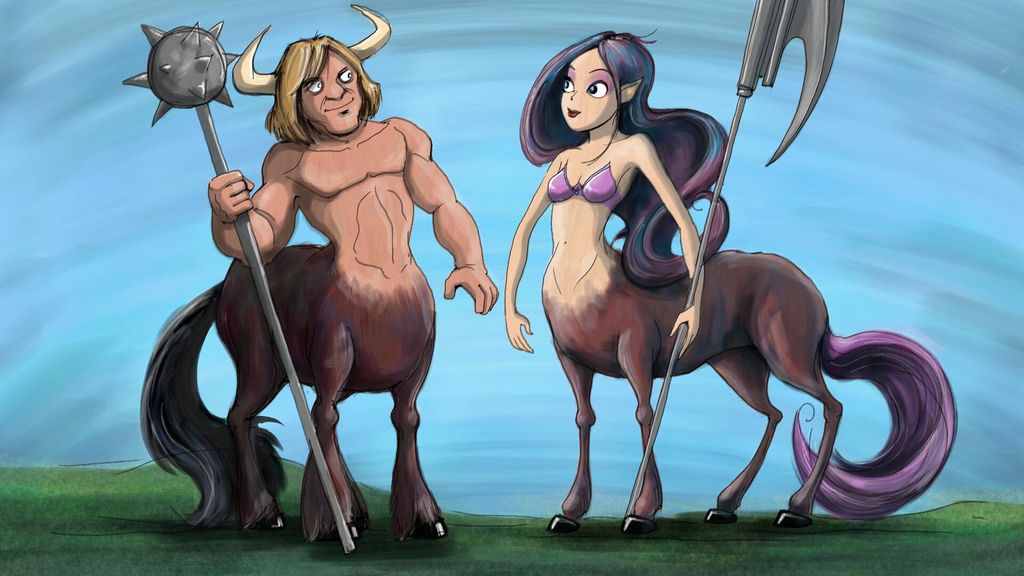
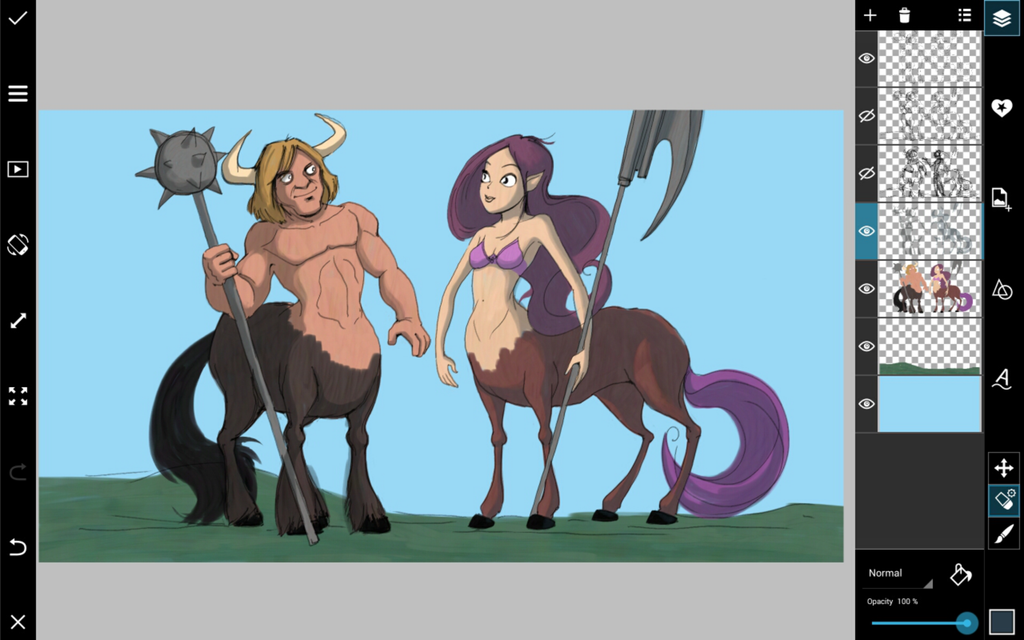
Step 5: Finish
For finishing touches, add detail to your background. Shade your grass and add texture to your sky for atmosphere. If you like, add clouds in the background or rain in the foreground. Sometimes, it’s the finishing touches that puts a drawing over the top.


