For this week’s Drawing Challenge, we’re asking you to draw a night sky. In this step-by-step drawing tutorial, we’ll give you some helpful tips by walking you through the drawing process. Read on to learn more!
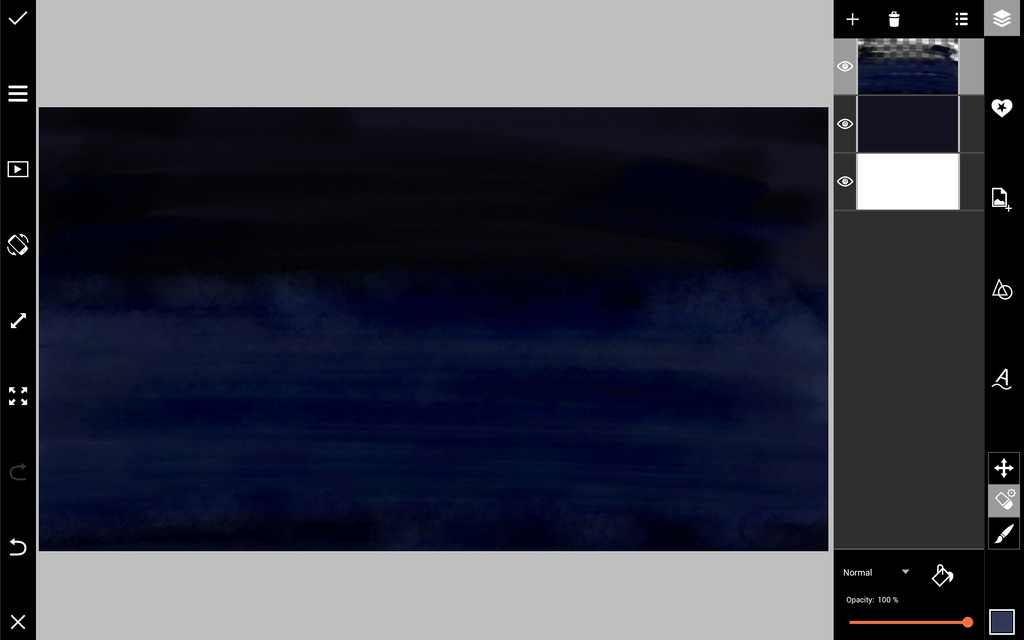
Step 1: Add Background
Start with a white background layer and a blank layer. With the blank layer selected, tap on the paint bucket icon and select the color black. This will fill the layer with a solid color. In a new layer, use a large, soft brush in a dark shade of blue to paint on the bottom half of the canvas.

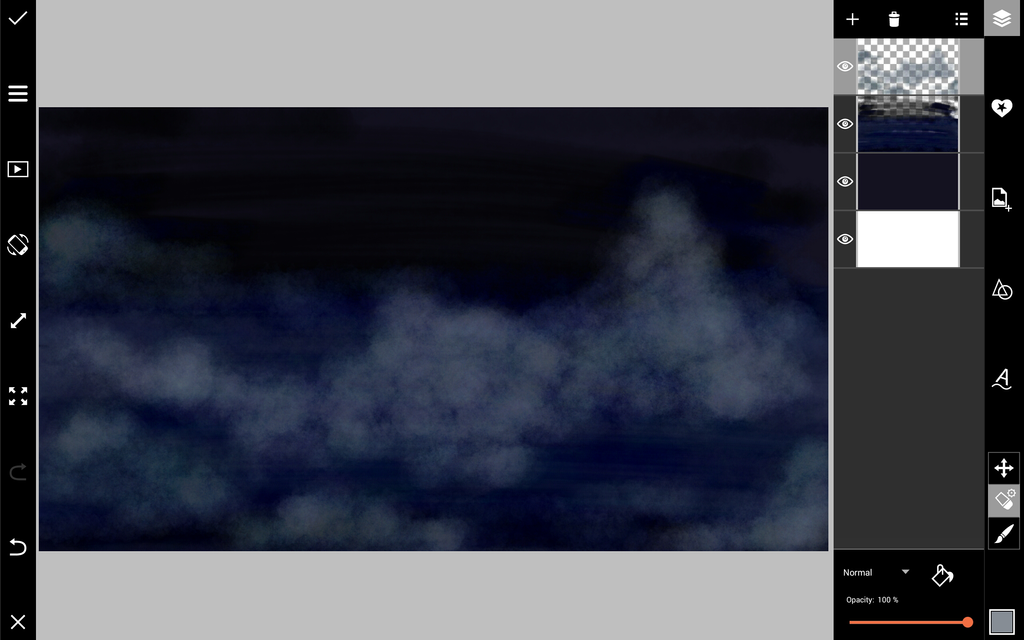
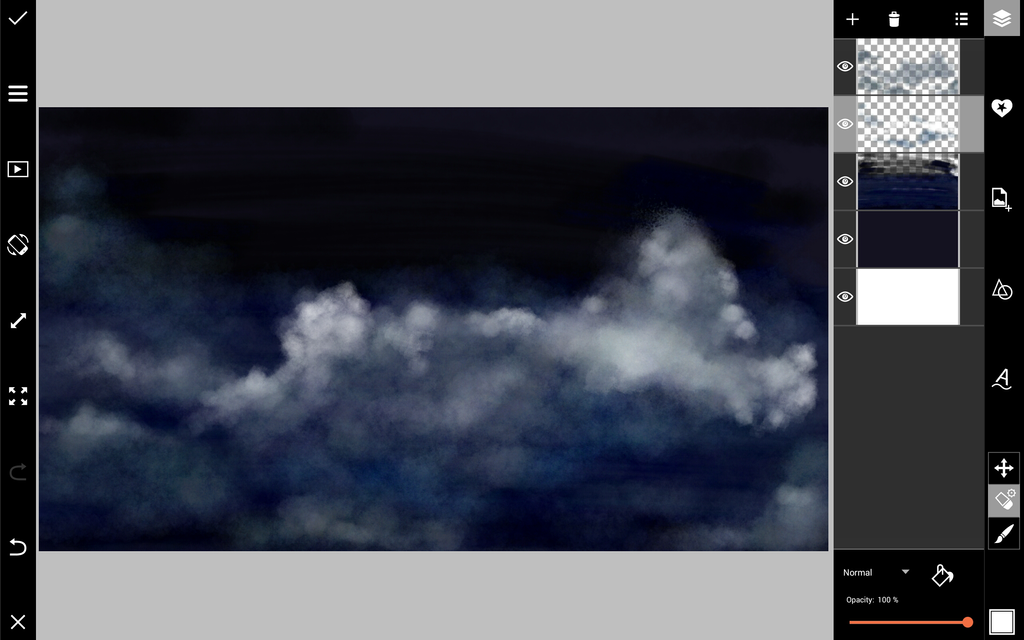
Step 2: Sketch Clouds
Add a new layer and select a soft, semi-transparent brush in the color gray. Start sketching your clouds. In a new layer, repeat the same process with a white brush to add a bit of light.
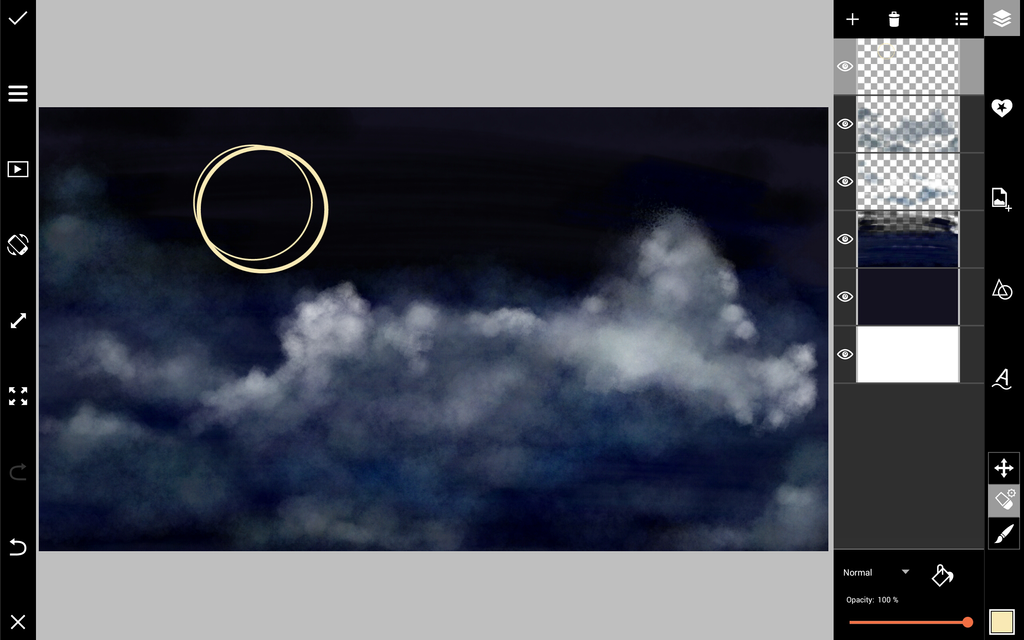
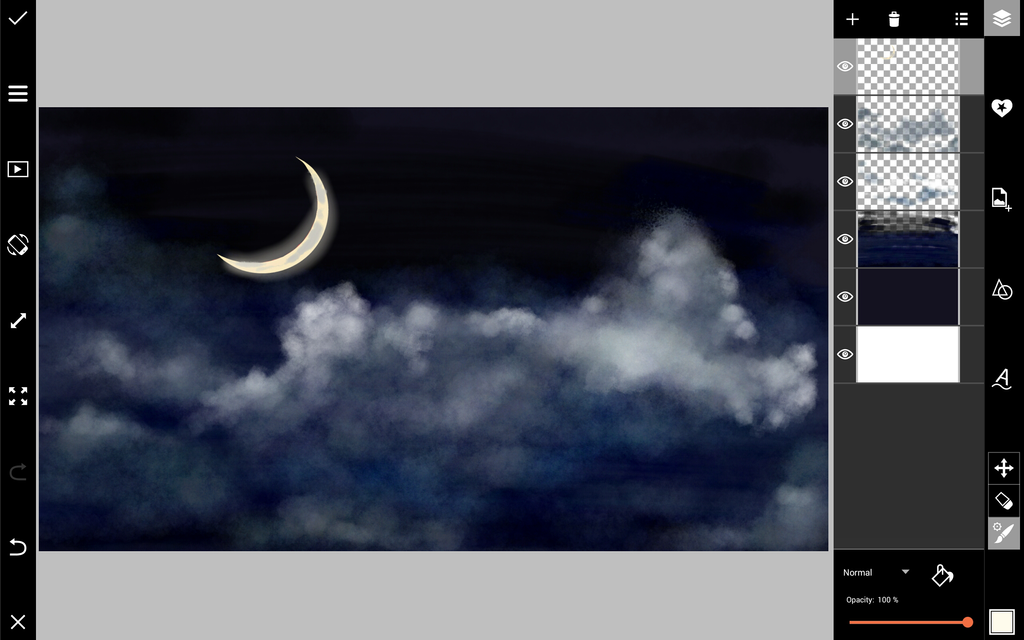
Step 3: Add Moon
Create a new layer for the moon. Use the Shape Tool to draw two circles of approximately the same size in light yellow. Erase unnecessary parts of the circles so that only a crescent shape is left. Use an opaque, light yellow brush to color in the moon. Select a soft, semi-transparent brush in white to give your moon a subtle shine.
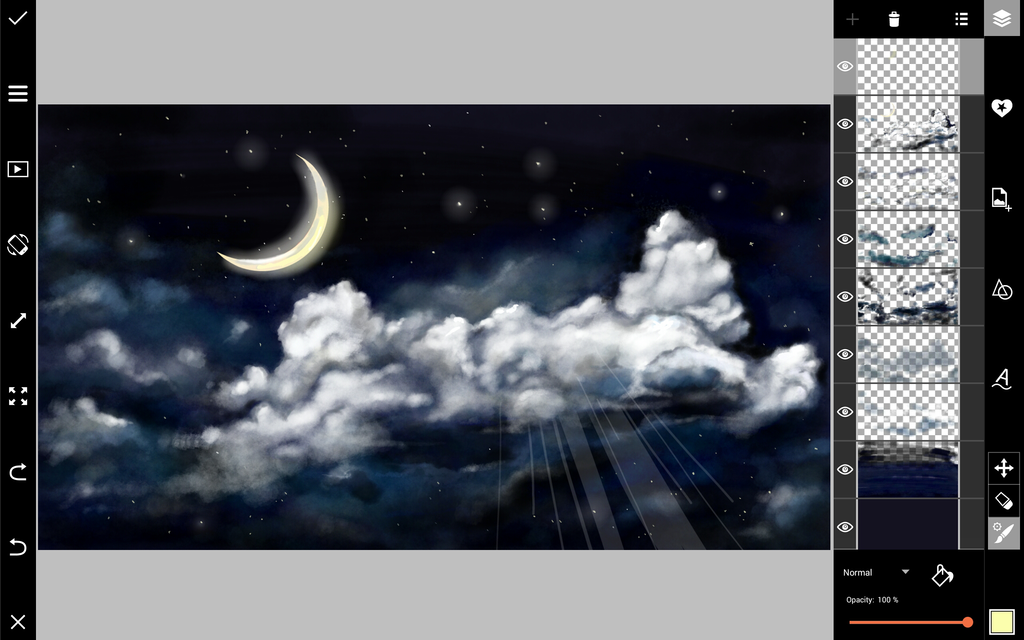
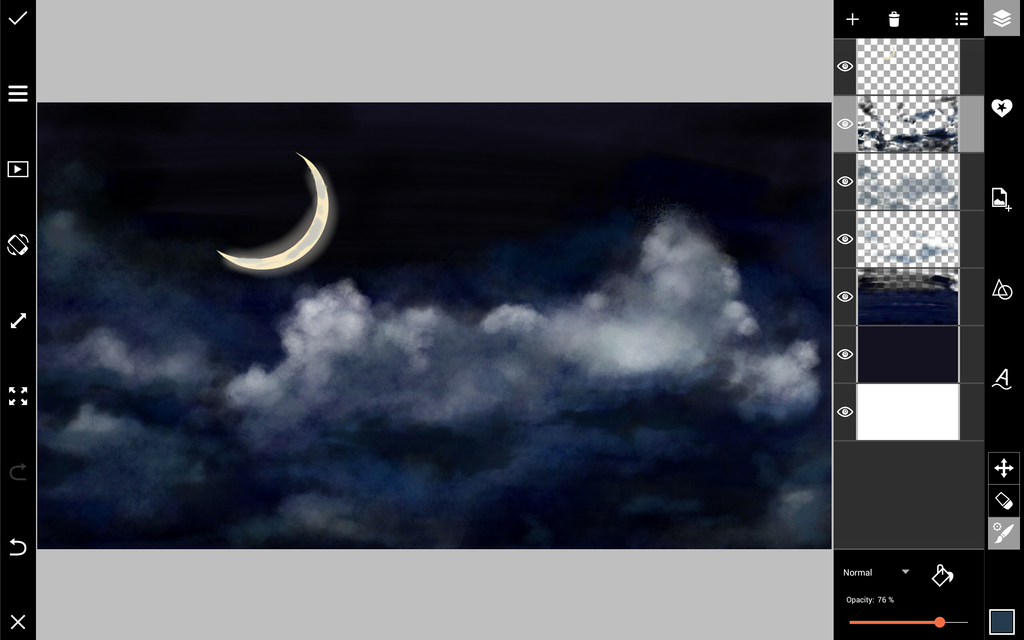
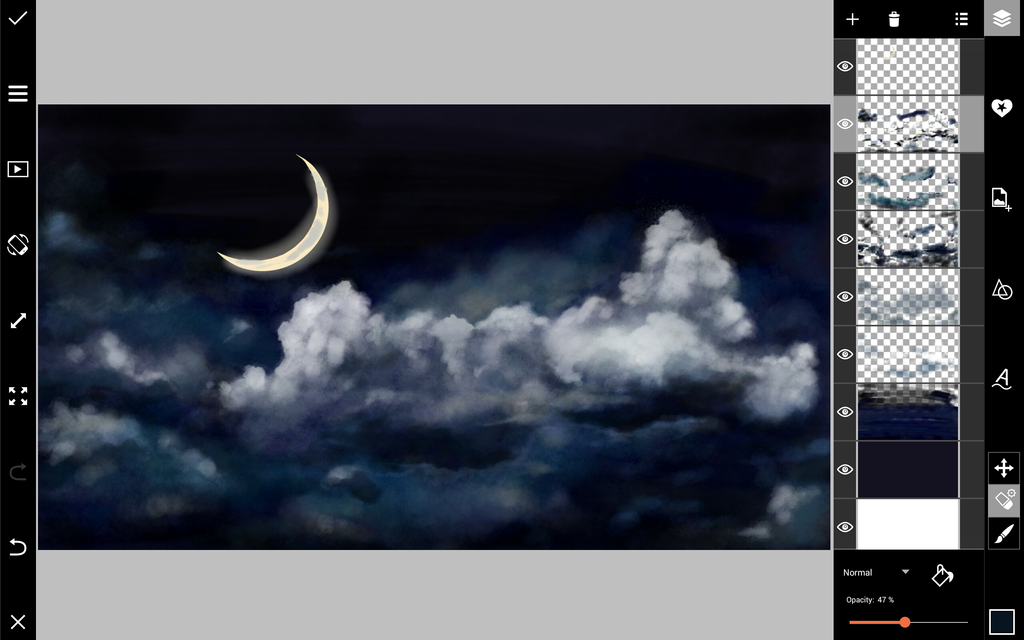
Step 4: Add Shadows & Light
Create a new layer. Use a soft, semi-transparent brush in black and dark blue to add shadows to your clouds. Use the same brush in white and light yellow to add light accents.
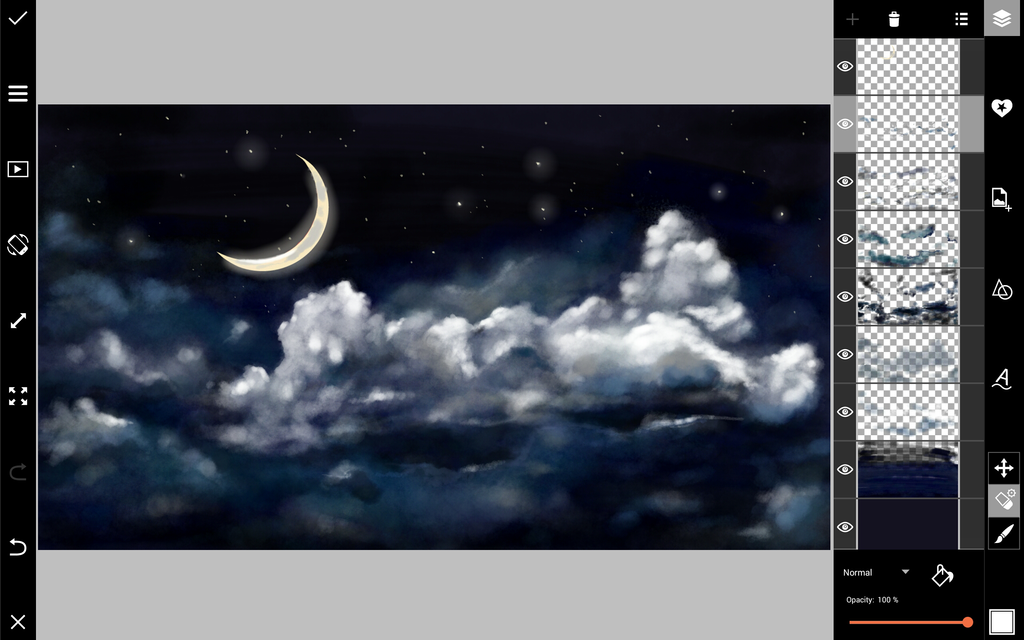
Step 5: Add Stars & Light
In a new layer, draw stars using a small, opaque brush in light yellow. Switch to a soft, white brush with a very low opacity, and add a bit of subtle shine to a few of the stars. Continue adding light to the clouds with a soft white brush.

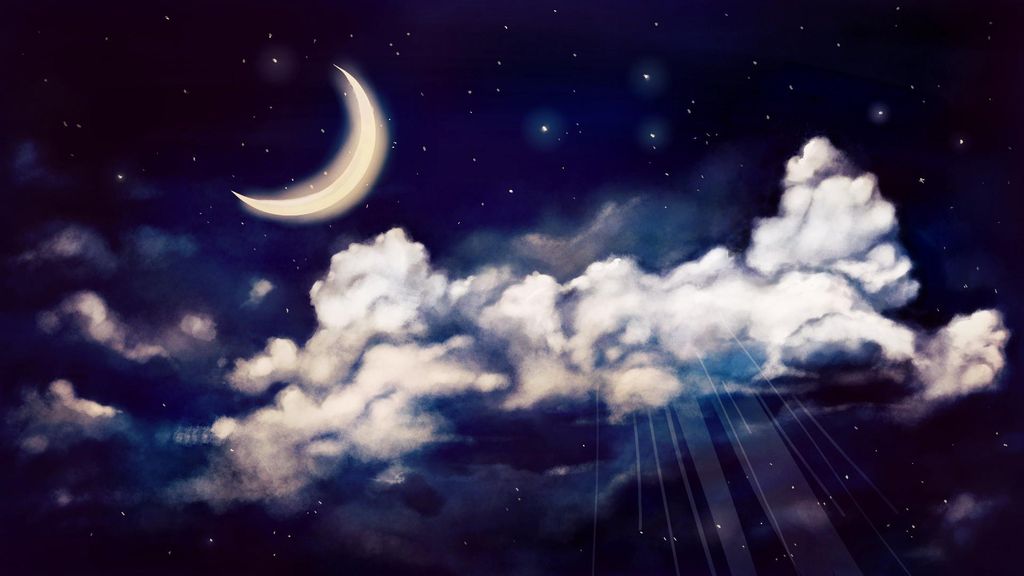
Step 6: Add Finishing Touches
Add the finishing touches to your drawing by accenting the light and shadows. Draw rays of moonlight using a hard, semi-transparent brush in light yellow. When you’re done, throw on an Effect or two (we used the Light Cross and Twilight Effects), and share your work!