The Drawing Challenge this week is partaking in the spirit of the Olympic season. With the greatest athletes on the planet competing at Sochi for Olympic glory, we’ve decided to hold our own Olympic Games, and have an Olympics Drawing Challenge. The contest will require you to use PicsArt Drawing Tools, and the level of competition is going to be fierce. But fear not, we have prepared for you a step by step drawing tutorial to prepare you for the contest. You’ll see how using PicsArt Drawing Tools is fun and easy, and have a leg-up in creating your own stunning Olympic scene for this week’s contest!
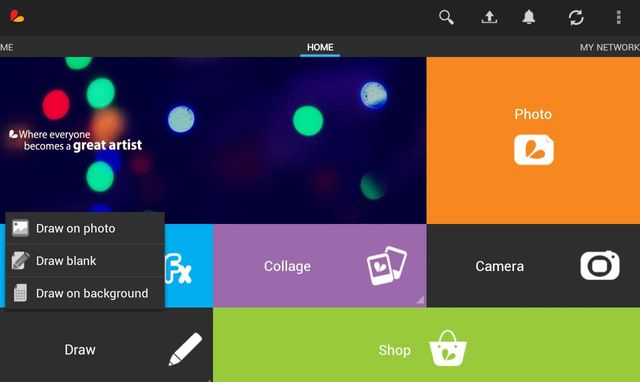
Step 1: Open PicsArt Drawing Tools
Select “Draw” from the main screen and then select “Draw blank” to start a new drawing from scratch. You have the option of choosing the precise width, height, and orientation of your drawing before entering your work space. We will show you how with our drawing of a hockey player.
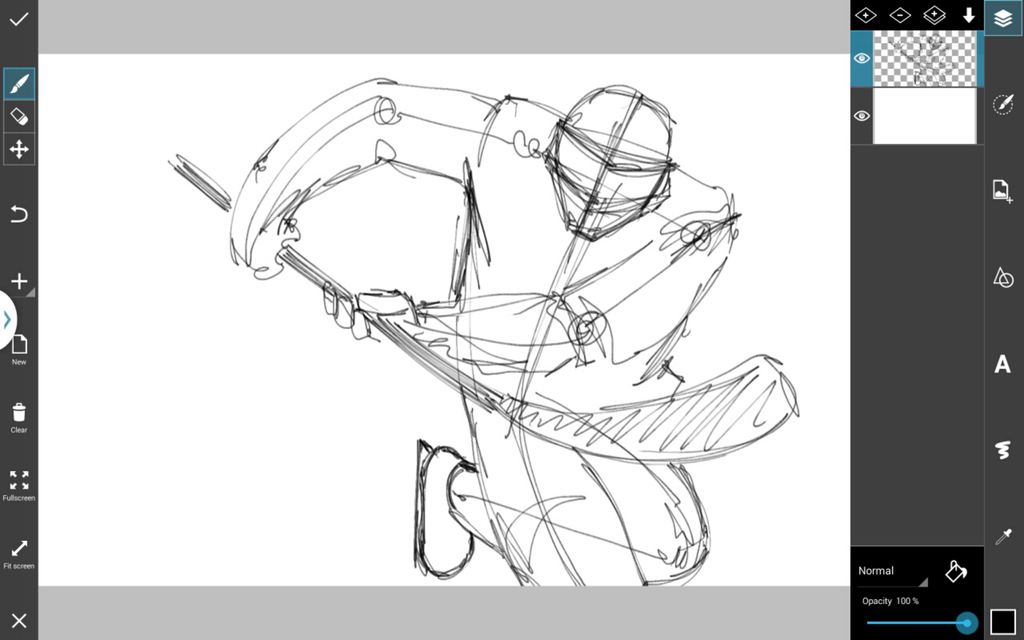
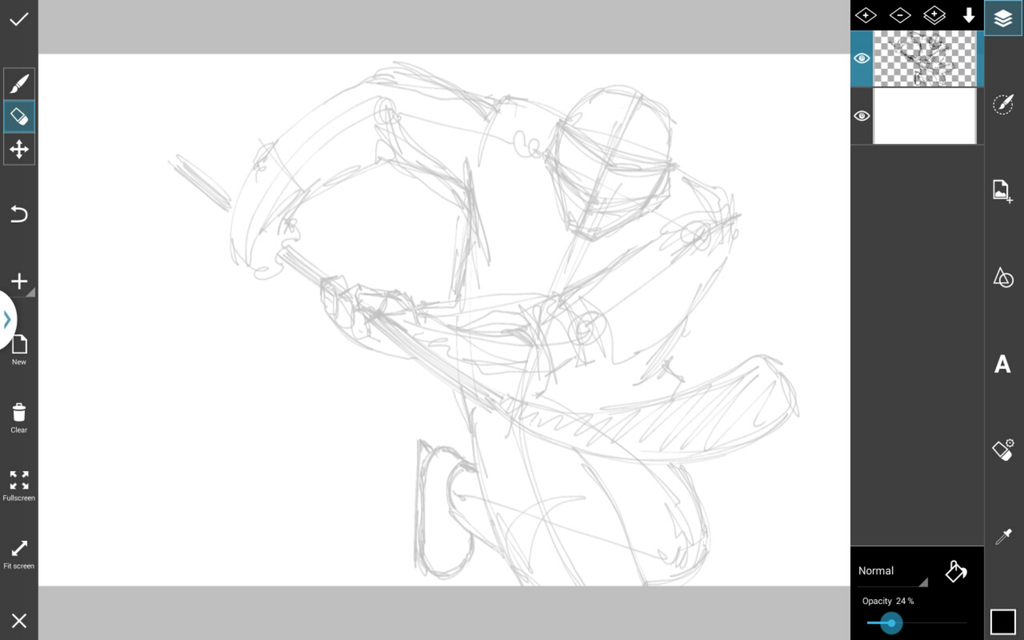
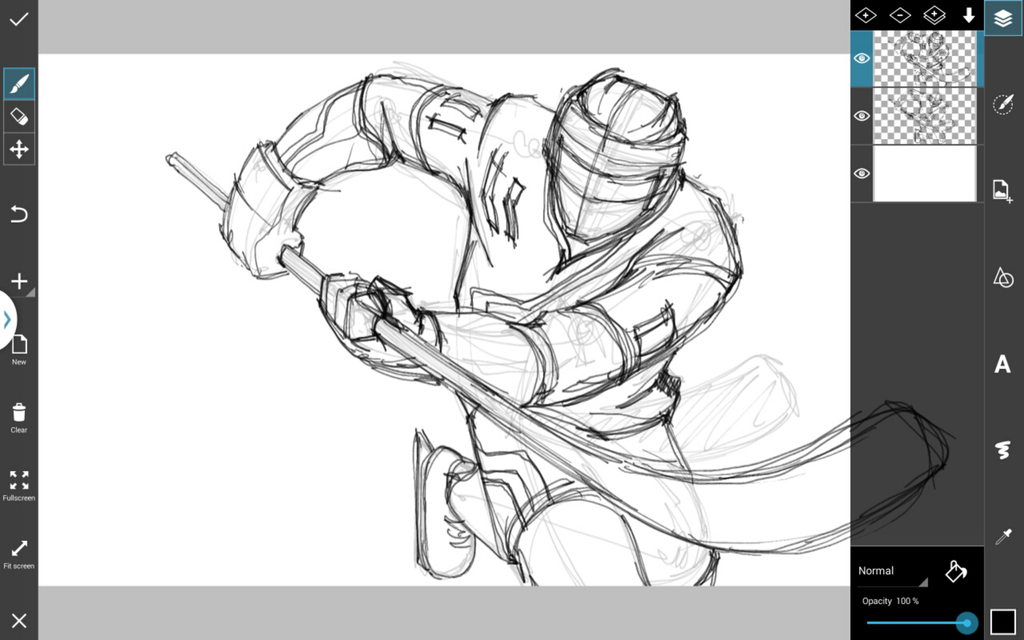
Step 2: Outline
Create a rough outline of your athlete, reduce the opacity, add a new layer, and trace a more precise final outline.
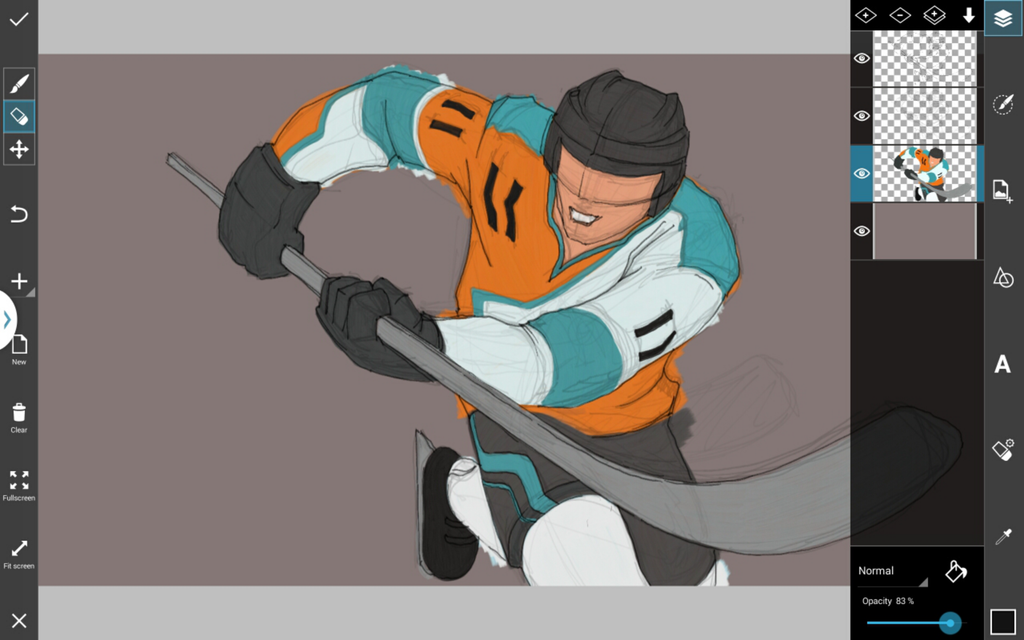
Step 3: Color
Add another layer, and use it to add basic colors into your drawing. Choose different colors by selecting the color box from the menu bar.
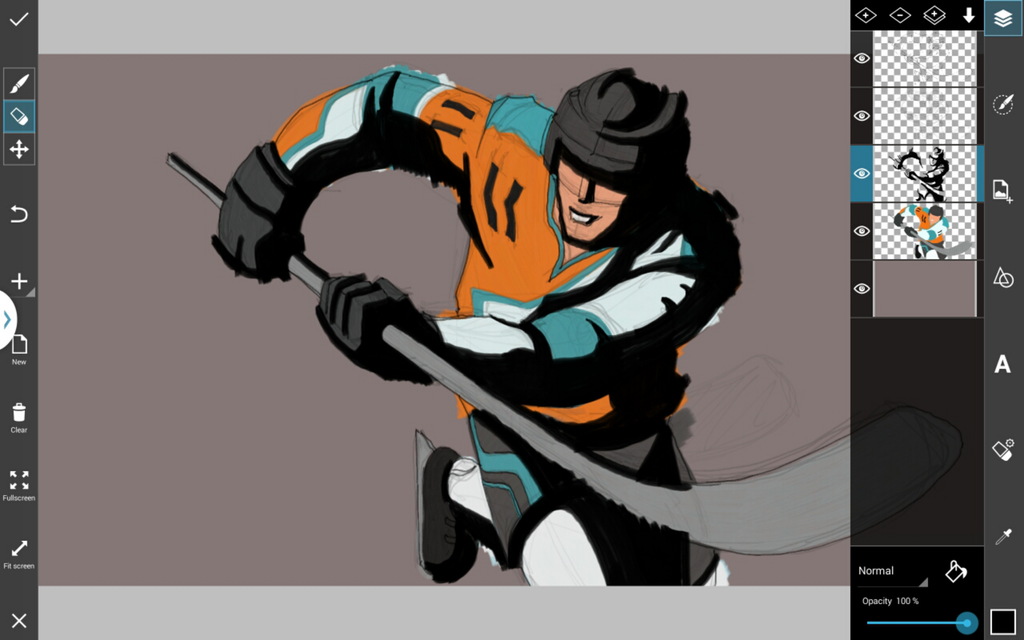
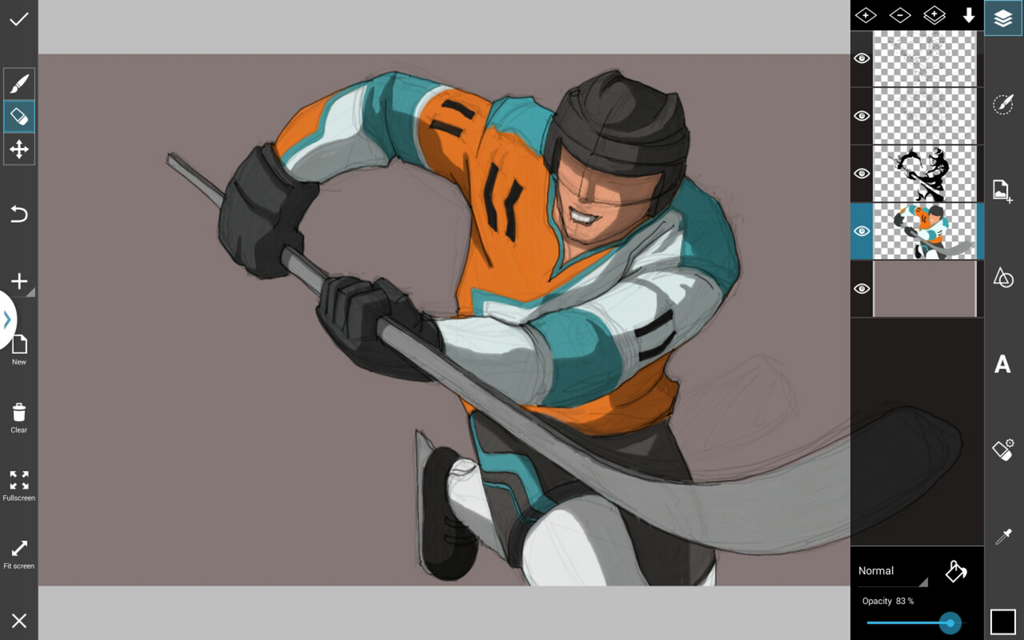
Step 4: Shading
With a black brush, cover all of the parts of your athlete that you want shaded in a new layer. Then, reduce the opacity, and use an eraser to smooth out the edges of your shadows.
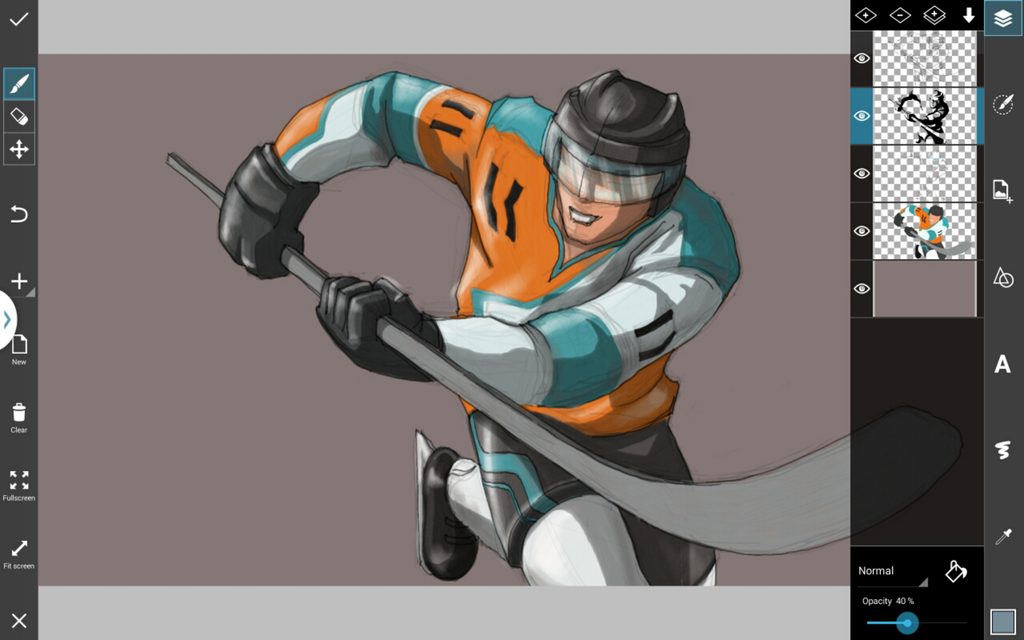
Step 5: Lighting
Add another new layer, and with a white translucent brush, create accents of light wherever necessary, especially on reflective surfaces like plastic helmets and visors.
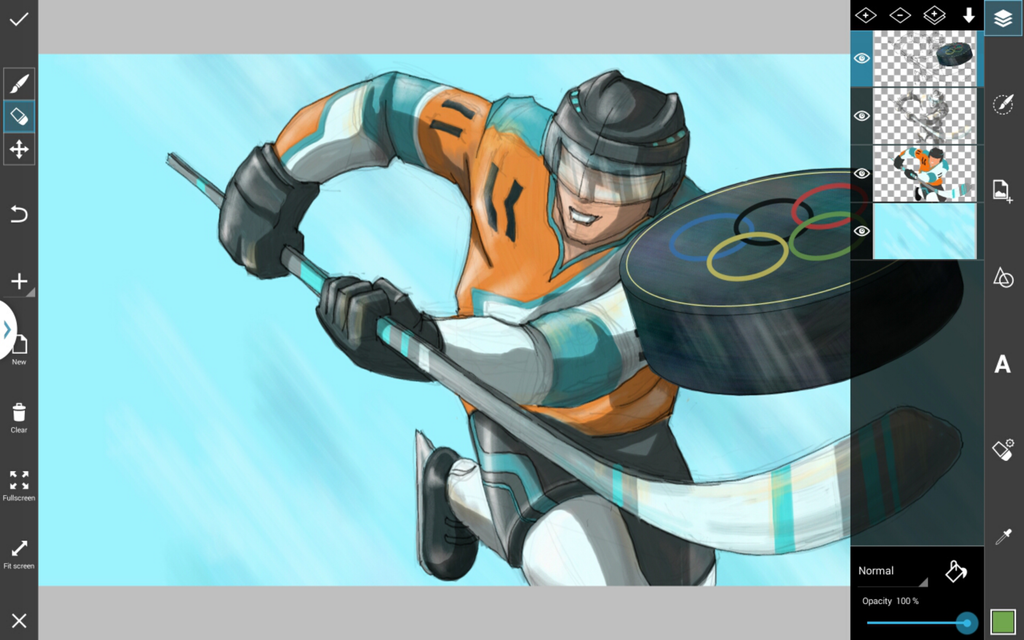
Step 6: Details
Take a moment to add the details that take your drawing to the next level. The background, uniform stripes, touch-ups, logos, whatever, think of the small final touches that make a big difference.

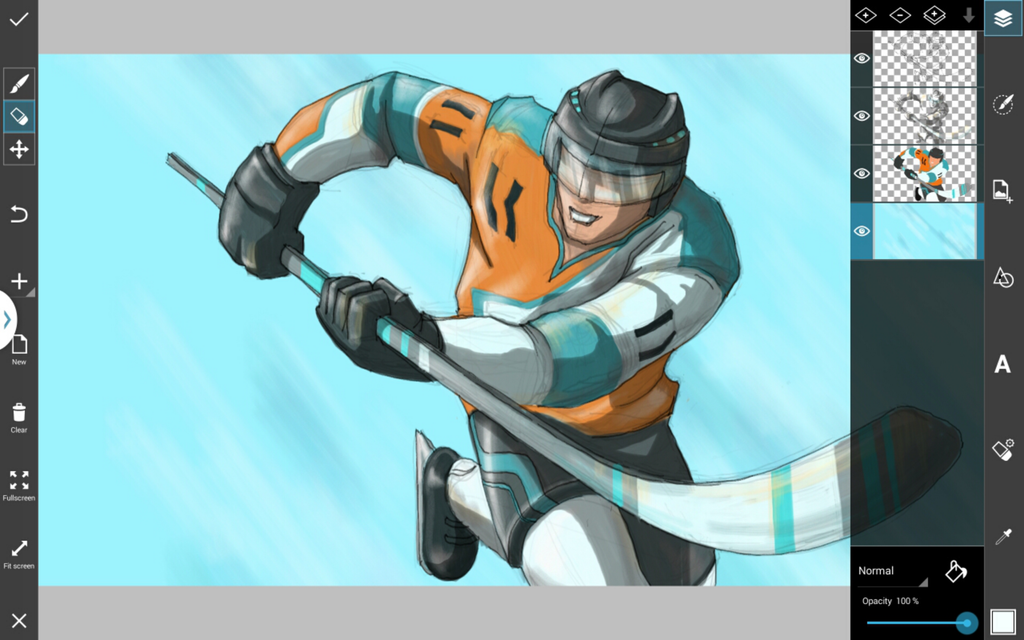
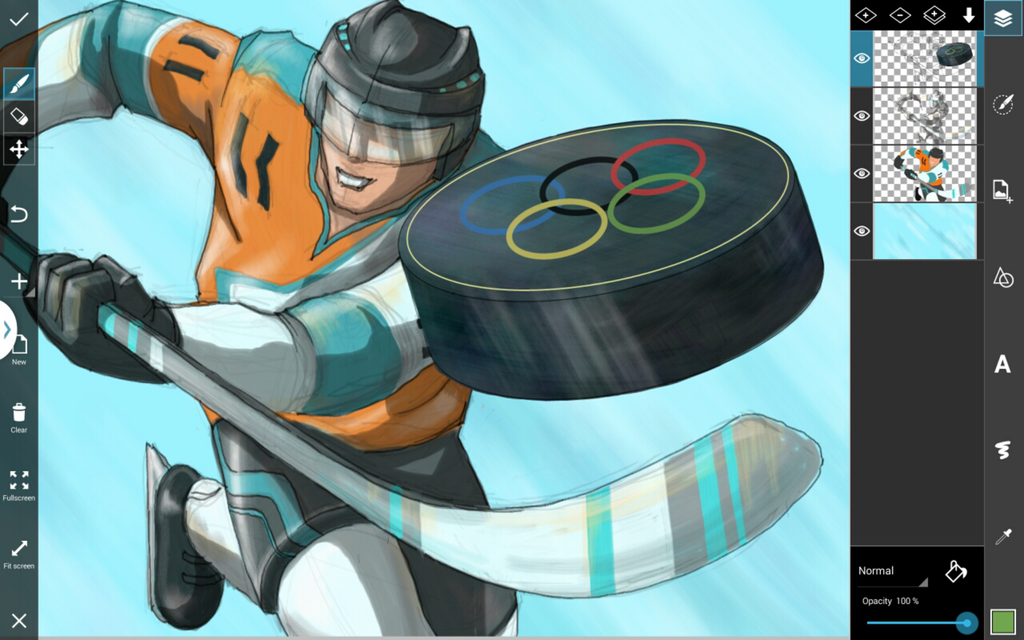
Step 7: Action
Add an action piece to your shot. We added a puck to give our hockey player’s slapshot a chance at the net. Don’t forget the Olympic Rings!