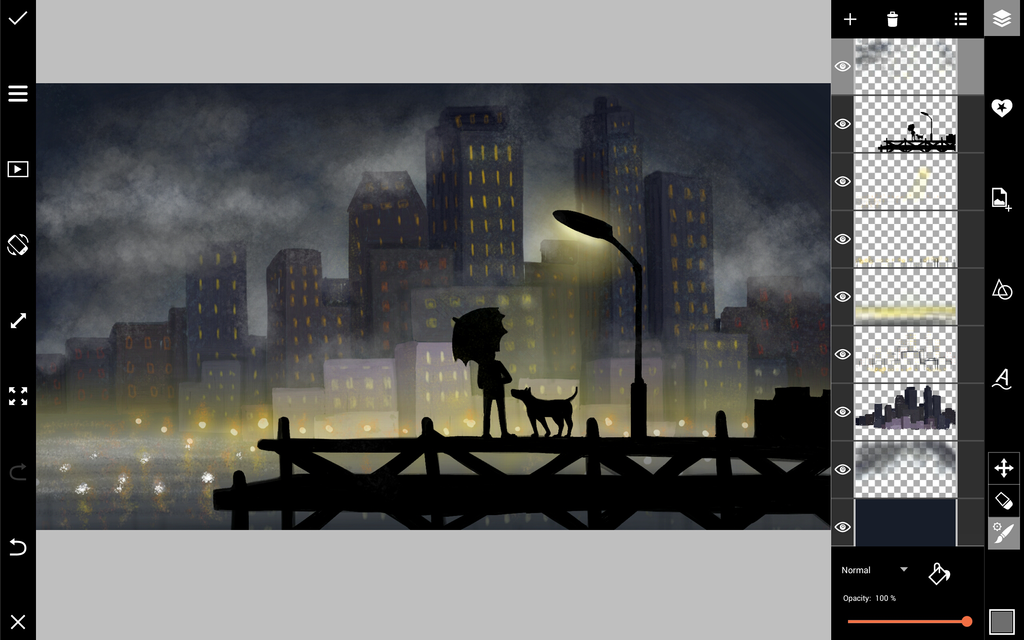
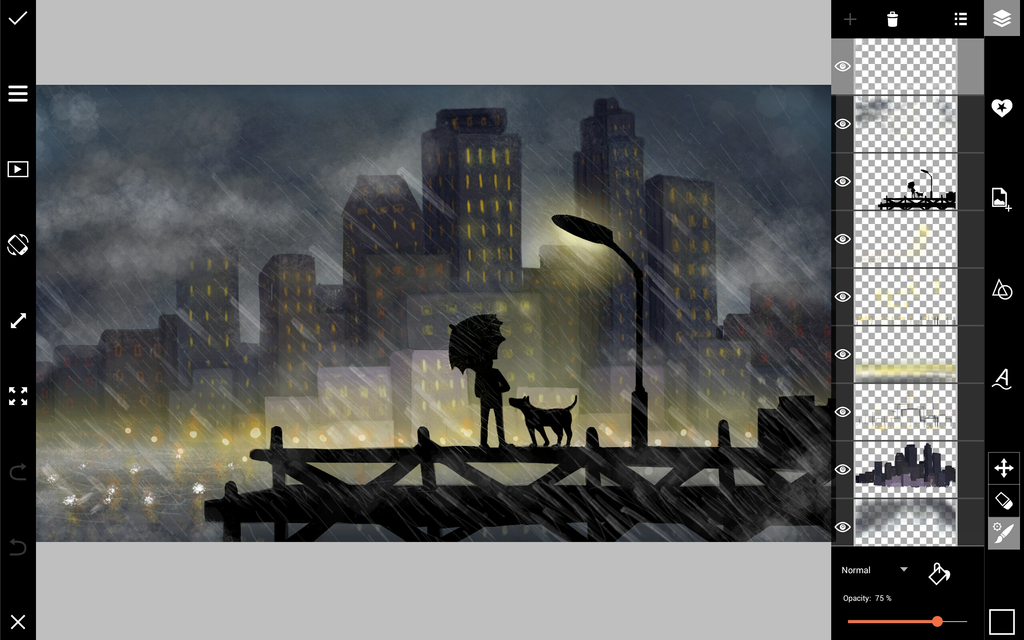
For this week’s Drawing Challenge we ask you to draw a scene of a rainy day using the PicsArt app, so we’re posting this tutorial to give you a helping hand.
This tutorial will show you a bit of how to use PicsArt Drawing, as well as teach you how to make it really come down in buckets. Learn how to drench a city in the wet stuff by following the steps below.
Step 1: Silhouette
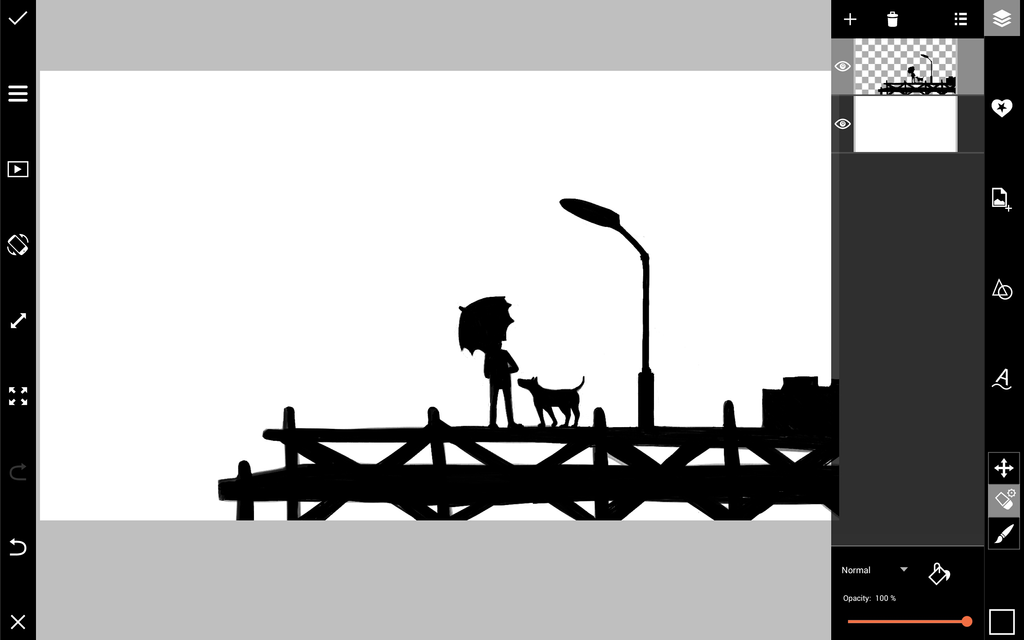
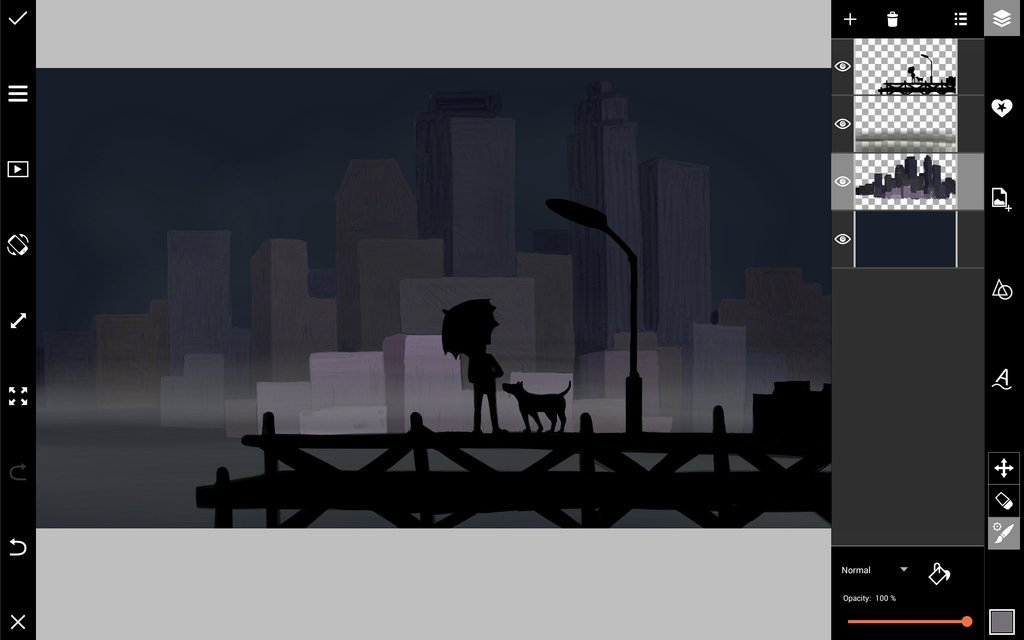
With a black brush, draw the darkened silhouette of a scene for your foreground, like a harbor pier or a park bench on a hill.
Step 2: Background
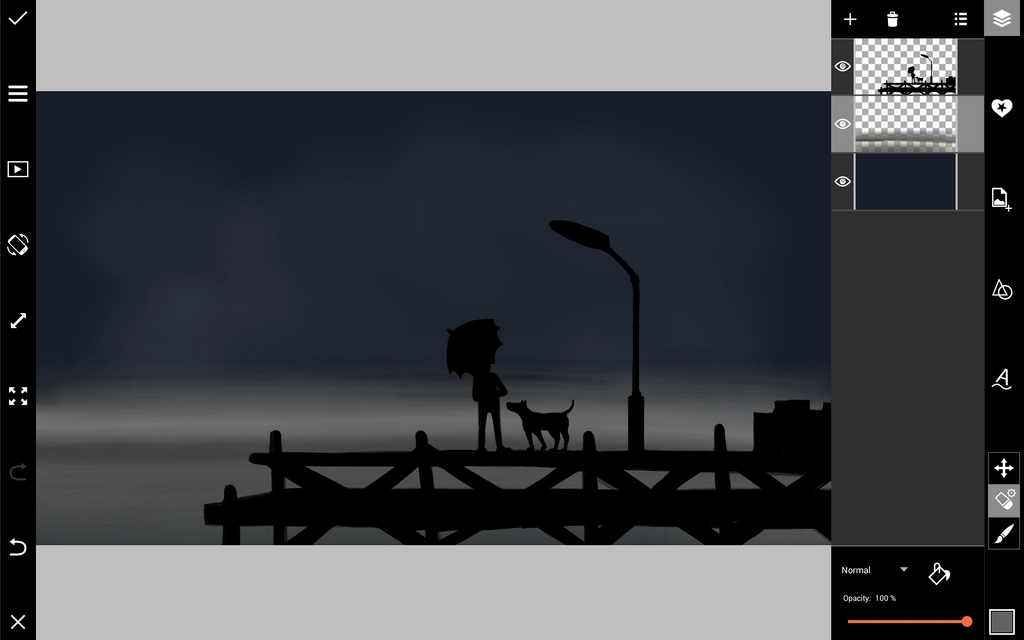
Add new layers under your silhouette to color in your background, including your sky. Be sure to add a small sheet of fog by creating streaks with a grey brush and lowering the opacity to your fog layer.

Step 3: Skyline
Add a layer for your skyline between your foreground and background. Create a series of towering buildings, using darker tones for the sides of the buildings to create 3-dimensional shading.
Step 4: Lights
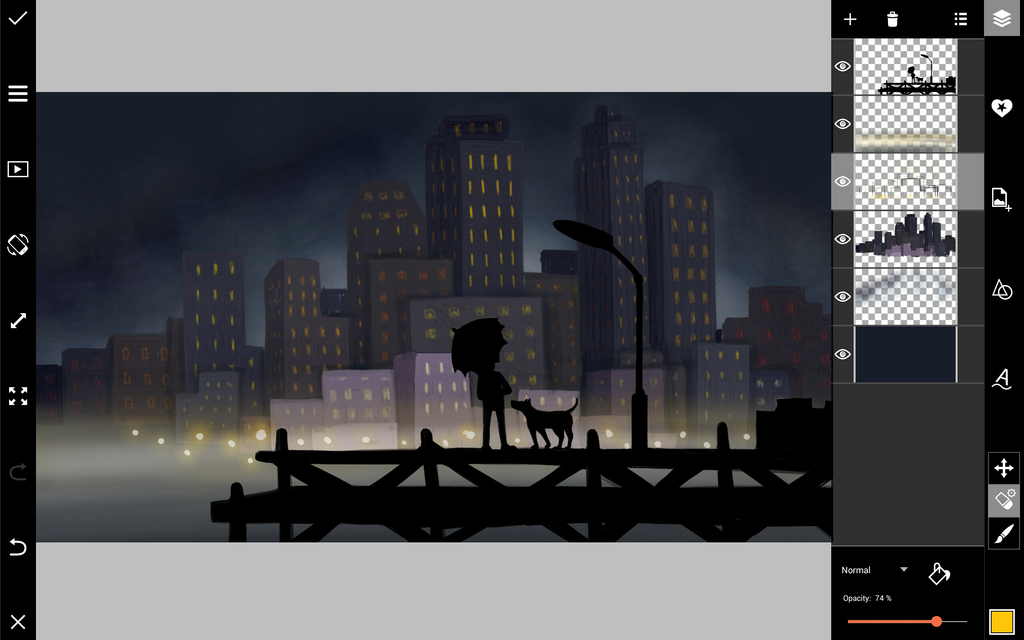
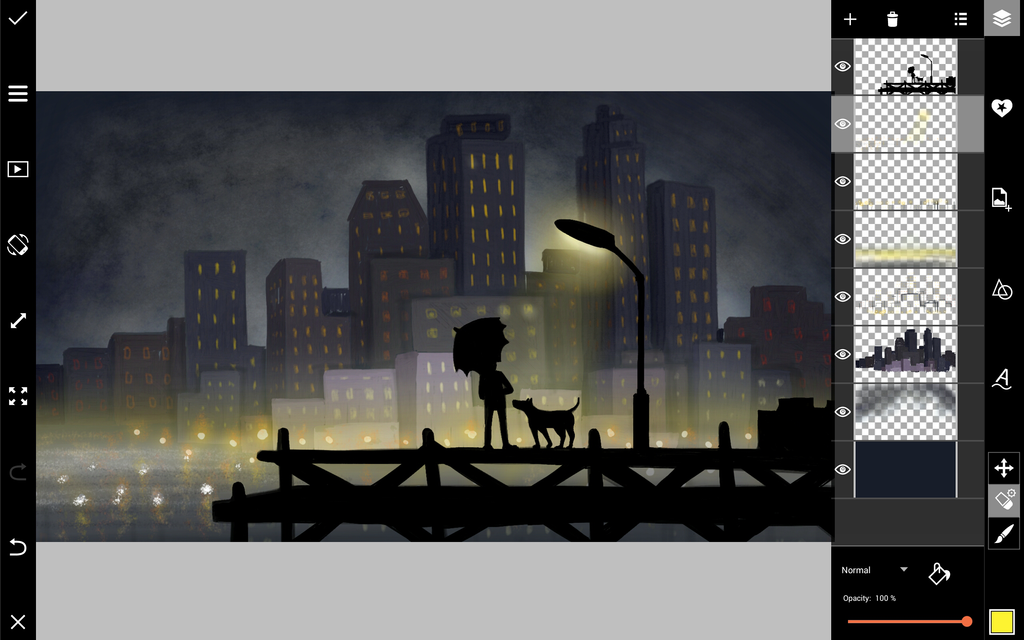
Create a special layer for lights, select bright colors like whites, yellows, and occasionally reds or oranges. Create bright, opaque centers, and then create more faded, translucent halos around them. Reflect your lights in rivers or wet streets, and add a faded layer of light to your fog.
Step 5: Rain
In the back, add details to your clouds, switching between textures and tones of grey and blue. Add a new layer on top and draw several pale thin lines for rain. Have a few thicker lines and many small lines to create a sense of depth.
