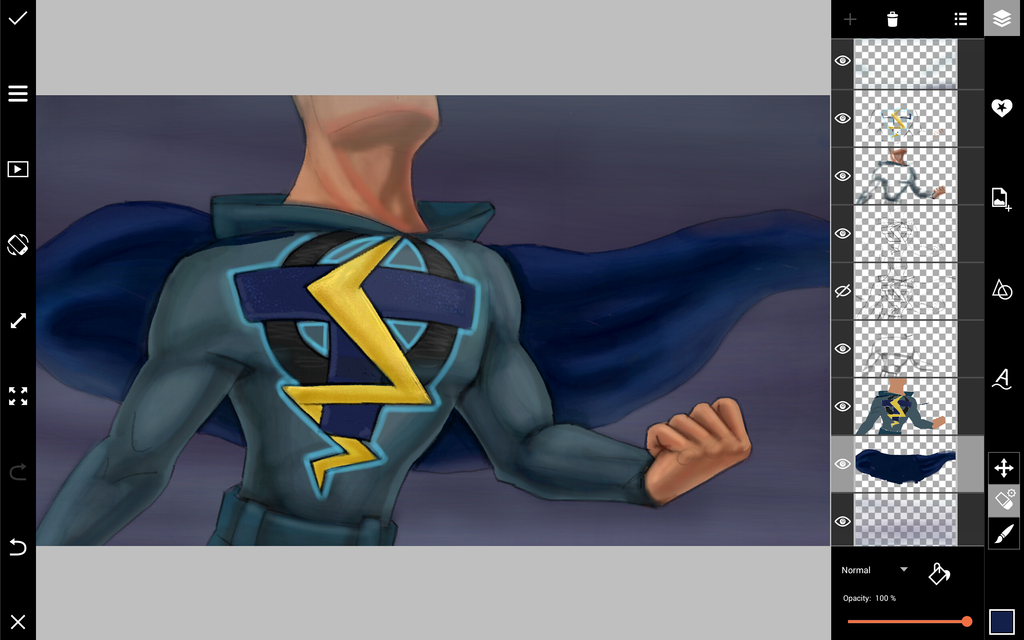
This week’s Drawing Challenge asks you to design your very own superhero logo, so we’re helping you out with this step-by-step drawing tutorial.
Learn the ropes for using PicsArt Drawing Tools, and gain some inspiration for creating your superhero logo. Most importantly, be sure to tag your drawing with #DCsuperherologo when you are done!
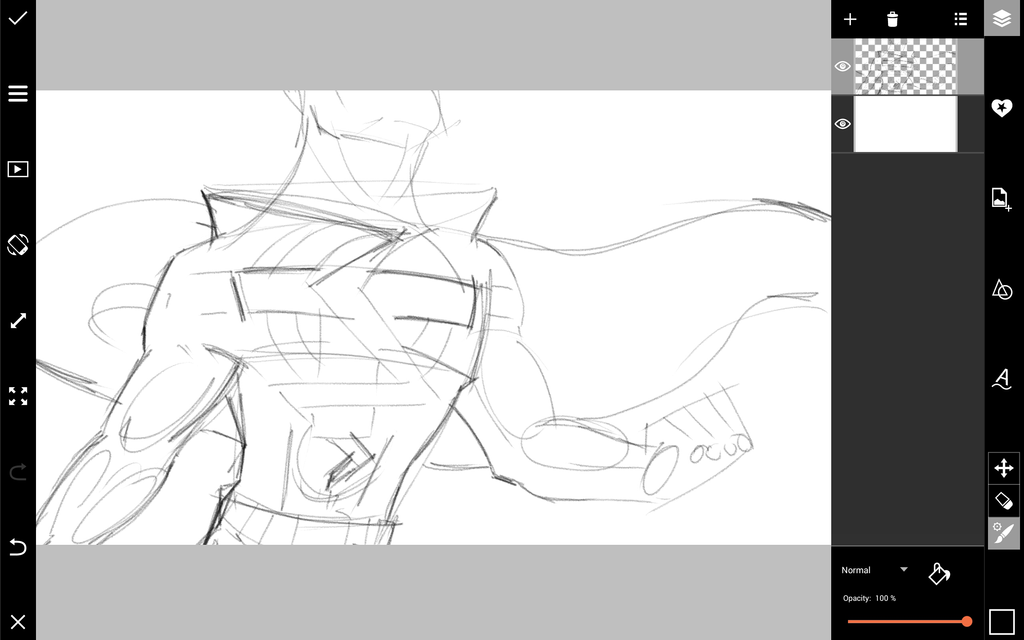
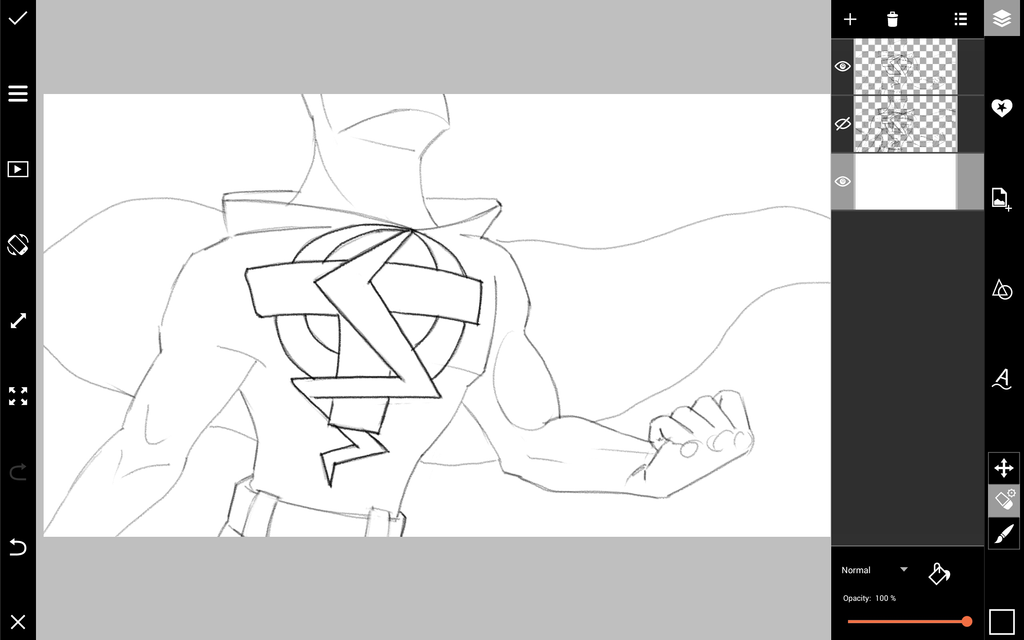
Step 1: Draw Outline
Your outline is the best place to decide how you want to represent your logo, such as being placed on a costume or projected in lights. Draw a rough outline, reduce the opacity, and trace a final outline in a new layer.
Step 2: Add Color
Add new layers just for your color, and color in your drawing. Use the Color Chooser on the menu bar.
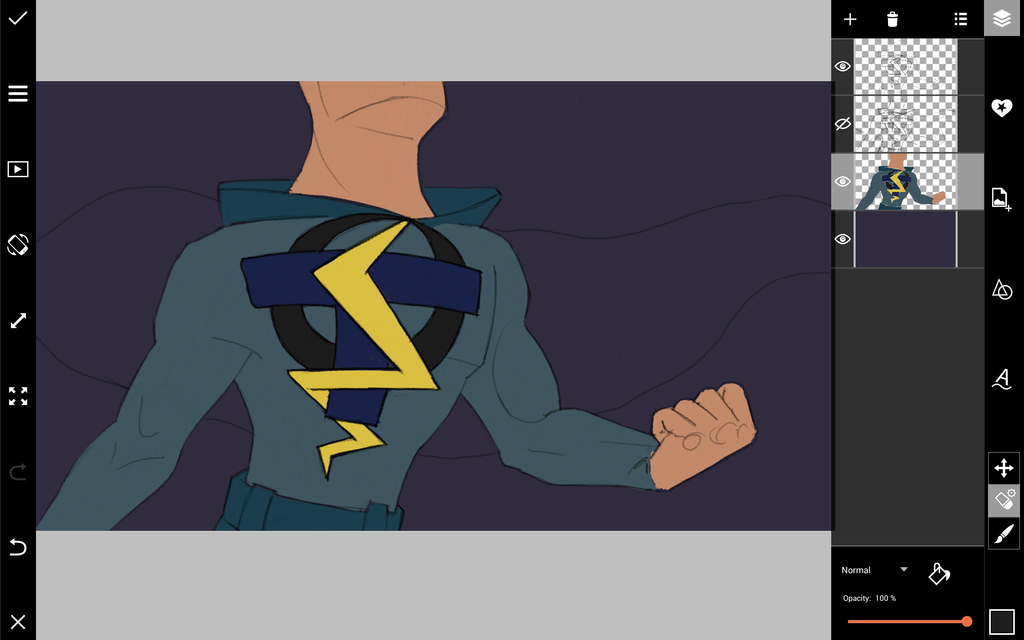
Step 3: Add Shading
Chooser darker tones of your colors for shading, and use the Brush Tool to change the brush’s texture. Start with a slightly darker color, then deepen your shading by adding more darker tones.
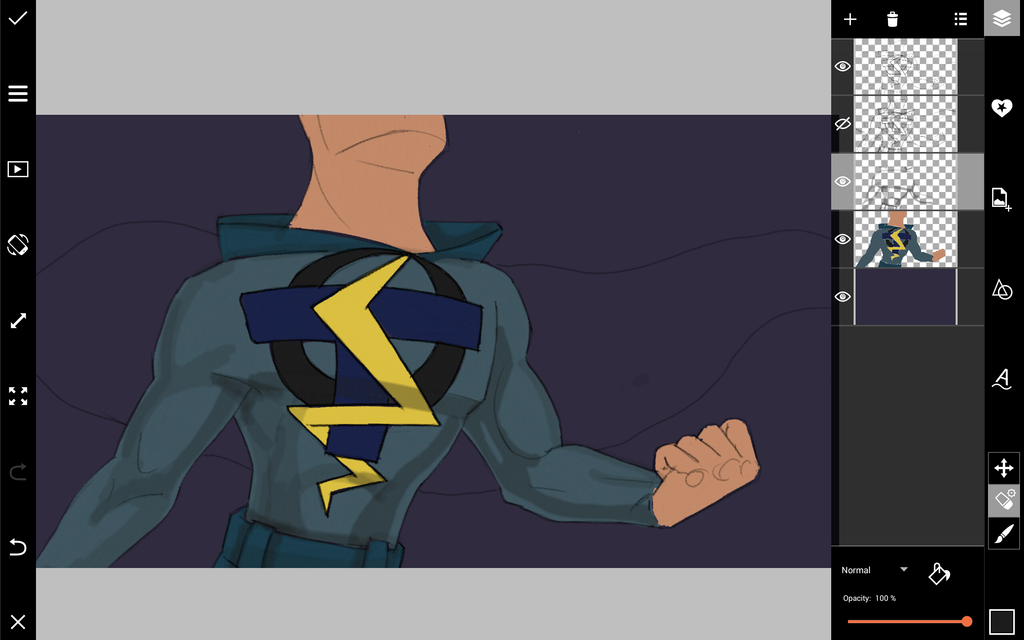
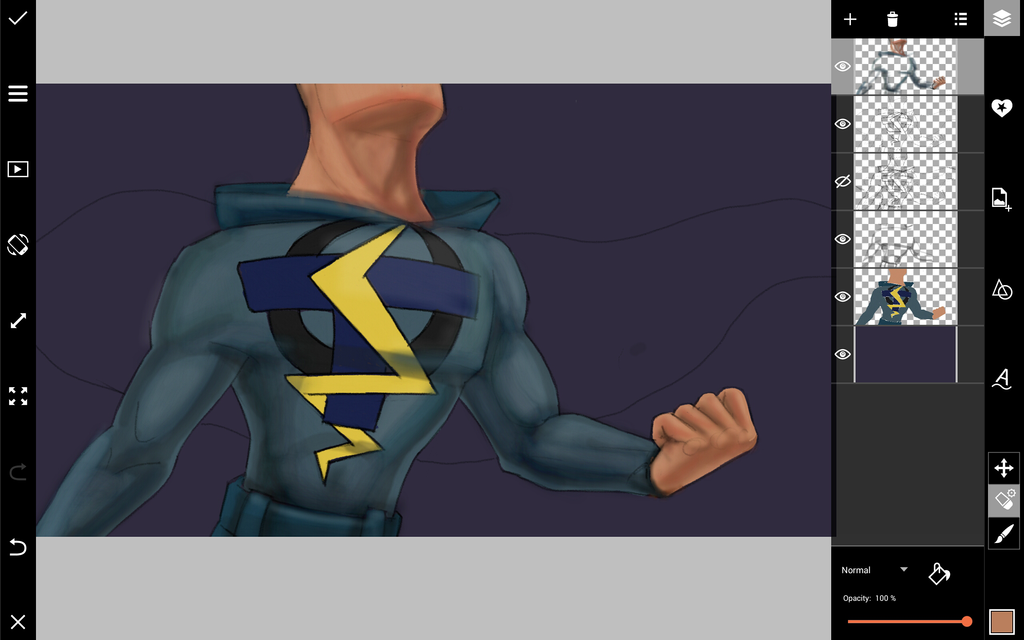
Step 4: Add Final Details
To finish your drawing, add all your final details to make your logo stand out. Add layers in the back to flesh out a background, highlight the edges of your logo with bright colors, or finish your superhero’s cape.
