This week’s Drawing Challenge asks users to furnish their drawing spaces with regal thrones, so we’re going to provide you with a royal boost with a step-by-step drawing tutorial. Learn how to use PicsArt Drawing Tools to facilitate your drawing process, and pick up some helpful tips.
If anything, use this drawing tutorial as a source of inspiration before you battle it out for the crown in this week’s challenge.
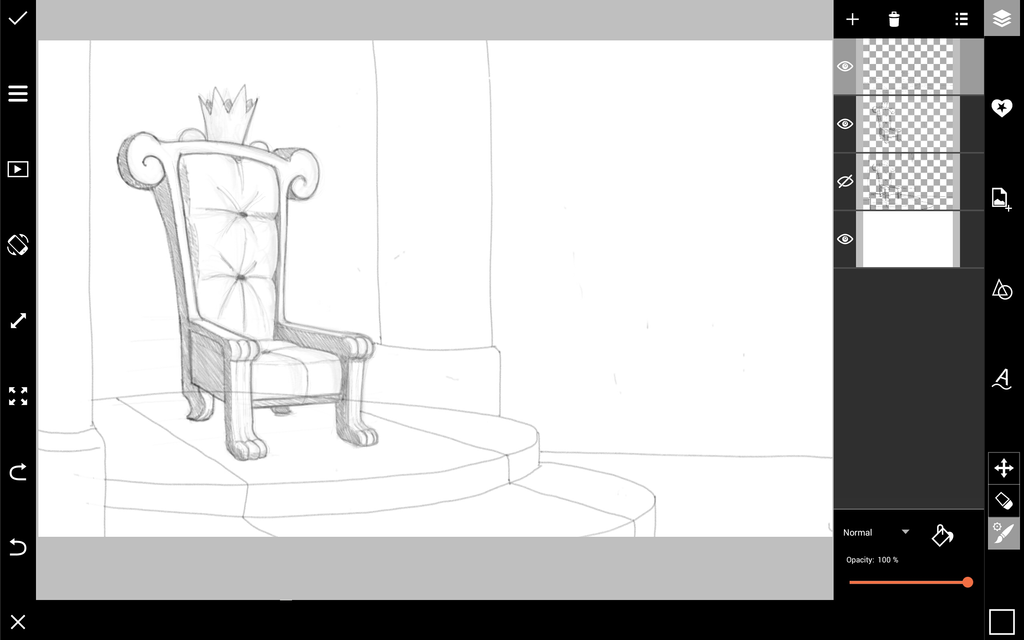
Step 1: Draw Outline
Sketch out a rough outline of your throne and throne room. Reduce their opacity and trace a final outline in a new higher layer. Select the Brush Icon to reduce the brush’s opacity, and add in some shading as well. Delete previous outlines.


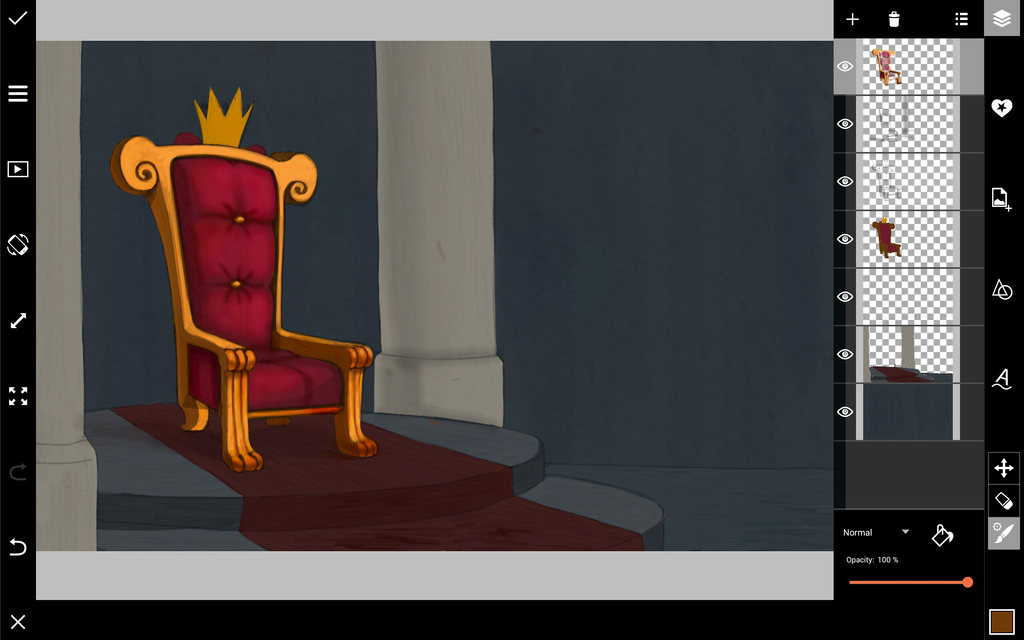
Step 2: Add Color
To change color, select the Color Chooser on the far left end of the menu bar. Add new layers below your outline for color, and color in your drawing. You can also control brush thickness and texture by selecting the Brush Icon.

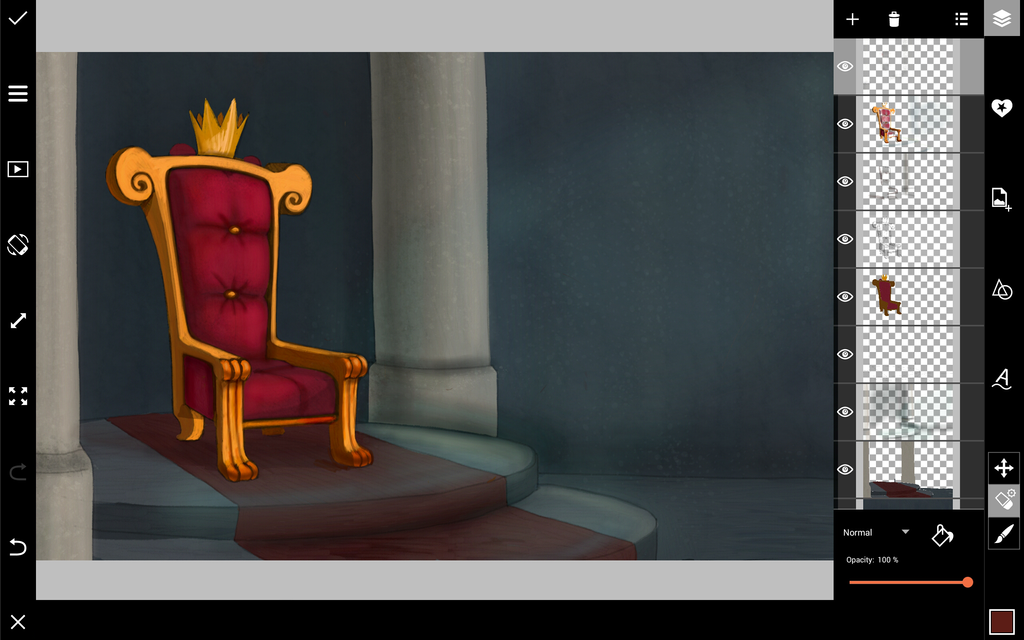
Step 3: Shading & Lighting
There are two approaches to adding light and shade. Create a higher layer for painting on brighter and darker tones of color. You can also create a special layer where you paint shadows in black, and fade it into subtle shadows by reducing the layer’s opacity.

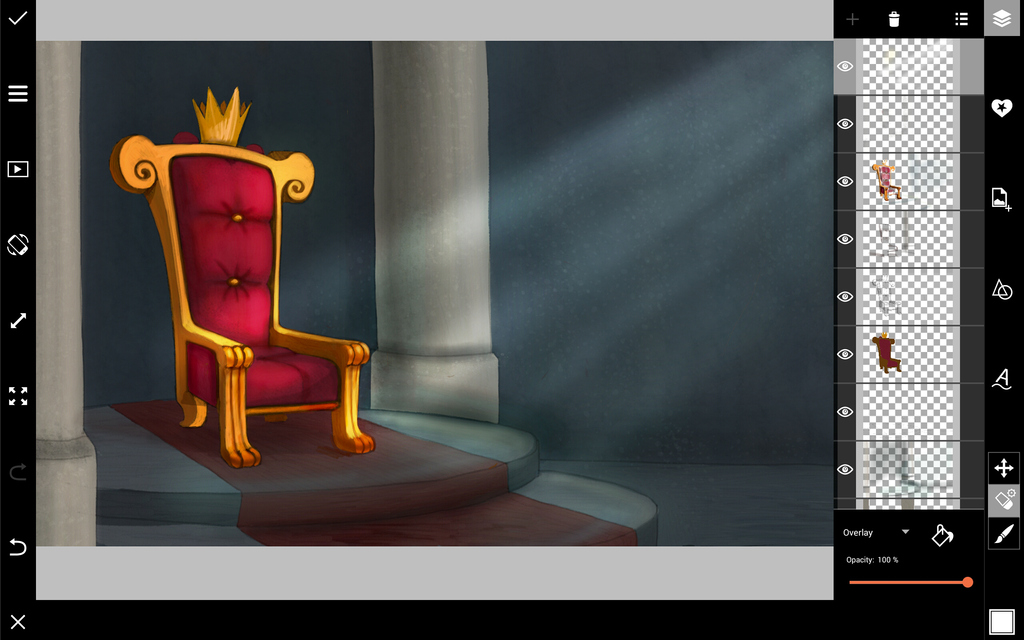
Step 4: Rays of Light
Lastly to give your throne an extra aura of grandeur, add rays of light shining upon the throne. Select the Brush Icon and choose a spray brush with reduced opacity. Paint ribbons of translucent white light in streaks from the ceiling descending onto your throne.


