
This tutorial will show you step by step how to use PicsArt’s Water Effect. This is a really cool effect that distorts your photo, creating the illusion that it is under water by creating a rippling effect. It makes it seem as though someone has thrown a pebble into your image, and all that’s left are the small waves expanding outward towards the edges of your photo. The water effect does nearly everything for you, and with just a little guidance, all that’s left for you to do is use the water effect settings to perfectly integrate the water ripples into your image. It’s easy when you understand what’s going on, just follow these simple steps and you’ll be using the Water effect like a pro in no time!
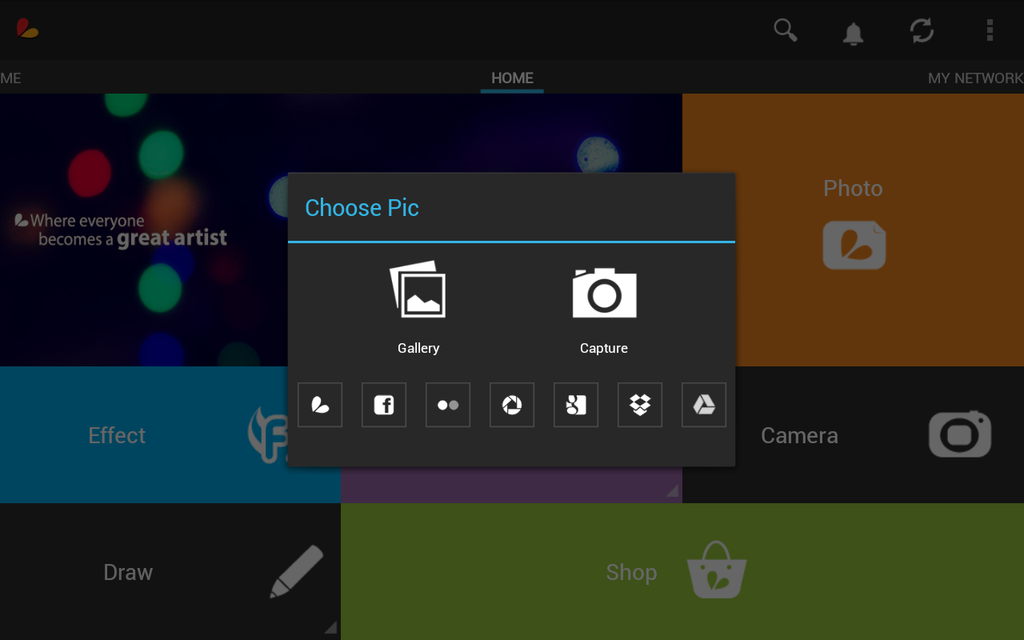
Step 1: Choose a Photo
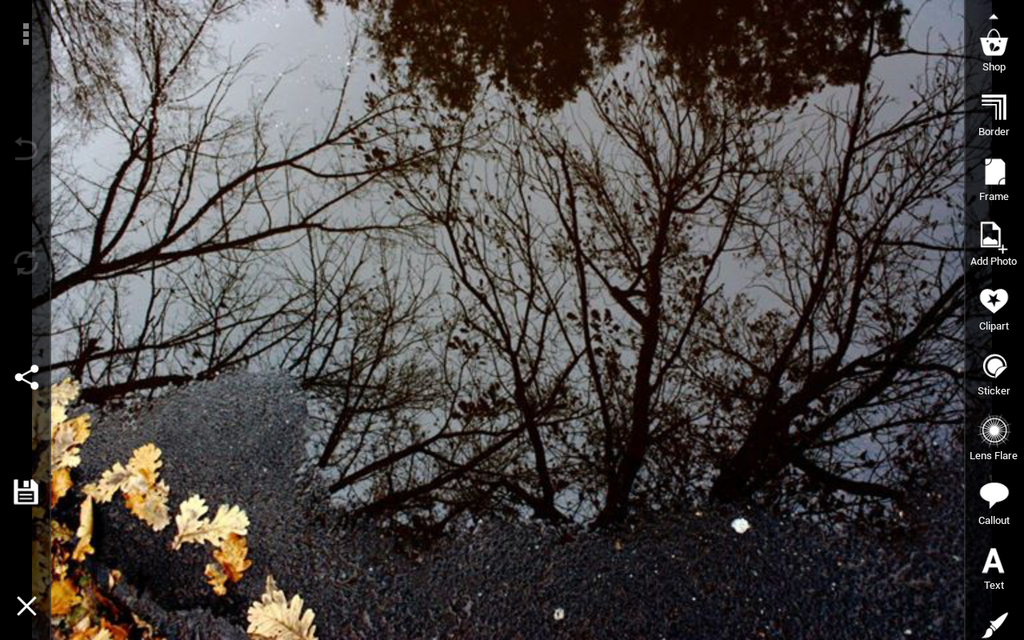
Upload a photo from the edit or effects section of the main menu. Select a photo that captures a water source from above, whether it is a lake or a puddle.
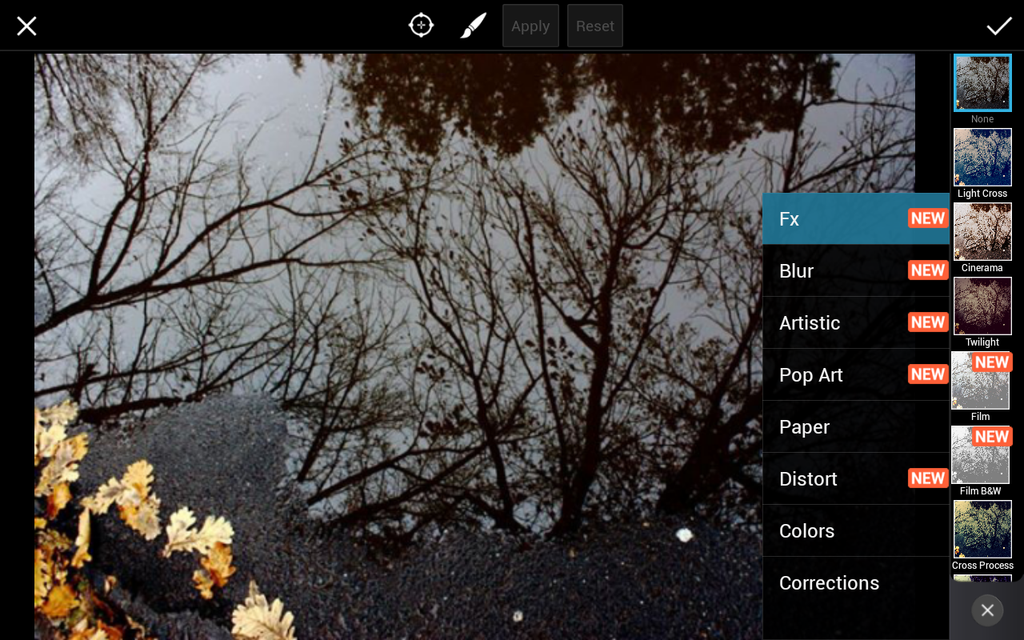
Step 2: Find the Water Effect
Select Distort from the Effects Menu, scroll all the way over, and select the effect labeled Water. The water effect will generate ripples of water.
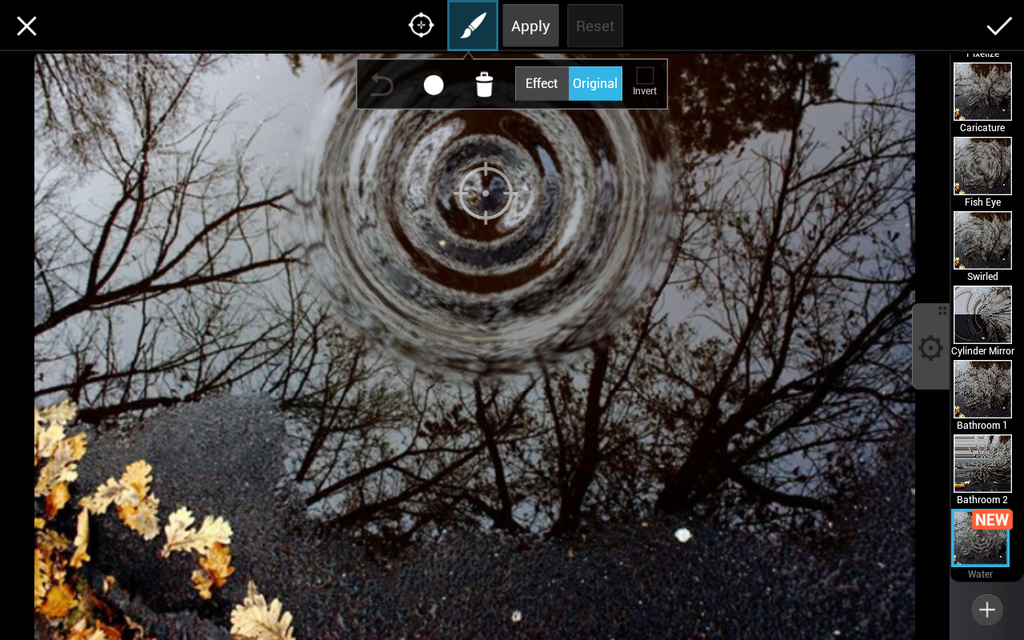
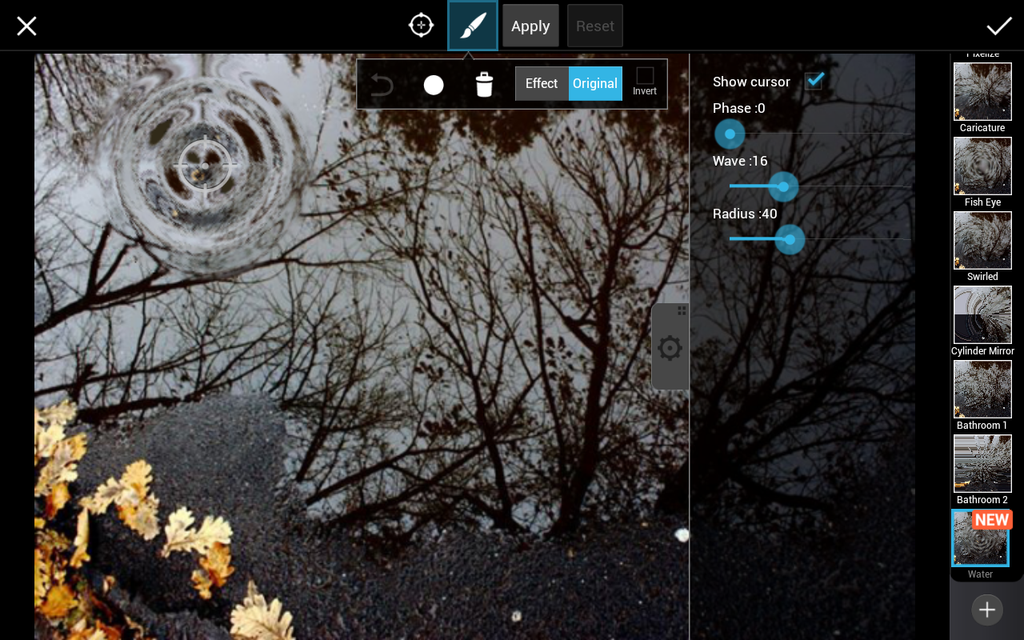
Step 3: Smaller Ripples
In the effect settings pop up menu, reduce the radius slider to make the circle of ripples smaller. The phase slider pushes your waves outward, set this to 0.
Step 4: Larger Ripples
Increase the radius slider to create larger ripples. Experiment with the phase slider to frame the ripples perfectly within the radius of your circle.
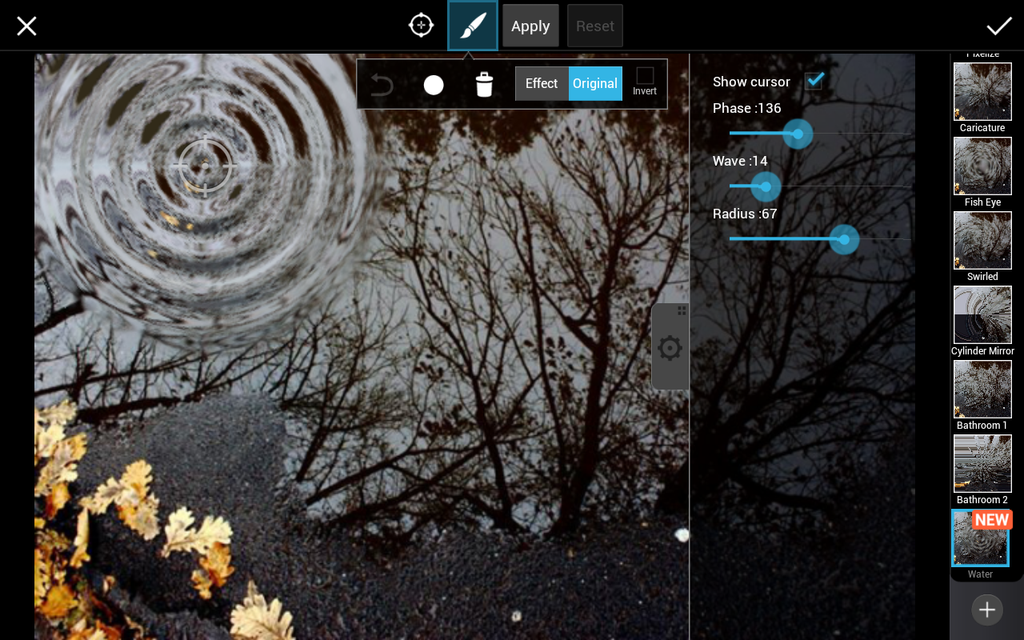
Step 5: The Wave Slider
Use the Wave slider to customize the thickness of the ripples. Move it all the way to the right and you’ll have only a few very large ripples. Keep it to the left to have many small ones.

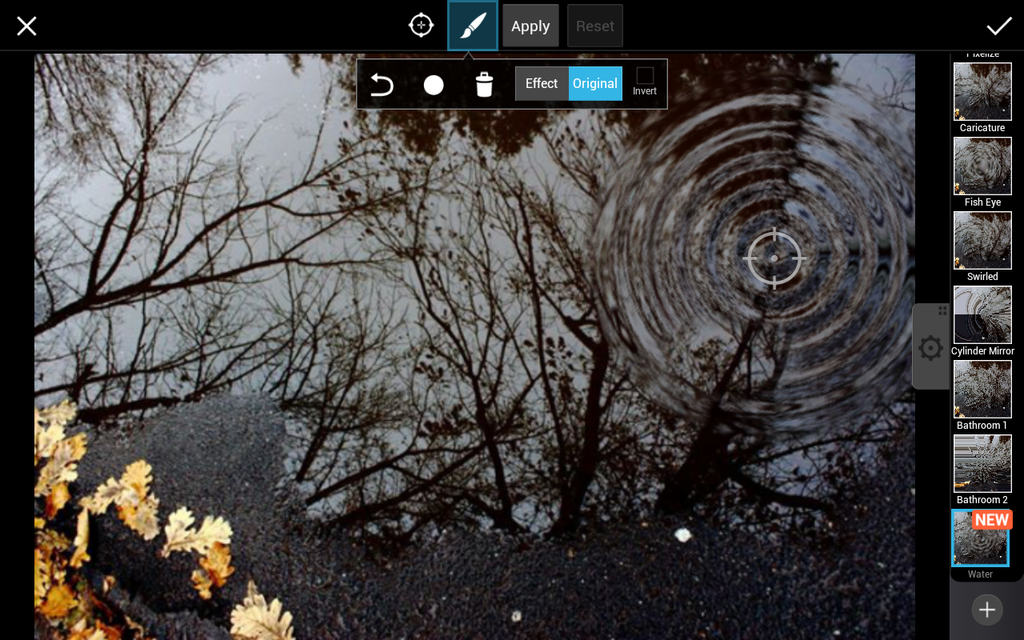
Step 6: Displacing your Ripples
Close the effects settings and move the ripples around your photo by dragging the crosshairs with your finger.

Step 7: Confirm your Editing
When you are happy with you ripples of water, confirm your changes by pressing the checkmark at the top of your screen.


