
Psssst! Have you tried using PicsArt’s collage maker to create a mood board?
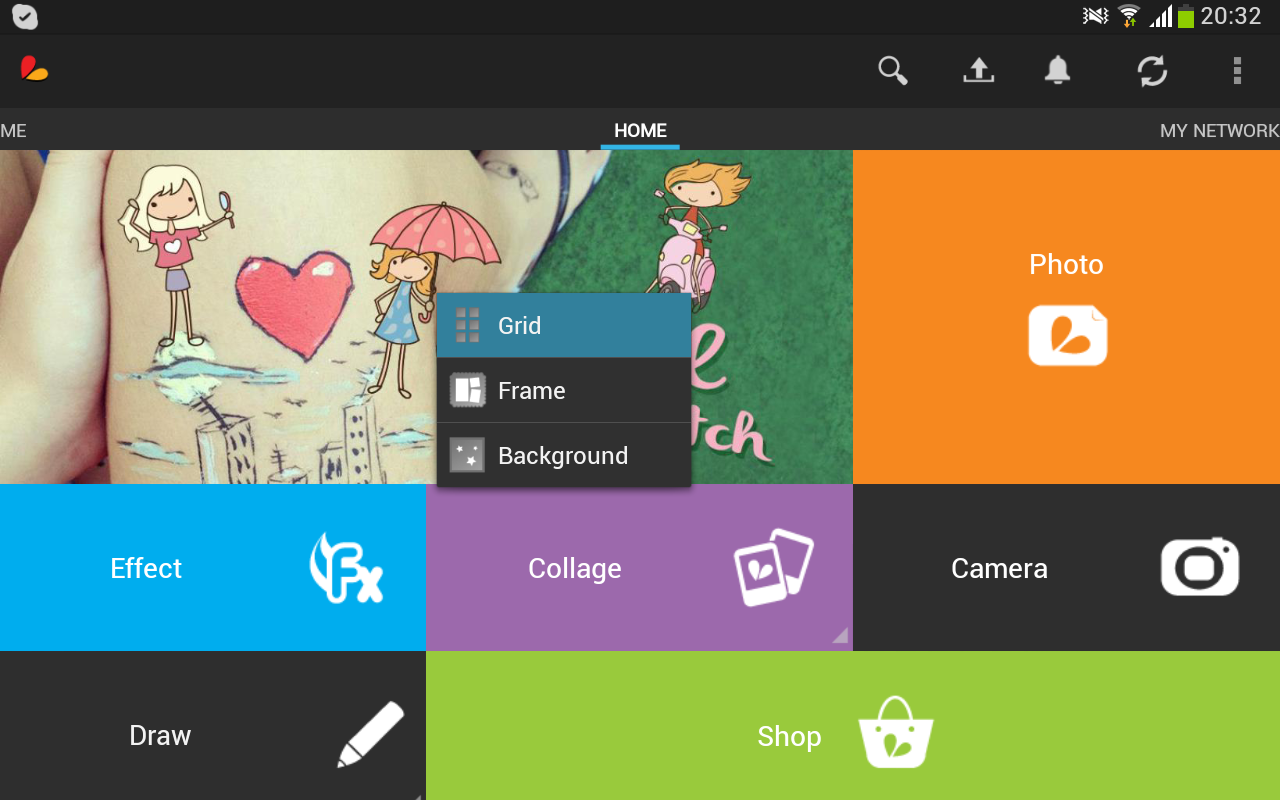
PicsArt let’s you make some really beautiful collages, using various options. You can choose from three different collage types: Grid, Frame, and Background. Grid and Frame offer fixed templates, which can then be tweaked and customized, whereas Background mode let’s you build a collage in free-form over any image of your choosing. Today, however, we are just going to show you what’s possible in the Grid and Frame modes.
These collage modes allow you to take a group of photos and arrange them any way you like, with the option of any number of cool, customizable backgrounds and frames. With PicsArt you can personalize your collage design to suite your taste. This way, whether you’re making a collage of your family’s Christmas photos or of an unforgettable night out you spent with your best friends, your collage design will always reflect the sentiments of the moment. PicsArt makes it really fun and easy to pull off some top-notch collage designs, but we decided to put together this tutorial to show break things down and show you everything that is possible with PicsArt!
How to Make a Collage in PicsArt Step By Step
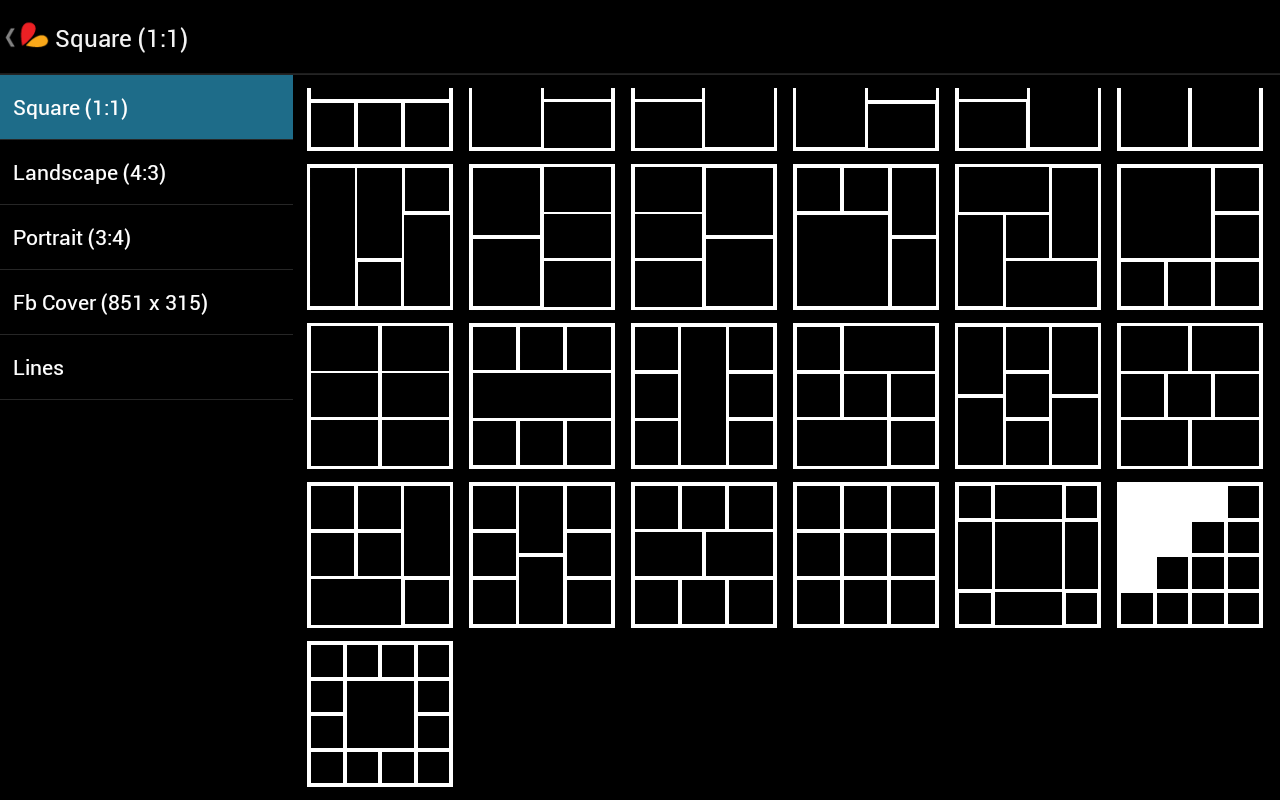
Step 1: Select Grid from the Collage Menu
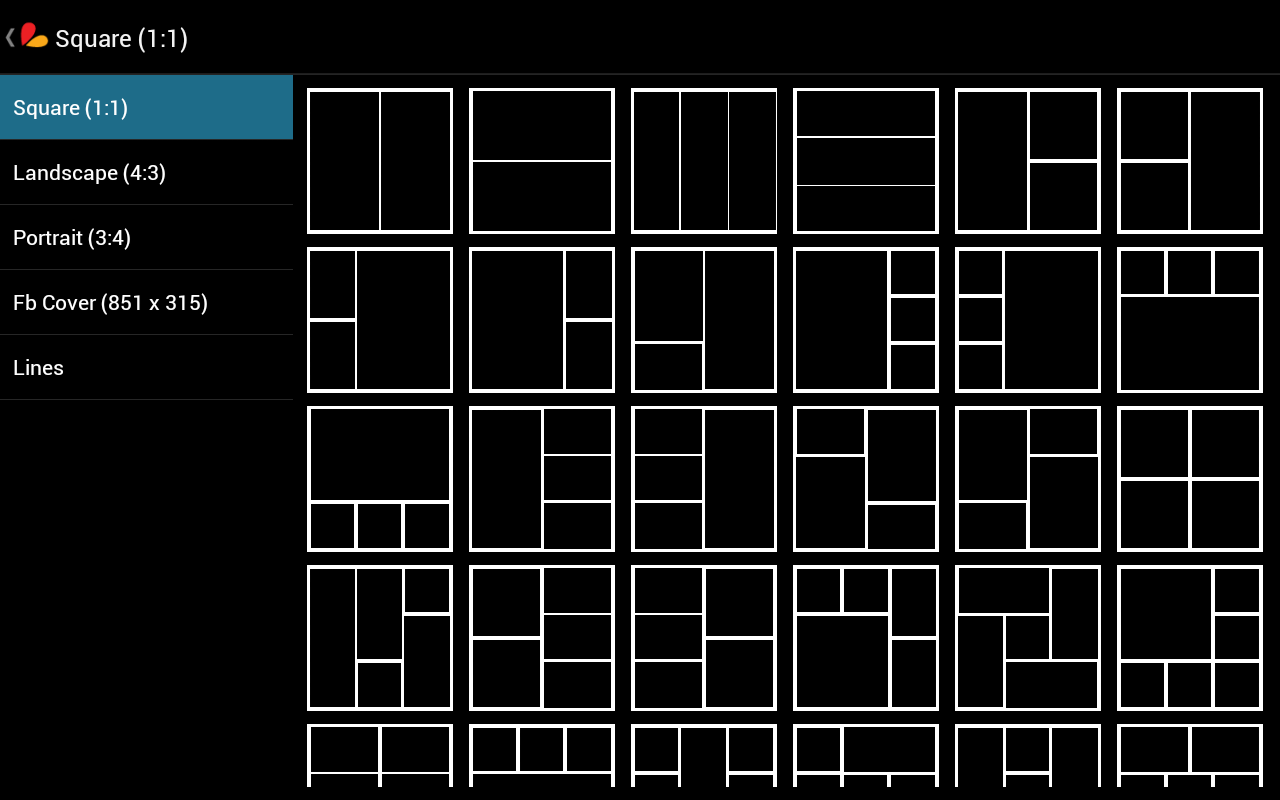
From the collage menu, choose the Grid option and select a grid for your collage.
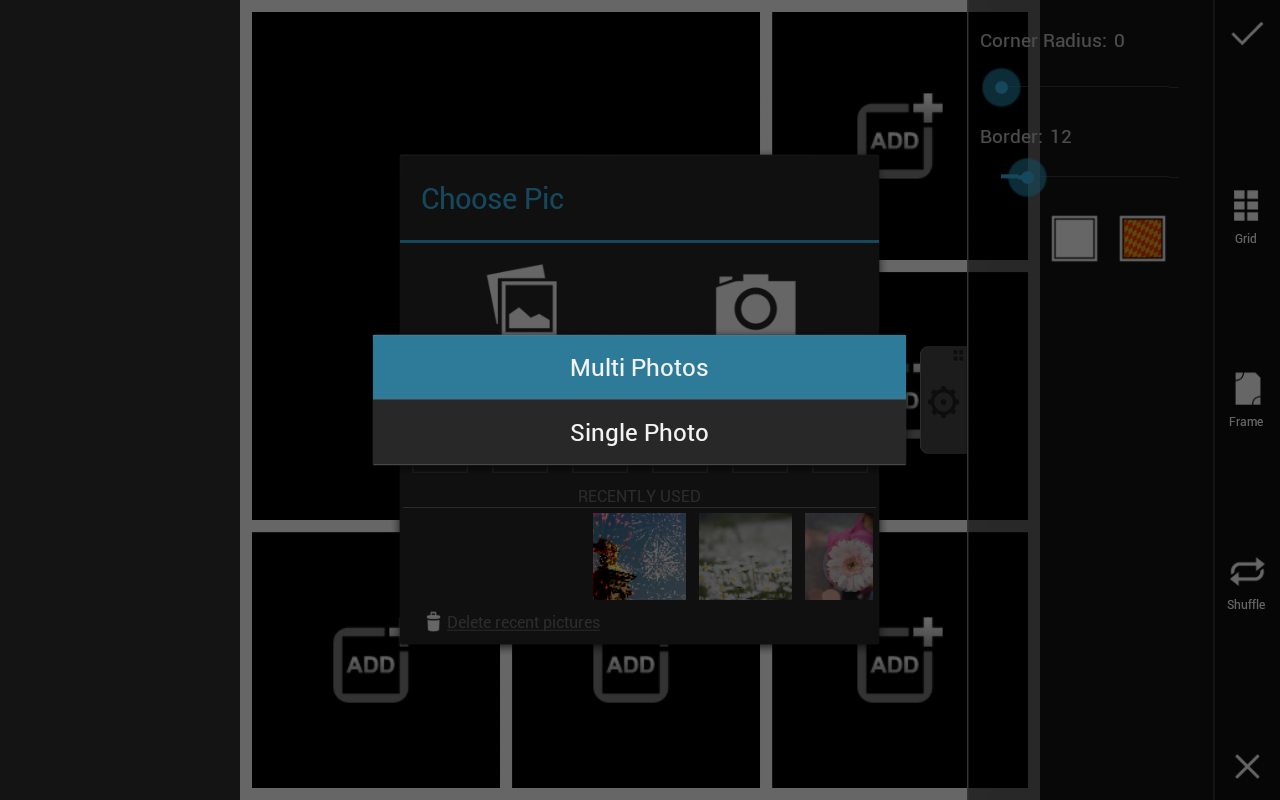
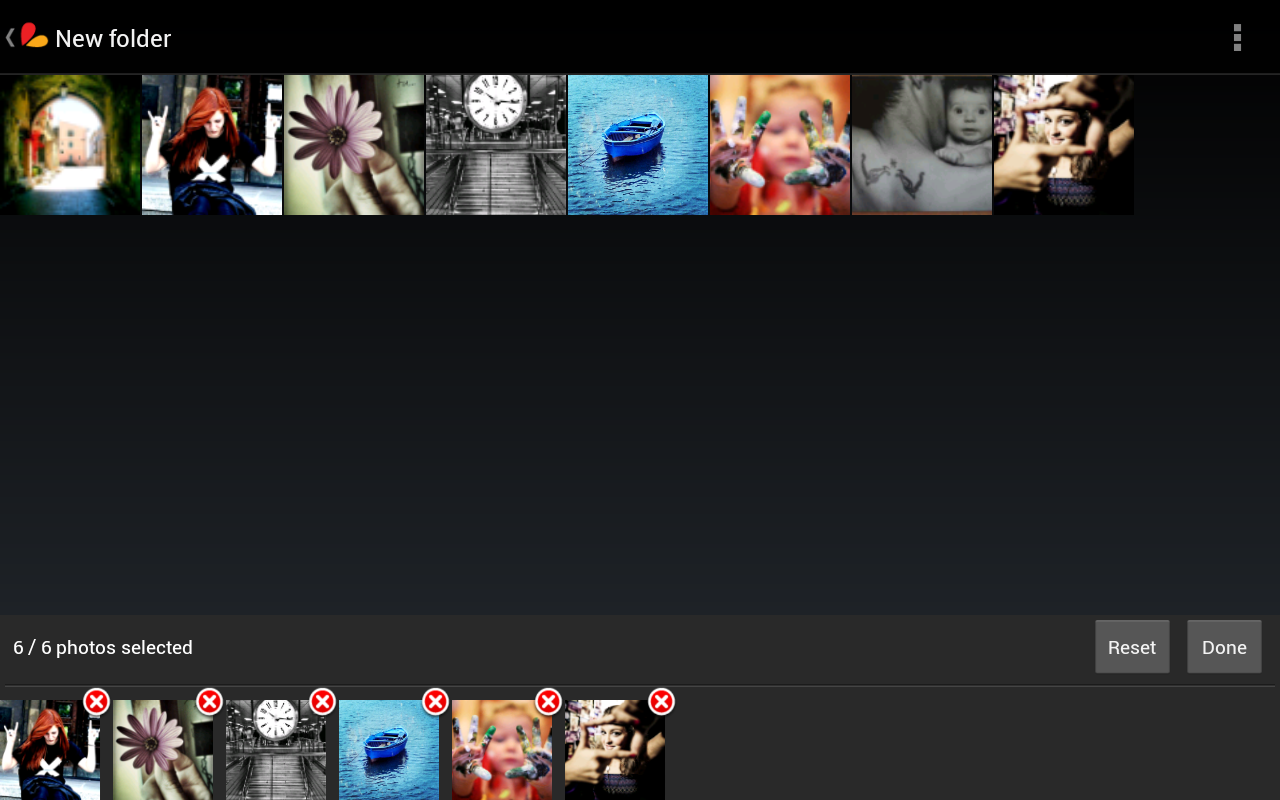
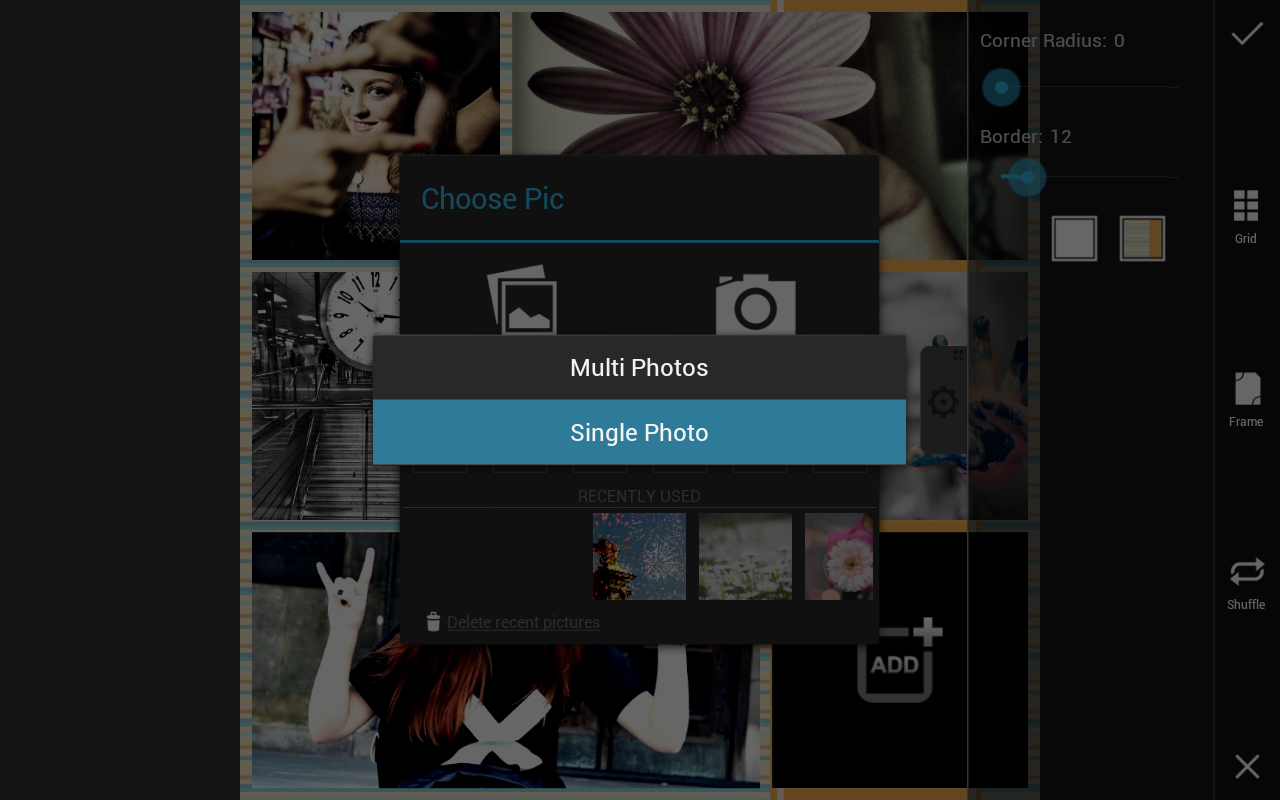
Step 2: Upload your Photos
Click an open box in your collage template and upload photos either one at a time or all at once.
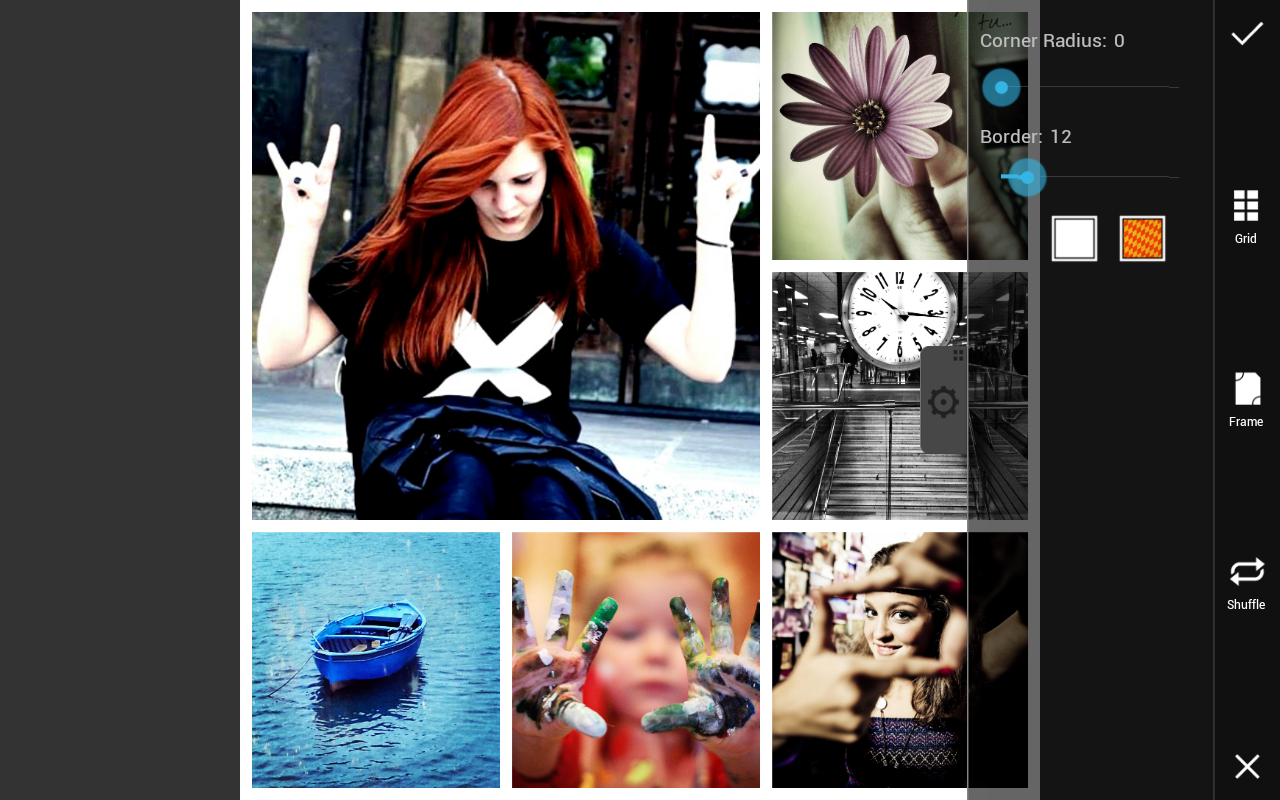
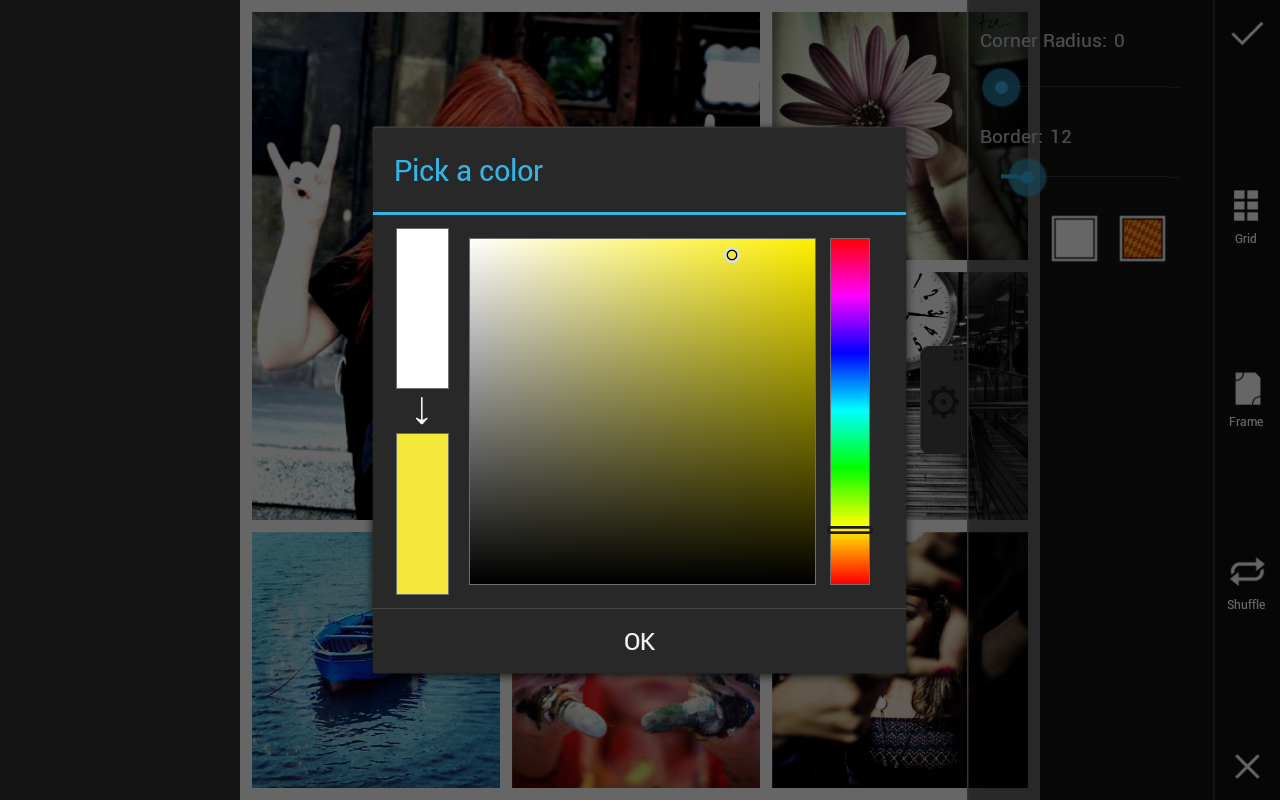
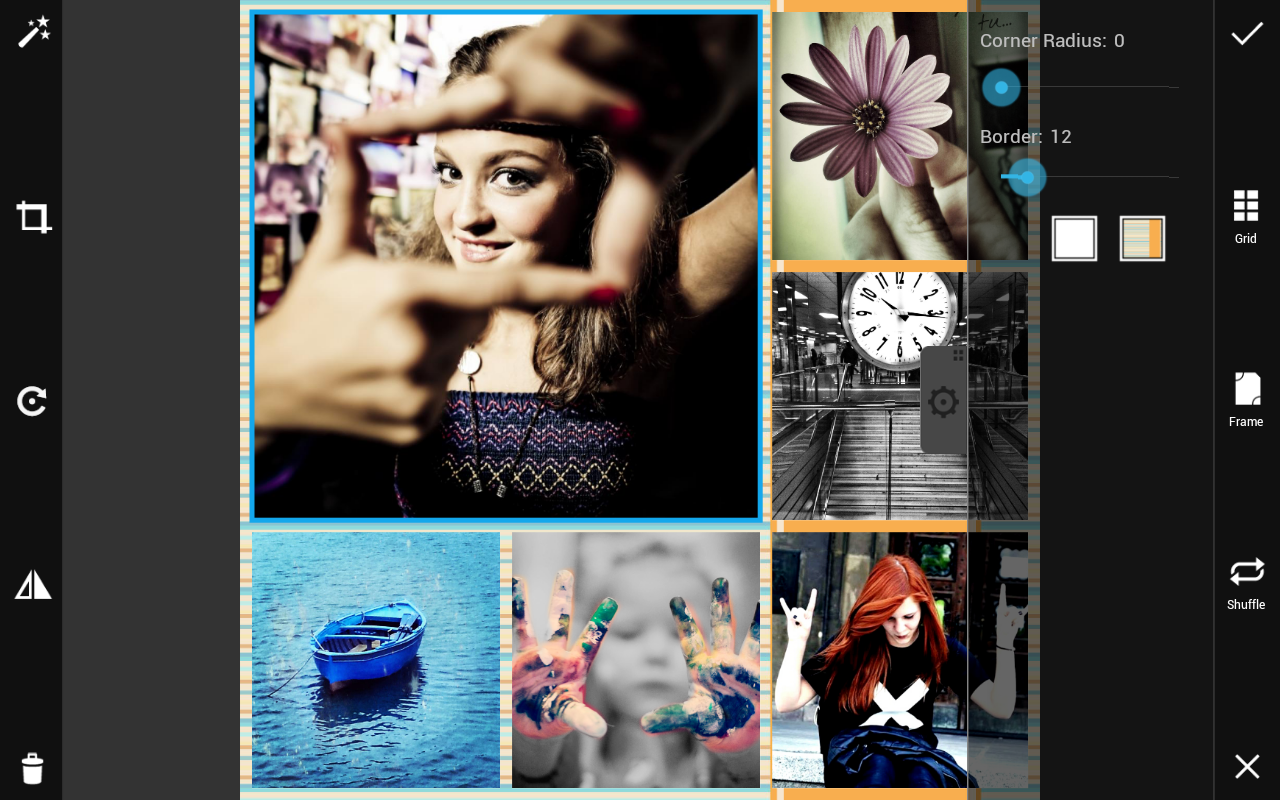
Step 3: Customize Your Border
Customize your border color by selecting the color box, change the size of your border by dragging the border slider, and round the corners of your photos by dragging the Corner Radius slider.
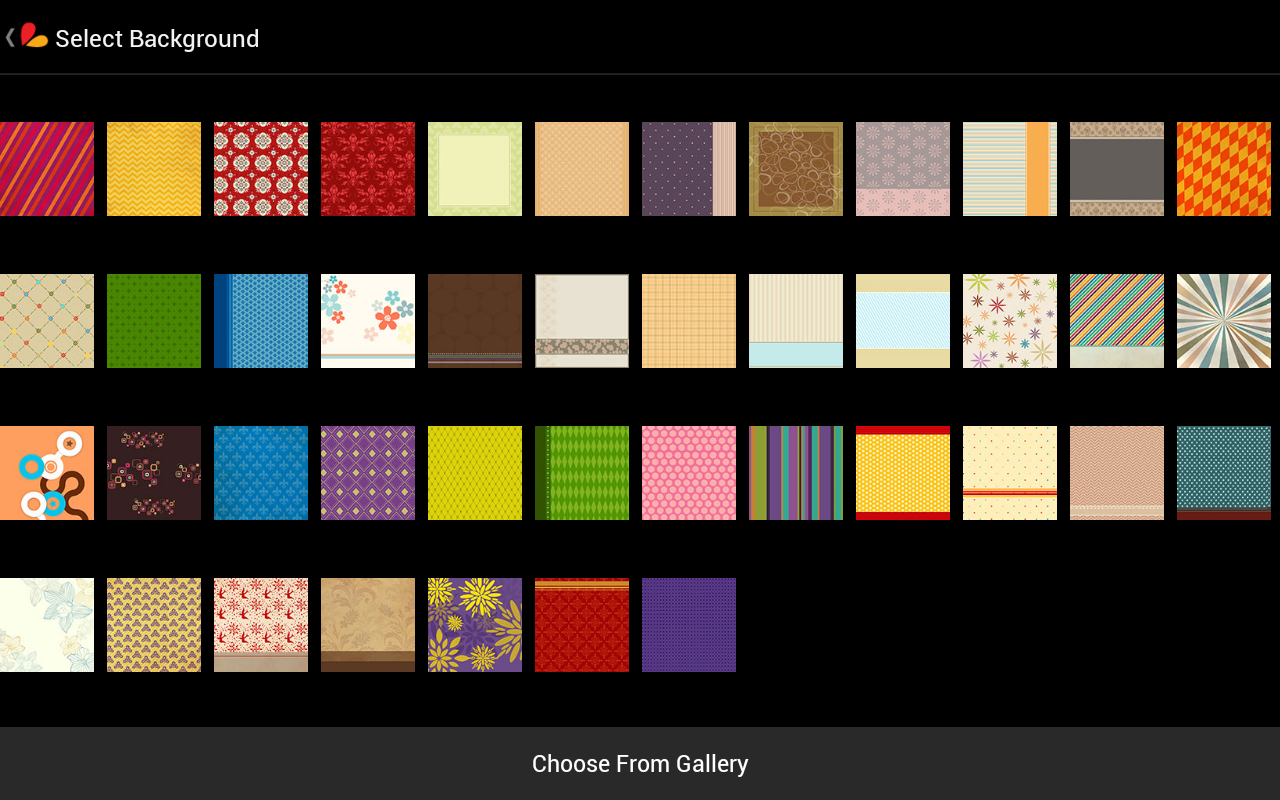
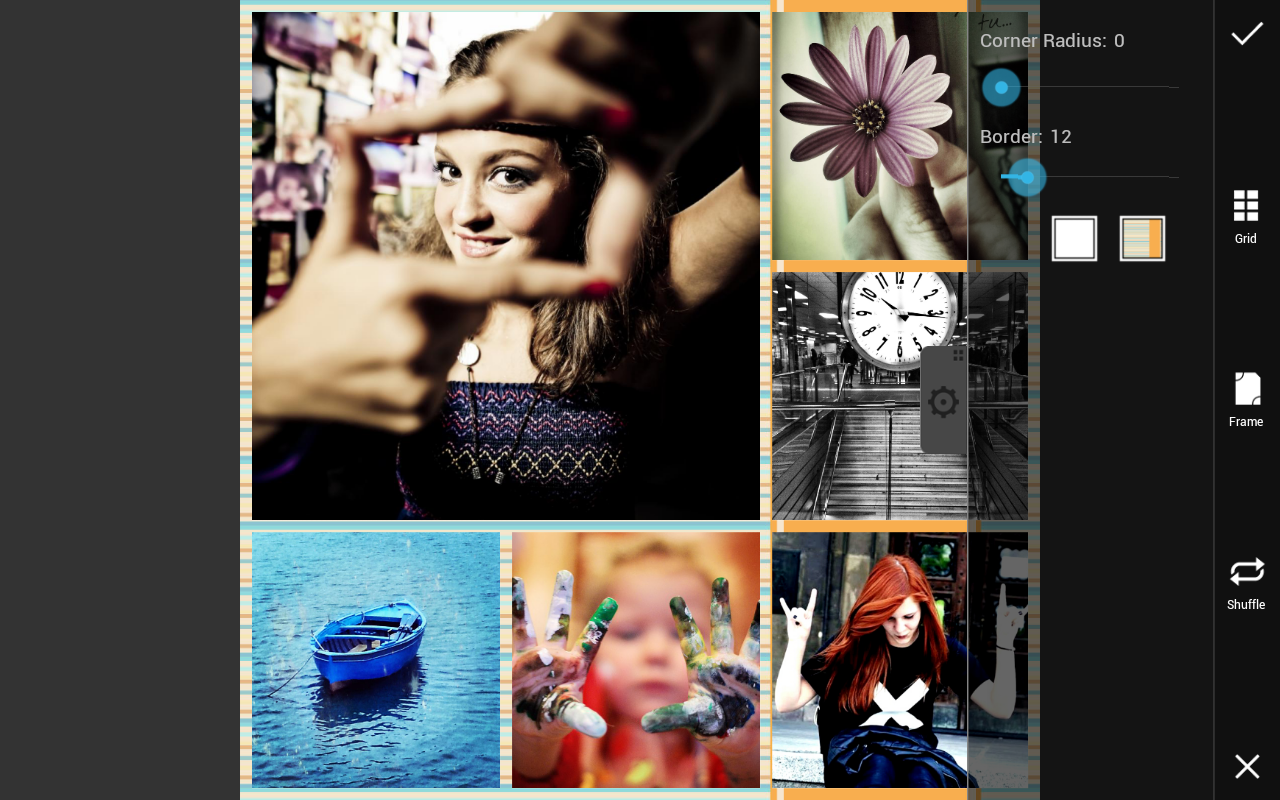
Step 4: Choose a Fun Background Pattern
Select the patterned box next to the color box to choose a fun background pattern.
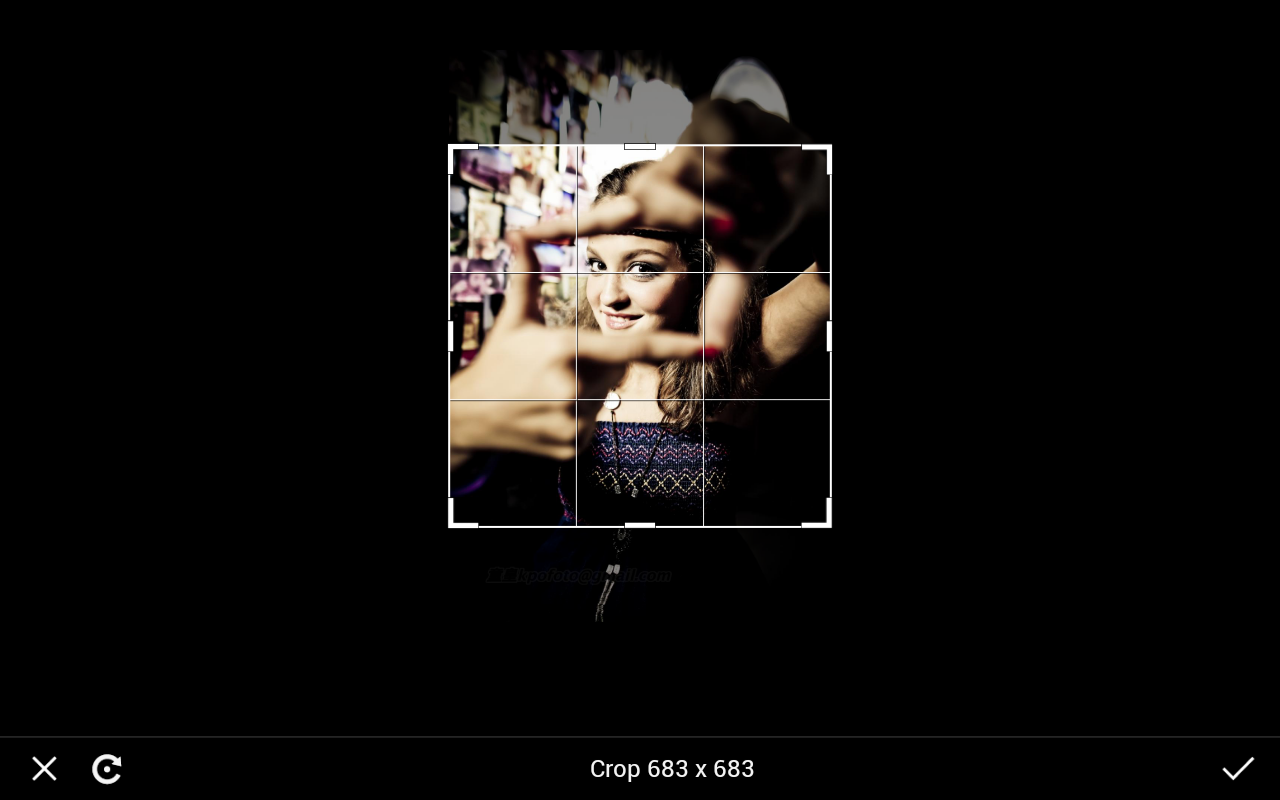
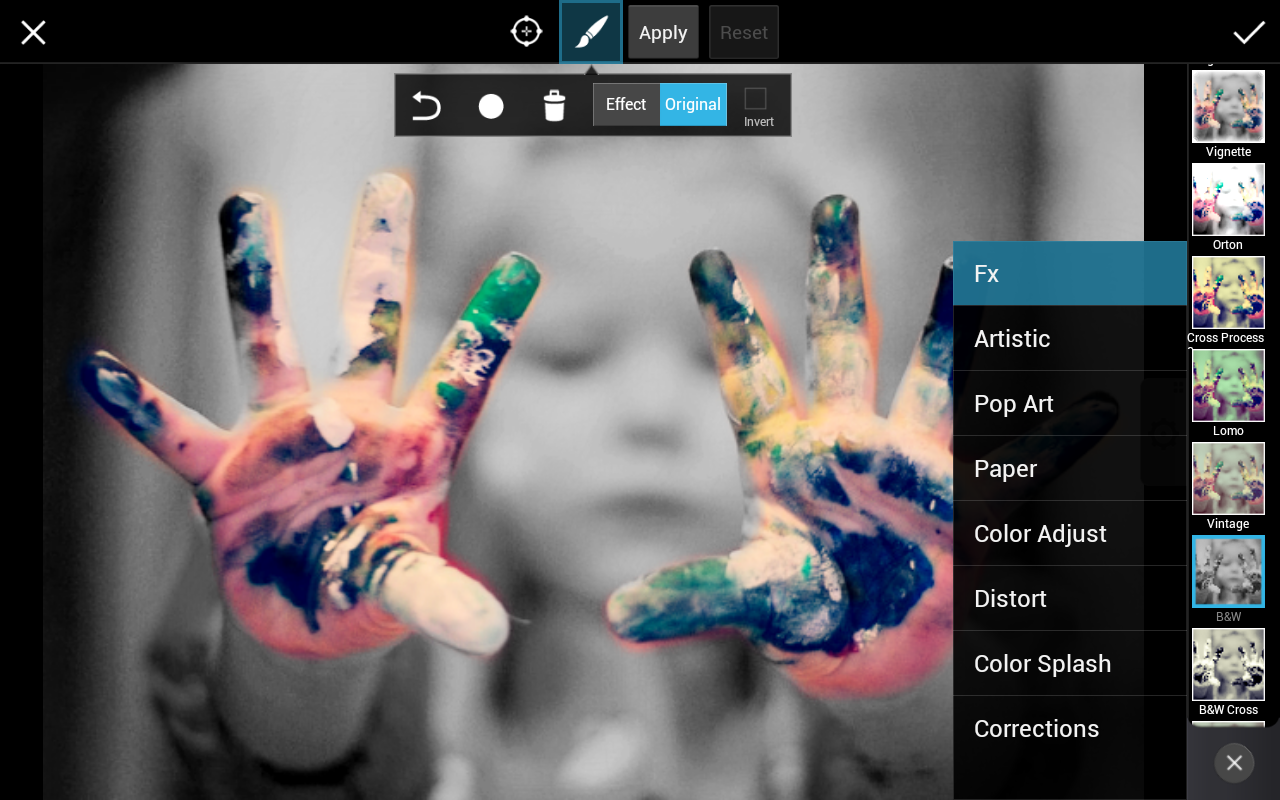
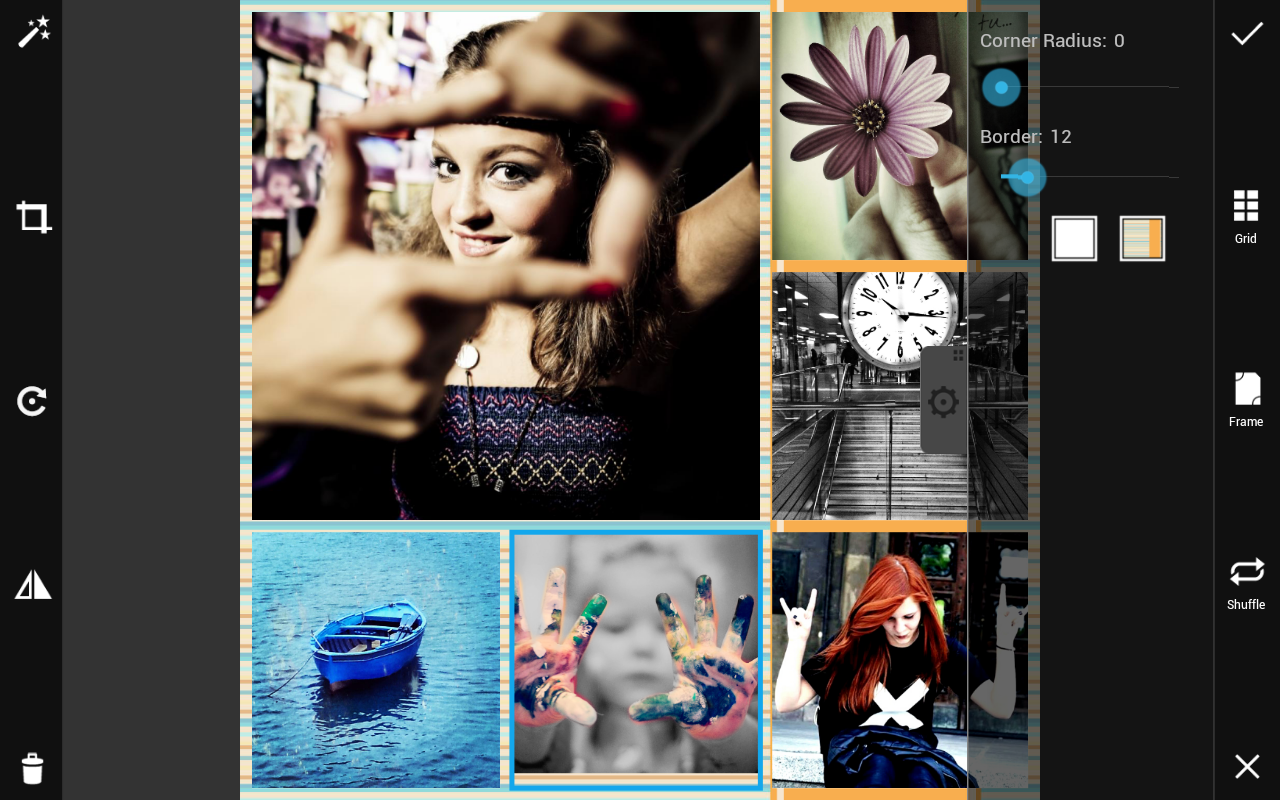
Step 5: Customize Individual Photos
Tap on the image to open settings toolbar.
Use the icons on the right to flip, rotate, and crop individual photos. The magic wand icon will bring you to the effects editing screen to add effects to your photos. You can drag and drop images to switch their places within your collage.
Step 6: Choose Alternative Templates & Shuffle Your Photos
Choose the grid icon to select an alternative collage template and select the photos in your collage to replace them with alternative images. Press the shuffle icon to rearrange the order of your photos in your collage.
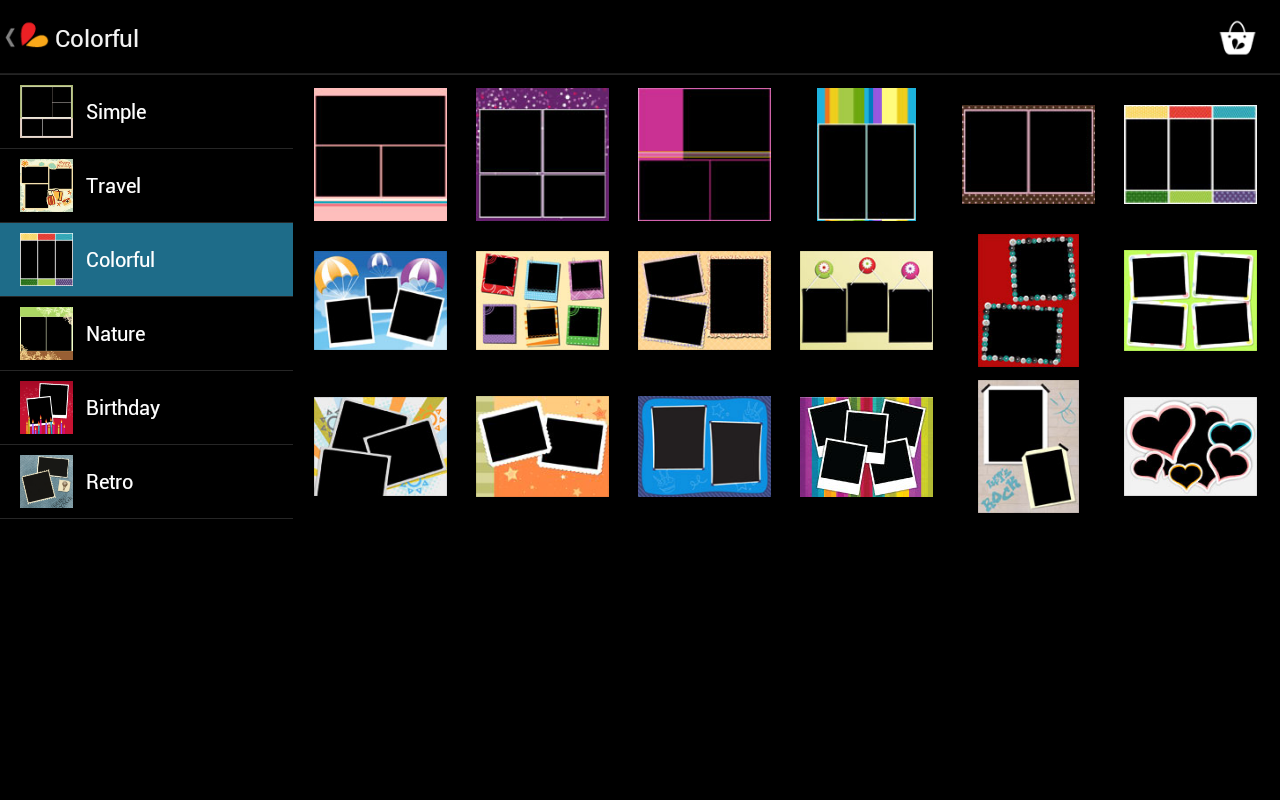
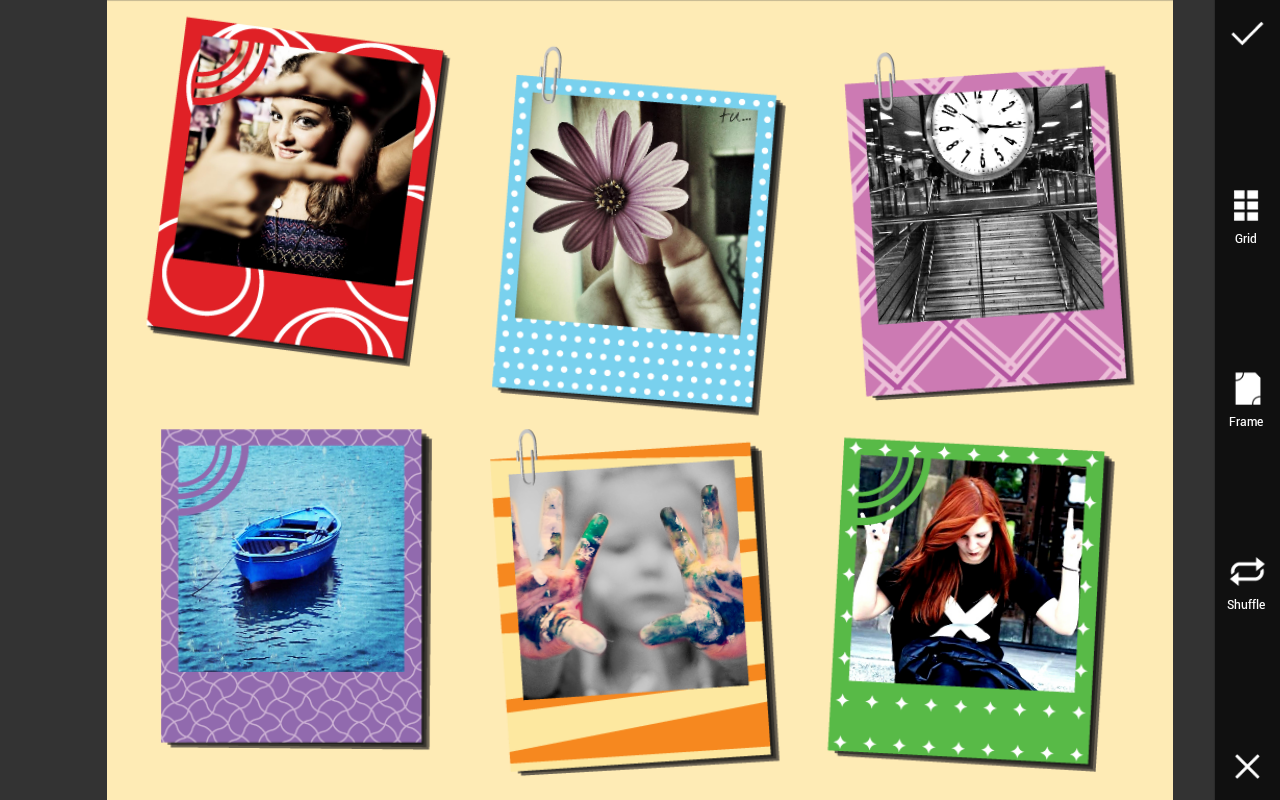
Step 7: Select an Awesome Frame
Select the frame icon to open up a menu of exciting frames.
Step 8: Save and Upload
Press the checkmark to save and upload your collage to whatever social media you choose.


