How to Put a Plane on It with PicsArt
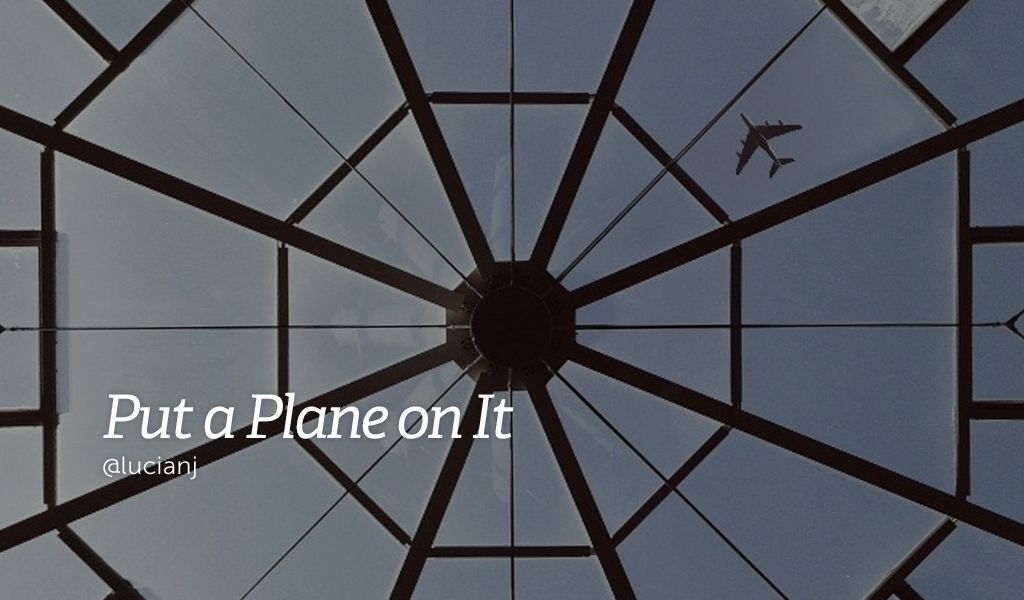
While the internet is having fun adding their own creative additions to Yu Wei’s submission to Nikon’s casual photo competition (that ended up not being so casual), we thought we’d show you how such an edit is made with PicsArt. Play with us in the app and give us your own version of #PutAPlaneOnIt. Looking forward to see your #MadeWithPicsArt creations!
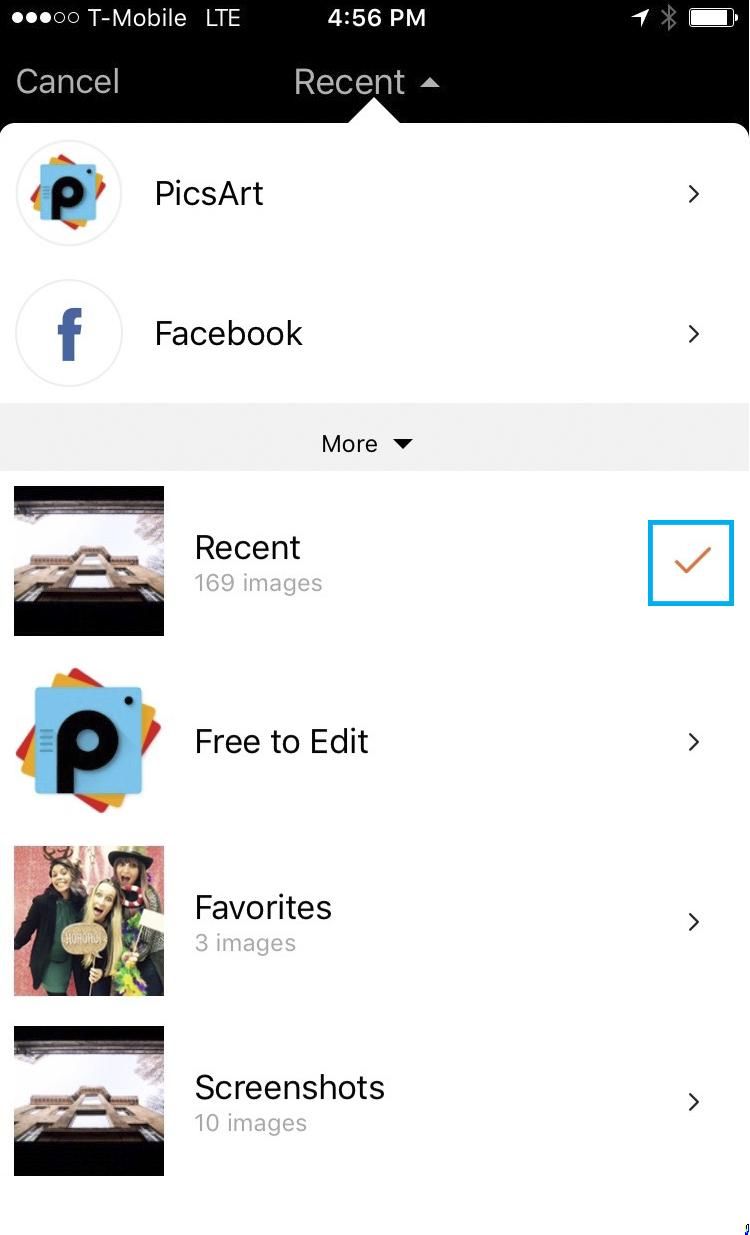
Step 1
Tap on the orange pencil icon and select Edit. Find a photo of the sky in your own photos, by browsing #FreeToEdit images from the community, or go outside and snap a shot!
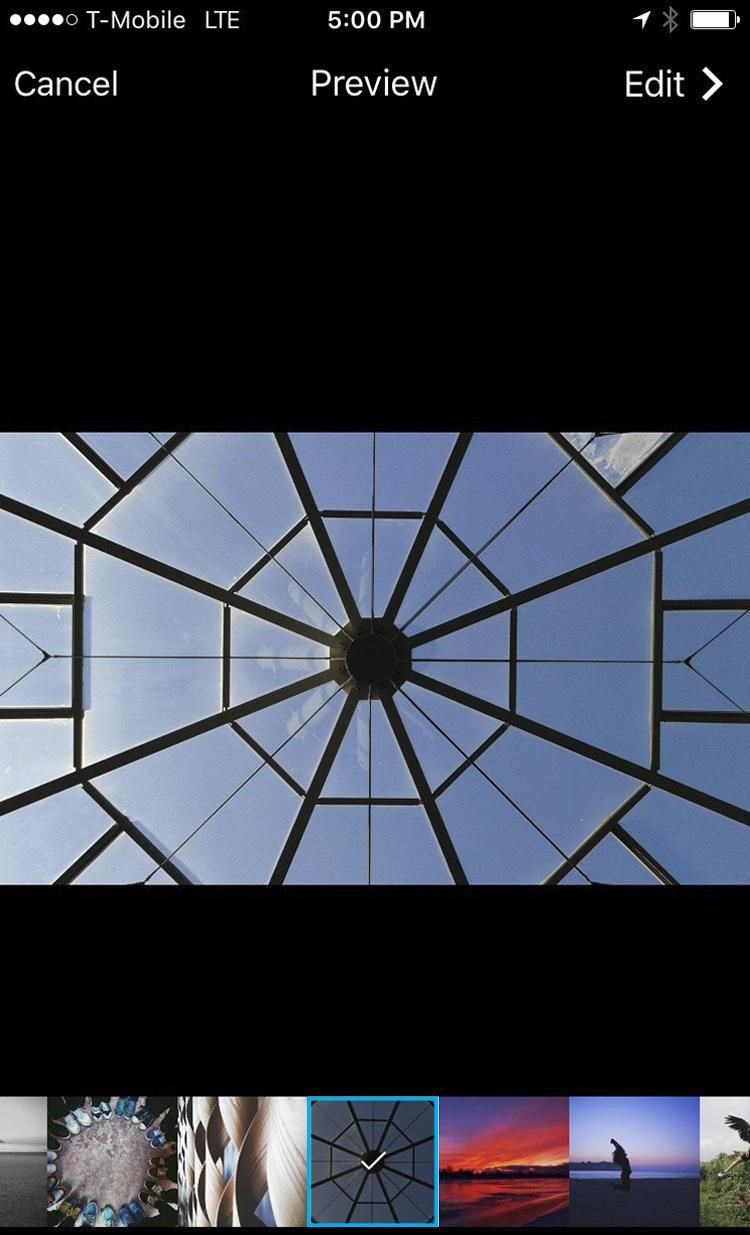
Step 2
Once you’ve found the perfect photo, tap on Edit to open it in the photo editor. We selected this photo of a geometric window against a bright blue sky.
Step 3
Tap on the Add Photo icon and select a photo of an airplane. Once again, you can use #FreeToEdit images from the community.

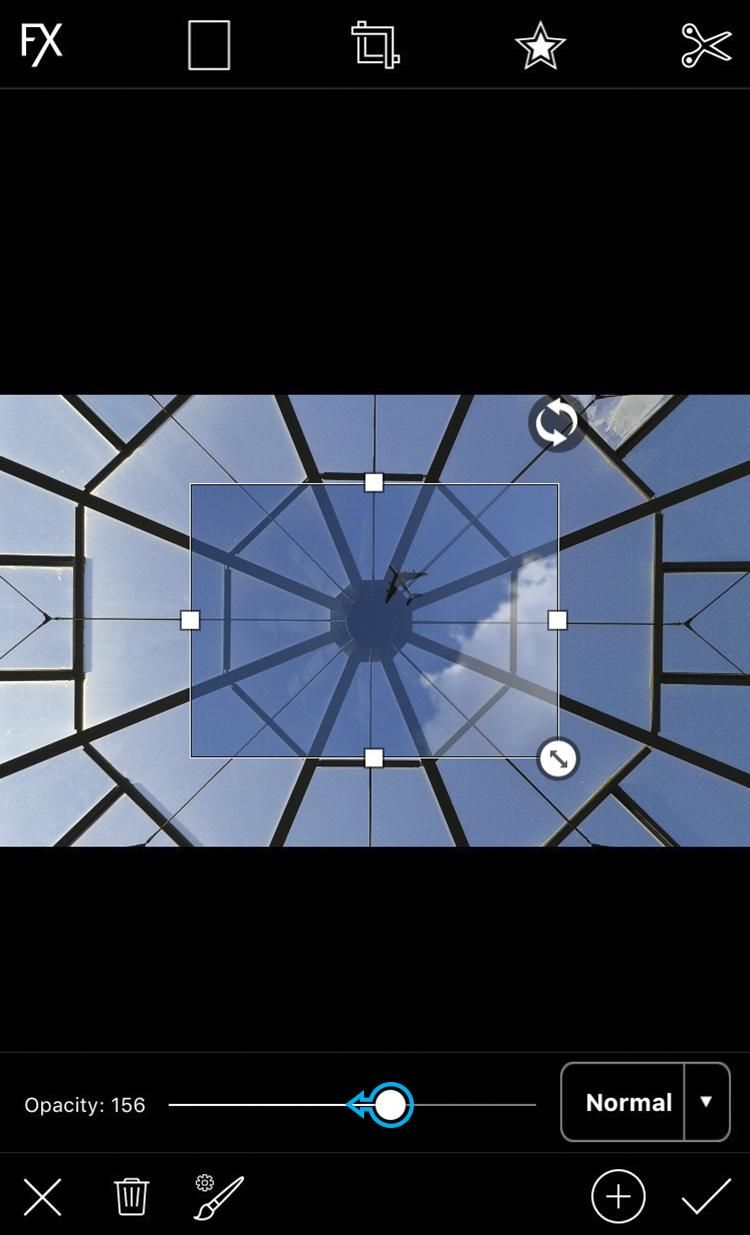
Step 4
Use the slider to lower the opacity of the airplane photo and drag it to place it (lowering the opacity makes it easier for you to align the added image). Tap on the paintbrush icon and use your finger or stylus to erase the space around the airplane. When you’re done, increase the opacity once again and tap on the check mark to confirm.
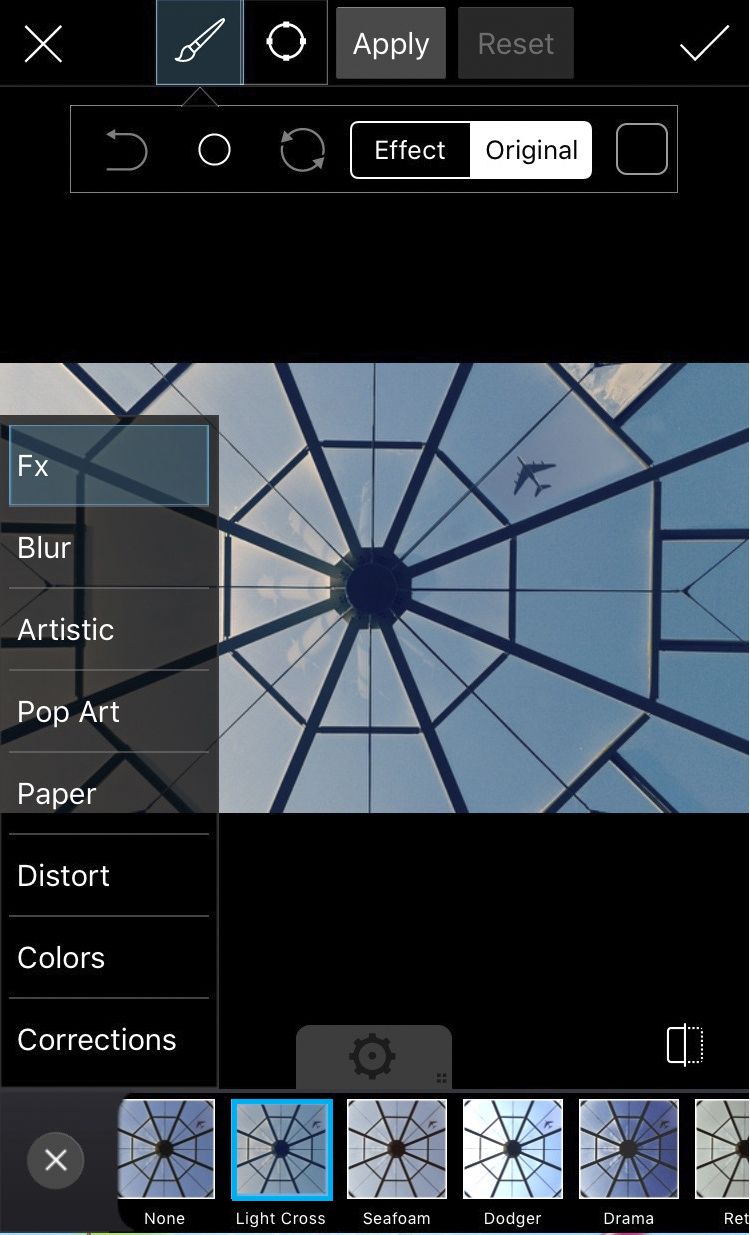
Step 5
To make the images blend together seamlessly, bring it all together with a filter! Tap on Effect and select the Light Cross Effect from the Fx section. Tap on the check mark to confirm.
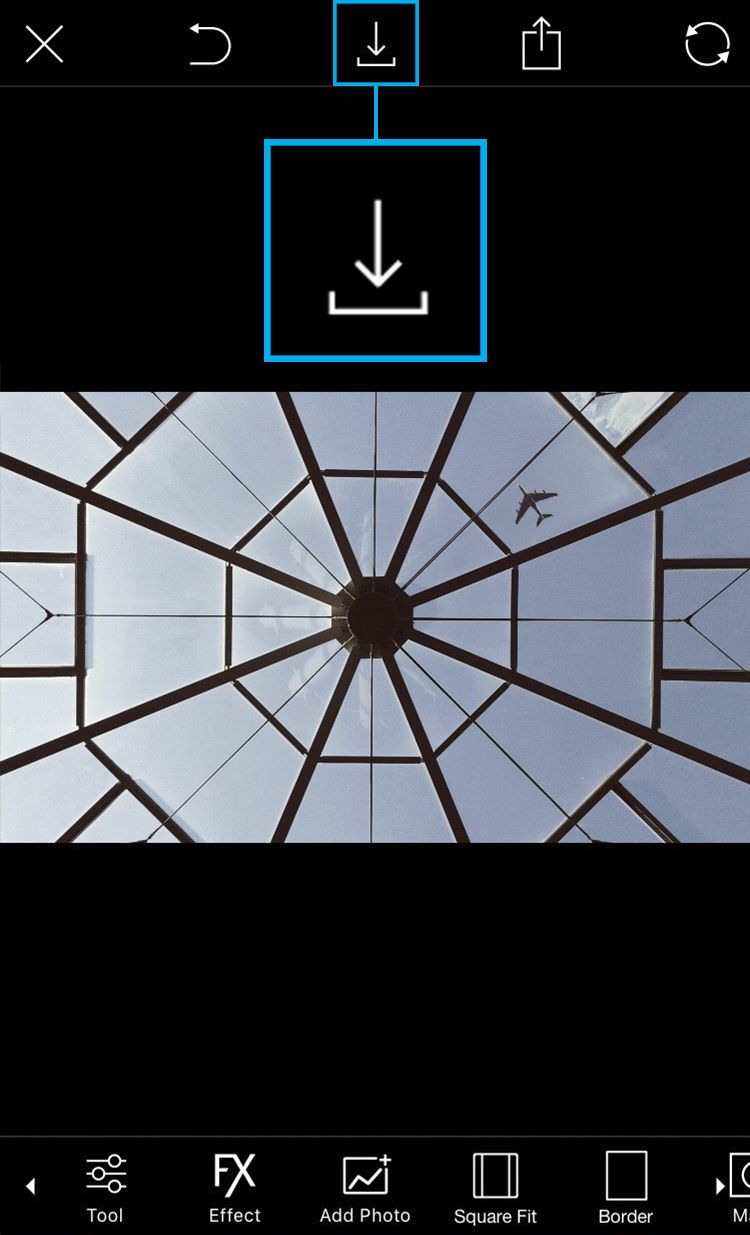
Step 6
Tap on the Save icon to save your edit, and then share it with the PicsArt community with the hashtag #PutAPlaneOnIt! If you use #FreeToEdit images, don’t forget to mention the usernames (and of course, don’t submit an edited image to a photography contest!).