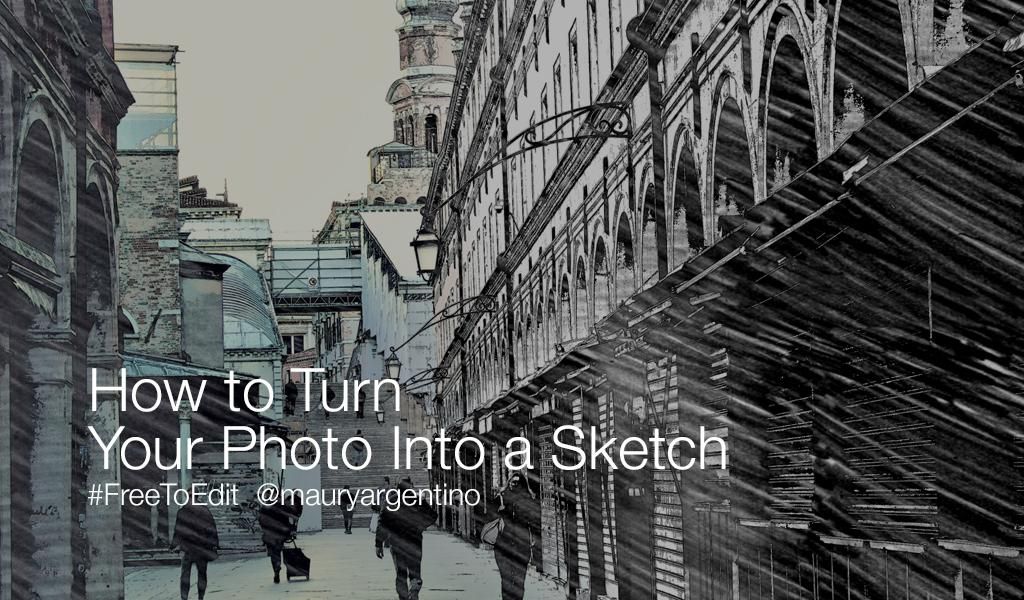
In this tutorial, we’ll show you how to use the photo editor to make your photos look like hand-drawn sketches. Follow along to learn how to do it, and then give it a try on your own shots!
Step 1: Open Effects Menu
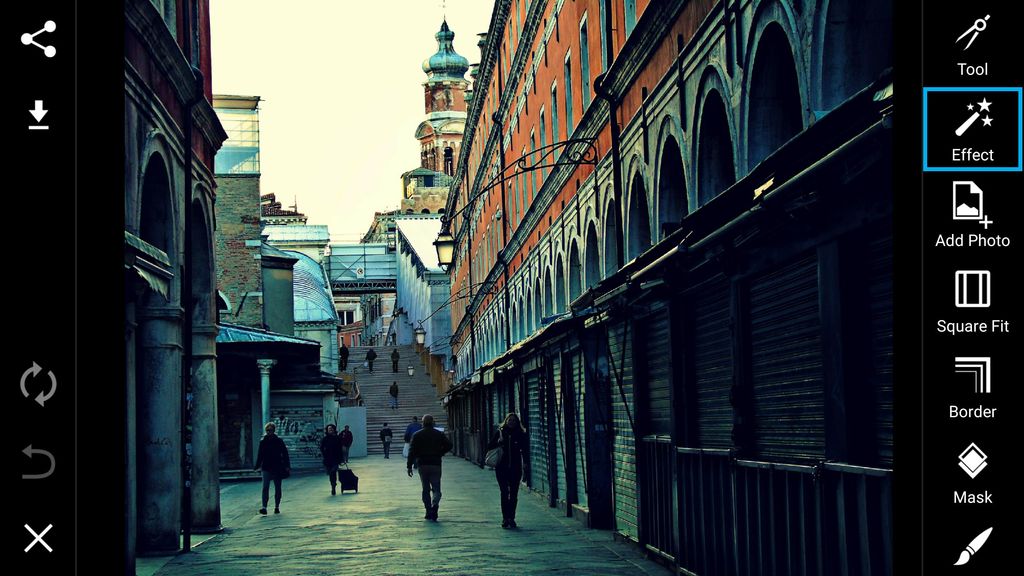
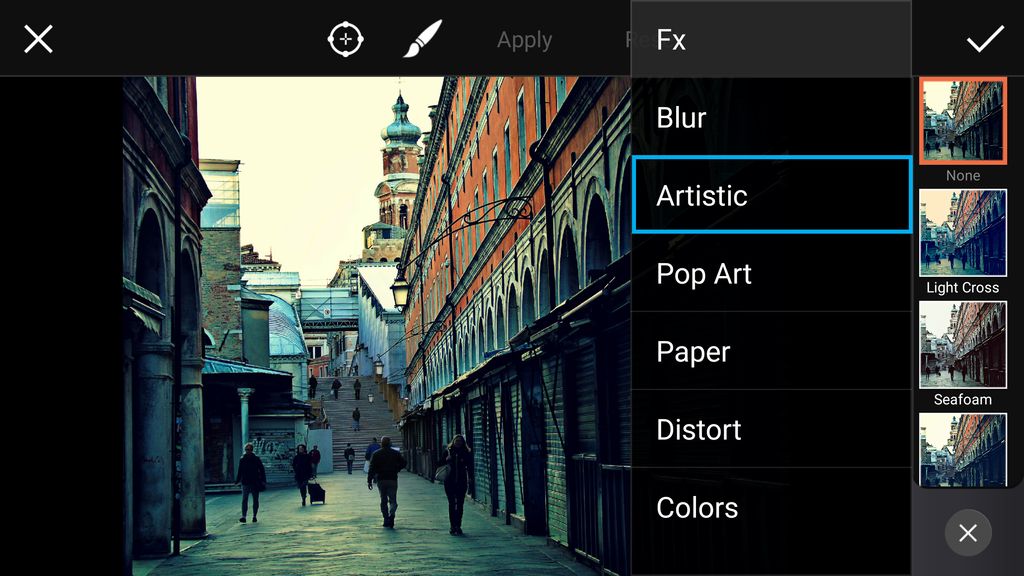
Open your image in the photo editor. Tap on Effect and select the Artistic section.
Step 2: Select Sketcher Effect
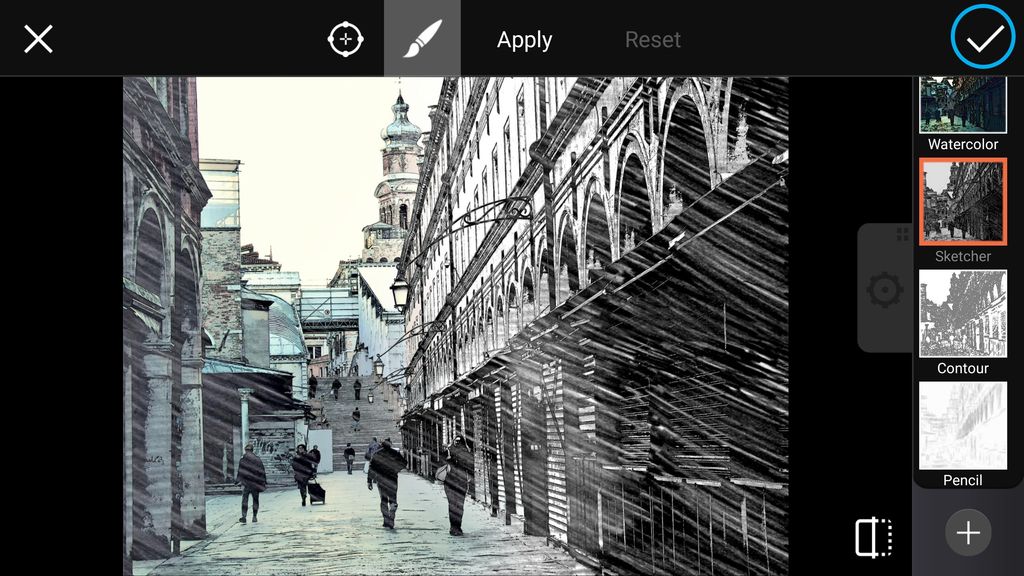
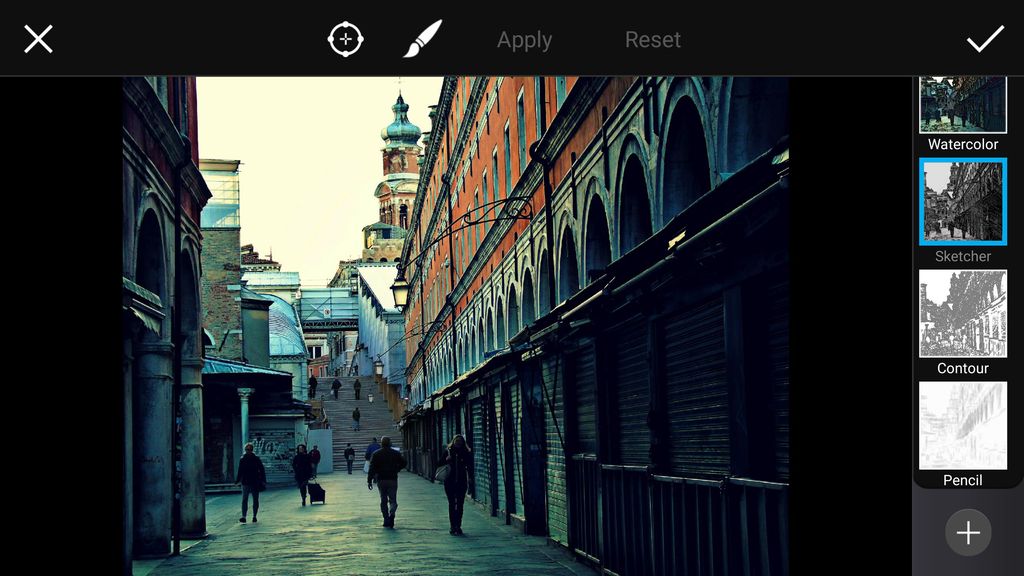
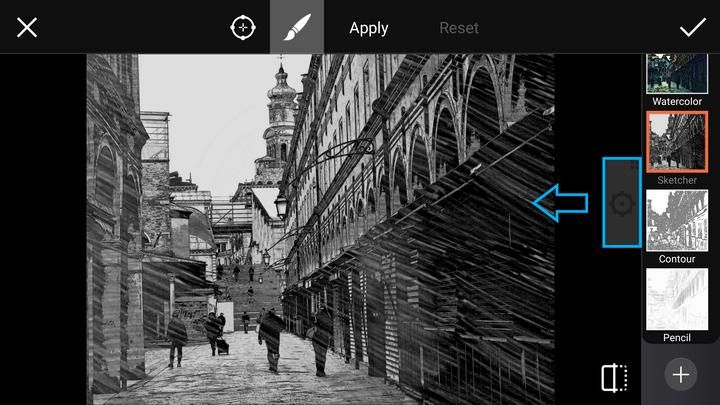
Tap on Sketcher to select your photo effect. Tap on the gear icon to open the effect settings menu.
Step 3: Increase Brightness
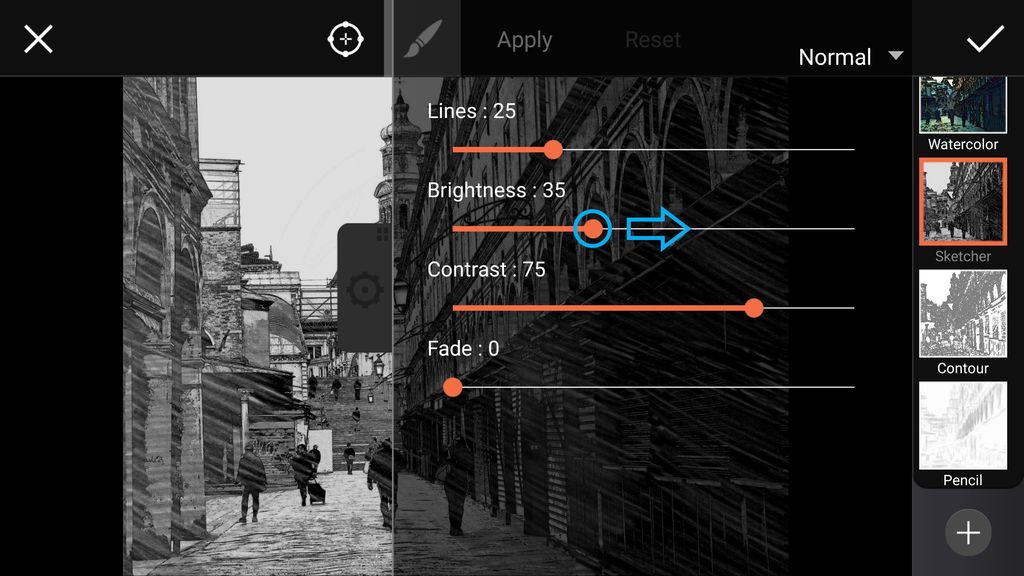
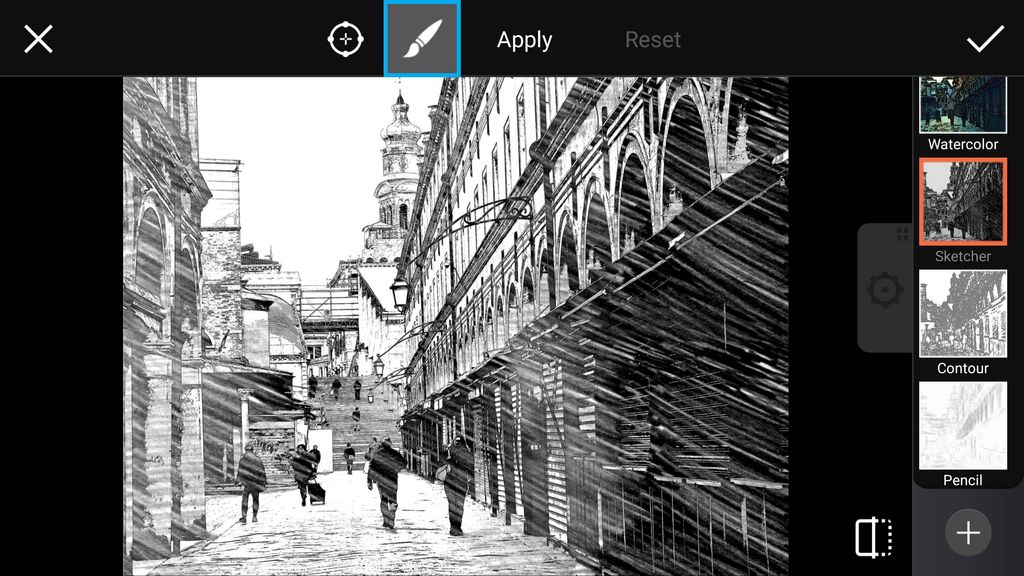
Use the slider to increase the brightness of the Effect. Close the settings tab and tap on the paintbrush icon.
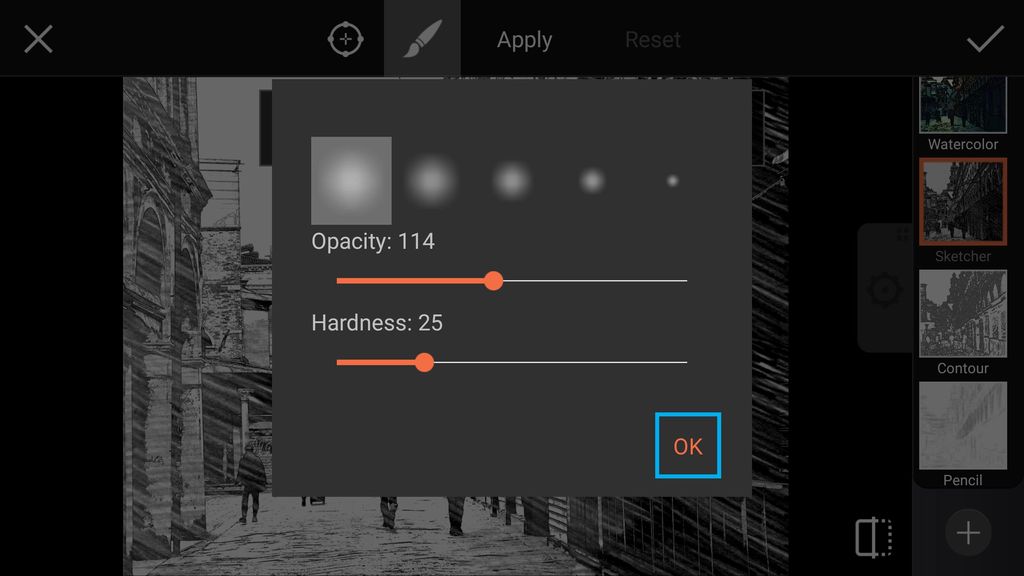
Step 4: Adjust Brush Settings
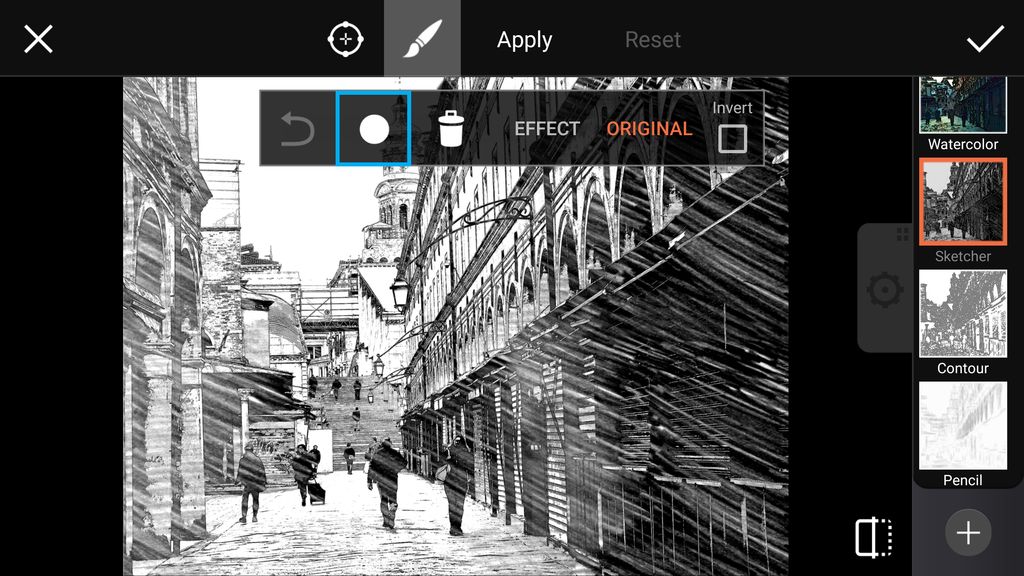
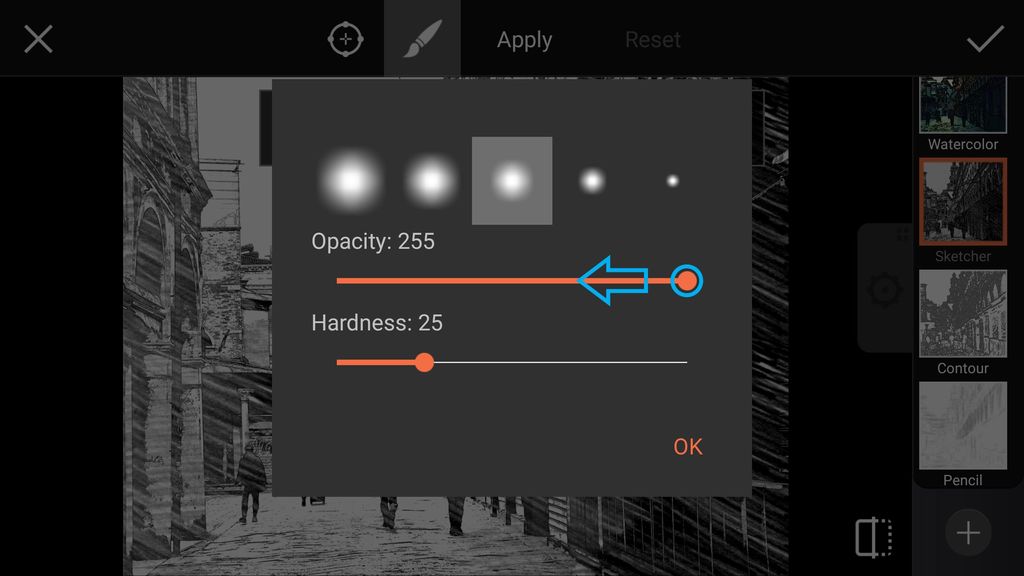
Tap on the circle icon to open your brush settings. Use the slider to reduce the opacity.
Step 5: Confirm Brush Settings
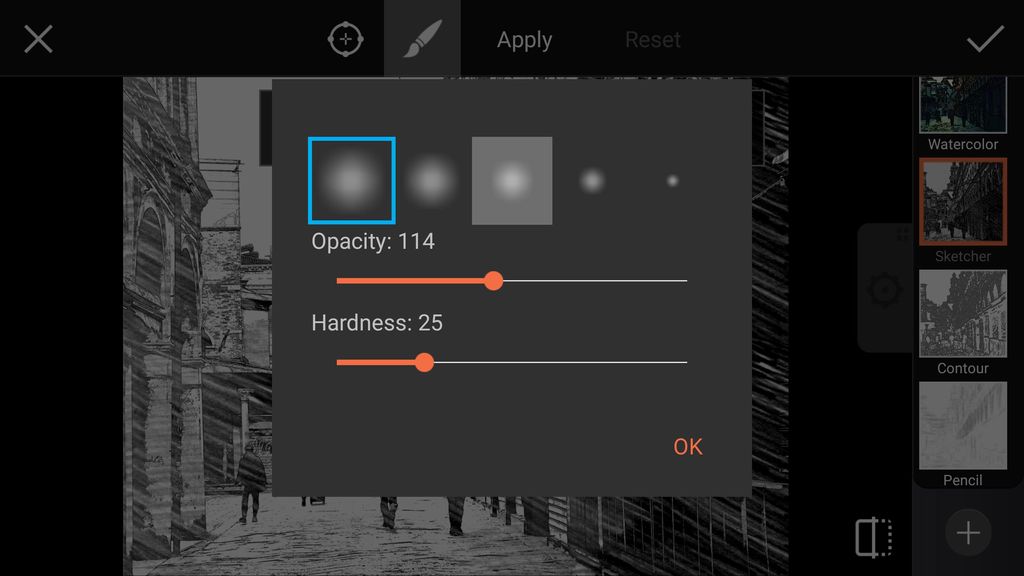
Select the largest brush size. Tap on OK to confirm.
Step 6: Erase Effect & Confirm
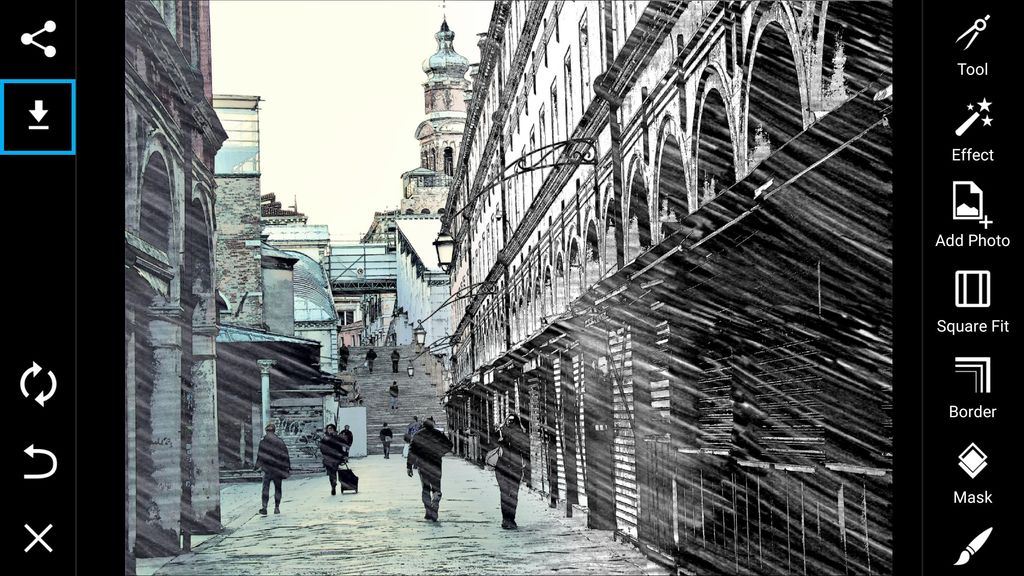
Use your finger to erase the Effect on part of your image. When you’re done, tap on the check mark to confirm, save your work, and share it!
