
It’s not always easy to pick just one photo to post, especially when you’re sharing images from special trips and important days. While you can make simple collages on Instagram, you deserve more range. With easy design tools, you can personalize these compositions with your texts, color schemes, and stickers. The resulting image is just as fun as an old-school collage, but with all of the seamless perfection of a high-tech one.
Collages allow your creativity to roam free. Even when you make one virtually, the art form is still all about cutting and pasting. That said, in the 21st century, creating a layered, textured piece on an app is very easy. With ready-made frames and layouts, you can make professional-looking collages that also represent your photos’ mood and style. Stay refined or go bold, depending on the day. Whatever you do, follow your creative instincts, and don’t be afraid to experiment. That’s what this funky art form is all about.
In this tutorial on how to make a collage, we’ll explore all the essential tools you’ll need to make an image compilation as nuanced as your memories themselves. Once you learn how to perfectly curate one slide of a story, you can do so with a whole string of them. This makes for captivating, coherent posts. Think of it as your brand. Better yet, think of making stories this way as choosing what to wear from your closet. All the garments form part of your style, but each represents a different mood and need, too.
Your Collage Toolkit
The easiest way to start a collage is by using a template. There are different kinds, but the “Grid” variety is simultaneously highly customizable and straightforward. Making a grid is a great way to learn about collage features, like text placement, backgrounds, and sizing, without starting from zero.
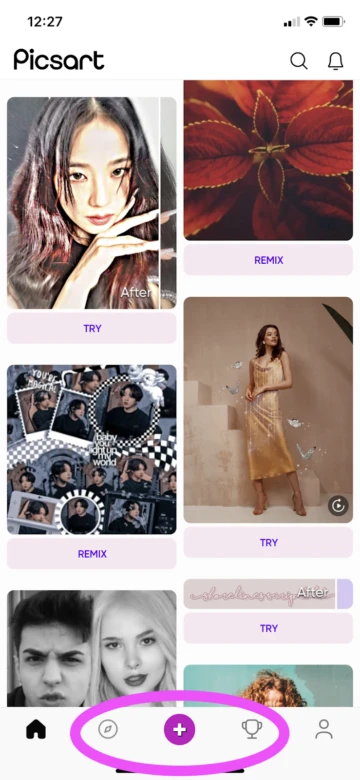
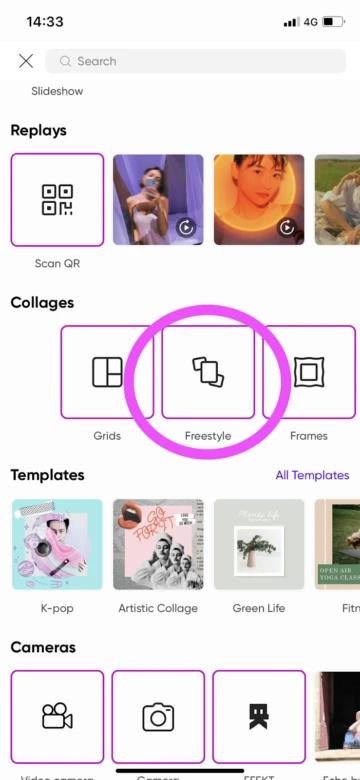
- Open the Picsart mobile application and click on the purple plus sign on the bottom of the screen to start a new design.
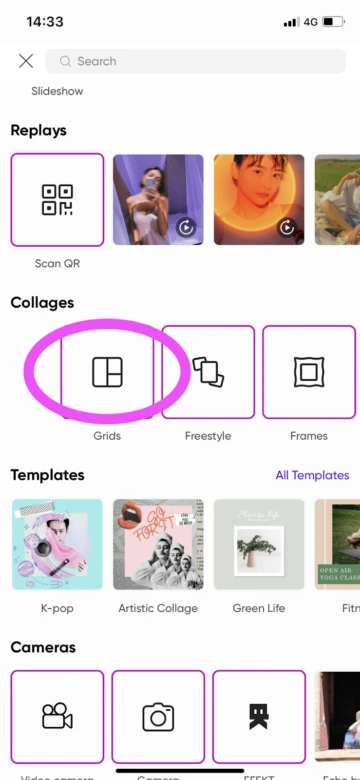
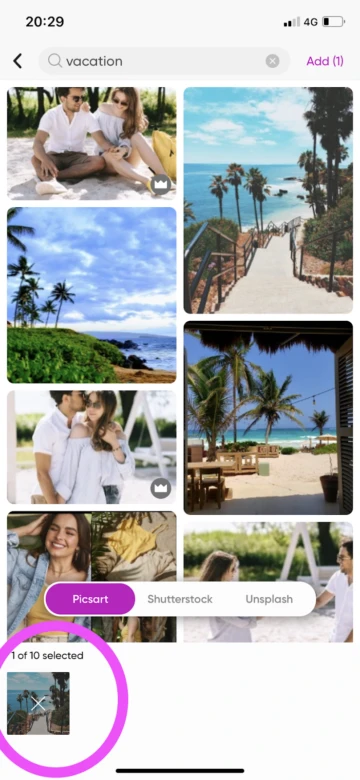
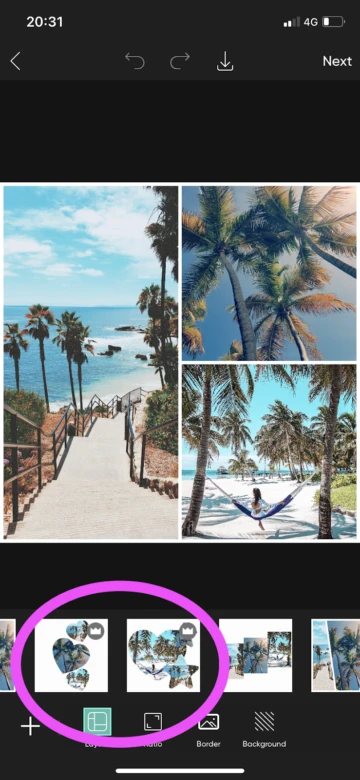
2. Under the “Collage” heading, select “Grids.” Now, you will add up to 10 photos from your library or our image banks. Once you choose your images, you can then select the general layout of your collage from the ready-made options at the top of the screen. If you have second thoughts, you can change the design by selecting from the templates at the bottom of the editing screen.
3. A good collage can be simple, so if you are pleased with your composition and don’t want to edit it further, jump down to the last steps to learn how to export your image. Otherwise, start to work through the different tools at the bottom of the screen to perfect your layout. The first option, “Ratio,” allows you to change the shape of your photos and overall composition. This makes it easy to jump from a square to rectangular format without starting over. In other words, you can quickly shift your composition from that of an Instagram post to a story.
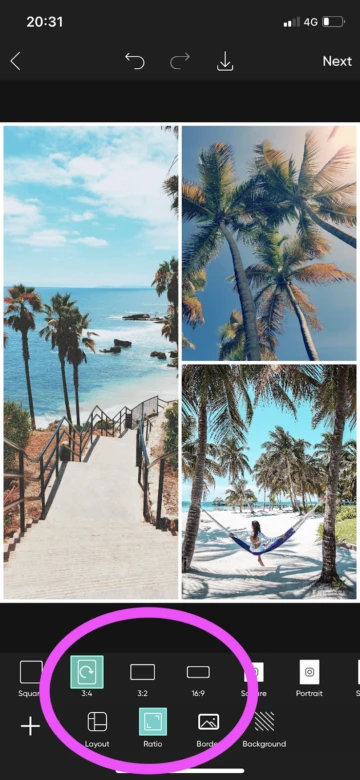
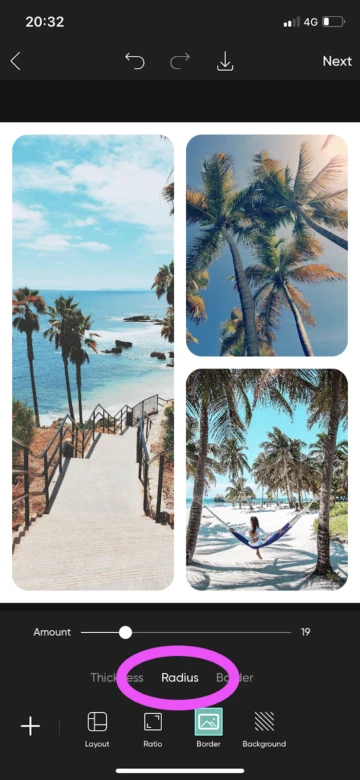
4. Then, select the “Border” tool. Here, you have three options. You can change the border’s thickness around the photos, the radius–or curve–of the corners of the images, or the general frame on the whole composition. Remember that you can leave these settings alone if they don’t suit your vision.


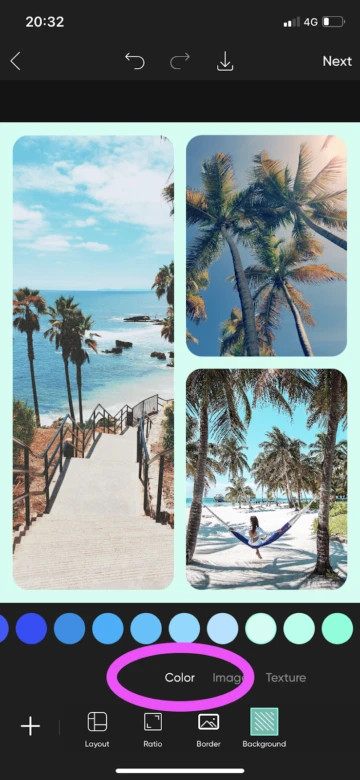
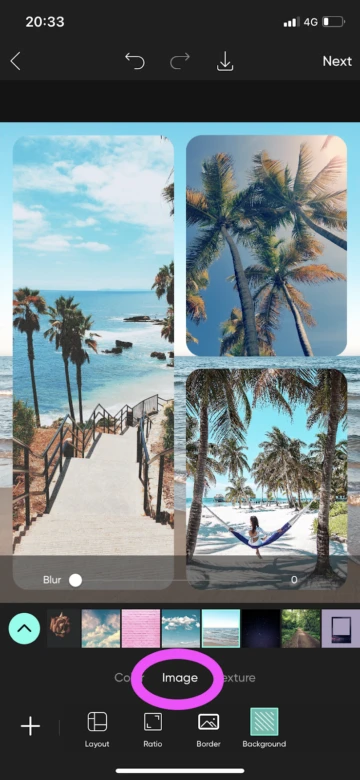
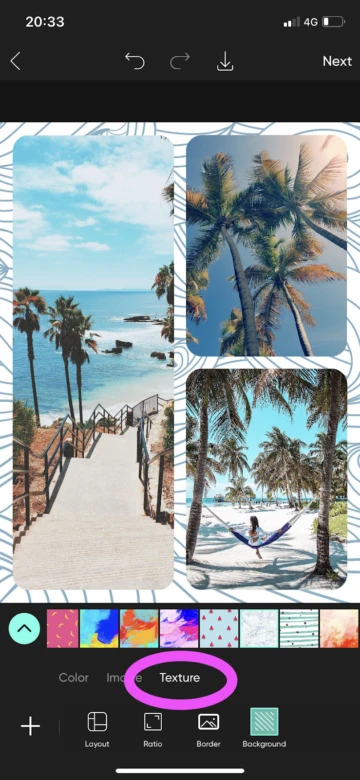
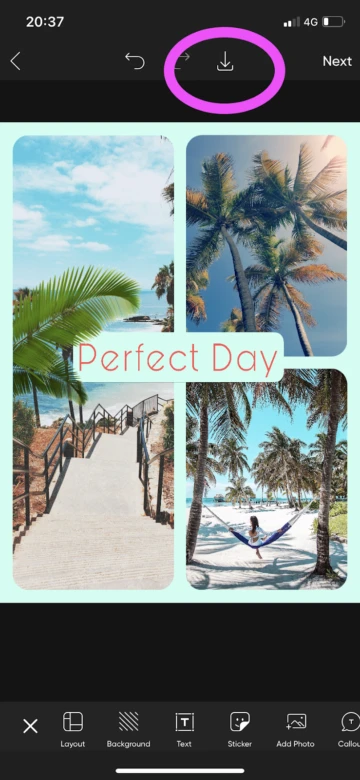
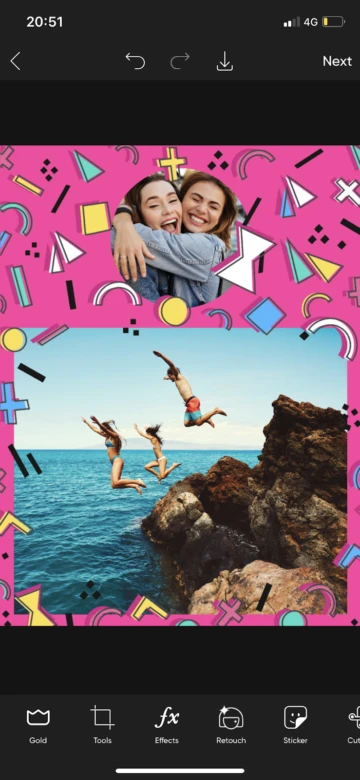
5. Now, it’s time for the fun stuff. Choose “Background” from the menu at the bottom of the screen to play around with different fills for behind your photos. The first option is for adding color to the collage background. We recommend using a hue that can be found in your composition, as we did with the turquoise tone in the example below. Contrasting colors work well, too. The second option is for filling the background is with a photograph. Scroll through the free images that appear under your collage to see if one complements your design. Finally, you can fill the background with a texture. Again, you can scroll through the options under your composition and try out different abstract patterns as backgrounds.
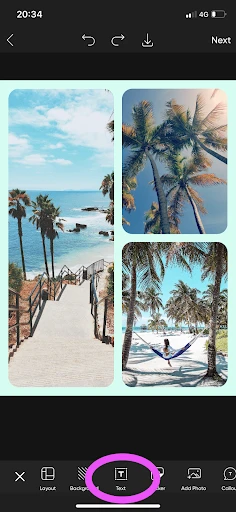
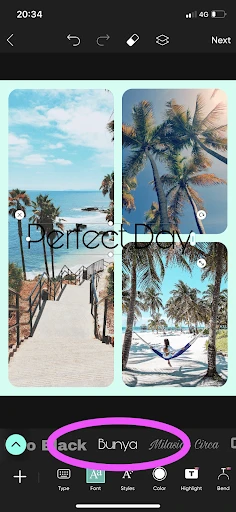
6. Now, add a bit of text that cues your viewer into the scene. Click the white plus sign in the lower left-hand corner of the screen any time you want to get back to the main menu of options. From that menu, select “Text.” Type in your caption and then scroll through the font options to find one that works well with the feel of your collage.
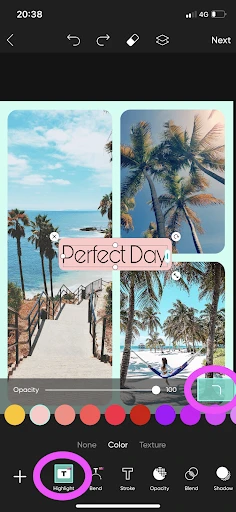
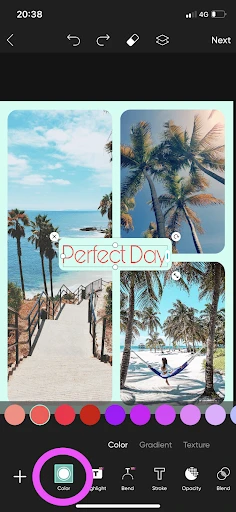
7. Enhance your text by changing the color of the letters and adding a background, also known as a “highlight,” to make the words stand out against the images. First, select the “Highlight” tool from the menu at the bottom of the screen. This will add a backing to your letters. Change the color by choosing a tone from the options under your canvas, and use the opacity slider to morph the intensity of the hue. You can also change the shape of the corners of the highlight by tapping the tiny white icon of a curve to the right of the slider. Then, to change the hue of your text itself, select the “Color” tool at the bottom of the screen. Choose a tone that shows up well on the letter backing and fits into the piece’s color scheme. When in doubt, stick with a neutral tone.
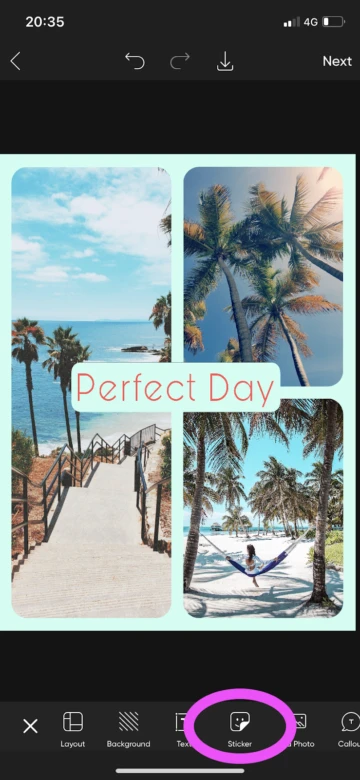
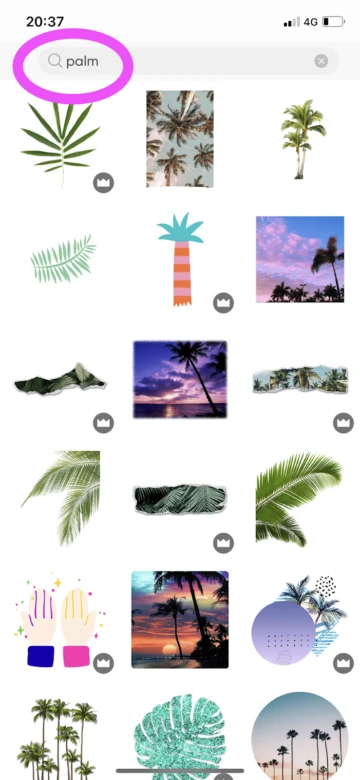
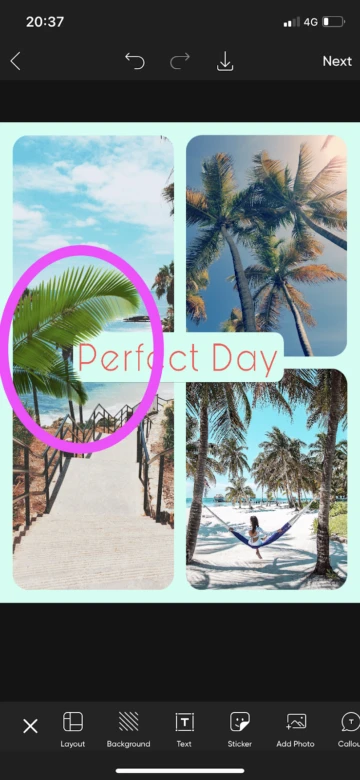
8. To finish your composition, try adding a sticker. This will give more texture and dimension to your design. Tap on the small white plus sign in the lower left-hand corner of the screen to get back to the main menu and select “Sticker.” Our searchable library of virtual decals pops up. Use keywords to find stickers that go with the theme of your collage. Once your sticker is on the composition, you can use your fingers to resize and place it.
9. When you’re finished, export your image using our quick download function at the top of the screen. Tap the little downward arrow to save your collage to your phone. You’ll also be presented with different options for easy posting to social media.
The No-Rules Collage
If you have an idea and you don’t need the help of a ready-made template, you can make a “Freestyle” collage. These are excellent when you want to layer many different images–just like in the cut-and-glue collages of old–or when you wish to have more blank space. This format allows you to do whatever you want.
- Follow steps 1 and 2 from the tutorial above, but this time, select “Freestyle” instead of “Grid.”
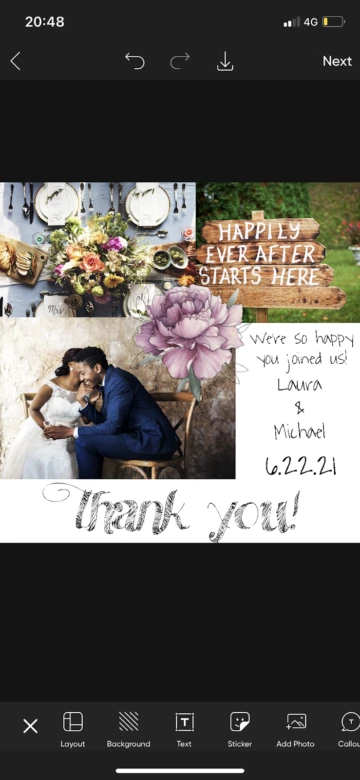
2. Just as we did above, add the photos with which you wish to work. Once they are on your canvas, resize them using your fingers. Then, get creative with placement. You can stack and rotate these images any way you want. To move an image to the front, simply tap on it. Finally, layer your collage with text and stickers, as shown in the tutorial above. As always, remember to export your work.
Instant Success
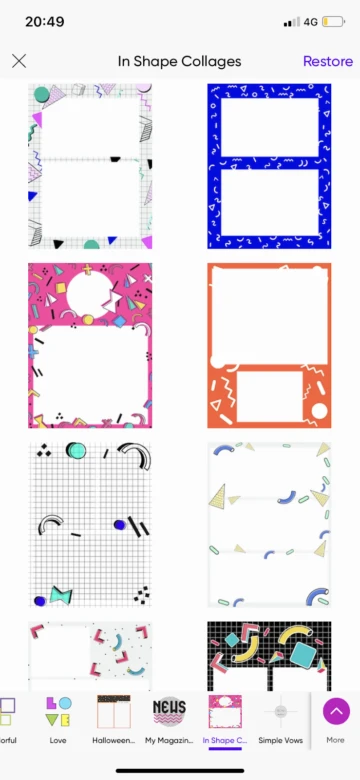
When you’re short on time but you want to post an Instagram story full of coordinated, well-designed slides, use our “Frames” function. This tool provides you with template collections in a variety of moods. One of the benefits of working this way is that when you’re making a story with several slides, each will have its own vibe but still look like a coordinated part of the whole.
- Follow steps 1 and 2 from the tutorial above, but this time, select “Frames.” Scroll through our range of different template collections. Once you choose the frame you wish you use, the app will have you select your photos for the collage. With this type of template, you’ll be limited to the number of images for which there are spaces in the composition.

2. Adjust the photos in the frame by using your fingers to slide them into place and resize them. Then, following the same steps as those given in the first tutorial, add stickers and text. Lastly, export your work and share it with the world.
Create at the Speed of Culture
Picsart is a full ecosystem of free-to-use content, powerful tools, and creator inspiration. With a billion downloads and more than 150 million monthly active creators, Picsart isn’t just the world’s largest creative platform; we’re also the fastest growing. Picsart has collaborated with major artists and brands like BLACKPINK, the Jonas Brothers, Lizzo, Sanrio: Hello Kitty, I am a Voter, Bebe Rexha, Maroon 5, One Direction, Warner Bros. Entertainment, iHeartMedia, Condé Nast, and more. Download the app or start editing on web today to enhance your photos and videos with thousands of quick and easy editing tools, trendy filters, fun stickers, and brilliant backgrounds. Unleash your creativity and upgrade to Gold for premium perks!


