Have you ever incorporated a photo into a design only to be disappointed that it looks too small, grainy, or just plain unusable? Once you learn how to increase the resolution of an image, it will become much easier to create cohesive design work.
‘Resolution’ usually refers to the detail of the photo, and is determined by focus precision, lens quality, and camera sensor pixel count. If you’re intending to print your photo, you should also consider factors such as the size, display medium, and quality of the print. The term ‘resolution’ is often also used to refer to the lens resolving power, pixels per inch in a print, and total pixel count of a digital image.
Image resolution explained
Image resolution as the total pixel count of the digital image (the number of pixels per inch) is what you, as a designer, should concern yourself with. Usually, you’ll need to increase the resolution of an image, i.e. turn something like a 200 × 200 pixel photo into a 1000 × 1000 pixel photo. This is important because if there aren’t enough pixels or a high enough resolution your image will appear low quality or grainy. While it’s not easy to improve on a low resolution original, it isn’t impossible. We’ll start by introducing the terms you’ll encounter while attempting to increase image resolution. Broadly speaking, the two key terms are pixel dimensions and image resolution.
Can changing resolution increase image quality?
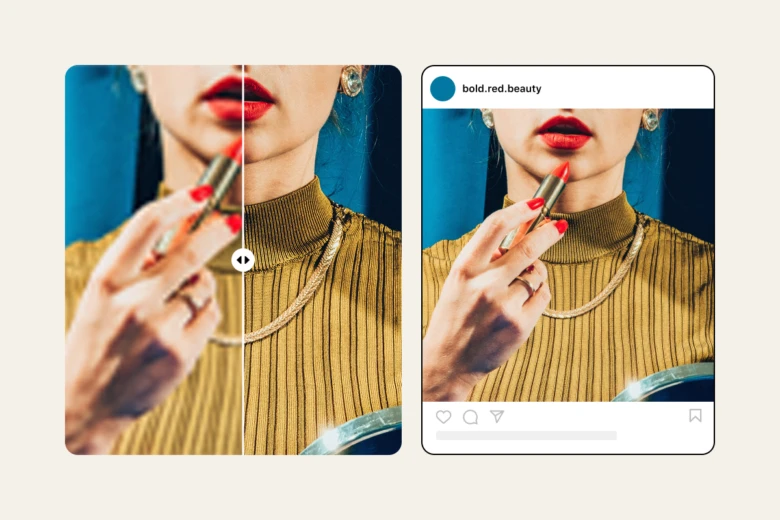
The short answer? Yes and no. Changing the resolution can technically make an image larger but that alone doesn’t always improve the visual quality. Resolution refers to the number of pixels in an image. More pixels mean more detail, but if you’re starting with a low-resolution image, simply adding pixels can lead to blurriness unless it’s done with the right tools.
That’s where AI steps in. Tools like thePicsart AI Image Enhancer do more than just add pixels. They use smart upscaling to actually enhance image quality, sharpening details and reducing noise. It’s the difference between a blurry blow-up and a crisp, clean HD upgrade.
Will resizing the image improve image quality?
Not necessarily. Resizing an image only changes its dimensions. If you shrink a large image, you may improve the perceived sharpness. But enlarging a low-quality image without enhancement can make it look worse. The key to a successful upscale is using tools that don’t just stretch the image – they intelligently fill in the blanks.
Want to test it out? TryPicsart’s Resize Image tool to adjust dimensions, then use the AI Enhancer to clean up the results. This combo is perfect for social posts, profile pics or turning screenshots into print-ready files.
Image Resolution Terminology
Pixel Dimensions relate to the number of pixels, along the width and height of your image.
Image Resolution relates to the fineness of pixels in the allotted space. This number is measured in pixels per inch, or ppi. The higher the ppi, the higher your image resolution is. In general, a larger ppi will equate to a sharper, higher quality printed image.
The other two common terms referring to resolution are: DPI (Dots Per Inch) and PPI (Pixels Per inch).
DPI (dots per inch) is a printing term where the dots are physical dots of ink printed in one square inch of a printed photo.
PPI (pixels per inch) is a digital term that refers to the number of digital pixels that appear in one square inch of a digital image(digital resolution on a screen).
Digital image resolution refers to the quantity of visible detail described in pixel dimensions, whereas the horizontal dimension precedes the vertical.
DPI vs PPI
Often, there is confusion between dpi and ppi because cameras create images based on pixels, while printers depict pixels using ink dots. Screen resolution refers to the number of pixels shown on the entire screen of a computer monitor, which depends on a combination of monitor size and display resolution setting. Monitor size usually refers to the diagonal measurement of the screen, although its actual usable area is typically less. An image displayed at full size on a high-resolution screen will look smaller than the same image displayed at full size on a lower-resolution screen.
Rather than the number of pixels per inch, camera resolution is usually the maximum resolution that a digital sensor can achieve. Megapixels are the standard unit used by manufacturers when referring to camera resolution. More megapixels translate to more individual light sensors on the image sensor, higher image definition, and sharper pictures.
Standard Resolution of Images
It’s a common belief that almost every image on the web is 72 ppi, and all sorts of myths explain as to why the number 72 was chosen to be the standard ppi for screen. The truth however is, that it doesn’t actually matter what pixel density you use online. The ppi value is only relevant when creating images for print. The only value that matters on screen is the actual width by height resolution of the image. For example a 200 x 200 pixels image at 72ppi, 150ppi, and 300ppi will all display exactly the same on the web. And a 3000 x 2000 72ppi image will be much more printable than a 300 x 200 72ppi image.
Also, almost all computer screens are now in excess of 100 ppi, not 72ppi. If you have a 17″ monitor, it is likely you have it set at 800 x 600 pixels, and if you have a 19″ screen, 1024 x 768. You can change the settings but these are optimum for those screen sizes.
Some professional, high-end printers may require images to be up to 600 ppi. Non-professional printers such as inkjet, laser, and other common printers can print images that are at least 200 to 300 ppi and higher. Photographic prints are recommended to be at least 300 ppi. Images for large format poster printing can be around 150-300ppi depending on how close the image will be viewed.
High Resolution Images
The difference between low and high resolution determines whether your design looks fuzzy vs. crystal clear. You need the highest possible resolution or denser image quality for printing and enlarging images. The lo-res images may look great at its normal size (100%), but when we zoom in, they look blurry or pixelated, because you can distinguish each pixel.
Hi-res images are at least 300 pixels per inch (ppi). This resolution makes for good print quality and is pretty much a requirement for anything that you want as a hard copy.
Resolution also helps you figure out how much you can enlarge a photo. This comes in handy when trying to figure out what size you can print something (4×6? 8×10?) and ensure it still looks good. Rule of thumb: divide the pixel size (dimension) of the image by the resolution (at least 300 ppi) to get the maximum print size in inches. So, if your image is 2,000 pixels in length at 300 ppi, then you can print it up to six inches or so (2,000 divided by 300).
Recommended Image Resolution for Designer Projects
Whether you’re designing invitations for a house party, creating a poster for a gig, or showcasing the menu of a new French patisserie, the following information should help you design files in the right format and prepare for print in the right sizes. The sizes below are the printing standards for posters, business cards, flyers, brochures, and invitations.
Posters
Small posters work best for bulletin boards and are used for concerts, school events, general announcements, etc. The small size does not take up much space. Tip: Try using less pictures and use big, bold letters to help you get your message across. Recommended sizes for small posters are: 11 × 17 inches and 3300 × 5100 pixels.
Medium poster size is great for outdoor advertising. They can be used as advertising material or important announcements for outdoor events. Its bigger size allows you to include more information and also add more graphics or images. Recommended sizes for medium posters are: 18″ × 24″ and 2400 × 7200 px.
Large poster sizes are the most used in the US, for movie posters, trade shows, and decorating. They are great for showing large images and lots of information. Tip: Combine different font sizes and color palettes to capture the audience’s attention. Recommended sizes for large posters are: 24″ × 36″ and 7200 × 10800 px.
Flyers
Small flyers include only relevant information and are commonly used to inform about offers and discounts at stores. Recommended sizes for small flyers are: 4.25″ × 5.5″ and 1275 × 1650 px.
Half-sheet flyers are equivalent to half a letter-sized sheet and are great for promoting your event, concert, or offer with little information. Make sure to give precedence to essential information by combining different fonts and carefully chosen graphics or images. Recommended sizes for half sheet flyers are: 5.5″ × 8.5″ and 1650 × 2550 px.
Letter flyers enable you to include a lot of information without things looking crowded. You can use them as small event posters, writing out merchandise information, or even as restaurant menus. Recommended sizes for letter flyers are: 8.5″ × 11″ and 2550 × 3300 px.
Brochures
Letter brochure is the most common paper size used in printing and the one most home printers use. It gives you enough space to include a lot of information, as well as images related to your topic. Recommended sizes for letter brochures are: 8.5″ × 11″ and 2550 × 3300 px.
Legal brochure can be packed with lots of pictures, graphics and text about your event or product. You can print out a trifold brochure by folding it horizontally, but keep your audience in mind when writing the content. Recommended sizes for legal brochures are: 8.5″ x 14″ and 2550 × 4200 px.
Tabloid brochures are perfect for printing a restaurant menu or maybe even the program for a concert or play. Tip: add full size pictures and images and avoid writing big chunks of text. Recommended sizes for tabloid brochures are: 11″ × 17″ and 3300 × 5100 px.
Increase the Size of the Image
The quality of an image doesn’t depend solely on having a higher resolution. It depends on the relationship between pixel density and image size – a change in image size will change picture resolution. You have a fixed number of pixels in an image, so changing the physical size of the image will change the number of pixels per inch. Increasing the image size will result in a lower DPI, meaning there are fewer pixels to make up each square inch and the pixels will become larger to fill the space. As a result, your image could end up looking blurry and pixelated.
To avoid pixilation issues, you might want to consider the method of interpolation when extra pixels can be artificially created. In this process the computer analyzes the original pixels and creates new ones based on what it thinks should be there. Interpolation effectively allows you to increase the size of the image, while retaining the same DPI, thus avoiding any pixilation issues. As perfect as it sounds in theory, a computer usually fails to produce a perfectly accurate estimation of the missing pixels. So, consider using interpolation sparingly.
Interpolation is also used in Photoshop to change pixel dimensions by adding or deleting pixels in a process called resampling. With Resampling turned on, you can set a new resolution without the image size changing (or vice-versa) and Photoshop will fill in the missing pixels. Constrain Proportions will mean that the width and height remain at a fixed ratio, removing the risk of squishing or distorting your image. Resampling should, as a rule, be avoided where possible, since it affects the clarity and sharpness of the image.
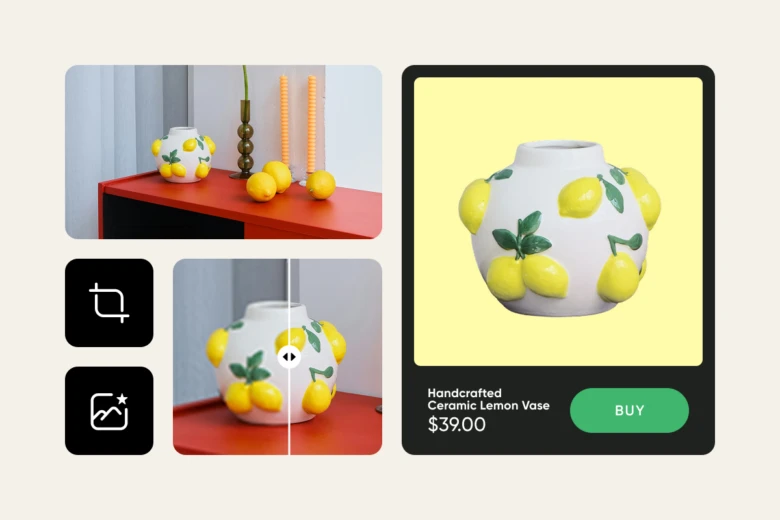
How to increase the resolution of an image with Picsart
Ready to make a photo higher resolution? Follow these simple steps using Picsart’s online tools:
Open the AI Image Enhancer Upload your photo and let the AI Image Enhancer get to work in seconds, using machine learning to detect areas that need sharpening or smoothing.
Let the AI enhance the details The tool boosts texture, color accuracy, and clarity while reducing noise. If it’s a portrait or a landscape, you get a noticeable upgrade.
Resize if needed For more control over pixel dimensions, use Picsart’s Resize Image tool. You can increase or decrease the pixel count while keeping the quality intact.
Export and share Save your image in HD or upscale it further to 4K using Picsart’s integrated 4K converter features. Ideal for designers or content creators needing crisp visuals on all screens.
Pro tips for getting the best results
Start with the best possible original: The higher your starting quality, the better the upscale result.
Avoid over-processing: A light touch often looks more natural. Use enhancement to refine, not to completely alter.
Consider aspect ratio: When resizing, maintain the original ratio to prevent distortion.
The future of image enhancement: AI-powered clarity
Today’s editing tools make it easier than ever to make a picture of better quality. Thanks to machine learning and HD photo converter technologies, creatives can transform their visuals in just a few clicks. And as AI continues to evolve, we’re seeing even more advanced 4K upscaling options becoming accessible to everyday users.
If you’re wondering how to improve the resolution of a photo for a campaign, personal project or digital portfolio, now you have the tools and knowledge to do it like a pro.