
Clipart is a great resource for some superb photo editing, and sometimes, all it takes is some strategically added clipart to make amazing things happen. This video shows you how by using different types of clipart combined with various overlay options, you can end up with remarkable results. We’ve also written out a tutorial to accompany the video for added guidance and clarity.
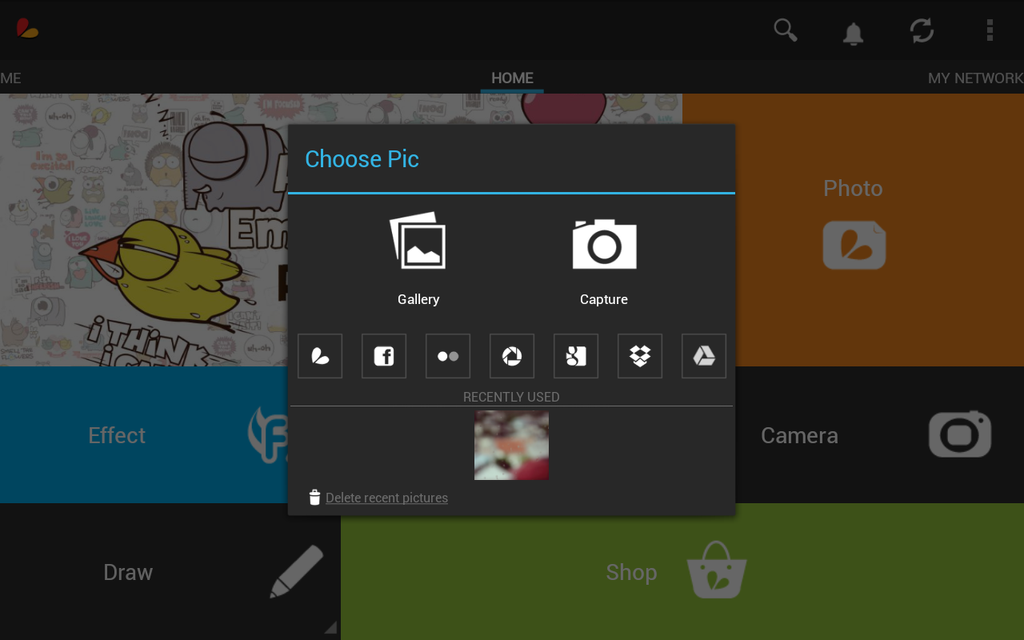
Step 1: Open a Photo
Upload a photo from a folder or social networking site in the PicsArt Editor.
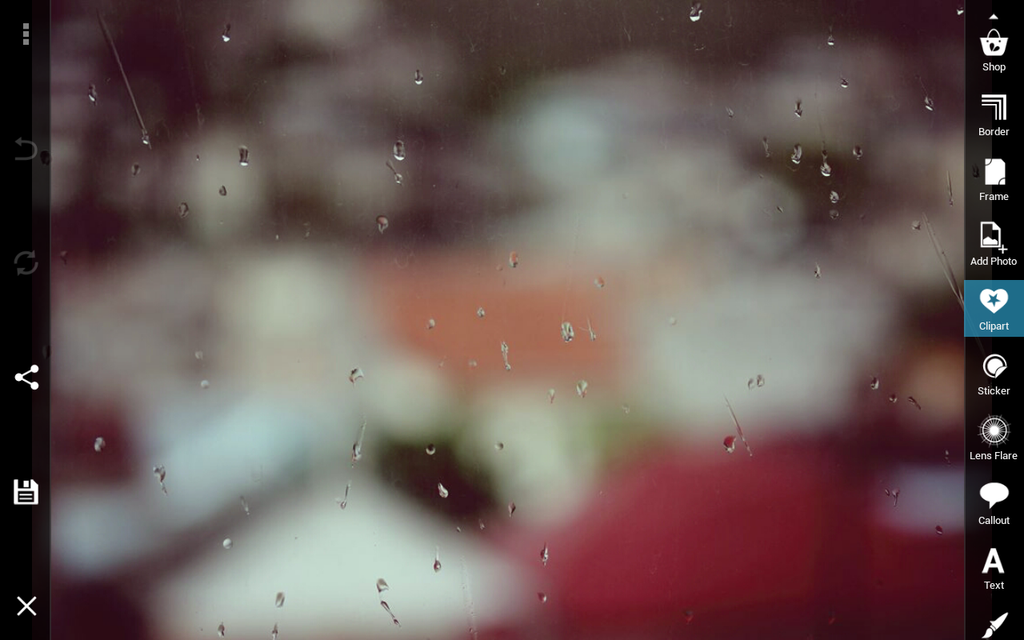
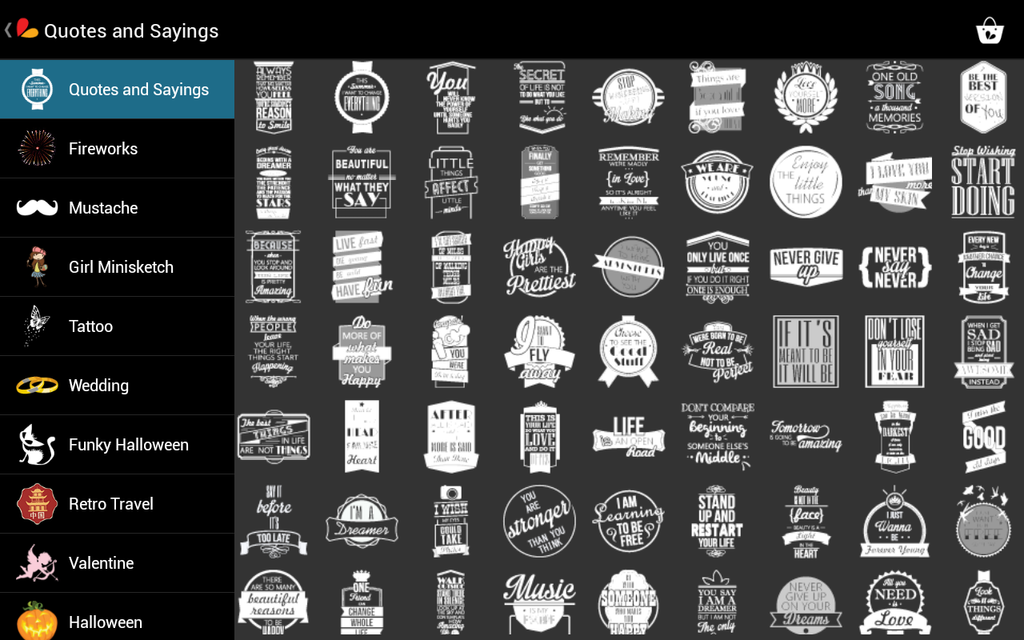
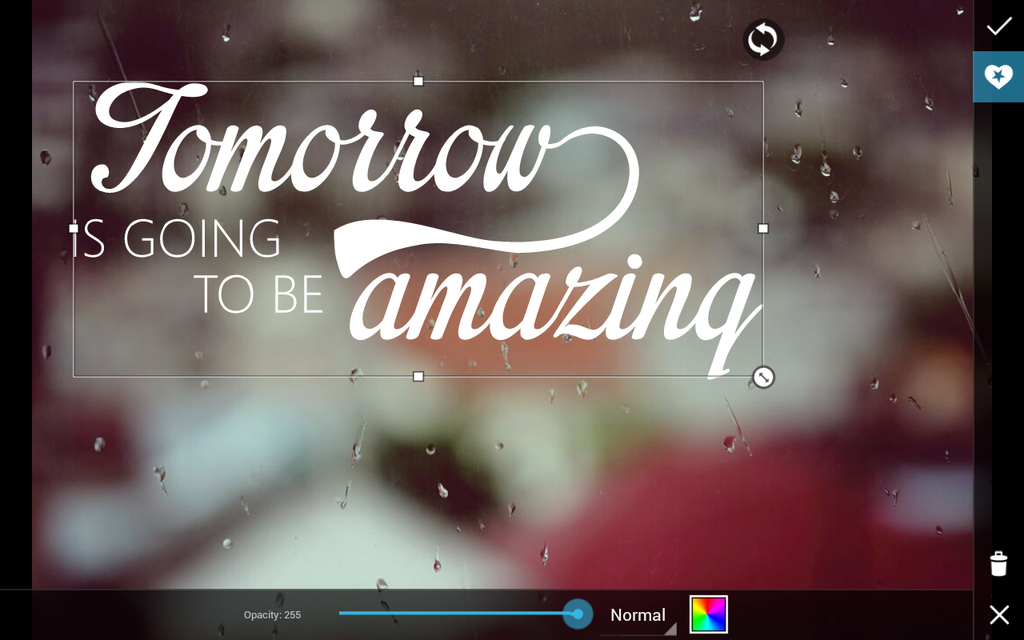
Step 2: Add a Quote
Click on the clipart icon and scroll through the clipart menu until you see the “Quotes and Sayings”. Select a quote, then adjust it’s size and placement within your photo.
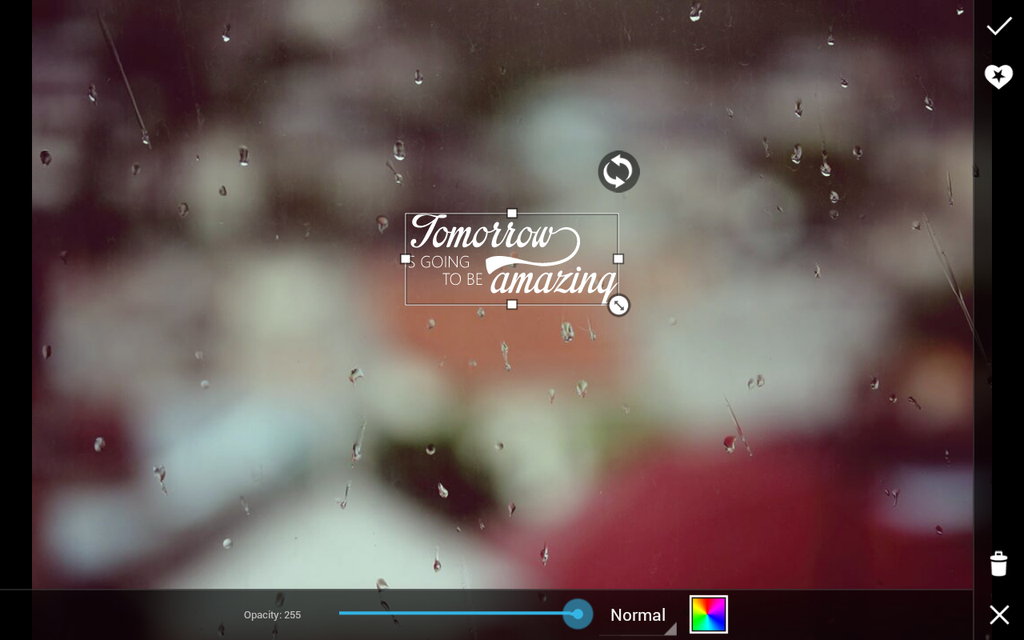
Step 3: Add Clipart Image
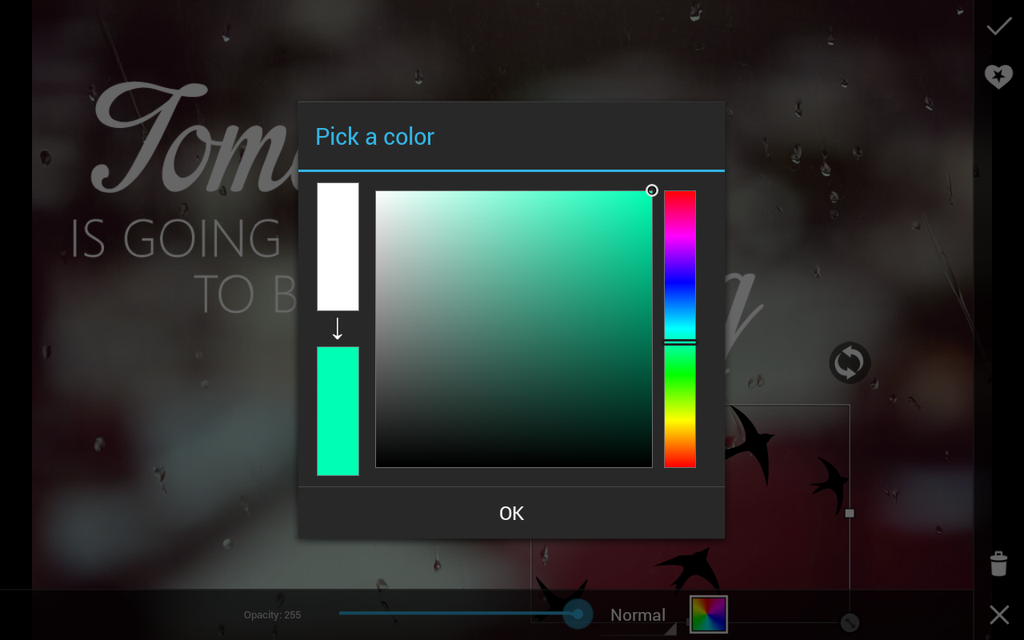
Choose a quote and adjust its position, size, and color to your preference. You can also customize the opacity of your clipart.
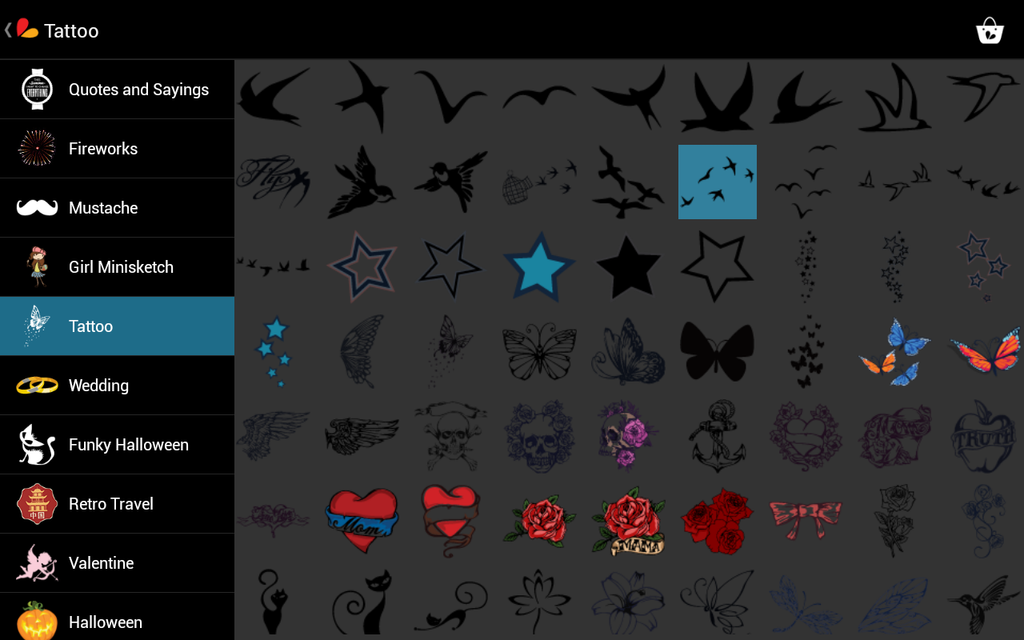
Step 4: Add More Clipart
Scroll through the clipart menu and add as many clipart images as you need to and experiment with color, position and sizes.

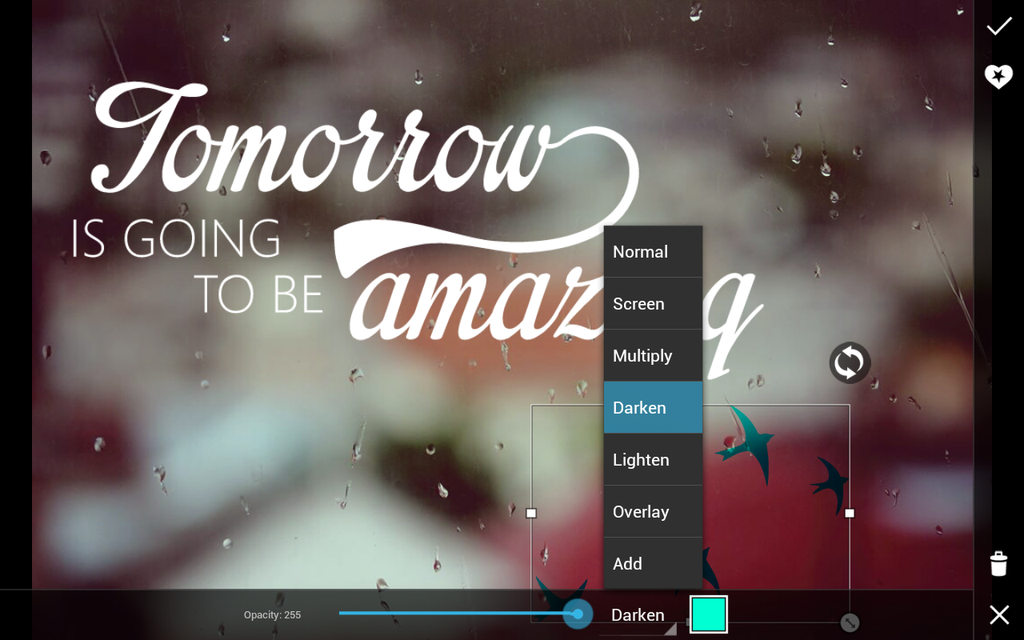
Step 5: Choose Overlay Option
Open the pop-up menu for blending modes, which should be set to the default “Normal”, and choose a setting. For a translucent effect, use Multiply and Darken, or use Screen and then just decrease the opacity. This integrates your clipart into your photo.

Step 6: Finish the Editing
Save and confirm your changes.


