Learn How to Create PicsArtinHand Step by Step
PicsArt is a great tool for creating some pretty convincing illusions, and today we’re going to show you how to create the new trendy illusion of holding a semi-transparent app in your hand in just few simple steps. In this tutorial, you’ll learn the basic techniques, but once you’ve mastered them, feel free to get creative!
Use this tutorial to give yourself a leg up in our #PicsArtinHand Weekend Art Project, which has challenged users to create just such an illusion. Follow the steps below, and when you’re done, tag your image with #WAPpicsartinhand to enter it into this Weekend Art Project.

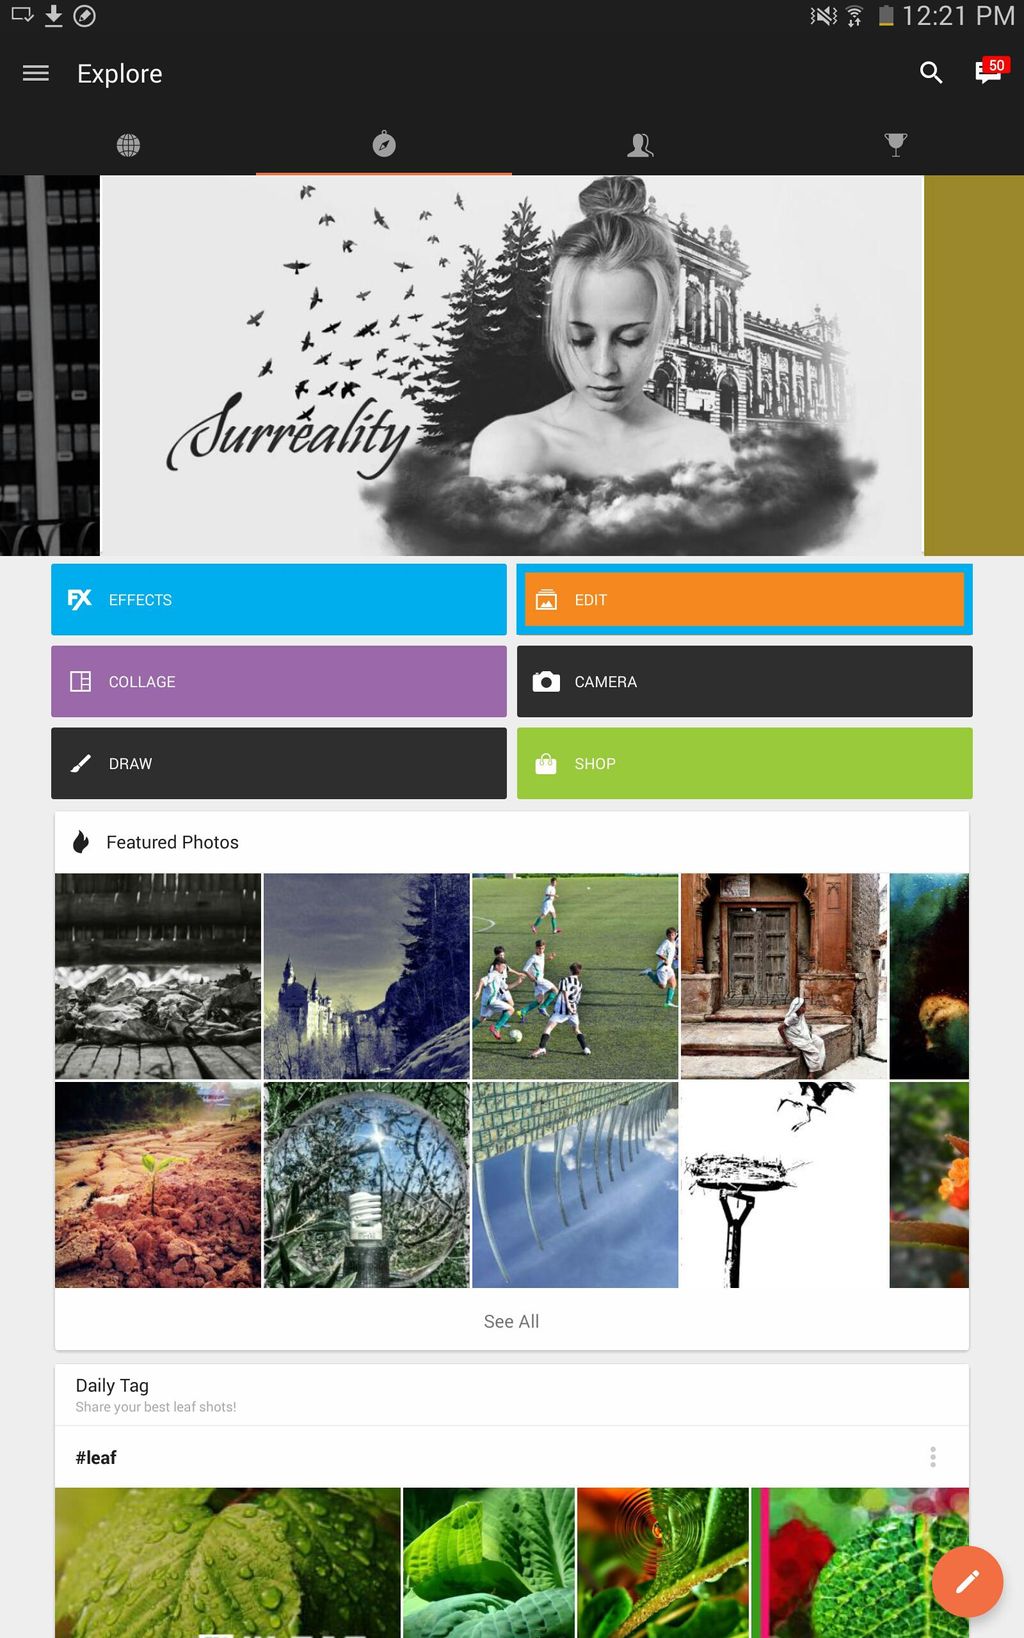
Step 1: Take a Screenshot
Open your PicsArt app, and take a screenshot of the app.
Step 2: Photo of a Hand
Open a photo of hands in a clasping position against a neutral background in the Editor. If you don’t have a photo like that, just take a photo of your fingers or hand with the PicsArt camera.
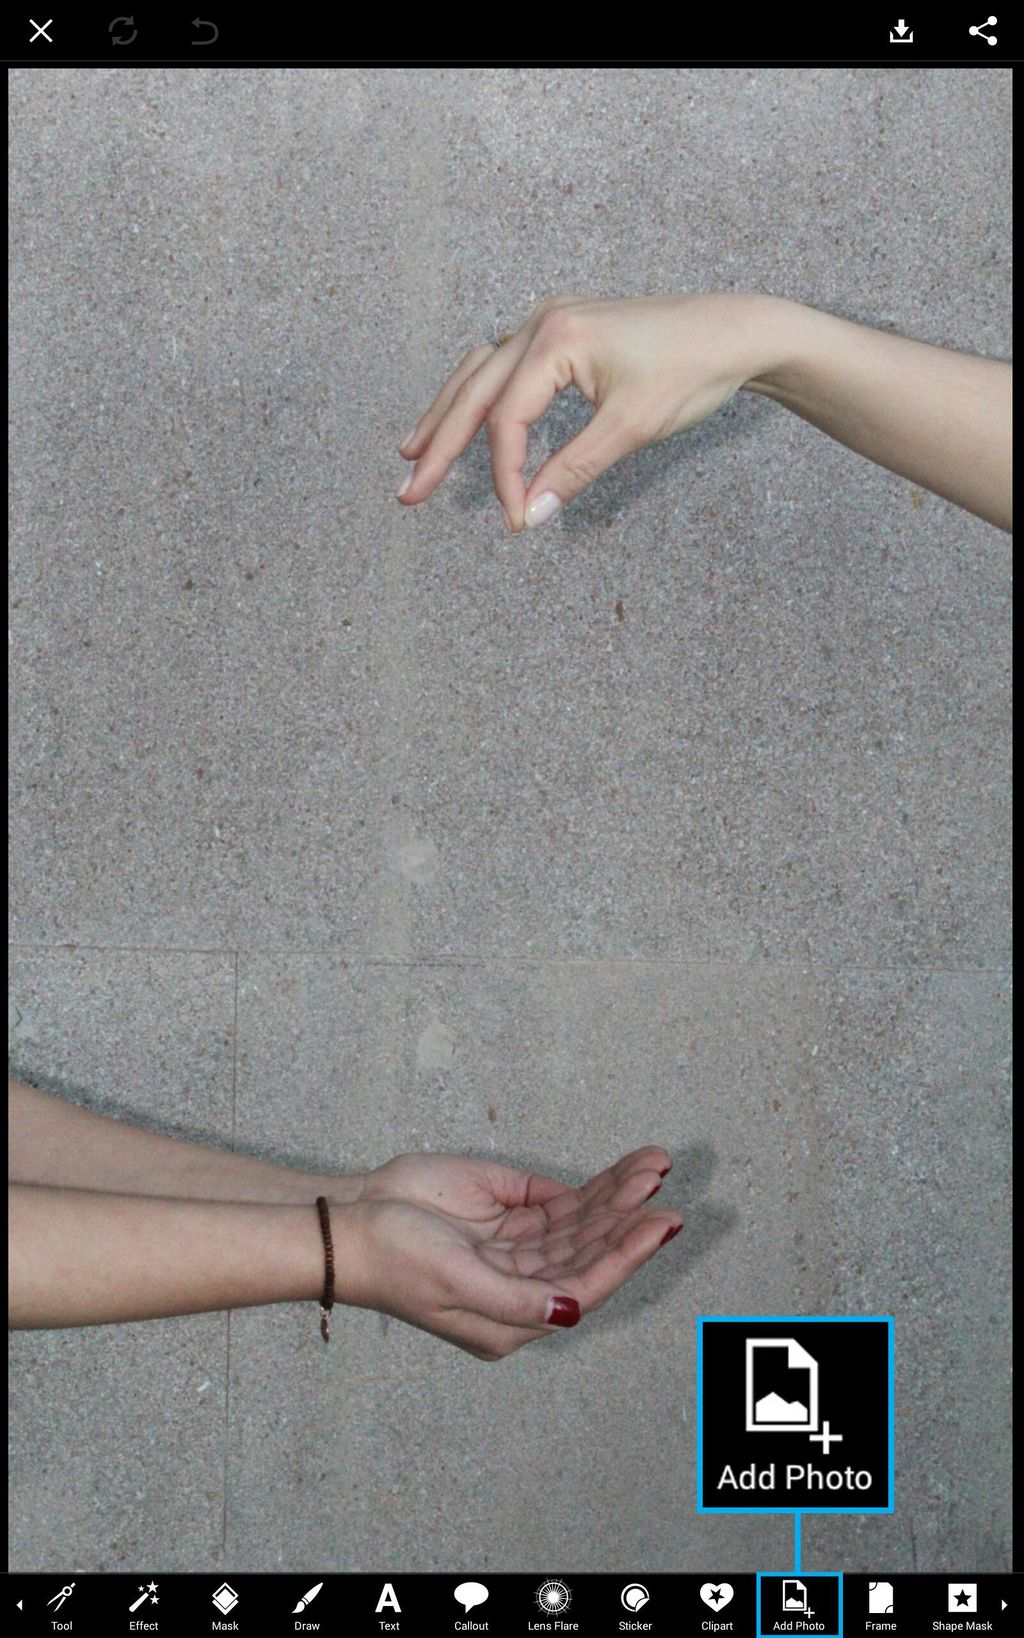
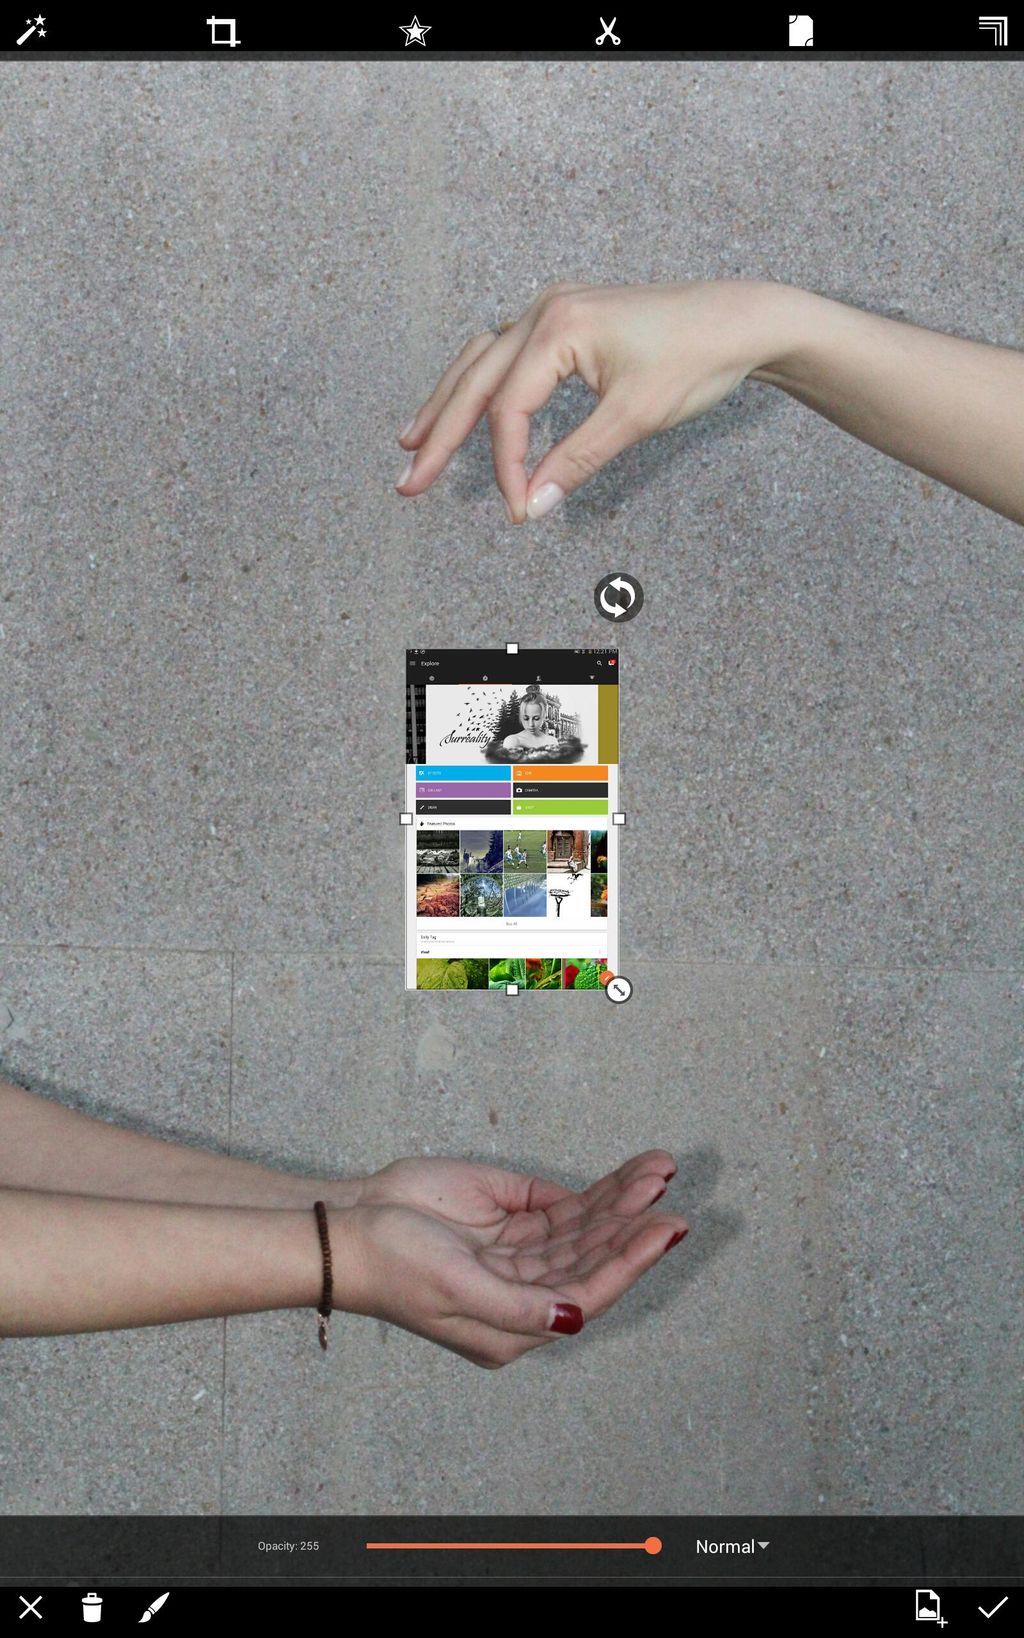
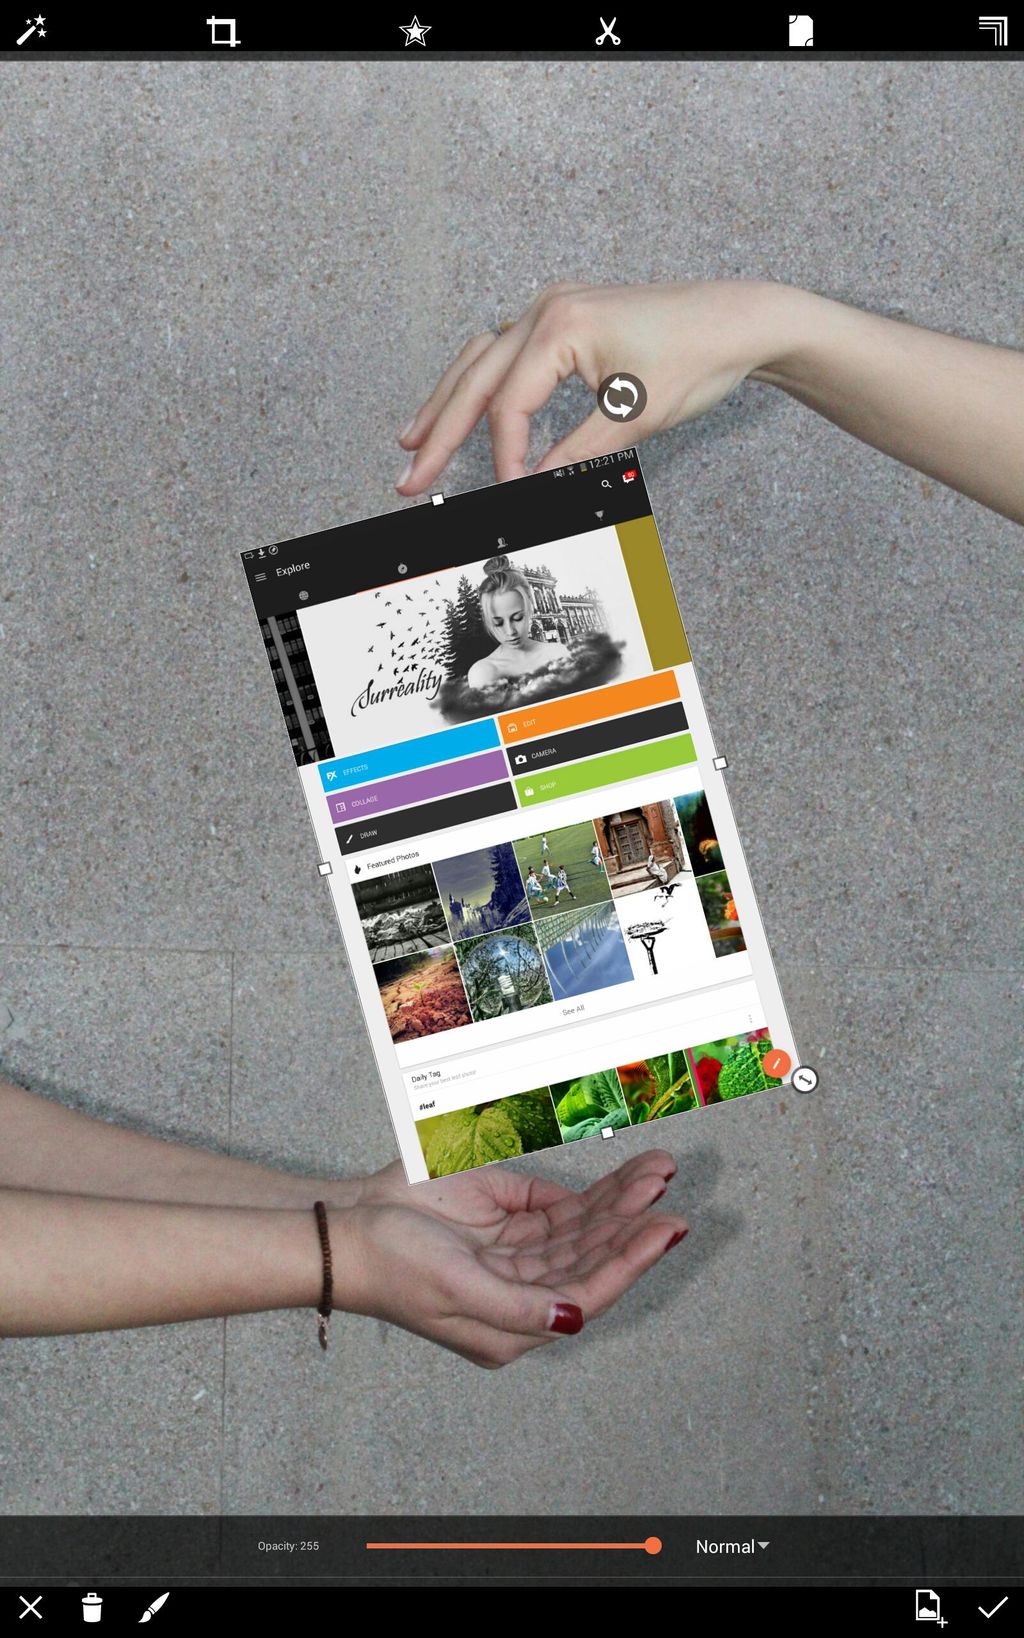
Step 3: Add Photo
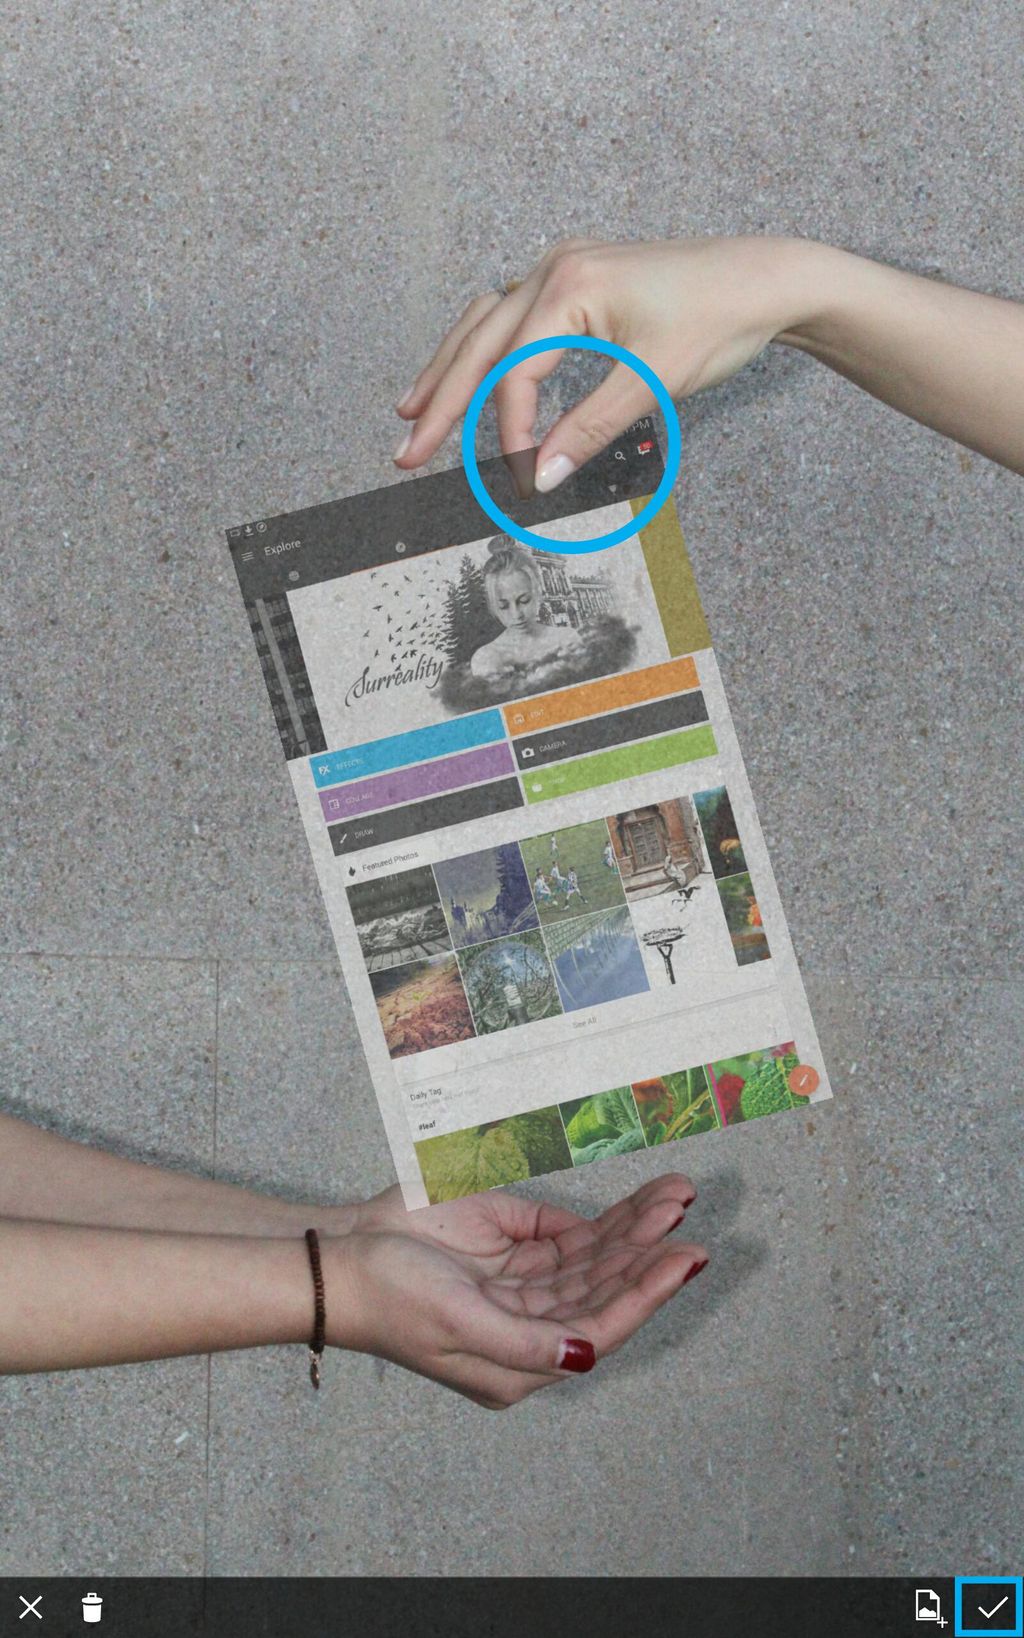
Open your image in the Editor, tap the Add Photo icon, and select your screenshot from Step 1. Position it near your fingers and reduce the opacity.
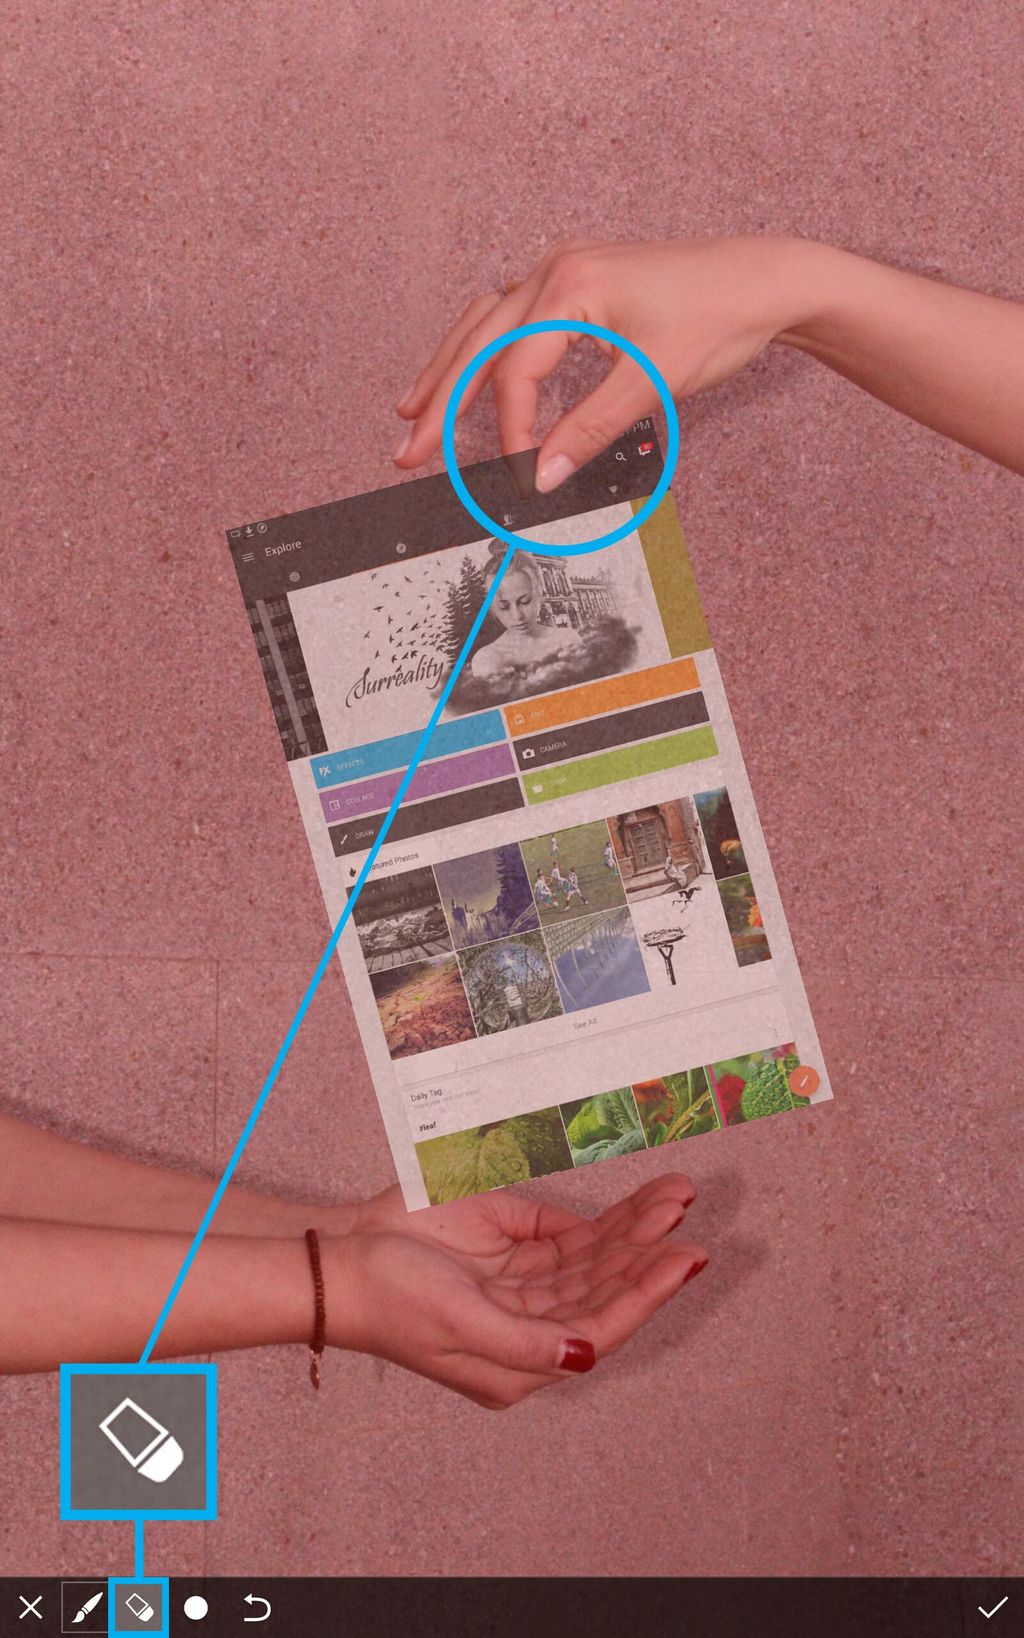
Step 4: Choose the Eraser
Tap on the paintbrush icon in the bottom left corner and check that the Eraser is selected. Erase unwanted parts of the image by dragging your finger over them so that you appear to be holding the screenshot in your hand.
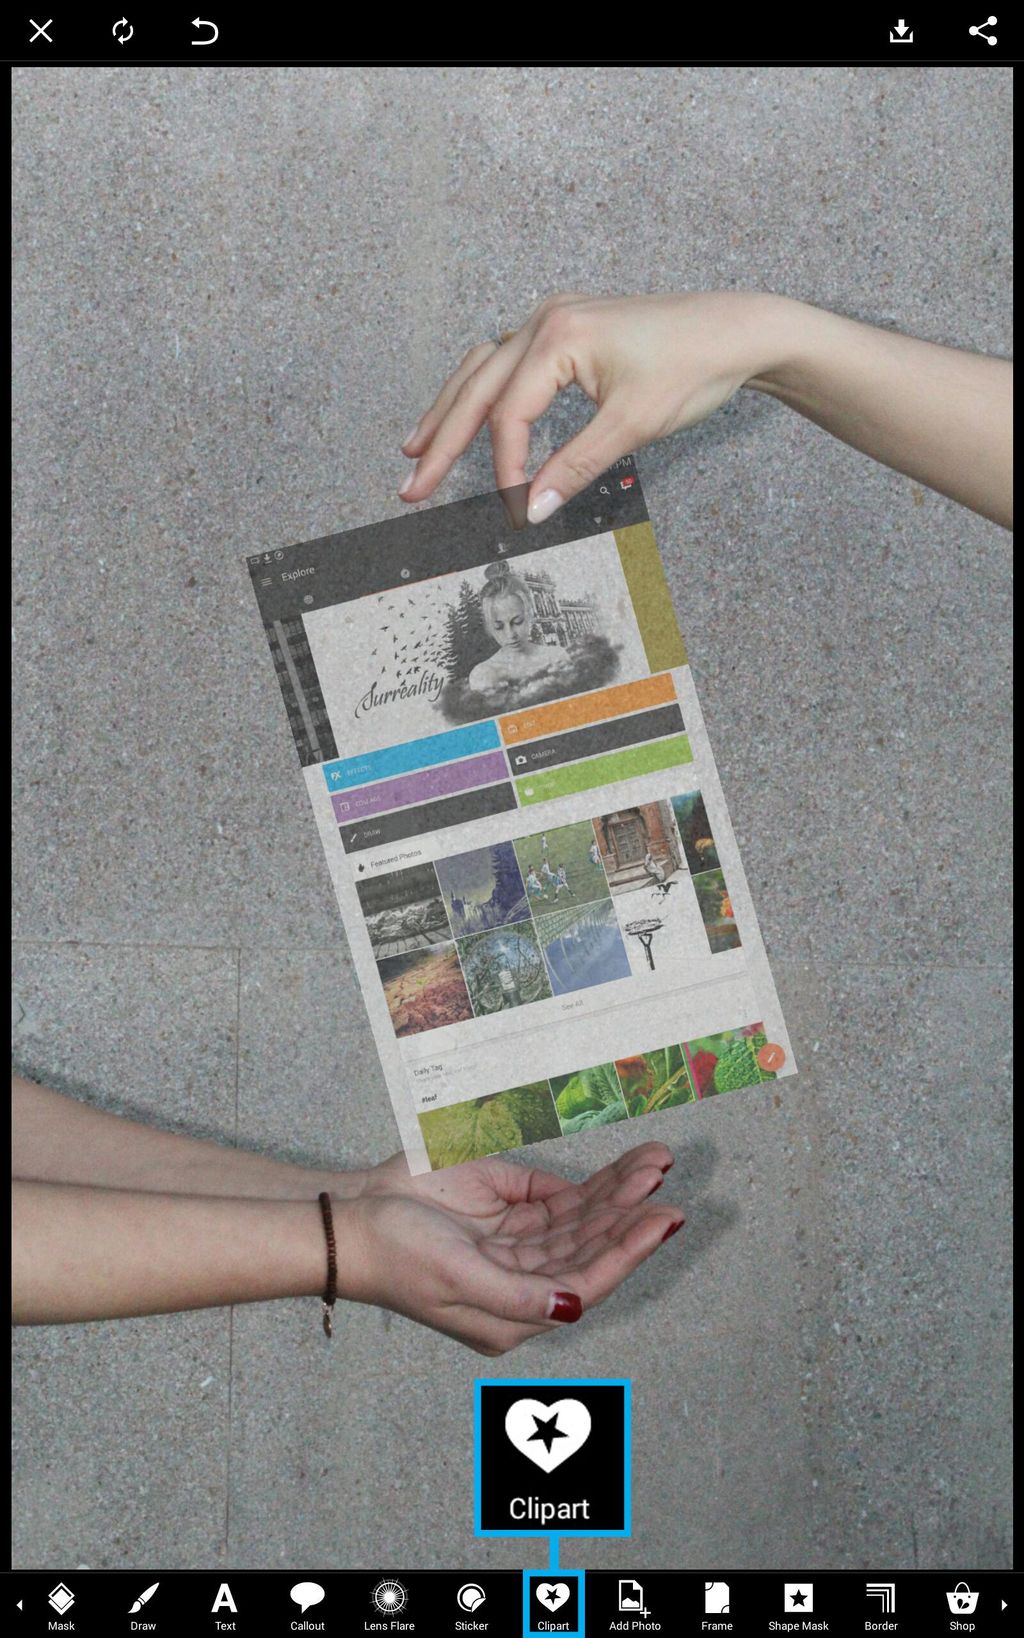
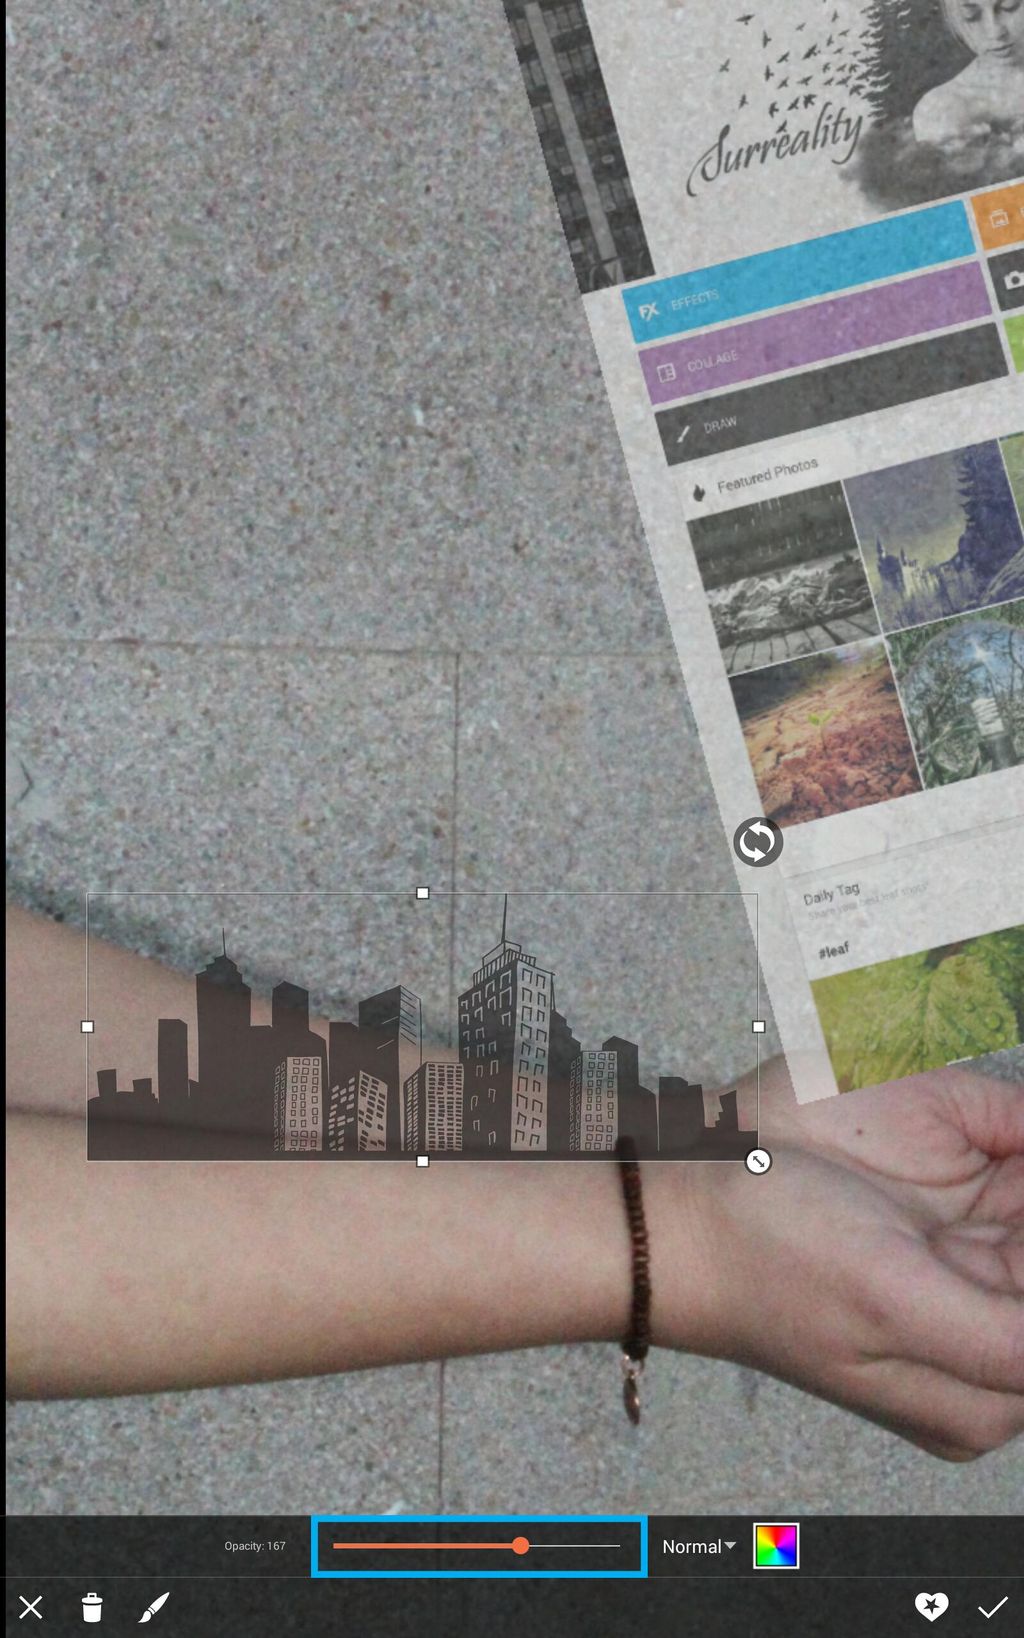
Step 5: Clipart
Add various clipart images to enhance your creation by selecting the heart-shaped clipart icon. Reduce the opacity to blend it into the image or experiment with different blending modes.
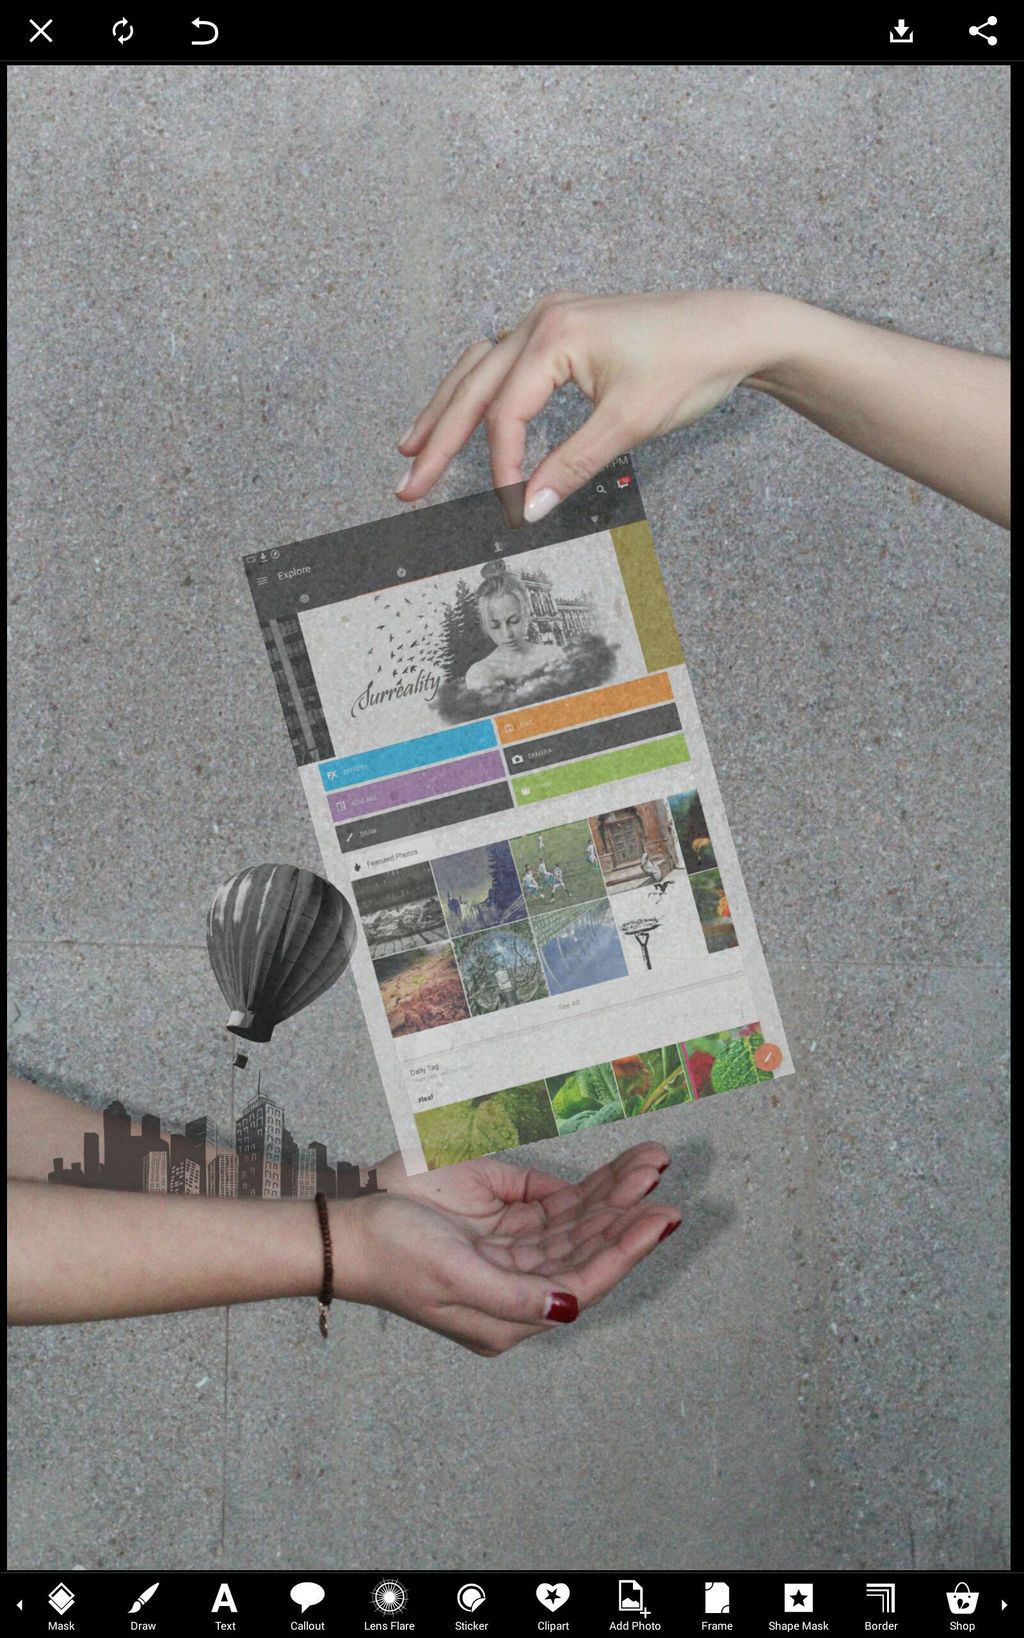
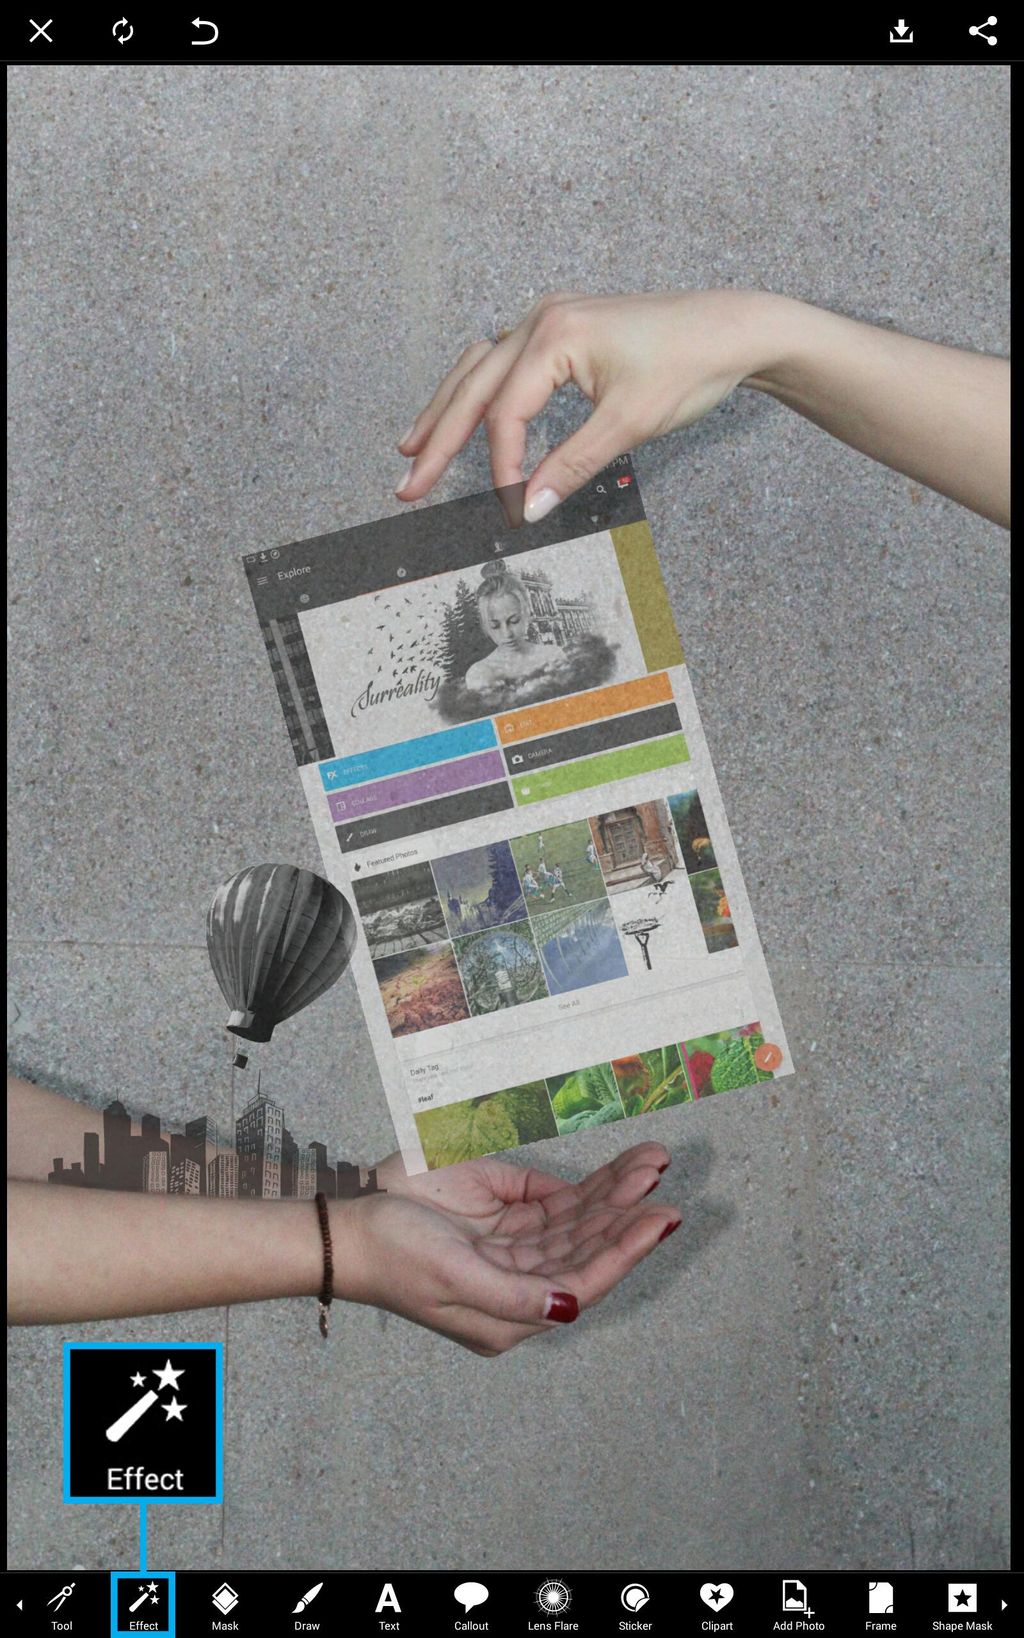
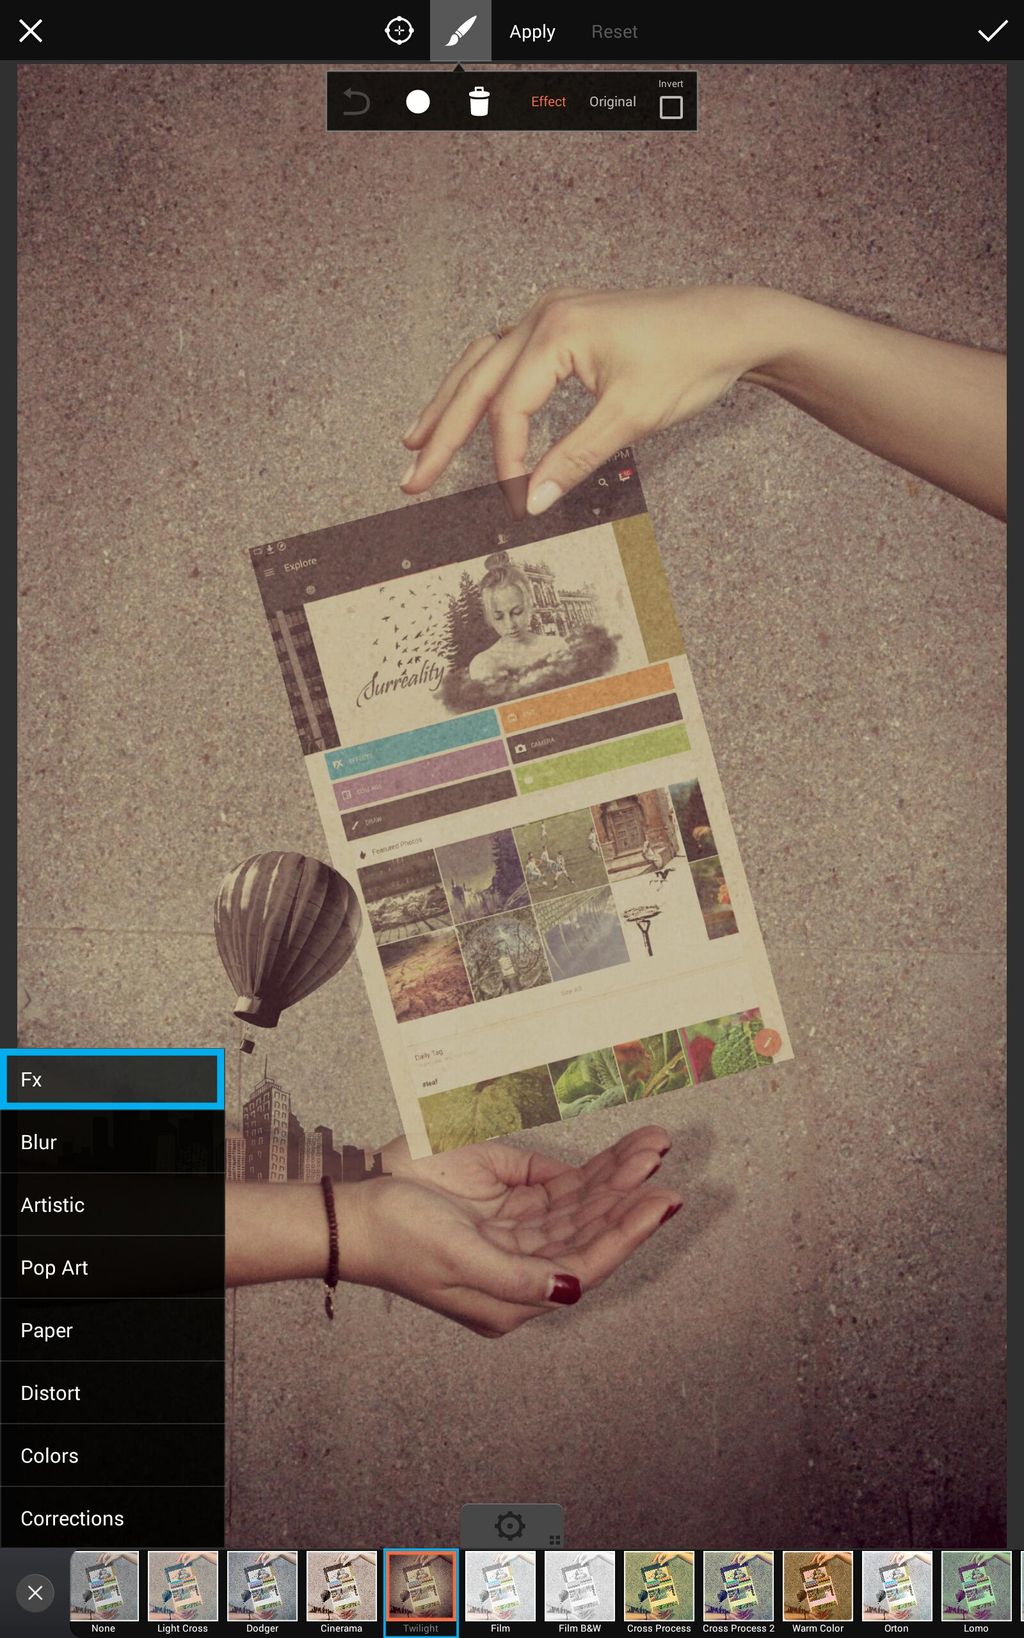
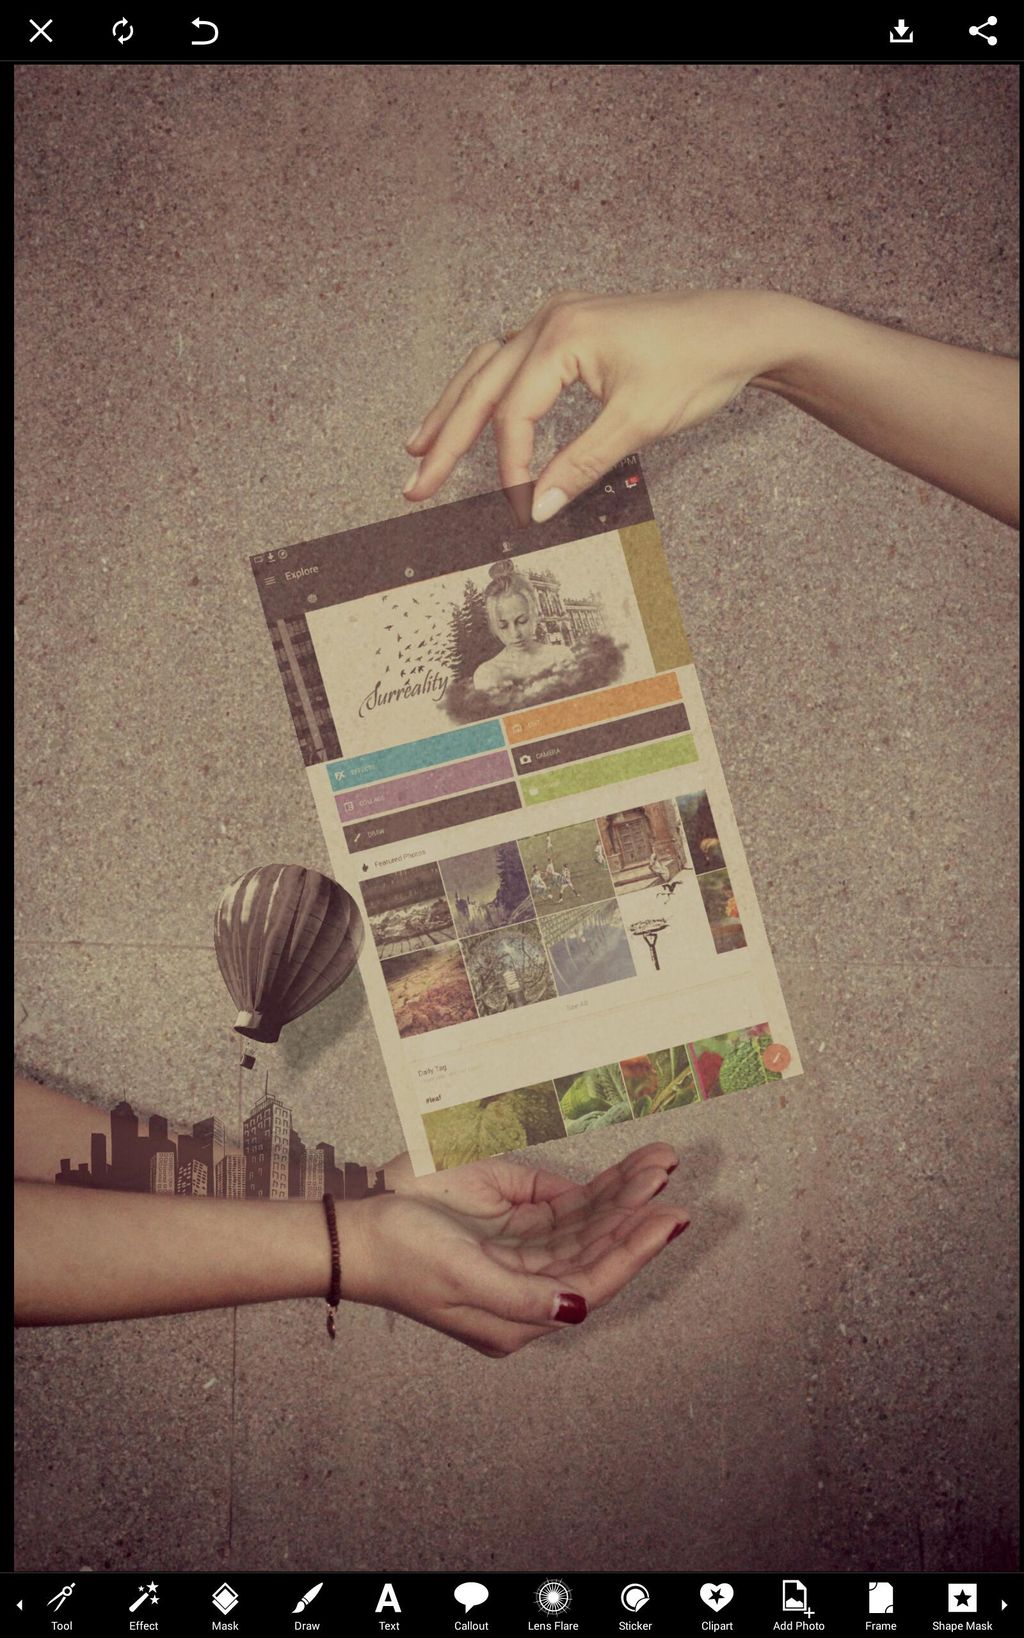
Step 6: Apply Photo Effect
Apply the Twilight Effect for a finishing touch. Tap on Effects to open the Effects menu, and find the Twilight Effect in the FX section. When you’re done, save your work and share it with your followers!